ATTENTION
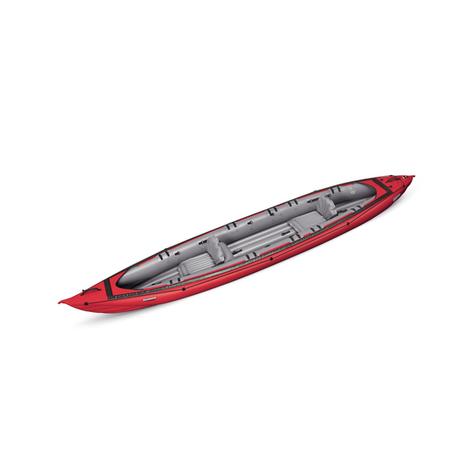
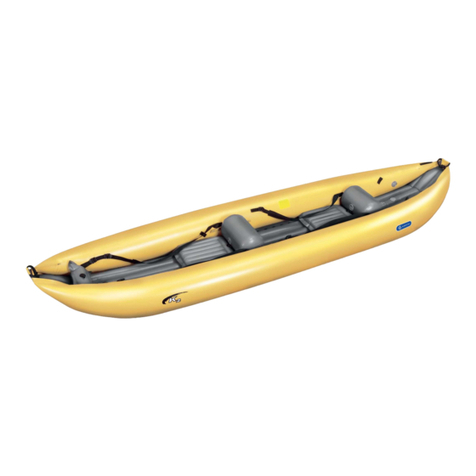
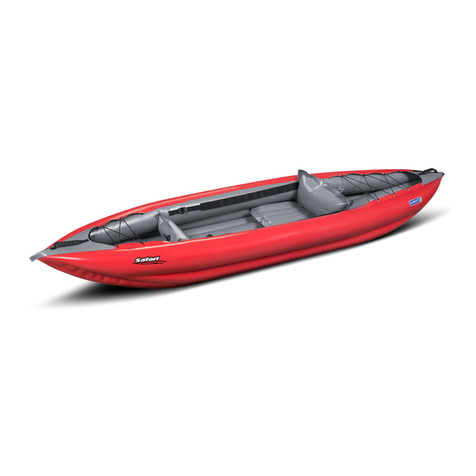
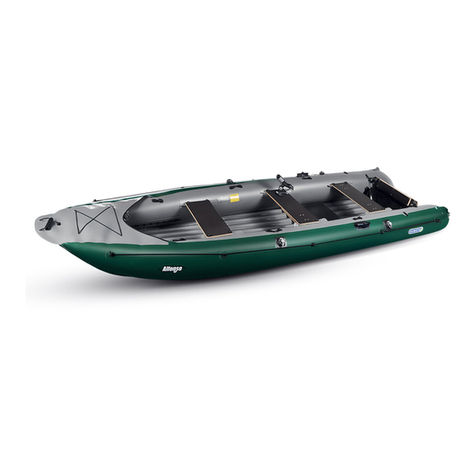
The SEAWAVE kayak is designed for recreational use and
water tourism.
Whenever the kayak is used on waterways, Waterway Trac
Rules should be observed. Operation of the SEAWAVE a in-
flatable kayak does not require any licence provided the
people who operate the canoe know the techniques of small
boat operation within the scope necessary for its operation,
as well as the valid navigation rules of the particular country.
The SEAWAVE kayak can be used on still or gently flowing
waters up to Diculty Grade WW 2. This is only a recom-
mended use, it always depends on the specific abilities of
the user! Use double-bladed kayak paddles with a length of
approx. 210cm. People travelling in the kayak should sit in
their seats and wear flotation life-jackets.
The manufacturer recommends using the boat in sucient
water condition (see Control table - draught).
ATTENTION
CAUTION:
• irregularwavesandcurrents,rapidsofmoderatedicul-
ty, weak eddies and whirls, low gradients, small rapids in
heavily meandering or badly transparent watercourse
• regularcurrentandlowregularwaves,smallrapids,sim-
ple obstacles, frequent meanders with rapidly flowing
water.
ATTENTION
- Three-seat version inflatable seat
- Covering board
Roll out the kayak. Slip the tracking fin into the bottom an-
chor point (15) Inflate seats and footrests before assembling.
Fig. 2 shows the valve (10) handling. Assemble seats and
footrests on the deflated kayak.
Thanks to its design, the SEAWAVE kayak may be used in
one-, two-, or three-seat versions - Refer to Fig. 1.
Fix the seat (7) into the bottom anchor point (16). Pull the seat
backrest straps (19) through the seat anchor points (17) on
side chambers marked as Pull the strap ends through
the plastic buckle (20) - Refer to Detail A. Fix the footrest
sized 34x16 mm (8) to the second position in the bottom
anchor point (16), pull the strap through the bottom plastic
buckle and tighten it. Correct pulling of the strap through the
buckle is shown in Detail B.
Fix the front and rear seats (7) in the bottom anchor point
(16). Pull the seat backrest straps (19) through the seat an-
chor points (17) on side chambers marked as . Pull the
strap ends through the plastic buckle (20) - Refer to Detail
A. Fix the footrest sized 34x16 mm (8) to the first position in
the bottom anchor point (16), fix the footrest sized 45x19 mm
(9) to the third position in the bottom anchor point (16), pull
the strap through the bottom plastic buckle and tighten it.
Correct pulling of the strap through the buckle is shown in
Detail B.
Fix the seats (7) into the bottom anchor point (16). Pull the
seat backrest straps (19) through the seat anchor points
(17) on side chambers marked as . Pull the strap ends
through the plastic buckle (20) - Refer to Detail A. In this ver-
sion, use the front footrest sized 34x16 mm (8) only fix it to the
first position in the bottom anchor point (16), pull the strap
through the bottom plastic buckle and tighten it. Correct
pulling of the strap through the buckle is shown in Detail B.
Inflate the air chambers in sequence: Side chambers (1),
the bottom (2). Use a foot-pump or piston pump with valve
adaptor for inflating - Refer to Fig. 2b (the adaptor is in-
cluded in the kayak bonding set). Check the condition of the
valves before inflating. Tighten the valves with the assembly
key - see Fig. 2c. Set the valves to the OFF position. Valve
handling - Refer to Fig. 2. Inflate the air chambers until they
are firm but not completely sti. The air chambers should
provide a feeling comparable to squeezing a ripe orange.
You can check the exact operating pressure by using a suit-
able pressure gauge (optional accessory) – see Figure 2a.
For transferring the kayak, use the handle (12) on the front
and rear board.
ATTENTION
