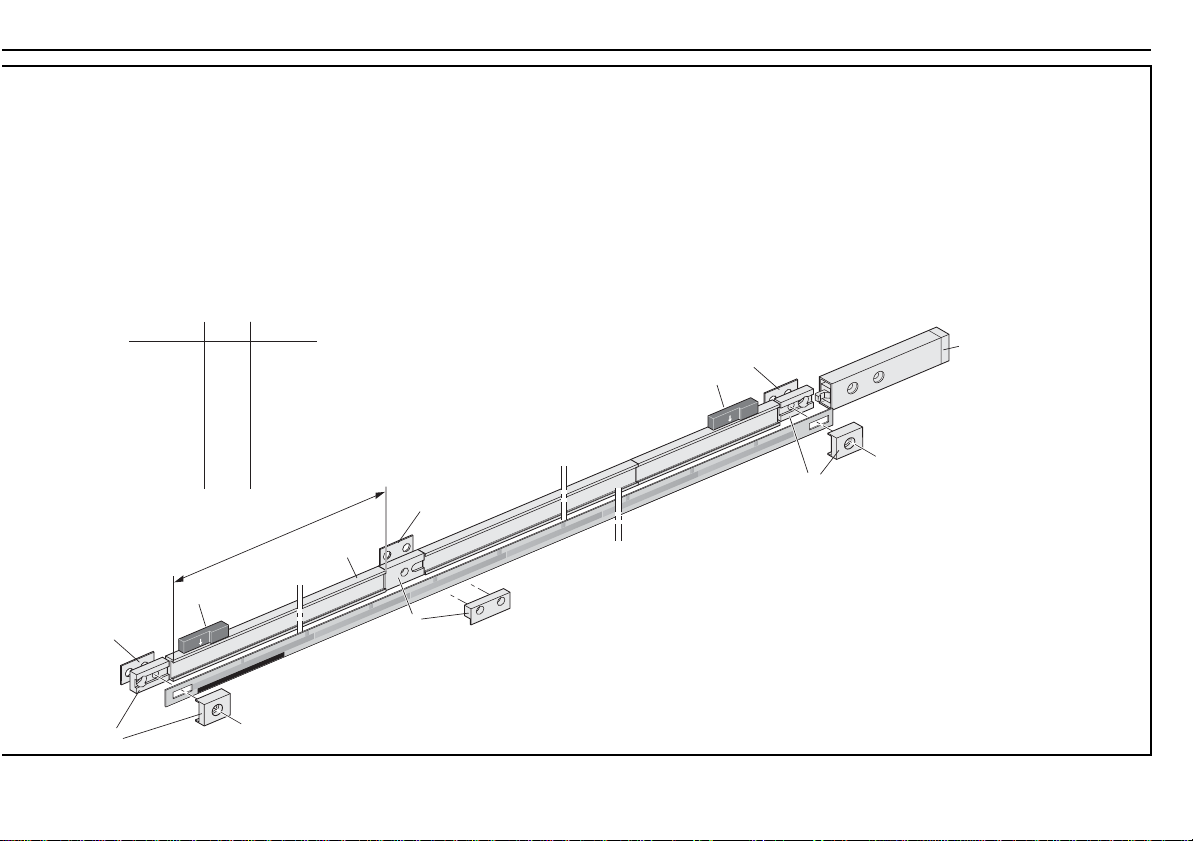
HEIDENHAIN LIDA 475 User manual
Other HEIDENHAIN Media Converter manuals

HEIDENHAIN
HEIDENHAIN MSL 41 User manual

HEIDENHAIN
HEIDENHAIN ROD 431.025 User manual

HEIDENHAIN
HEIDENHAIN LIDA 277 User manual

HEIDENHAIN
HEIDENHAIN LIF 481R User manual

HEIDENHAIN
HEIDENHAIN EIB 741 User manual

HEIDENHAIN
HEIDENHAIN RCN 729 EnDat User guide

HEIDENHAIN
HEIDENHAIN LB 302 User manual

HEIDENHAIN
HEIDENHAIN ERA 4202 User manual

HEIDENHAIN
HEIDENHAIN AK ERM 2420 User manual

HEIDENHAIN
HEIDENHAIN ECI 13 Series User manual

HEIDENHAIN
HEIDENHAIN EQN 1325.049 User manual

HEIDENHAIN
HEIDENHAIN AK ECA 4410 User manual

HEIDENHAIN
HEIDENHAIN RON 785 User manual

HEIDENHAIN
HEIDENHAIN LIC 2107 User manual

HEIDENHAIN
HEIDENHAIN ECI 1119 User manual

HEIDENHAIN
HEIDENHAIN LS 3 8 Series User manual

HEIDENHAIN
HEIDENHAIN ECN 1313 User manual

HEIDENHAIN
HEIDENHAIN LIP 481R User manual

HEIDENHAIN
HEIDENHAIN LIP 471R User manual

HEIDENHAIN
HEIDENHAIN ERN 1385 User manual