Hola soy Fluxy, te
ayudaré a instalar
tu producto.
INSTALLATION GUIDE
GUÍA DE INSTALACIÓN
Hi I'm Fluxy, I'll
help you to install
your product.
ADVERTENCIA / WARNING
Para disminuir el riesgo de lesiones o daños a la propiedad, lea todas las instrucciones antes de instalar el
producto. Utilice gafas de seguridad. En obras de construcción, instalación, modificación, ampliación y
reparación deben cumplir con el reglamento de construcción y obras de su localidad. El producto ilustrado
puede sufrir cambios de aspecto como resultado de la mejora continua a la que está sujeto.
Agradecemos su elección por los productos HELVEX.
Estamos seguros de que su confiabilidad por el producto excederá sus más altas expectativas, cuya
funcionalidad, estética, durabilidad, respaldo integral y alta calidad le otorgarán plena satisfacción por años,
reflejando el compromiso con la calidad, innovación y el medio ambiente que forman parte de Helvex.
Thank you for choosing HELVEX products.
We are confident that the product reliability will exceed your maximum expectations. The functionality,
aesthetics, durability, quality and support will grant you full satisfaction for years, it is Helvex commitment to
the quality, innovation and the environment.
To reduce the risk of injury or property damage, read all instructions. Before installing the product, please
remember to use safety glasses. Apply building normative for any construction, installation, alteration,
extension or repair. As result of continuous improvement, the product illustration may change in appearance.
El aparato no debe utilizarse por personas (incluyendo niños) con capacidades físicas sensoriales o mentales
reducidas, o carezcan de experiencia o conocimiento, a menos que reciban supervisión o capacitación.
Los niños deben supervisarse para que no jueguen con el aparato.
The device should not be used by persons (including children) with reduced physical sensory or mental
capabilities, or lack of experience and knowledge, unless they receive supervision or training.
Children should be supervised to not play with the appliance.
screwdriver
Ø 1/4" drill bit
desarmador de cruz taladro con broca
de Ø 1/4"
Herramientas y Materiales Recomendados / Recommended Tools and Materials Accesorios Incluidos
/ Included Accessories
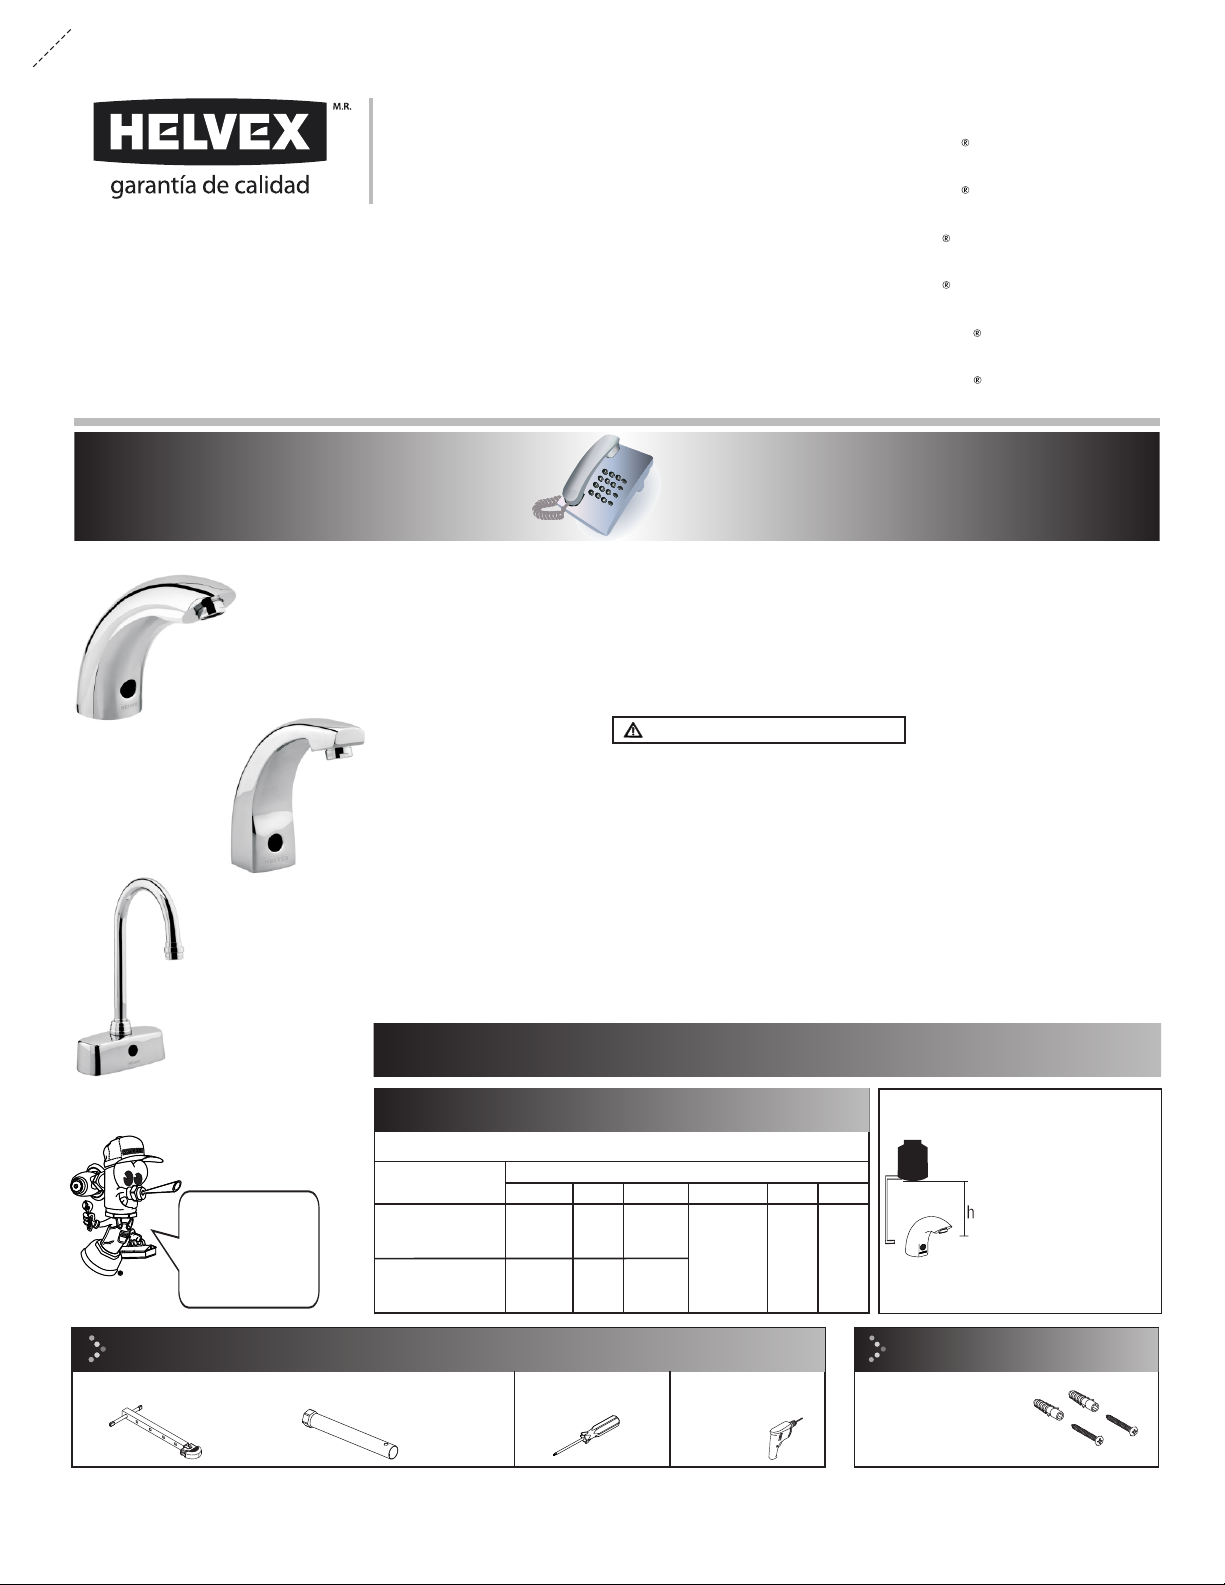
Llave de Lavabo Electrónica de Sensor de Corriente Eléctrica
Electronic Sink Faucet with Electric Current Sensor
TV-296-C
1-05-2047-2
Argos
Llave de Lavabo Electrónica de Sensor de Corriente Eléctrica, 1,9 l
0,5 gal Electronic Sink Faucet with Electric Current Sensor
TV296-C-1.9
Argos
Llave de Lavabo Electrónica de Sensor de Corriente Eléctrica
Electronic Sink Faucet with Electric Current Sensor
TV-297-C
Alfa
Llave de Lavabo Electrónica de Sensor de Corriente Eléctrica, 1,9 l
0,5 gal Electronic Sink Faucet with Electric Current Sensor
TV297-C-1.9
Alfa
Llave de Lavabo Electrónica de Sensor de Corriente Eléctrica
Electronic Sink Faucet with Electric Current Sensor
TV-298-C
Omega
Llave de Lavabo Electrónica de Sensor de Corriente Eléctrica, 1,9 l
0,5 gal Electronic Sink Faucet with Electric Current Sensor
TV298-C-1.9
Omega
TV-296-C
TV296-C-1.9
TV-297-C
TV297-C-1.9
TV-298-C
TV298-C-1.9
Esta guía de instalación aplica al producto en cualquier acabado. / This installation
guide applies to the product in any finish.
Cada metro de altura de
su producto a la base
del tinaco equivalen a
(0,1 kg/cm²) [1,42 PSI].
Meter of height of your
product to the base of
the tub is equivalent to
(0,1 kg/cm²) [1,42 psi].
Requerimientos de Instalación
Installation Requirements
TV-296-C
Requerimientos de Instalación
Installation Requirements
Modelo / Model Mínima / Minimum Máxima / Maximum
kg/cm² PSI kPa kg/cm² PSI kPa
Para el correcto funcionamiento de éstos productos, se recomiendan las sig. presiones:
For the correct operation of these products, the following pressures are recommended:
0,4 5,6 39,22
6,0 85,3 588,3
TV-297-C
TV-298-C
TV296-C-1,9
TV297-C-1,9
TV298-C-1,9 0,5 7,1 49,03
fixing kit
kit de sujeción
Original Spare Parts:
Consultancy and Technical
(52) 55 53 33 94 31
(52) 55 53 33 94 00
Refacciones Originales:
Asesoría y Servicio Técnico:
Ext. 5913, 5068 y 4815
Service:
(52) 55 53 33 94 21
www.refaccioneshelvex.com.mx
llave de plomero ó llave hexagonal (se vende por separado)
plumber’s wrench or hexagonal wrench (sold separately)
RH-1486


