manuals.online logo
Brands
  1. Home
  2. •
  3. Brands
  4. •
  5. Henny Penny
  6. •
  7. Commercial Food Equipment
  8. •
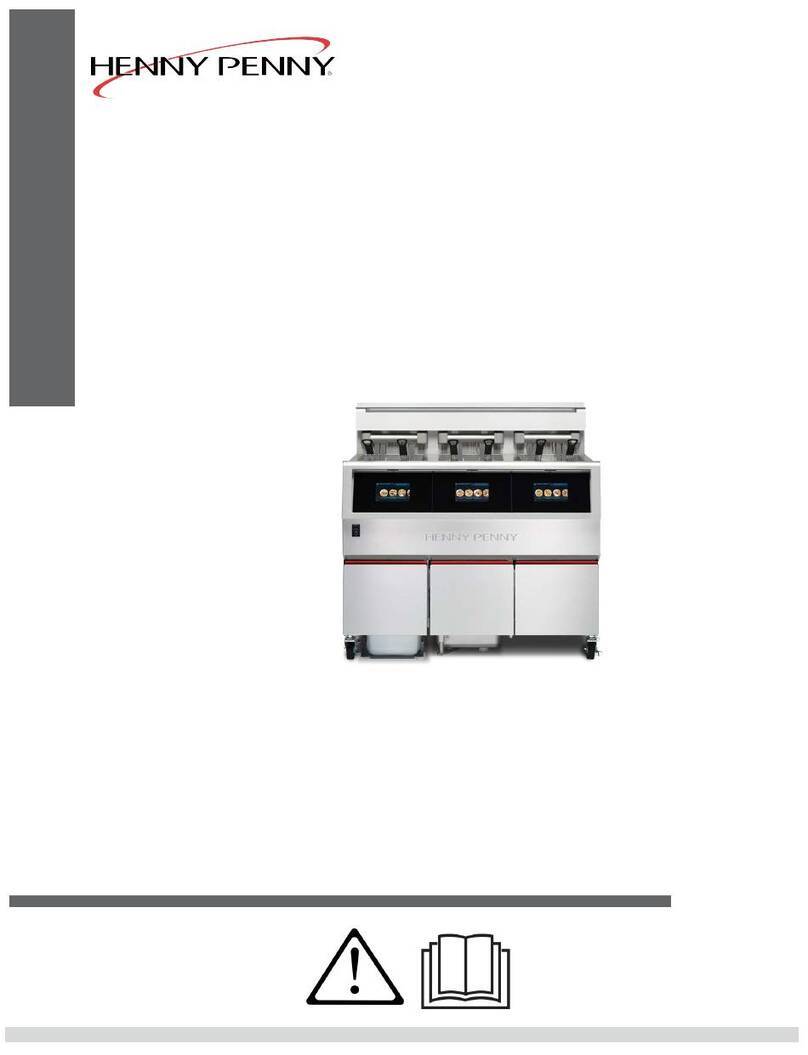
  9. Henny Penny McDonald's LOV MVE 07X User manual

Henny Penny McDonald's LOV MVE 07X User manual

Para añadir o modificar
un elemento del menú
1. Mantenga los botones e pulsando al mismo tiempo hasta que aparezca LEVEL - 1 (nivel 1) en la pantalla. Suelta los botones.
2. La pantalla mostrará "NIVEL 1"(nivel 1) y “ENTER CODE” "introducir código". Introducir el código 1, 2, 3, 4.
"PRODUCT" (producto) y "SELECTN" (selección) aparecerán en las pantallas.
3. Pulse el botón y "SELECT PRODUCT" (seleccione el producto) y "FR FRIES" (papas fritas) o "NUGGETS"
aparecerán en las pantallas.
4. Utilice los botones ◄ y ► para navegar entre los 40 productos o pulse el botón del producto deseado.
5. Pulse el botón , el producto se mostrará en la pantalla de la izquierda y “MODIFY?” (¿modificar?) y se mostrará
"YES NO" (sí no) en la pantalla derecha.
6. Si se pulsa el botón, utilice los botones del producto para introducir el nombre del producto como si estuviera escribiendo
en un teléfono móvil. Cuando aparezca la letra deseada en la pantalla, pulse el botón ► para pasar a la siguiente letra.
7. Cuando haya introducido el nombre completo, pulse el botón ▼ y en la pantalla aparecerá "COOK TIME" (tiempo de
cocción). Utilice los botones del producto para cambiar la hora, en minutos y segundos, hasta un máximo de 59:59.
8. Pulse el botón ▼ y en la pantalla aparecerá "TEMP" (temperatura). Pulse los botones del producto para cambiar la temperatura.
El rango de temperatura es de 88°C (190°F) a 193°C (380°F).
9. Pulse el botón ▼ y en la pantalla aparecerá "COOK ID"(ID de cocción). Introduzca el nombre abreviado del producto (por
ejemplo.: NUG)
10. Pulse el botón ▼ y en la pantalla aparecerá "DUTY 1" (servicio 1). Pulse los botones del producto para establecer una alarma
(por ejemplo.: 0:30 establece una alarma para 30 segundos después del inicio del ciclo de cocción).
11. Pulse el botón ▼ y en la pantalla aparecerá "DUTY 2" (servicio 2) y se podrá programar una segunda alarma.
12. Pulse el botón ▼ y en la pantalla aparecerá "QUAL TMR" (temporizador de calidad). Pulse los botones del producto para
establecer un tiempo de retardo.
13. Pulse el botón ▼ hasta que aparezca "AIF DISABLE" (desactivar AIF) en la pantalla junto con "YES" (sí) o "NO" (no). Con
los botones ◄ y ►, cambie la indicación a "SÍ" (sí) si el producto no tiene que incluirse en la operación de filtrado
intermitente o "NO" (no) si lo hace.
14. Pulse el botón ▼ hasta que aparezca en la pantalla "ASSIGN BTN" (asignar botón) junto con el producto (por ejemplo:
NUGGETS). Si el producto ya tiene asignado un botón de producto, el LED estará encendido. Para asignar otros botones de
producto al producto específico, mantenga pulsado el botón de producto durante 3 segundos y el LED permanecerá encendido.
Para retirar un producto de un botón, mantenga pulsado el botón del producto con el LED encendido y el LED se apagará.
15. Para la programación de otro producto, pulse el botón y en la pantalla aparecerá “SELECT PRODUCT” (seleccionar
producto). Proceda con el paso 3 anterior.
16. Pulse el botón 3 veces para finalizar la programación.
12/07/2021 Español - FM08-777A
To Add or Change a Menu Item
1. Press and hold and buttons at same time until LEVEL - 1 shows in the display. Release buttons.
2. Displays show “LEVEL 1” and “ENTER CODE”. Enter code 1, 2, 3, 4. “PRODUCT” and “SELECTN” show in the displays.
3. Press button and ‘SELECT PRODUCT’ and “FR FRIES” or “NUGGETS” show in the displays.
4. The ◄ and ► buttons scroll through the 40 products, or press the desired product button.
5. Press button and the product shows in the left display and “MODIFY?”, and “YES NO” shows in the right display.
Press button to change this product, or press button to choose another product.
6. If button was pressed, use the product buttons to enter product name like entering text on your cell. Once the desired letter
shows in the display, press ► button to continue to the next letter.
7. Once name is complete, press ▼ button and “COOK TIME” shows in the display. Use the product buttons to change the time in
minutes and seconds, to a maximum of 59:59.
8. Press ▼ button and “TEMP” shows in the display. Press the product buttons to change the temperature. The temperature range
is 190°F (88°C) to 380°F (193°C).
9. Press ▼ button and “COOK ID” shows in the display. Enter abbreviated product name (Ex: NUG)
10. Press ▼ button and “DUTY 1” shows in the display. Press the product buttons to set an alarm (Ex: 0:30 sets an alarm at 30
seconds after the start of the cook cycle.
11. Press ▼ button and “DUTY 2” shows in the display, and a second alarm can be programmed.
12. Press ▼ button and “QUAL TMR” shows in the display. Press product buttons to set holding time.
13. Press ▼ button and “AIF DISABLE” shows in the display and “YES” or “NO”. Using ◄ and ► buttons, change the display to
“YES” if that product is to not be included in the automatic intermittent filtration counts, or “NO” if it is to be included.
14. Press ▼ button and“ASSIGN BTN” shows in the display, along with the product (ex: NUGGETS). If this product already has
a product button assigned to it, that LED will be lit. To assign other product buttons to that product, press and hold the product
button for 3 seconds and that LED stays lit. To remove a product from a button, press and hold the product button with a lit LED
and the LED goes out.
15. To program another product, press button and “SELECT PRODUCT” shows in display. Continue with step 3 above.
16. Press button 3 times to end programming.
Guía de advertencia de McDonald's
EL ACEITE CALIENTE PROVOCA QUEMADURAS GRAVES.
“E-31” “HEATING ELEMENTS ARE UP” (hay elementos de calefacción elevados) = Las placas se elevaron
durante el mantenimiento del filtro y no se bajaron. Bajar las placas calefactoras.
“E-10” “HI LIMIT TRIPPED” (límite máximo activado) =Deje que la freidora se enfríe de 15 a 20 minutos y
restablezca el límite máximo pulsando y soltando el lado elevado de la llave del depósito que no está
funcionando; hay una única llave de restablecimiento detrás de la puerta de cada depósito. Si no se restablece el
límite máximo, llame a un técnico.
“E-15” “DRAIN IS OPEN” (desagüe abierto) = Compruebe que la palanca de desagüe está completamente cerrada.
FRYER ON BUT NOT HEATING O “E-22” “NO HEAT” (freidora encendida, pero no calienta; o E-22 - no
calienta) = Tanque desconectado o disyuntor apagado
Si hay algún problema, consulte el manual o póngase en contacto con Henny Penny Corp. 1-800-417-8405 o 937-456-8405
(ambos en Estados Unidos)
Estas instrucciones son sólo orientativas, no son un manual de instrucciones completo. Lea y comprenda completamente el manual del
operador suministrado con cada unidad.
12/07/21 Español - FM08-776A
McDonald’s Alert Guide
HOT OIL wILL cAUSE SEvERE BURNS.
FILTER ERROR “IS POT FILLED?” = During the filtering procedure, the display may show “IS POT FILLED?”.
If the vat is full, press the button to resume normal operation. If the vat is not full, close drain valve and open fill
valve and press the Filter Button to pump the oil from the pan back into the vat.
“E-31” “HEATING ELEMENTS ARE UP” = Heating elements have been left up during maintenance filter. Lower
heating elements.
“E-10” “HI LIMIT TRIPPED” = Allow fryer to cool for 15-20 minutes and reset high limit by pressing down
and releasing raised side of the switch for the vat that is not operating; a single reset switch is located behind the
door of each well. If high limit does not reset, call for service.
“E-15” “DRAIN IS OPEN” = Make sure drain handle is completely closed.
FRYER ON BUT NOT HEATING OR “E-22” “NO HEAT” = Vat unplugged or circuit breaker off
Any problems, refer to manual or contact Henny Penny Corp. 1-800-417-8405, or 937-456-8405.
These instructions are meant to be guidelines, not complete operating instructions. Read and understand the complete operator’s manual
supplied with each unit.
RUTINA DE FILTRADO
EL ACEITE CALIENTE PROVOCA QUEMADURAS GRAVES.
Usar equipo de protección: sólo usar el equipo de seguridad aprobado por McDonald's, incluyendo el delantal, la careta y los guantes.
1. El aceite debe estar caliente
(temperatura de cocción).
Pulse el botón TEMP para
confirmar la temperatura.
4. Gire la palanca roja de vaciado
para abrir el desagüe.
7. Cierre la palanca roja de
drenaje.
10. IS POT FILLED” “YES NO”
(¿el depósito está lleno? sí no)
aparecerá en la pantalla.
Compruebe que el depósito
está lleno y pulse .
2. Gire la palanca negra de limpieza a la
posición de filtrado (cerrada) y
compruebe que la bandeja está colocada.
5. Después de drenar el aceite,
limpie el depósito.
8. Presione para
encender la pantalla.
11. A partir del paso 2, repita los
pasos anteriores para
cada tanque.
3.
Presione para que la pantalla
muestre “OFF”.
6. Gire la palanca amarilla de
retorno a la posición de
abierto para encender
la bomba.
9.
Cuando el depósito esté lleno, deje que
el aceite burbujee durante 15 segundos
y, a continuación, gire la palanca
amarilla de retorno a la posición
cerrada para detener la bomba.
IMPORTANTE: Una vez
filtrado el último tanque, gire la
palanca de limpieza a la
posición COOK (abierta).
Si hay algún problema, consulte el manual o póngase en contacto con Henny Penny Corp. 1-800-417-8405 o 937-456-8405
(ambos en Estados Unidos)
Estas instrucciones son sólo orientativas, no son un manual de instrucciones completo. Lea y comprende completamente el manual del
operador suministrado con cada unidad.
12/07/21 Español - FM08-775A
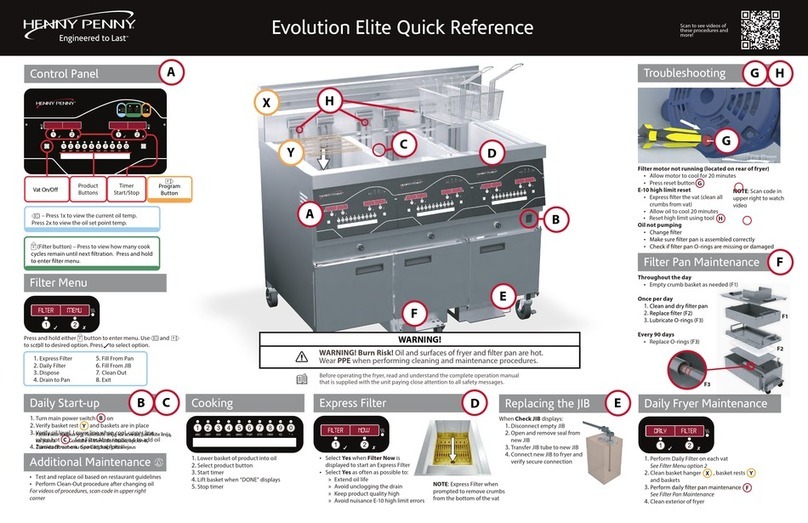
FILTER ROUTINE
Hot oil Will cause severe burns.
Put on protective gear: Use all McDonald’s approved safety equipment including, apron, face shield and gloves.
1. Oil must be hot
(cooking temperature). Press
the TEMP button to confirm
the temperature.
2. Turn black purge handle to
FILTER (CLOSE) position, and
make sure filter pan is in place.
3. Press so the display reads
“OFF”.
4. Turn red drain handle to
open drain. 5. Once oil is drained, clean vat. 6. Turn yellow return handle to
open position to start pump.
7. Close red drain handle. 8. Press to turn the display
ON.
9. Once vat is full, let oil bubble
for 15seconds and then turn
yellow return handle to closed
position to stop pump.
10. “IS POT FILLED” “YES NO”
shows in display. Confirm vat
is full and press .
11. Starting with step 2, repeat
above steps to filter each vat.
iMPortant:
Once last vat
is filtered, turn purge handle to
COOK (OPEN) position.
Any problems, refer to manual or contact Henny Penny Corp. 1-800-417-8405, or 937-456-8405.
These instructions are meant to be guidelines, not complete operating instructions. Read and understand the complete operator’s manual
supplied with each unit.

Other Henny Penny Commercial Food Equipment manuals
Henny Penny LOV3 User manual

Henny Penny

Henny Penny LOV3 User manual

Henny Penny OFE-321 User manual

Henny Penny

Henny Penny OFE-321 User manual

Henny Penny SmartCombi GSC62 Series Technical manual

Henny Penny

Henny Penny SmartCombi GSC62 Series Technical manual

Henny Penny LOV 100 Series User manual

Henny Penny

Henny Penny LOV 100 Series User manual

Henny Penny LOV 100 Series User manual

Henny Penny

Henny Penny LOV 100 Series User manual

Henny Penny FlexFusion Platinum User manual

Henny Penny

Henny Penny FlexFusion Platinum User manual

Henny Penny 590 User manual

Henny Penny

Henny Penny 590 User manual

Henny Penny Evolution Elite Gas 14X User manual

Henny Penny

Henny Penny Evolution Elite Gas 14X User manual

Henny Penny LOV3 User manual

Henny Penny

Henny Penny LOV3 User manual

Henny Penny Wendy's MP94 Series User manual

Henny Penny

Henny Penny Wendy's MP94 Series User manual

Henny Penny Evolution Elite Gas 14X User manual

Henny Penny

Henny Penny Evolution Elite Gas 14X User manual

Henny Penny Evolution Elite EEE-141 User manual

Henny Penny

Henny Penny Evolution Elite EEE-141 User manual

Henny Penny McDonald's LOV MVE 07X Electric Series User manual

Henny Penny

Henny Penny McDonald's LOV MVE 07X Electric Series User manual

Henny Penny Evolution Elite Gas 14X User manual

Henny Penny

Henny Penny Evolution Elite Gas 14X User manual

Henny Penny LOV3 User manual

Henny Penny

Henny Penny LOV3 User manual

Henny Penny Evolution Elite 14X User manual
Henny Penny

Henny Penny Evolution Elite 14X User manual

Henny Penny FlexFusion FPG-615 Service manual

Henny Penny

Henny Penny FlexFusion FPG-615 Service manual

Henny Penny Velocity Series User manual

Henny Penny

Henny Penny Velocity Series User manual

Henny Penny Evolution Elite Gas 14X User manual

Henny Penny

Henny Penny Evolution Elite Gas 14X User manual

Henny Penny HHC-98 Series User manual

Henny Penny

Henny Penny HHC-98 Series User manual

Henny Penny LVG-202 User manual

Henny Penny

Henny Penny LVG-202 User manual

Henny Penny LOV3 User manual

Henny Penny

Henny Penny LOV3 User manual
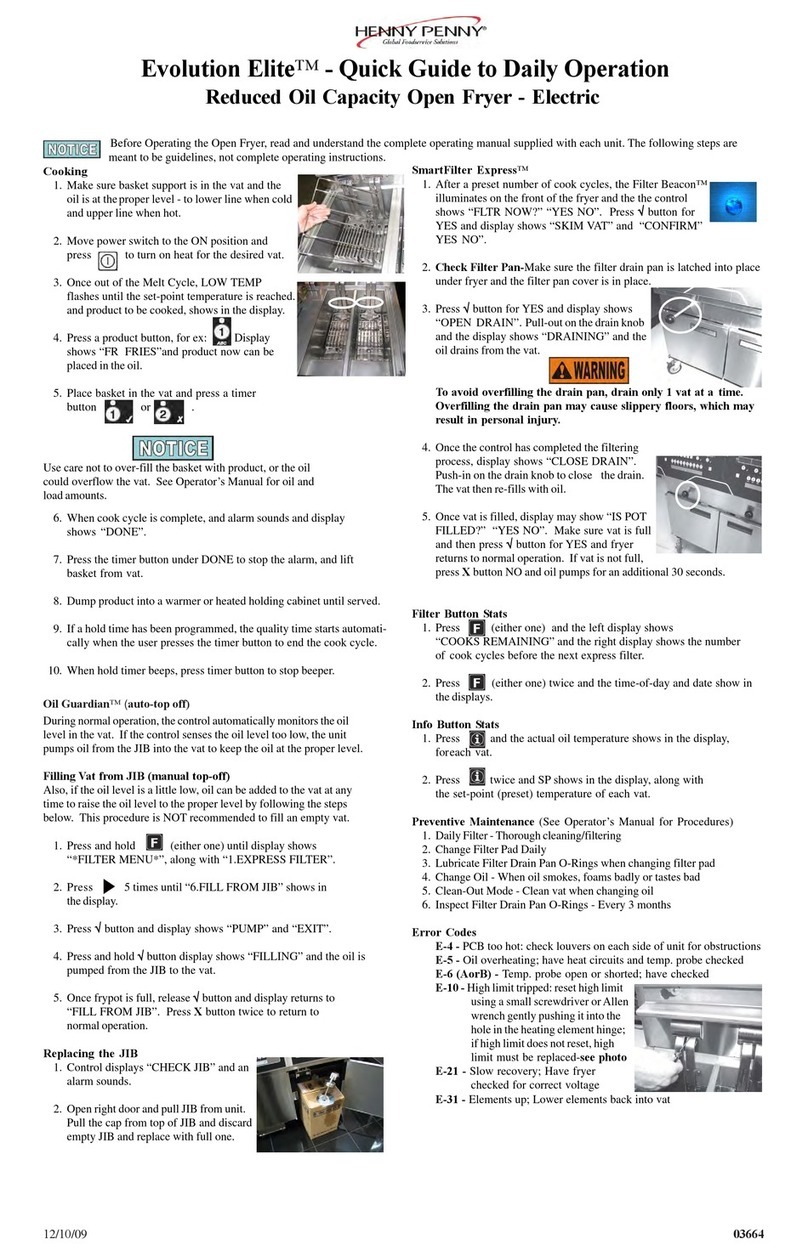
Henny Penny Evolution Elite 14X User manual
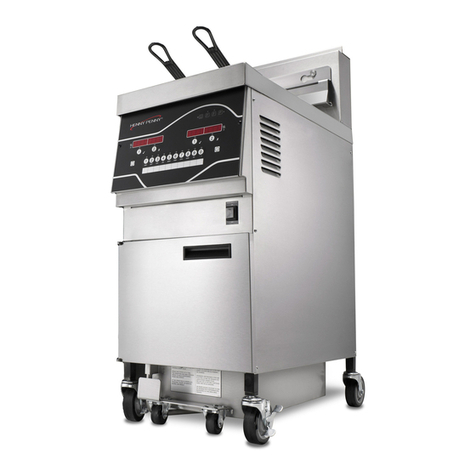
Henny Penny

Henny Penny Evolution Elite 14X User manual
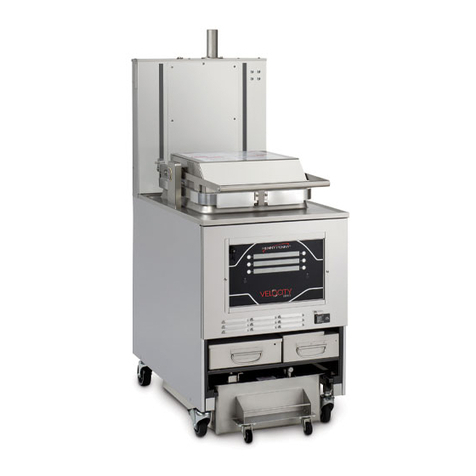
Henny Penny KFC KVE 07X User manual

Henny Penny

Henny Penny KFC KVE 07X User manual

Popular Commercial Food Equipment manuals by other brands

Costco 5P-08WT manual

Costco

Costco 5P-08WT manual

Beper BT.651Y manual

Beper

Beper BT.651Y manual

Blue Seal EF30 Installation & operation manual

Blue Seal

Blue Seal EF30 Installation & operation manual

Tecfrigo Snelle 400 GS installation instructions

Tecfrigo

Tecfrigo Snelle 400 GS installation instructions

Follett PFT Series Operation and maintenance manual

Follett

Follett PFT Series Operation and maintenance manual

MEFE CAT 206 PTR User manual and maintenance

MEFE

MEFE CAT 206 PTR User manual and maintenance

Diamond AL1TB/H2-R2 Installation, Operating and Maintenance Instruction

Diamond

Diamond AL1TB/H2-R2 Installation, Operating and Maintenance Instruction

Salva IVERPAN FC-18 User instructions

Salva

Salva IVERPAN FC-18 User instructions

Allure Melanger JR6t Operator's manual

Allure

Allure Melanger JR6t Operator's manual

saro FKT 935 operating instructions

saro

saro FKT 935 operating instructions

Hussmann Rear Roll-in Dairy Installation & operation manual

Hussmann

Hussmann Rear Roll-in Dairy Installation & operation manual

Cornelius IDC PRO 255 Service manual

Cornelius

Cornelius IDC PRO 255 Service manual

Moduline HSH E Series Service manual

Moduline

Moduline HSH E Series Service manual

MINERVA OMEGA DERBY 270 operating instructions

MINERVA OMEGA

MINERVA OMEGA DERBY 270 operating instructions

Diamond OPTIMA 700 Installation, use and maintenance instructions

Diamond

Diamond OPTIMA 700 Installation, use and maintenance instructions

Diamond G9/PLCA4 operating instructions

Diamond

Diamond G9/PLCA4 operating instructions

Cuppone BERNINI BRN 280 Installation

Cuppone

Cuppone BERNINI BRN 280 Installation

Arneg Atlanta Direction for Installation and Use

Arneg

Arneg Atlanta Direction for Installation and Use

manuals.online logo
manuals.online logoBrands
  • About & Mission
  • Contact us
  • Privacy Policy
  • Terms and Conditions

Copyright 2025 Manuals.Online. All Rights Reserved.