manuals.online logo
Brands
  1. Home
  2. •
  3. Brands
  4. •
  5. Herman Miller
  6. •
  7. Indoor Furnishing
  8. •
  9. Herman Miller Mora System Overhead Storage Installation instructions

Herman Miller Mora System Overhead Storage Installation instructions

Parts Included
Tools Required
HermanMiller
Mora™System Overhead Storage Installation
and Disassembly for Recycling Instructions
How to assemble your Overhead Storage
CH., CH. Wall Mounted Cases)
Power Driver
Level
Overhead Storage Glovebox/Paper Towel
Overhead Storage
CH Wall Cleat
Sloped Top Overhead
Storage
Step 1
Phillips Bit Stud Finder
Laser Level &
Tripod
Drill Bit
Tape Measure Pencil Safety Glass
. Position Wall Cleat onto wall.
. Measure distance (. for ” high , . for ” high cabinets)
from Floor to center of bottom holes in wall cleat.
. Measure ” in from where case is to be located to nd the vertical
position of wall cleat. Mark Location.
Wall Cleat
Cabinet
Floor
Note: Please refer to Mora System planning guide for dierent wall
constructions.
”
. (”)
. (”)
CH. Toggle Bolts
Additional Product Needed - Sold Seperately
CH. Ganging Hardware
Note: Field supplied #-/” Flat Washer.
Step 2
Mark Holes
. Set up self-leveling laser to match mark, on wall.
. Align Wall Cleat to level line and distance from outside cabinets. Using
Cleat as template, mark mounting holes.
HermanMiller for Healthcare Assembly Instructions11BJM4F rev D
Step 4
Step 3
. Drill /” hole at each marked location. Make sure there are no utilities
present.
. Insert Wall anchors and secure. Orient toggles vertically.
. Mount cabinet onto wall cleat. Mate cabinet cleat with wall cleat.
Wall Cleat
Cabinet Cleat
Cabinet
/” Hole
Wall Anchor
. Place cleat on wall. Insert screws with #-/” flat washer provided
with wall anchor. If screw hole aligns with wall stud, use /”Toggle
Attachment.
Note: If utilities or other obstructions prevent anchor installation, create
new location in cleat with appropriate drills as close to original location as
possible.
Wall Cleat
Mounting Screws
Wall Stud
/” Toggle Attachment
Supplied with Toggle
. Arrange cases in proper location in run.
. Make sure cases mate tight together.
HermanMiller for Healthcare Assembly Instructions21BJM4F rev D
HermanMiller for Healthcare Assembly Instructions31BJM4F rev D
Step 5
. Drill  holes through mating side panels,  at front of cabinet ( toward
top and  toward bottom) and  at back in middle of cabinet. Holes should be
inset  “ from front edge of side panel and ” from back inside surface of back
panel. Locate holes up or down as needed.
. Attach cabinets together with  Clamping Screws in ganging hardware
pack CH.
” ”
Drill Hole
Drill Hole
Drill Hole
Clamping
Screw
Hinge Adjustment:
The bottom surface of the door should be flush with the bottom of the cabinet
frame. To adjust door up, turn cam screw clockwise on right hinge. To adjust
door down, turn cam screw clockwise on le hinge. Adjust both hinges on
each door as necessary until proper door height is set.
To adjust door up/down:
Cam Screw
Step 6
. On each cabinet, drill /” hole ” down from top through back of
cabinet. Note: Do not drill through wall cleat behind cabinet.
. Install # screw to attach case to wall cleat. This is for anti-
dislodgement of unit.
Wall Cleat
Case
Drill Hole
# Screw
”
To adjust door(s) le or right and or to tilt door(s) le or right, use lateral
adjustment screw in hinge arm. Adjust screws in both upper and lower
hinges to move SCREW doors le or right, or adjust screw in one hinge to
tilt door le or right. Turning screw(s) clockwise moves door towards hinged
side. Counter-clockwise to move door away from hinged side. Turn counter-
clockwise for opposite door movement.
To adjust door le/right:
Lateral Adjustment Screw
HermanMiller for Healthcare Assembly Instructions41BJM4F rev D
The front surface of a door should be flush with any adjacent doors and
drawer fronts. Also the gap between the door and the sides of the cabinet
should have a uniform gap. Turn screw clockwise to move door closer to side
panels. Counter-clockwise to move door farther away from side panels.
If Door Bumpers are not engaged to Cabinet Panels, use a Phillips screw drive
to adjust the yoke in or out so they do. Yoke position adjustable 5.5mm back
and forward.
To adjust door in/out:
Magnetic Latch Adjustment
Screw
Disassembly and Recycling:
Materials Identication and Segregation:
Where possible, plastic components are marked with ASTM recycling
codes. Use these codes to identify material type for recycling. Non marked
components should be treated as mixed plastic. Ferrous metals can be
identied using a small magnet for recycling. Non-ferrous metals should be
separated and recycled separately.
To disassemble product, reverse the above installation steps.

Other Herman Miller Indoor Furnishing manuals
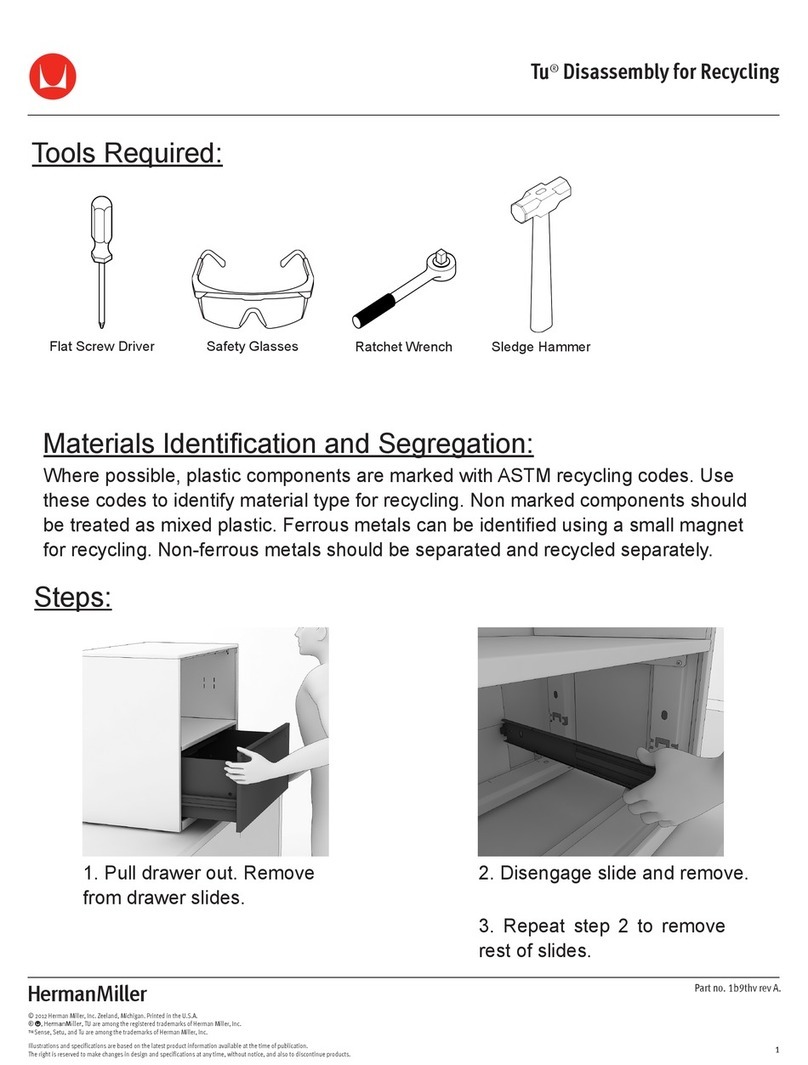
Herman Miller Tu Installation instructions
Herman Miller

Herman Miller Tu Installation instructions

Herman Miller Mirra 2 User manual

Herman Miller

Herman Miller Mirra 2 User manual
Herman Miller Mirra 2 User manual

Herman Miller

Herman Miller Mirra 2 User manual
Herman Miller Motia Sit-to-Stand Table Installation instructions
Herman Miller

Herman Miller Motia Sit-to-Stand Table Installation instructions

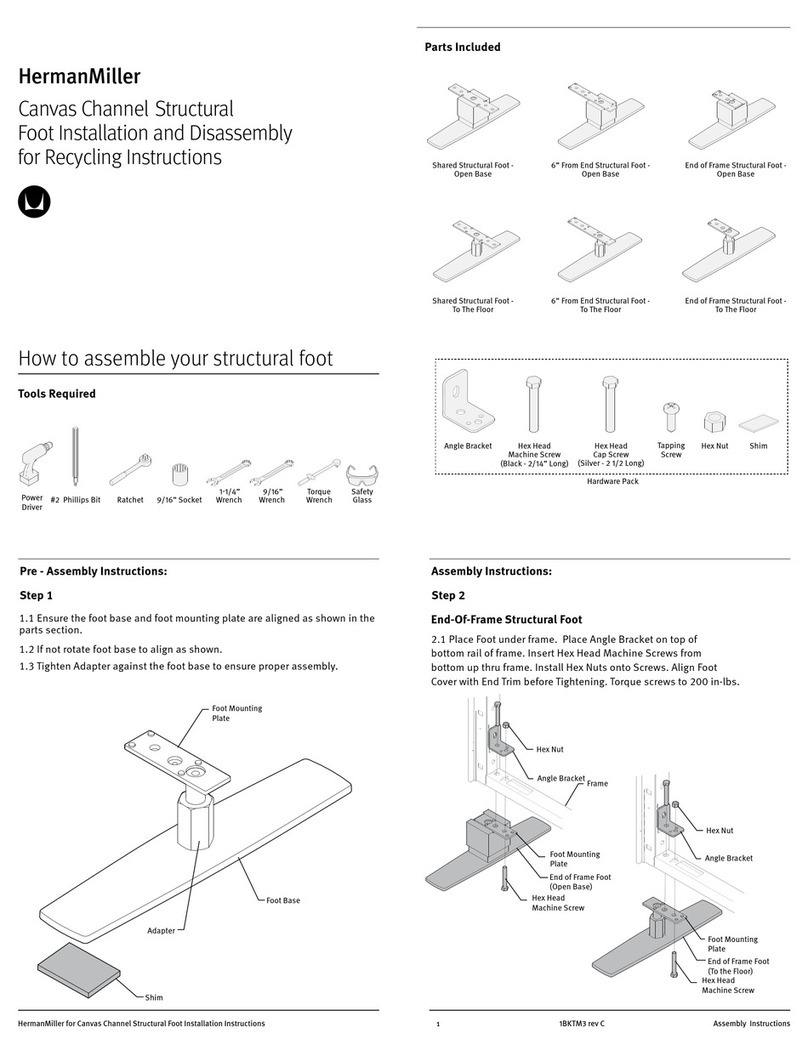
Herman Miller Canvas Channel StructuralFoot Installation instructions

Herman Miller

Herman Miller Canvas Channel StructuralFoot Installation instructions
Herman Miller Mirra Guide

Herman Miller

Herman Miller Mirra Guide

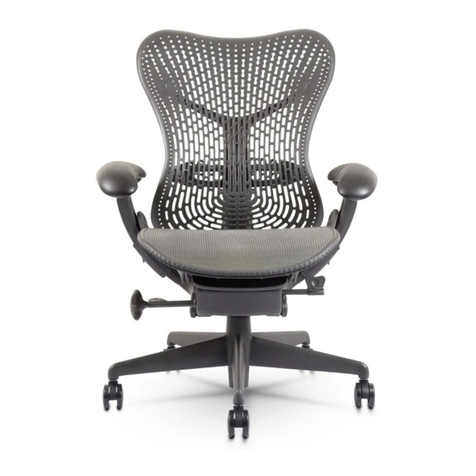
Herman Miller Mirra 2 Installation instructions
Herman Miller

Herman Miller Mirra 2 Installation instructions

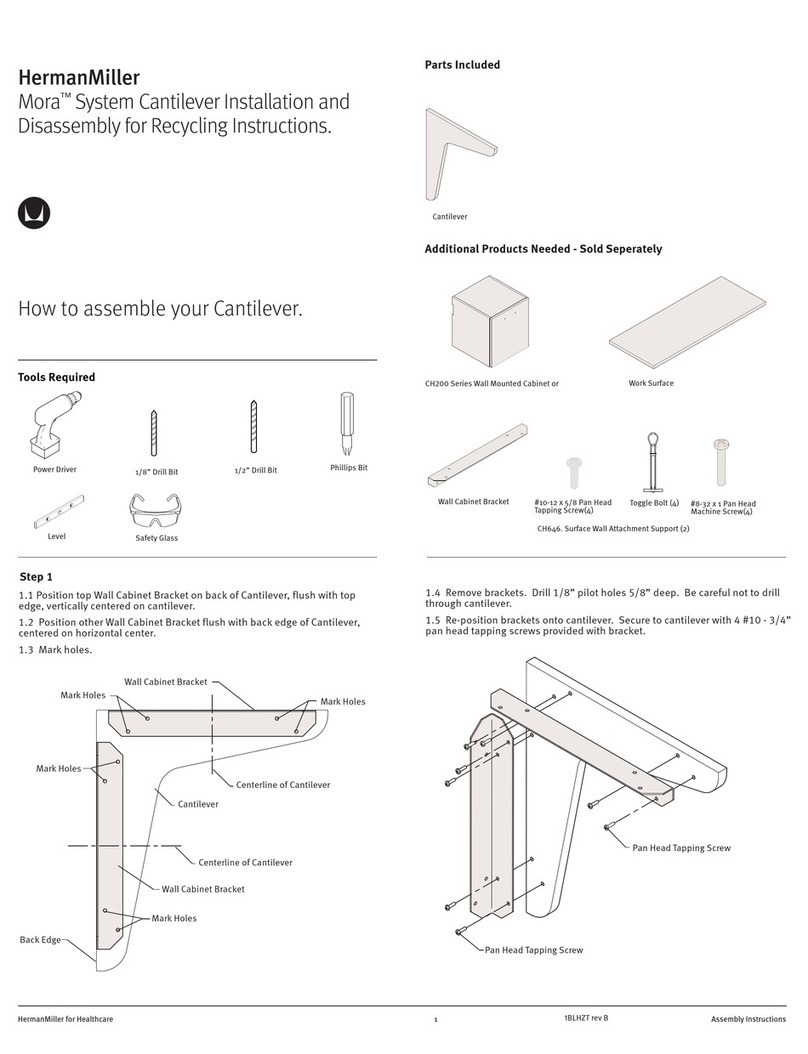
Herman Miller Mora Cantilever Installation instructions
Herman Miller

Herman Miller Mora Cantilever Installation instructions

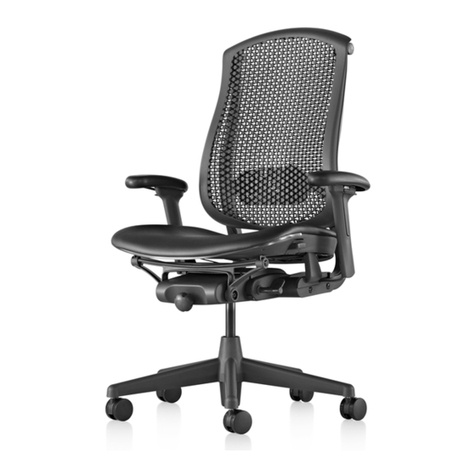
Herman Miller Celle Installation instructions
Herman Miller

Herman Miller Celle Installation instructions

Herman Miller Envelop User manual

Herman Miller

Herman Miller Envelop User manual
Herman Miller Celle User manual

Herman Miller

Herman Miller Celle User manual
Herman Miller Intent Installation instructions

Herman Miller

Herman Miller Intent Installation instructions

Herman Miller OE1 User manual

Herman Miller

Herman Miller OE1 User manual

Herman Miller Mirra 2 Guide

Herman Miller

Herman Miller Mirra 2 Guide
Herman Miller Embody Knocked Down User manual
Herman Miller

Herman Miller Embody Knocked Down User manual

Herman Miller Lino Guide

Herman Miller

Herman Miller Lino Guide
Herman Miller Canvas Office Landscape FT292.MLN User manual
Herman Miller

Herman Miller Canvas Office Landscape FT292.MLN User manual

Herman Miller Nevi Height Adjustment Table User manual
Herman Miller

Herman Miller Nevi Height Adjustment Table User manual

Herman Miller Nook Table User manual

Herman Miller

Herman Miller Nook Table User manual
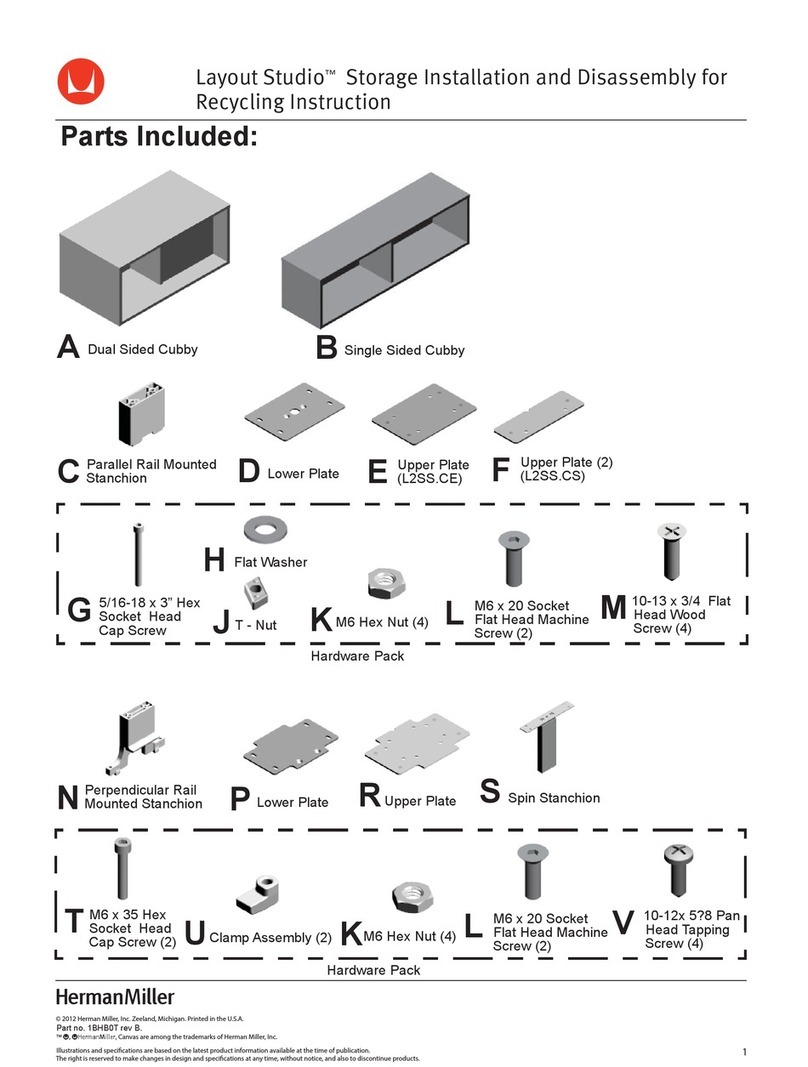
Herman Miller Layout Studio Installation instructions

Herman Miller

Herman Miller Layout Studio Installation instructions

Herman Miller Mirra 2 Instruction sheet

Herman Miller

Herman Miller Mirra 2 Instruction sheet

Herman Miller Vivo Installation instructions
Herman Miller

Herman Miller Vivo Installation instructions
Herman Miller Renew User manual

Herman Miller

Herman Miller Renew User manual

Herman Miller Nelson User manual

Herman Miller

Herman Miller Nelson User manual

Popular Indoor Furnishing manuals by other brands

Forte Surfino SFNR711L Assembling Instruction

Forte

Forte Surfino SFNR711L Assembling Instruction

moll Joker Assembly instructions

moll

moll Joker Assembly instructions

Neutral Posture 1000 Series quick start guide

Neutral Posture

Neutral Posture 1000 Series quick start guide

Bouclair 9399430 Assembly instructions

Bouclair

Bouclair 9399430 Assembly instructions

noken Smart Cabinets 100165528 manual

noken

noken Smart Cabinets 100165528 manual

Kvik TU759 quick start guide

Kvik

Kvik TU759 quick start guide

Nabco GYRO TECH GT-1175 installation manual

Nabco

Nabco GYRO TECH GT-1175 installation manual

Backyard Creations Denali DEN-SWCH-2PK owner's manual

Backyard Creations

Backyard Creations Denali DEN-SWCH-2PK owner's manual

Furniture of America CM7263Q Assembly instructions

Furniture of America

Furniture of America CM7263Q Assembly instructions

U-Line H-8961 manual

U-Line

U-Line H-8961 manual

Sony SU-32XBR45 Assembly instructions

Sony

Sony SU-32XBR45 Assembly instructions

IKEA KARLBY 903.694.23 manual

IKEA

IKEA KARLBY 903.694.23 manual

AMQ ACTIV DT Riser Assembly guide

AMQ

AMQ ACTIV DT Riser Assembly guide

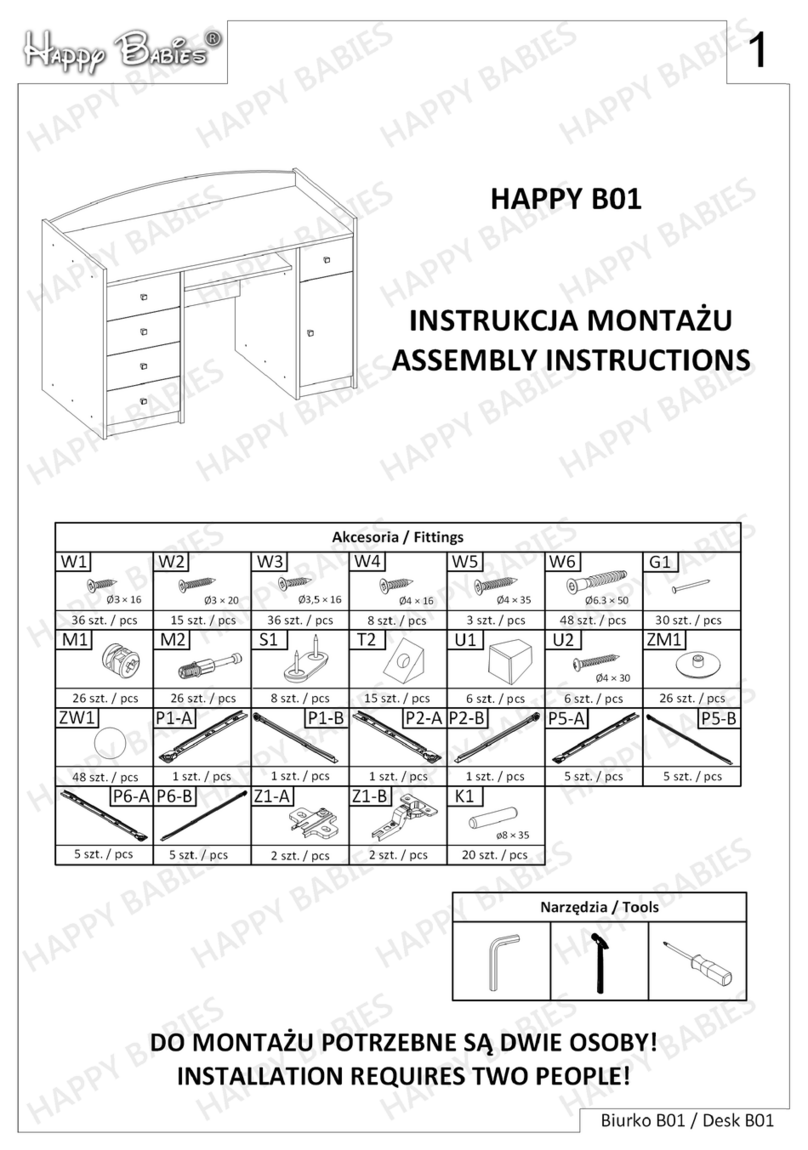
Happy Babies HAPPY B01 Assembly instructions

Happy Babies

Happy Babies HAPPY B01 Assembly instructions

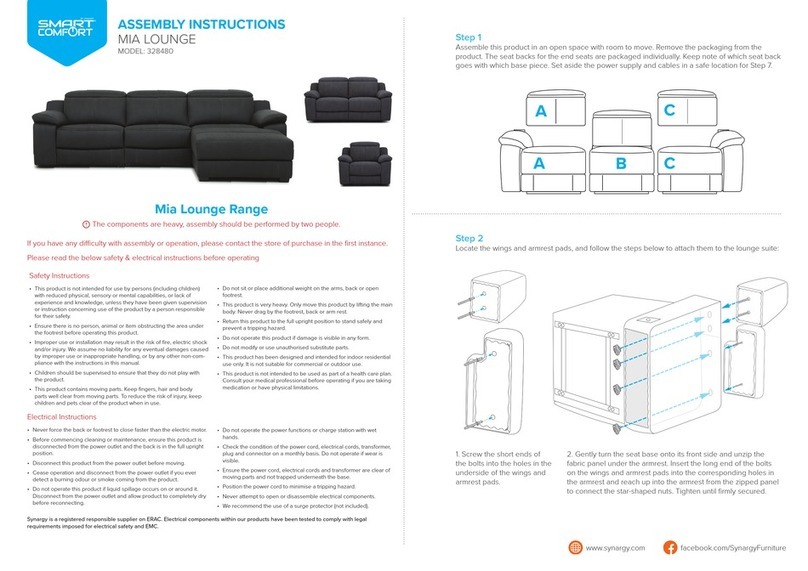
Smart Comfort MIA LOUNGE 328480 Assembly instructions

Smart Comfort

Smart Comfort MIA LOUNGE 328480 Assembly instructions

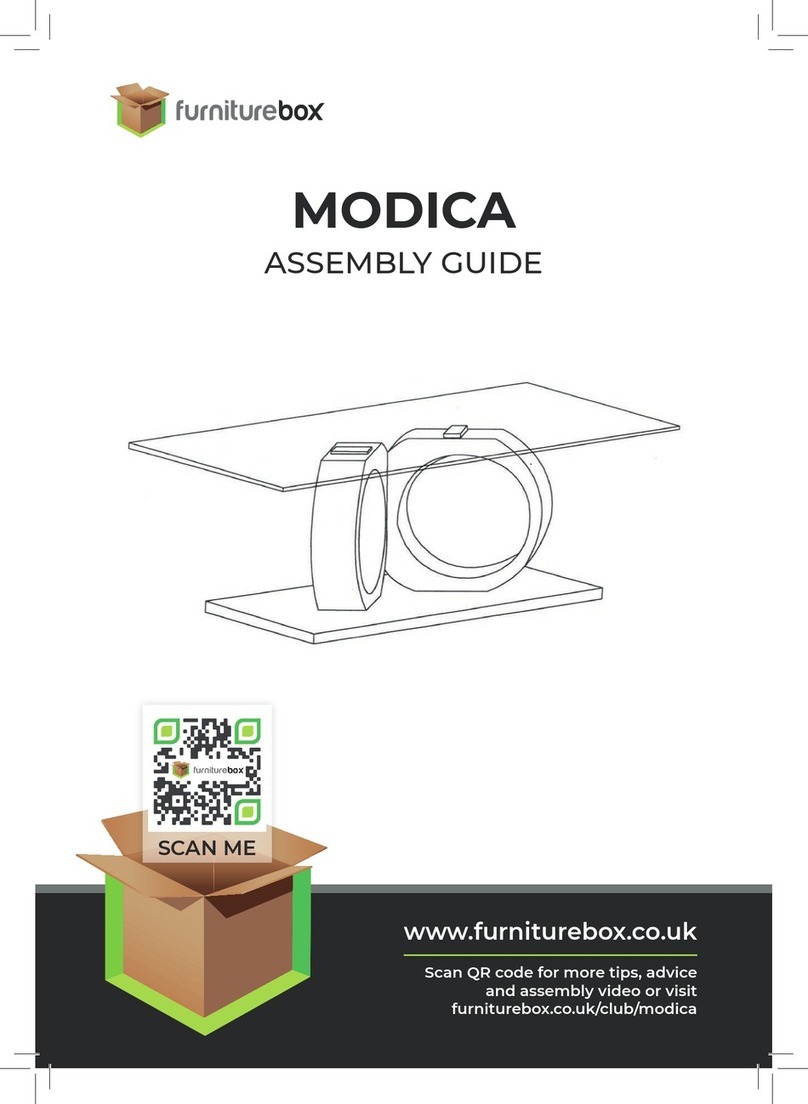
FURNITUREBOX MODICA Assembly guide

FURNITUREBOX

FURNITUREBOX MODICA Assembly guide

ofichairs Zenit pro manual

ofichairs

ofichairs Zenit pro manual

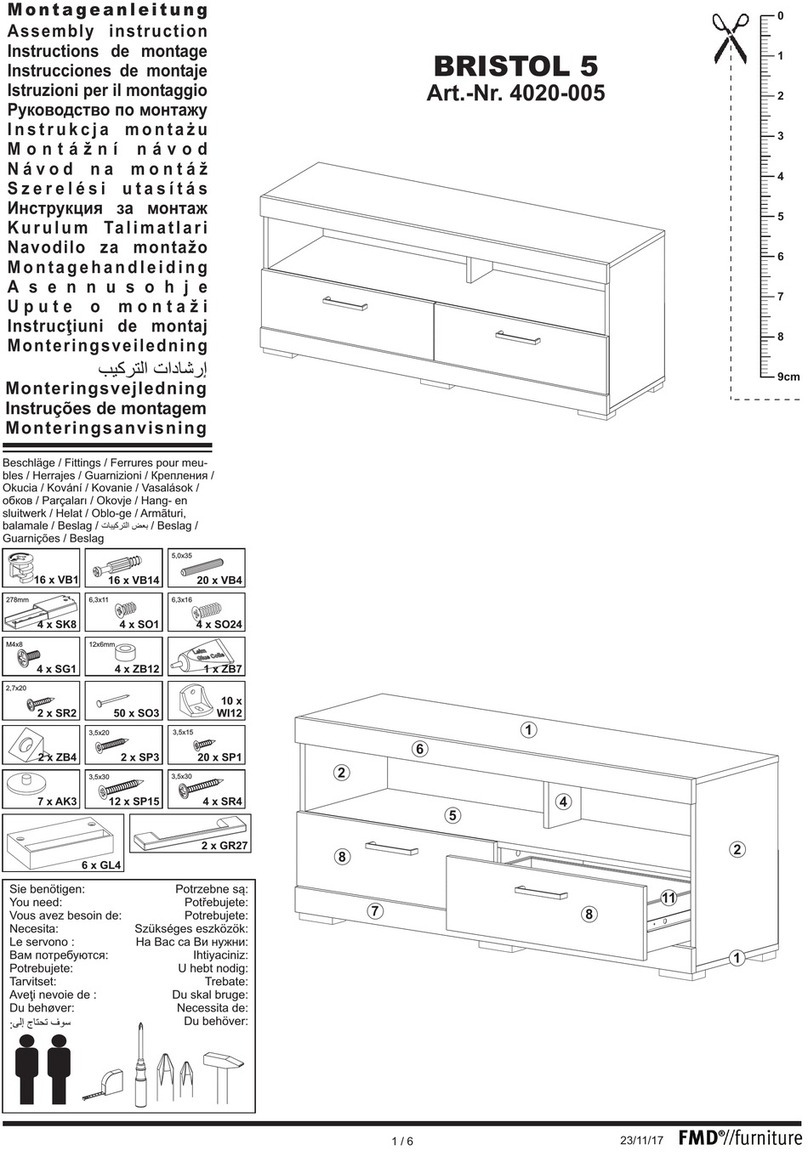
FMD Furniture BRISTOL 5 Assembly instruction

FMD Furniture

FMD Furniture BRISTOL 5 Assembly instruction

manuals.online logo
manuals.online logoBrands
  • About & Mission
  • Contact us
  • Privacy Policy
  • Terms and Conditions

Copyright 2025 Manuals.Online. All Rights Reserved.