manuals.online logo
Brands
  1. Home
  2. •
  3. Brands
  4. •
  5. HIK VISION
  6. •
  7. Touch Terminal
  8. •
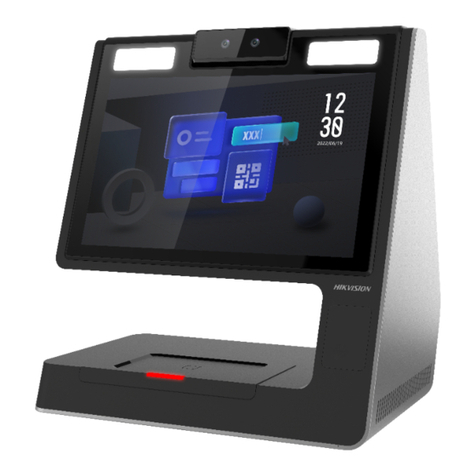
  9. HIK VISION DS-KH9510-WTE1 User manual

HIK VISION DS-KH9510-WTE1 User manual

Other manuals for DS-KH9510-WTE1

2

Other HIK VISION Touch Terminal manuals

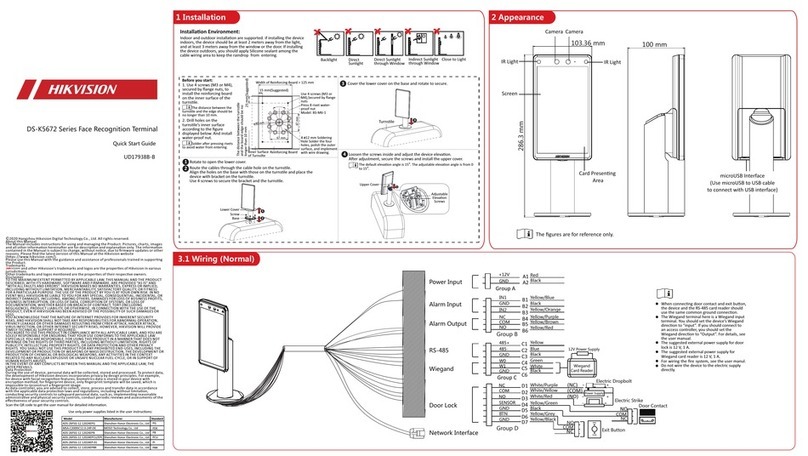
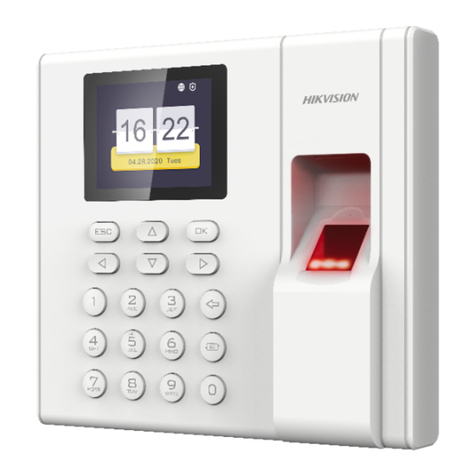
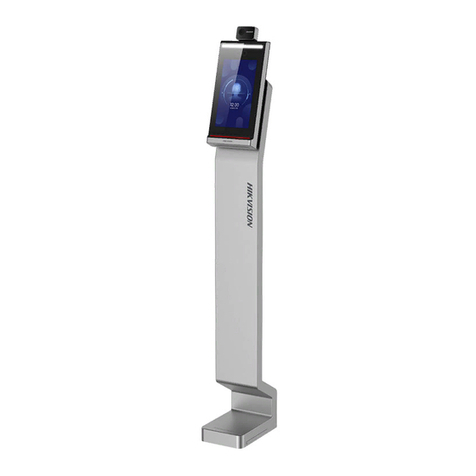
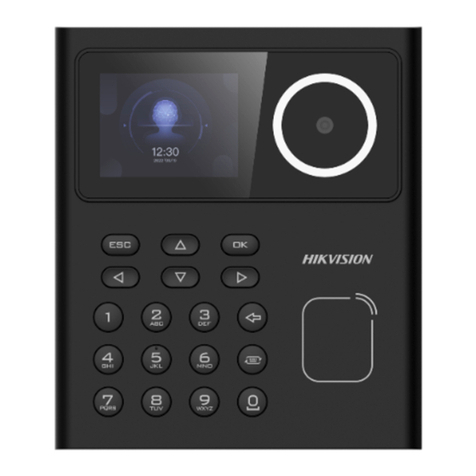
HIK VISION DS-K1T606 series User manual

HIK VISION

HIK VISION DS-K1T606 series User manual

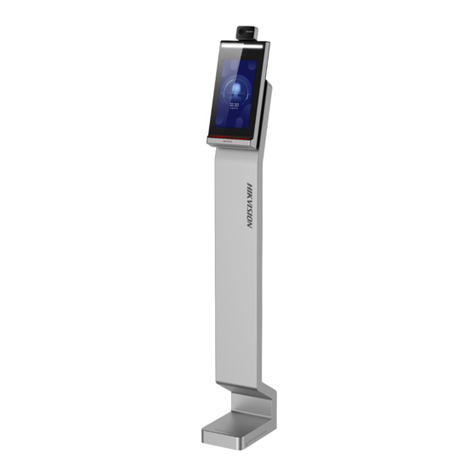
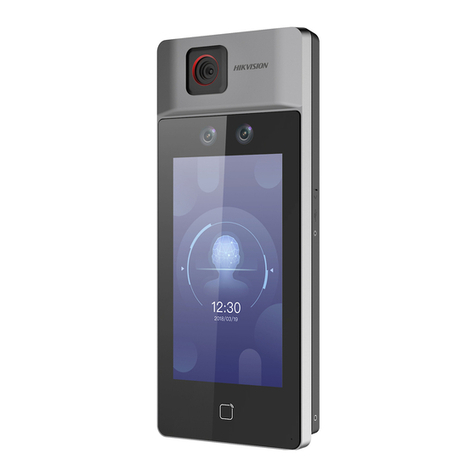
HIK VISION DS-K1TA70 Series User manual

HIK VISION

HIK VISION DS-K1TA70 Series User manual

HIK VISION DS-K1T606 series User manual

HIK VISION

HIK VISION DS-K1T606 series User manual

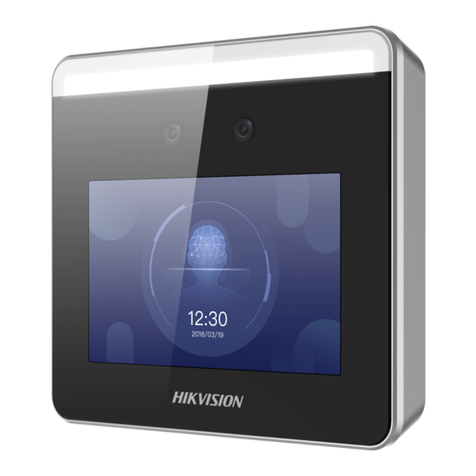
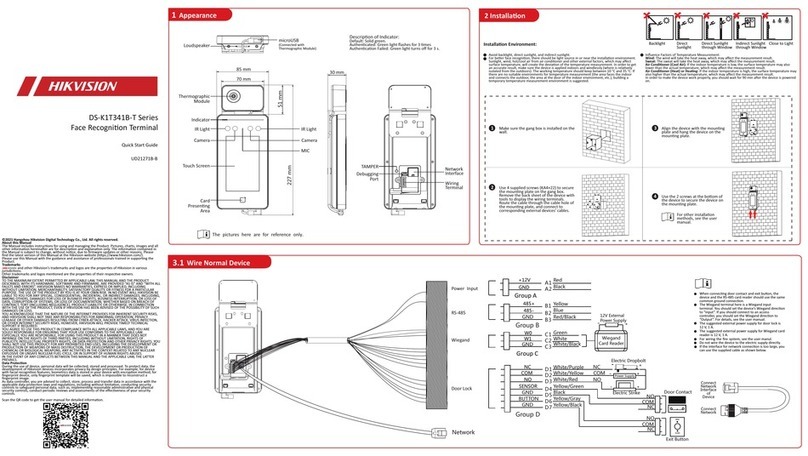
HIK VISION DS-K1T341B Series User manual

HIK VISION

HIK VISION DS-K1T341B Series User manual

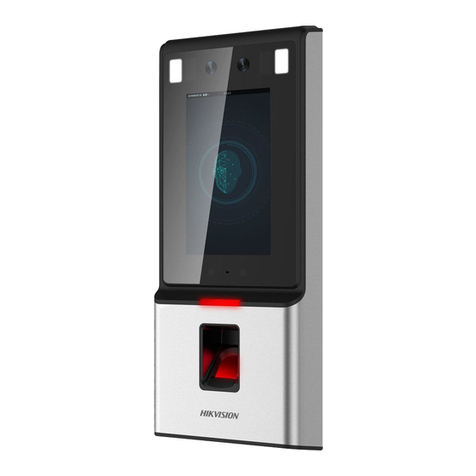
HIK VISION DS-K1T342 Series User manual

HIK VISION

HIK VISION DS-K1T342 Series User manual

HIK VISION DS-K5032-3XFD User manual

HIK VISION

HIK VISION DS-K5032-3XFD User manual

HIK VISION DS-K5032-D User manual

HIK VISION

HIK VISION DS-K5032-D User manual

HIK VISION DS-K1T341A Series User manual

HIK VISION

HIK VISION DS-K1T341A Series User manual

HIK VISION K5604A-3XF/V User manual

HIK VISION

HIK VISION K5604A-3XF/V User manual

HIK VISION DS-MDH005-B User manual

HIK VISION

HIK VISION DS-MDH005-B User manual

HIK VISION DS-K1T690 Series User manual

HIK VISION

HIK VISION DS-K1T690 Series User manual

HIK VISION DS-K5032 Series User manual

HIK VISION

HIK VISION DS-K5032 Series User manual

HIK VISION DS-K1T607 Series User manual

HIK VISION

HIK VISION DS-K1T607 Series User manual

HIK VISION DS-K5032 Series User manual

HIK VISION

HIK VISION DS-K5032 Series User manual

HIK VISION UD02454B User manual

HIK VISION

HIK VISION UD02454B User manual

HIK VISION DS-K5604A-3XF Series User manual

HIK VISION

HIK VISION DS-K5604A-3XF Series User manual

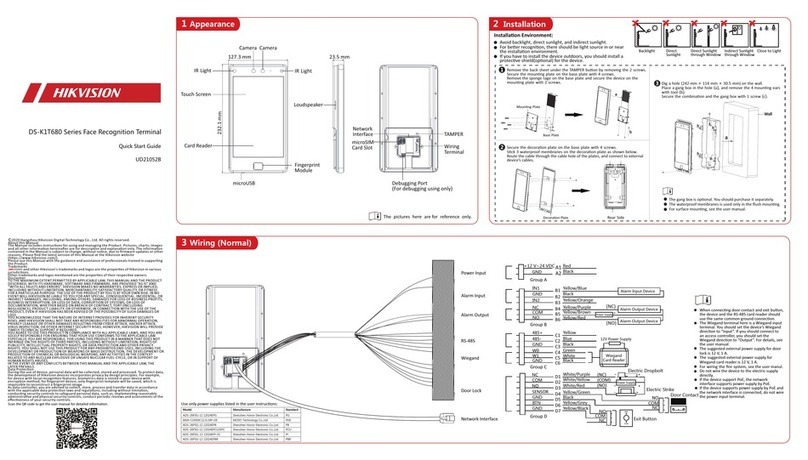
HIK VISION DS-K1T680 Series User manual

HIK VISION

HIK VISION DS-K1T680 Series User manual

HIK VISION DS-K5604A-3XF Series User manual

HIK VISION

HIK VISION DS-K5604A-3XF Series User manual

HIK VISION DS-K1T673 User manual

HIK VISION

HIK VISION DS-K1T673 User manual

HIK VISION DS-K1T805 Series User manual

HIK VISION

HIK VISION DS-K1T805 Series User manual

HIK VISION DS-K5032 Series User manual

HIK VISION

HIK VISION DS-K5032 Series User manual

HIK VISION DS-K1T673 User manual

HIK VISION

HIK VISION DS-K1T673 User manual

HIK VISION DS-K1T341BMWI-T User manual

HIK VISION

HIK VISION DS-K1T341BMWI-T User manual

HIK VISION DS-K1T331 Series User manual

HIK VISION

HIK VISION DS-K1T331 Series User manual

Popular Touch Terminal manuals by other brands

Omron NT11S Operation manual

Omron

Omron NT11S Operation manual

Partner SP-820 user manual

Partner

Partner SP-820 user manual

BBPOS WisePad 2 instruction manual

BBPOS

BBPOS WisePad 2 instruction manual

Anywire ASLINKAMP L-A1AW Series Product guide

Anywire

Anywire ASLINKAMP L-A1AW Series Product guide

Festo VIFB4 Series Brief description

Festo

Festo VIFB4 Series Brief description

Linksz CMDA FWT-8828 user manual

Linksz

Linksz CMDA FWT-8828 user manual

Heisei Electronics Q-POS 815 user guide

Heisei Electronics

Heisei Electronics Q-POS 815 user guide

ANUBIS POS50 Series quick guide

ANUBIS

ANUBIS POS50 Series quick guide

Amano MTX-15 installation guide

Amano

Amano MTX-15 installation guide

FLOWBIRD CWT Compact Touch manual

FLOWBIRD

FLOWBIRD CWT Compact Touch manual

Demco SP7 installation guide

Demco

Demco SP7 installation guide

Lathem PC600 Series user guide

Lathem

Lathem PC600 Series user guide

Partner MF-2352 user manual

Partner

Partner MF-2352 user manual

NCR RealPOS 7460-2 supplementary guide

NCR

NCR RealPOS 7460-2 supplementary guide

Simrad MS50 Manual guide

Simrad

Simrad MS50 Manual guide

Unitech MR350 MKII Software guide

Unitech

Unitech MR350 MKII Software guide

Jungheinrich WMT 210 Service manual

Jungheinrich

Jungheinrich WMT 210 Service manual

Motorola MTP850 user guide

Motorola

Motorola MTP850 user guide

manuals.online logo
manuals.online logoBrands
  • About & Mission
  • Contact us
  • Privacy Policy
  • Terms and Conditions

Copyright 2025 Manuals.Online. All Rights Reserved.

12
3
3
AIN8
AIN7
AIN6
AIN5
AIN4
AIN3
AIN2
AIN1
GND
GND
RS485-
RS485+
COM2
NO2
COM1
NO1
Alarm TerminalsRS485/Relay Interface
122
1.5
Unit:mm
105.5
92
Rear Panel (without Interface) Screw Wall Mounng Plate Gang Box Wall
Lock Catch Lock Catch
Hook
Hook
Hook
Hook
Rear Panel (without Interface) Screw Wall Mounng Plate Gang Box Wall
Lock Catch Lock Catch
Hook
Hook
Hook
Hook
Note: If you use the gang box (55 mm (width) × 101 mm (length) × 38.5 mm (depth)) to install, you should set the screws to le and right screw holes.
Note: If you use the gang box (75 mm (width) × 75 mm (length) × 46 mm (depth)) to install, you should set the screws to up and down screw holes.
Scan the QR code to get the
configuraon guide for detailed
informaon.
Scan the QR code to get the
operaon guide for detailed
informaon.
Hangzhou Hikvision Digital Technology CO.,Ltd. No.555 Qianmo Road, Binjiang District, Hangzhou 310052, China
1
2
37 8
54
9
10
11
6
12
DS-KH9510-WTE1
Android Indoor Staon
Diagram References
ENGLISH
Refer to Video Intercom Network Indoor Staon Configuraon Guide (scan the QR code) for details.
Refer to Video Intercom Network Indoor Staon Operaon Guide (scan the QR code) for details.
UD19191B
Appearance
Installaon
Before you begin:
Wall Mounng with Gang Box
1
3
Terminal
2
Screen Microphone Unlock Buon1 2 3 4
5 6 7
Make sure the device in the package is in good condion and all the assembly parts are included.
The power supply of the indoor staon is 12 VDC. Make sure your power supply matches your indoor
staon.
Make sure all related equipments are power-off during the installaon.
Check the product specificaon for the installaon environment.
The wall mounng plate and the gang box are required to install the indoor staon onto the wall.
There are 2 sizes of the gang boxes adapted to the device.
Size 1: 75 mm (width) × 75 mm (length) × 46 mm (depth).
Size 2: 55 mm (width) × 101 mm (length) × 38.5 mm (depth).
1. Cave a hole in the wall.
Note: The suggested dimension of the installaon hole should be larger than the gang box.
2. Insert a gang box to the hole chiseled on the wall.
3. Fix the wall mounng plate to the gang box with 2 screws.
Notes:
If you install the device with a gang box (75 mm (width) × 75 mm (length) × 46 mm (depth)), the upper and lower holes
will be applies.
If you install the device with a gang box (55 mm (width) × 101 mm (length) × 38.5 mm (depth)), the upper and lower
holes will be applies.
4. Hook the indoor staon to the wall mounng plate ghtly by inserng the plate hooks into the slots on
the rear panel of the indoor staon, during which the lock catch will be locked automacally.
Mounng Accessories
RS-485/Relay Interface
Power Supply Interface
Alarm Terminals
9 10 Reserved 11 TAMPERLoudspeaker
AIN1: Alarm Input 1
AIN2: Alarm Input 2
AIN3: Alarm Input 3
AIN4: Alarm Input 4
NO1/NO2: Normally Open
COM1/COM2: Common Interface
RS485-/RS485+: RS-485 Communicaon Interface
AIN5: Alarm Input 5
AIN6: Alarm Input 6
AIN7: Alarm Input 7
AIN8: Alarm Input 8
GND: Grounding
Debugging Port 8microUSB Interface
Note: The appearance of the device varies according to different models. Refers to the actual device for detailed
informaon.
Note: For Wiring descripon, refers to the User Manual.
Acvate Indoor Staon
Geng Started
4
1. Choose Language and tap Next.
2. Set network parameters and tap Next.
- Edit Local IP, Subnet Mask and Gateway parameters.
- Enable DHCP, the device will get network parameters automacally.
3. Configure the indoor staon and tap Next.
a. Select Indoor Staon Type.
b. Edit Floor and Room No.
4. Linked related devices and tap Next. If the device and the indoor staon are in the
same LAN, the device will be displayed in the list. Tap the device or enter the serial No.
to link.
a. Tap the door staon in the list to link.
b. Tap the sengs icon to pop up the Network Sengs page.
c. Edit the network parameters of the door staon manually or enable DHCP to get
the network parameters automacally.
d. Oponal: Enable Synchronize Language to synchronize the Language of door
staon with indoor staon.
e. Tap OK to save the sengs.
5. Tap Finish to save the sengs.
1. Power on the device. It will enter the acvaon page automacally.
2. Create a password and confirm it.
3. Tap OK to acvate the indoor staon.
You are required to acvate the device first by seng a strong password before
you can use the device.
1
Quick Configuraon
2
The power supply must conform to LPS. The recommended adaptor models and
manufacturers are shown as below. Use the aached adaptor, and do not change the
adaptor randomly.
Model Current Manufacturer Standard
MSA-C1500IC12.0-18P -US 1.5 A MOSO POWER SUPPLY TECHNOLOGY CO.,LTD PG
TS-A018-120015AD 1.5 A SHENZHEN TRANSIN TECHNOLOGIES CO.,LTD PG
12 Network Interface
Referencias del diagrama
ESPAÑOL
Apariencia
Instalación
Antes de empezar:
1
3
Terminal
2
1 2 3 4
5 6 7
• Asegúrese de que el disposivo del paquete esté en buenas condiciones y que todas las piezas de montaje estén incluidas.
• Asegúrese de que el equipo relacionado esté apagado durante la instalación.
• Compruebe las especificaciones de producto para el entorno de instalación.
9 10 11
8
Pantalla Micrófono Botón de desbloqueo
RS485/interfaz de relé
Interfaz de la fuente de alimentación
Terminales de alarma
Reservado MANIPULACIÓNAltavoz
Puerto de depuración Interfaz micro USB
Nota: el aspecto del disposivo varía en función del modelo. Remítase al disposivo en cuesón.
Nota: para las descripciones de los terminales y del cableado, consulte la figura y el manual de usuario.
Acvar disposivo
Primeros pasos
4
Debe acvar primero el disposivo estableciendo una contraseña segura antes de usarlo.
Acve el disposivo de forma local o a distancia mediante el soware de cliente iVMS-4200.
1
Configuración rápida
2
Siga los avisos de las interfaces correspondientes.
Nota: si durante la instalación necesita más información, consulte la figura y el manual de usuario.
12 Conector de red
Hangzhou Hikvision Digital Technology CO.,Ltd. No.555 Qianmo Road, Binjiang District, Hangzhou 310052, China
[email protected]
rosarioseguridadok
Grupo Instaladores
https://www.facebook.com/groups/591852618012744/
+54 9 341 6708000
Rosario Seguridad
+54 9 341 6591429
+54 9 341 6799822
Rosario Seguridad
+54 9 341 4577532
Avenida Presidente Perón 3998 - Rosario - Santa Fe - Argentina