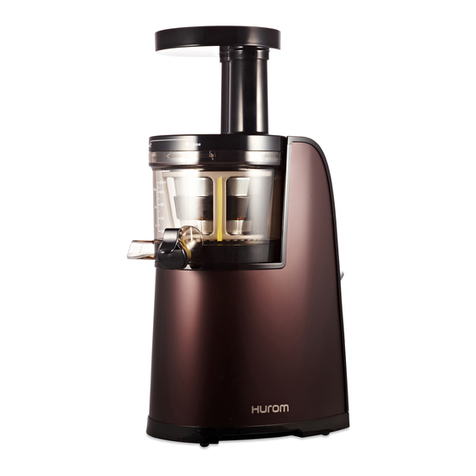
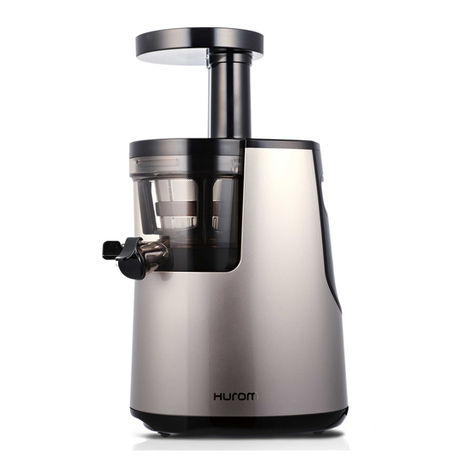
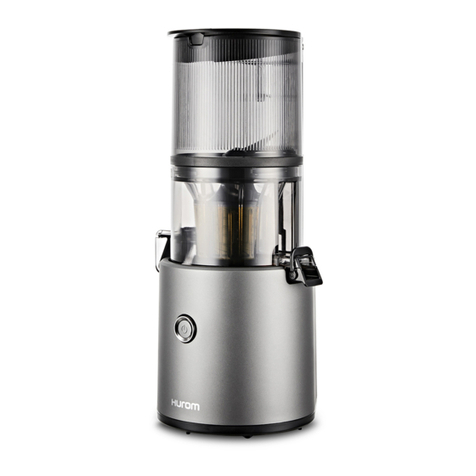
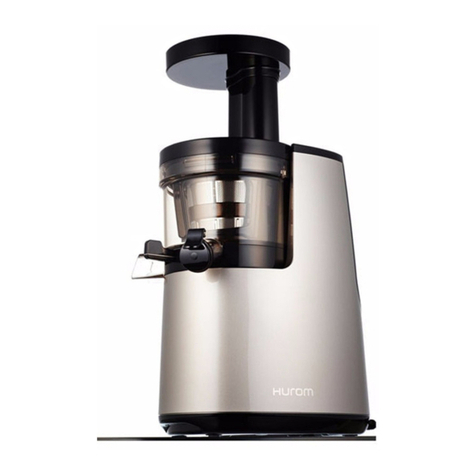
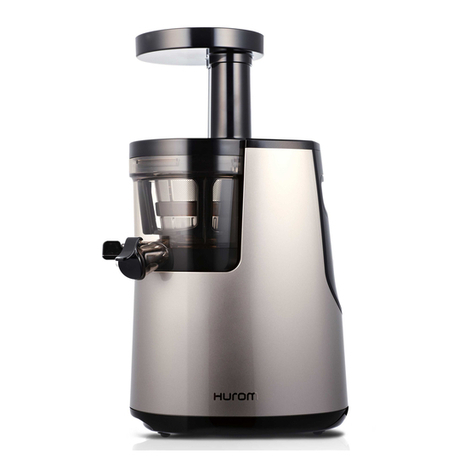
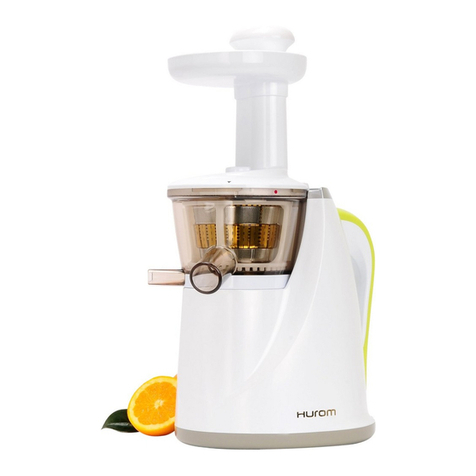
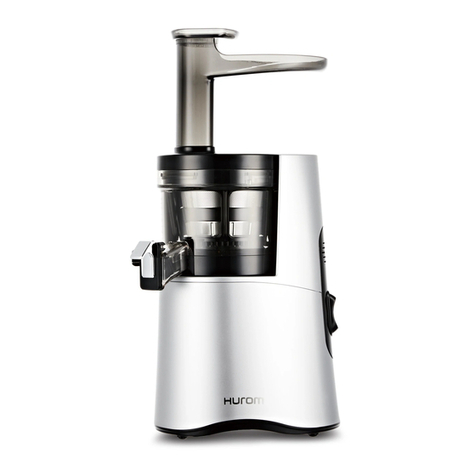
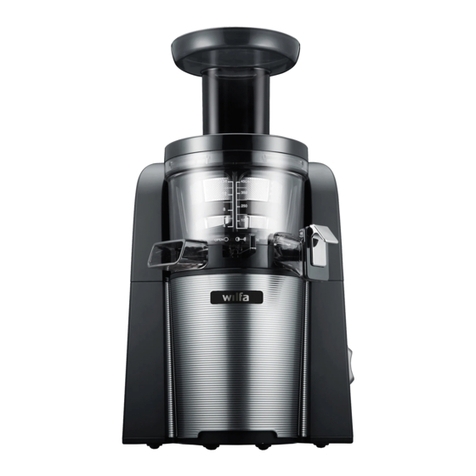
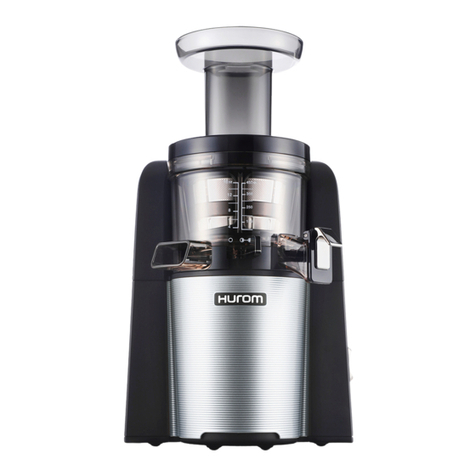
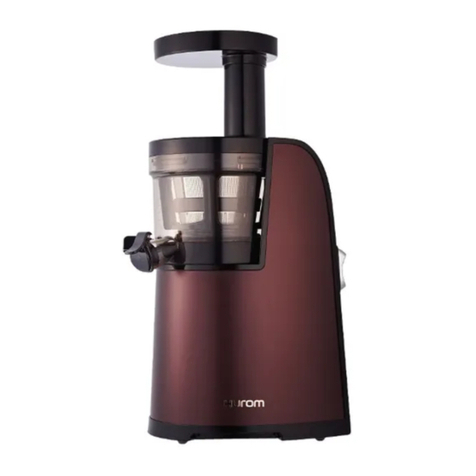
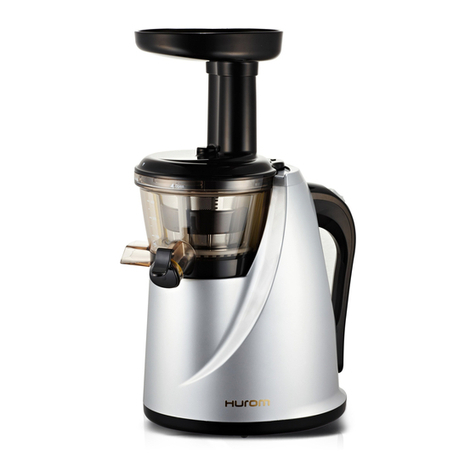
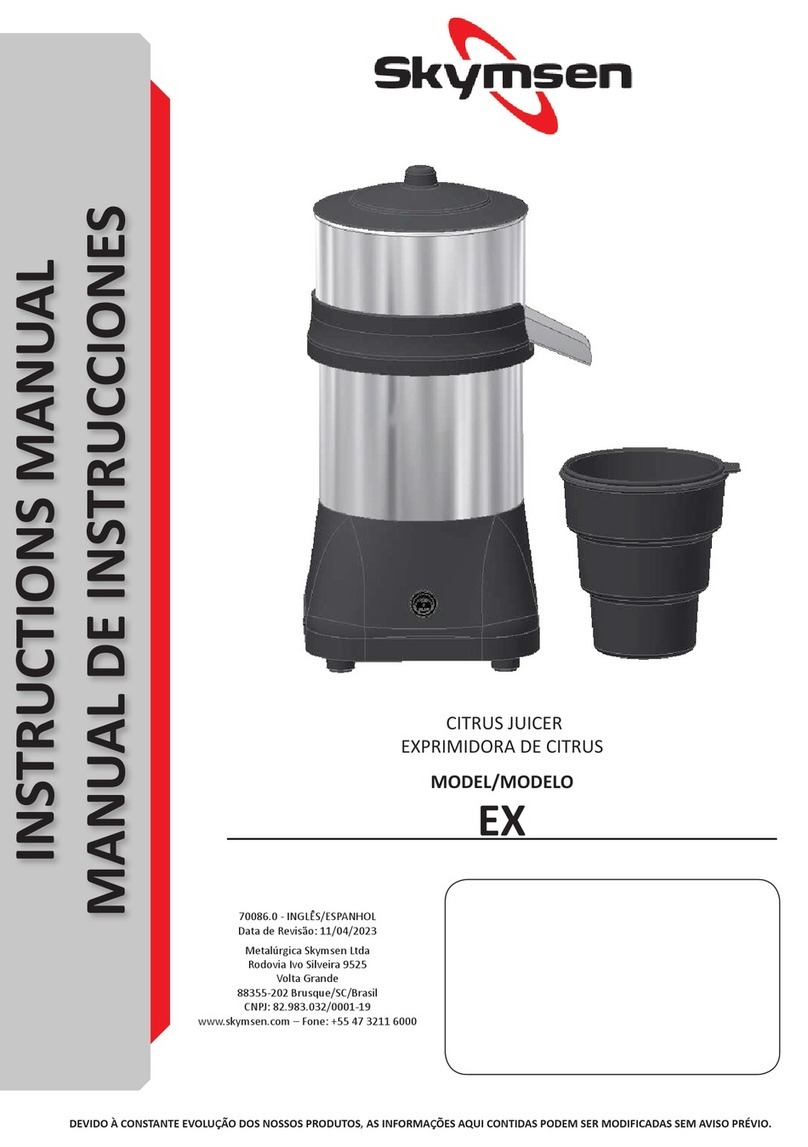
HUROM HU-100 Ultem User manual

HU-100
Instruction Manual
Please read the instructions carefully before using.
Please keep this user’s guide where it is easily accessible.
Design and product development may be upgraded without a public notice.
http://www.hurom-slowjuicer.com


Enjoy the pure avor and goodness of nature with

gently presses to retrieve juice rather than forcing juice by shredding and grinding.
is a newly developed patent technology which can retrieve juice not only from fruits and vegetables but also from soy as well.
is also capable in making organic tofu, wheatgrass shot, ice cream, and so much more…
For better use and proper maintenance, please follow the instructions carefully. Please refer to user’s manual when times of technical
difficulties or unsure of the usage of this product. We are not liable for any injuries or damages that may occur due to the lack of
understanding of the user’s manual .

1
CONTENTS
08
02
11
04
12
07
13
14
16
Attachment Listing
Safety Precautions
Assembly Instruction (Type1)
Assembly Instruction (Type2)
How to use HUROM slow juicer
Warning while operating
How to disassemble and clean
Troubleshooting
Product Specication

Attachment Listing
32
Hopper
Spinning Brush
Container
Pusher
Cleaning
Brush
Bowl
Base
Squeezing
Screw
Strainer

Attachment Listing
Hopper (1EA)
Squeezing Screw (1EA)
Strainer (1EA)
Spinning Brush (1EA)
Bowl (1EA)
Base (1EA)
Container (2EA)
Pusher (1EA)
Cleaning brush (1EA)
IMPORTANT
As shown above, the hopper edge must point to
“close ” on the base in order for the machine
to operate properly.
32

Safety Precautions
54
For safety and proper use, please read every caution tips thoroughly before using the product.
Please do not plug or unplug electrical outlet with wet hands.
a.Can cause electrocution
Please plug in electrical plug properly.
a.Not doing so may cause fire damage.
Please do not force pull or push in the electrical plug, make sure
the plug is distant from any heat sources and is not bent or twisted
in anyway.
a.Not doing so may cause fire damage and possible electrocution.
Please do not put anything other than what is mentioned in the
user’s manual into product’s openings
a.Not doing so may cause physical damage, fire, or electrocution.
Please do not clean product(Base) with running water. When the
product is wet; stop operating and request service to your
purchased store or to toll free customer service number.
a.Not doing so may cause product damage.
When screw is stuck and does not spin, please turn off the machine
and put in reverse for 2-3 seconds.
a.Not doing so may cause overheating which can lead to motor
failure.
Please do not use when electrical cord or plug is loose or damaged.
a.Not doing so may cause fire hazard or electrocution.
b.Please consult to professional service technician
Please do not disassemble the machine while operating nor put any-
thing into juice or pulp ejection while operating.
a.Not doing so may lead to product damage.
Please do not disassemble or move the machine while operating.
a.Not doing so may cause product damage.
This appliance is not intended for use by persons(including children)
with reduced physical, sensory or mental capabilities,or lack of
experience and knowledge, unless they have been given supervision
or instruction concerning use of the appliance by a person
responsible for their safety.
Children should be supervised to ensure that they do not play with
the appliance
54
Product is 6.3 kg, please use both hands when picking up the
machine.
a.Not doing so may cause physical damage.
Please keep away from children’s reach.
a.Mishandling or dropping the machine may cause product failure.
In case of any unusual odor, heat, or smoke, stop operating
immediately and contact the nearest purchased store,
retail center, or toll free customer service number.
Please do not use longer than 30 minutes continuously, this
product is for home use, excessive use can cause overheating
which can lead to motor failure.
Please do not operate the machine when hopper is not assembled.
a.Not doing so may cause product damage.
Do not disassemble the base. Please consult with repair
technician for troubleshooting.
Please operate on a flat and steady surface.
a.Not doing so may cause product damage.
Please do not drop or give impact to product.
a.Not doing so may cause product damage and fire hazard.
Please do not clean under water that is over 80℃.
a.Not doing so may cause product damage and transform.
Please do not use anything other 220 - 240 volts.
a.Not doing so may cause fire damage and possible electrocution.
Please open all windows and doors for air ventilation when
exposed to gas.
Please contact customer service for technical difficulties.
Do not customize or upgrade machine without professional
supervision.
When inputting materials into the hopper, please do not use
anything other than the pusher.


Assembly instruction – Type 1
7
1. Assemble the bowl on the base.
① Make sure the bowl is all the way into
the shaft of the base.
②Twist the bowl to close.
2. Assemble the strainer +
spinning brush into the bowl.
① Make sure the red dot on the strainer
and the red dot on the bowl are aligned .
3. Place the squeezing screw in
the center of the bowl.
4. Assemble the hopper onto
the bowl.
① Make sure the arrow on the hopper
and the red dot on the bowl are aligned.
②Make sure the arrow on the hopper is
pointing to “close ”on the base.
1 2 3 4
Base
Bowl
Strainer
Hopper
Spinning
Brush
Red dot
on the
strainer
Red dot on
the Bowl
Red dot on
the bowl
Squeezing
Screw
Reverse the step carefully when
disassembling.

OPEN
CLOSE
Black arrow
on the hopper
Red dot on
the Bowl
Strainer
Spinning
Brush
Red dot
on the
strainer
Red dot on
the Bowl
Bowl
Strainer
Squeezing
Screw
Assembly instruction – Type 2
98
1
45
2 3
Place the strainer
into the spinning
brush
Place the strainer
+ spinning brush
into the bowl.
① Make sure the red
dot on the strainer
and the red dot on
the bowl are aligned.
Assemble the entire Top
Set onto the base.
① As shown left, assemble the
bowl onto the base and twist
the bowl so that hopper edge is
pointing to “close ”
Assemble the hopper
onto the bowl.
① Make sure the arrow on the
hopper and the red dot on
the bowl are aligned.
②Make sure the arrow on the
hopper is pointing to “close
”on the base.
Push the squeezing
screw into the
strainer.
Juice
ejection

Assembly instruction – Type 1,2
98
Must connect the power cord.
Place containers under both ejections.
(Juice & pulp ejection)
rubber pad
Assembling rubber packing after cleaning
After cleaning, please plug back in the rubber packing as shown in below pictures.
Underneath the bowl, there is a yellow rubber pad which allows all the juice to only
discharge from the fresh juice ejection.
The rubber pad is removable. Simply grab onto one side of the rubber pad and pull out.


How to use HUROM Slow Juicer
The machine has three(3) settings.
▶ “On” starts motor, start making juice.
▶ “Rev” is reverse. Only use when something
is stuck and you need to unclog.
▶ “Off” is at center position. This allows the
machine to turn off.
Please rinse everything thoroughly before
putting into the machine.
After rinsing, put material into the machine using the
pusher.
Please remove any hard seeds before using.
Please cut or split any hard materials such as carrot into
thin slices before inputting into the machine.
Turn off the machine after using.
Please dry your hands before touching the
power switch.
Do not operate with wet hands.
Do not pre-operate before inputting
materials or Do not operate with an
empty bowl.
Warning
REV
OFF
ON
REV
ON
ON REV ON
OFF
REV
11
OFF

Warning while operating
1312
Do not use longer than
30minutes at a time.
Violating the warning may cause serious
damage to the product.
Violating the warning may cause serious
damage to the product.
Violating the warning may cause serious
damage to the product especially the screw.
Violating the warning may cause serious
injuries or electrocution.
Remove any hard seeds.
Do not operate with wet
hands.
Do not use anything as a
pusher (fork, chopsticks,
spoons, etc) other than
the pusher itself.
Turn off the machine and put it reverse for few seconds then try operating again.
When reverse switch does not work, turn off the machine and reassemble following
the instructions given. After reassemble, please try turning on the machine.
please reassure the switch is completely dry before operating
When the machine is stuck and not operable, Please…
Warning
OFF
ON
REV

How to disassemble and clean
1312
1 2 3
4 5
6
Juice
ejection REV
Turn machine “OFF”. Twist the hopper to unlock by
grabbing the two ejections.
Make sure the edge is
aligned to “open ” before
pulling off the bowl.
Use the brush to clean
thoroughly after operating.
Do not rinse the base with
direct water, use dry towel
or wet towel to clean.
Please dry the attachments
after cleaning.
Order to disassemble.
1. Hopper
2. Squeezing screw
3. Strainer
4. Spinning brush
5. Bowl
Please use smooth wet towel for cleaning
the base.
Please do not use dish washer or high
temperature cleaner for cleaning
Warning
1
2
3
4
5

1514
HUROM Troubleshooting
Problem Possible Reasons Solution
1
2
3
4
5
6
Bowl is stuck and does not detach from the
base.
Motor is stuck or has stopped.
Squeaking noise when juicing.
Hopper / lid is stuck.
Leaking from underneath the bowl.
The unit vibrates.
Excessive food in the bowl.
Unknown substance in the bowl.
Excessive food in the bowl. Safety feature:
automatic shutoff due to overheating.
Friction between the squeezing screw and
bowl or food.
Excessive food in the bowl.
Unknown substance in the bowl
Extraction packing not plugged in correctly.
Sign of motor working properly.
Press reverse switch 3-5 seconds.
Repeat process 2-3 times. Then, push bowl
upward while turning.
Press reverse switch 3-5 seconds.
Repeat process 2-3 times. If motor has
stopped, let cool down before trying again.
Squeaking sound is perfectly normal.
Do not run the juicer without any food.
Press reverse switch 3-5 seconds.
Repeat process 2-3 times. Then, press down
on top of lid while turning.
Be sure to plug in extraction packing tightly
after cleaning.
Vibration is perfectly normal. However, severe
shaking which causes imbalance of the unit
should be checked for a defective screw.

Problem Possible Reasons Solution
7
8
9
10
11
12
1514
HUROM Troubleshooting
Water mark or scratch on the squeezing
screw.
Mold in silicone part of spinning brush.
Deformation of attachments.
Color stain on the bowl, strainer, spinning
brush
Strainer damage.
Too much pulp coming out.
Molding marks during manufacturing
process.
Poor cleaning.
Exposed to heat or abrasive materials.
Natural dye from food.
Ice, frozen foods, large hard seeds or pits,
unknown substance, or excess food in bowl.
Excess food in bowl clogging up the strainer
or food not cut into small pieces.
These marks and lines on the squeezing
screw are perfectly normal.
Be sure to clean thoroughly by detaching the
silicone brushes from the spinning brush.
Don’t forget to plug it back in before juicing.
Do not clean any attachments in dishwasher
or use hard cleaners. Plastic tends to deform
when exposed to high heat.
Hurom is chemical-free on all attachments. Therefore
natural dye from food when juicing is perfectly normal.
To reduce staining, rinse and clean immediately after
each use. Diluted vinegar or the similar can be used.
Refer to instruction manual for proper usage
and juicing tips. Remember not to overcrowd
food or force foods in.
Cut food, especially brous food, into smaller pieces to
avoid the bers wrapping around the screw. Also input
food at a slow pace allowing all the pulp to eject before
adding more food.

Product Specication
HU-100
80 rpm
120V
4.592 ft +
60Hz
Signle-Phase induction
11.466 lbs
6.81 in
9.84 in
15.83 in
Less than 30 minutes continuously
HUROM Slow Juicer
150w
70 / 80 rpm
100V
1.4 M +
50 / 60Hz
6.3 kg
173 mm
250 mm
402 mm
150w
70 rpm
230V
1.4 M +
50Hz
6.3 kg
173 mm
250 mm
402 mm
150w
16
Other manuals for HU-100 Ultem
3
Table of contents
Other HUROM Juicer manuals

HUROM
HUROM H-AA Series User manual

HUROM
HUROM HJ SERIES User manual

HUROM
HUROM wilfa ANDANTE User manual

HUROM
HUROM H-101 Series User manual

HUROM
HUROM HP Series User manual

HUROM
HUROM HU-100W User manual

HUROM
HUROM HH Elite User manual

HUROM
HUROM H320N Series User manual

HUROM
HUROM HU-100SB User manual

HUROM
HUROM HG Elite User manual

HUROM
HUROM HH series User manual

HUROM
HUROM M100 Series User manual

HUROM
HUROM HW Series User manual

HUROM
HUROM H-200 Series User manual

HUROM
HUROM HP Series User manual

HUROM
HUROM H-AA Series User manual

HUROM
HUROM HH-SBB11 User manual

HUROM
HUROM HH series User manual

HUROM
HUROM HH series User manual

HUROM
HUROM H-AA Series User manual