manuals.online logo
Brands
  1. Home
  2. •
  3. Brands
  4. •
  5. iArmor
  6. •
  7. Automobile Accessories
  8. •
  9. iArmor EDGE IA-N002 User manual

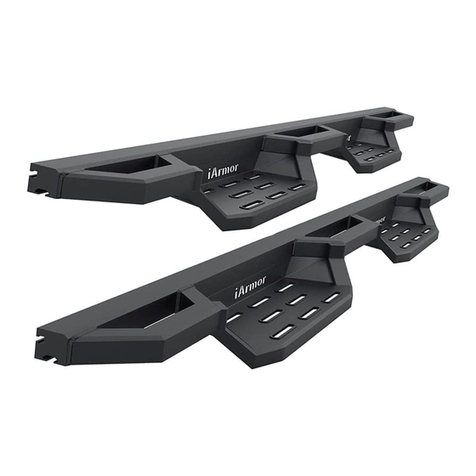
iArmor EDGE IA-N002 User manual

iArmor®
Customer Support: [email protected]
Rev. 20210801
1
IARMOR EDGE™
PART#: IA-N002
BEFORE INSTALLATION
REMOVE CONTENTS FROM BOX. VERIFY ALL PARTS ARE
PRESENT. READ INSTRUCTIONS CAREFULLY BEFORE
STARTING INSTALLATION. ASSISTANCE IS RECOMMEND-
ED. THANK YOU FOR CHOOSING OUR PRODUCT!
*DRILLING IS REQUIRED
*TRIMMING NOT REQUIRED
Fastener Size Tightening Torque (ft-lbs) Required
6mm 6-7 √
8mm 16-18 √
10mm 31-32 √
12mm 56-58 X
14mm 92-94 X
Torque Value
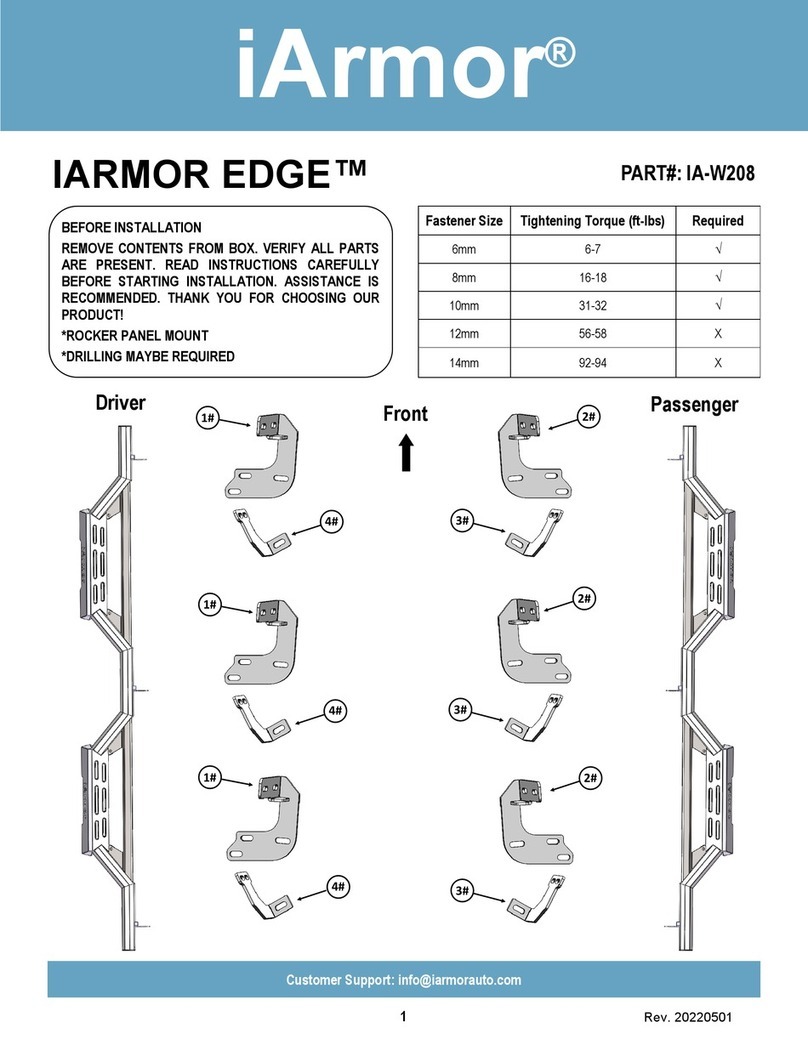
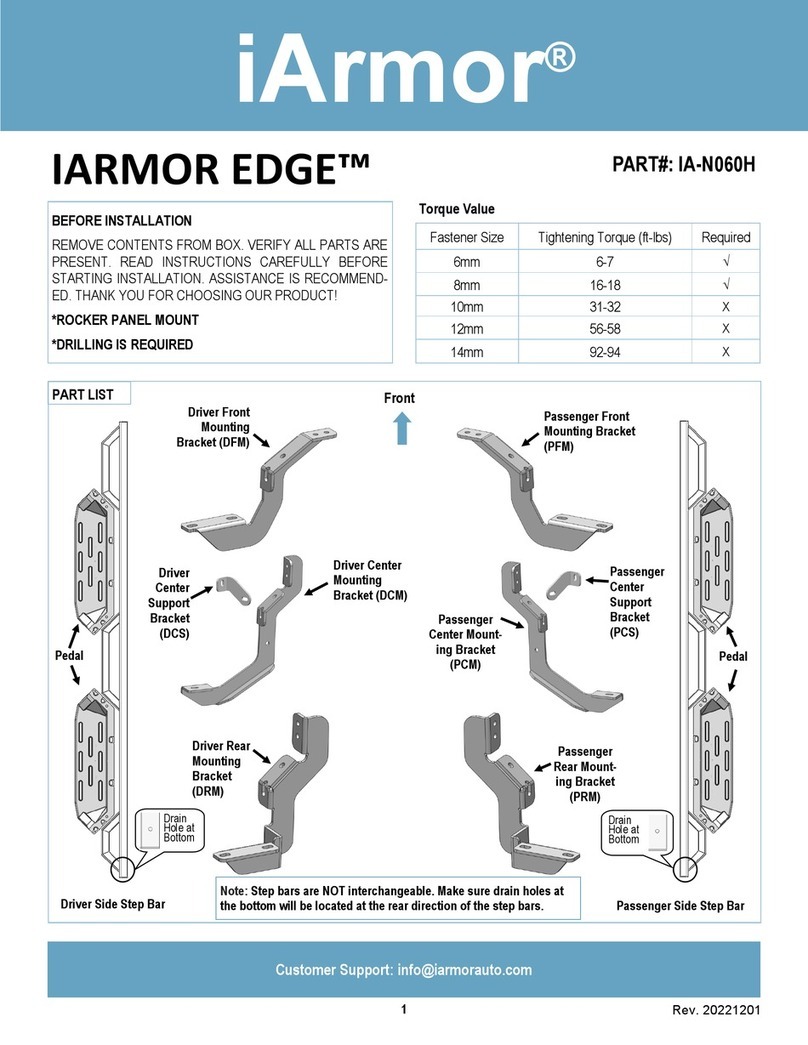
PART LIST
Driver Center Mounting
Bracket (DCM)
Driver Front Mounting
Bracket (DFM)
Passenger Front Mount-
ing Bracket (PFM)
Passenger Center Mount-
ing Bracket (PCM)
Driver Side Step Bar
Step Pad
Passenger Side Step Bar
Step Pad
Driver Rear Mounting
Bracket (DRM)
Passenger Rear Mount-
ing Bracket (PRM)
Driver Center Support
Bracket (DCS/PCS)
Passenger Center Support
Bracket (DCS/PCS)
Front
iArmor®
Customer Support: [email protected]
Rev. 20210801
2
Starting from the front location of the driver side, locate the (2)
oval holes in the inner body panel. Remove the tape covering
the second factory hole, (Fig 1). Thread (1) M10 Plastic Wash-
er onto (1) M10X35 Bolt Plate, insert the Bolt Plate into the
factory hole on the rocker panel, (Fig 2). Hold the Bolt Plate in
place with one hand and continue to thread the M10 Plastic
Washer down against the sheet metal until it holds the Bolt
Plate in place, (Fig 2).
IMPORTANT: The M10 Plastic Washer is designed to pre-
vent the Bolt Plate from falling into the body panel and to
aid Bracket installation.
STEP 2
M6X1-20 T- Bolt
X40
M6 Large Flat
Washer
X44
X4
M6X1-20 Square
Head Bolt M6X1 Nylon
Lock Nut
X44
M10 Flat Washer
X6
X6
M6X1-25 Hex Bolt
M10 Lock Washer
X6
M6 Flat Washer
X12
M6X1 Hex Nut
X6
M10 Plastic Washer
X6 X6
M10X1.5 Hex Nut ST6.3X25 Self Tap-
ping Screw
X6
M6 Lock Washer
X6 X4
M8 Flat Washer
X6
M10X35 Bolt Plate
X2
M8X1.25-30 Hex Bolt
M8X1.25 Nylon
Lock Nut
X2
STEP 1
Install the Step Pads onto the step bars with (32) M6X1-20mm
T-Bolts, (32) M6 Large Flat Washers and (32) M6X1 Nylon
Lock Nuts.
IMPORTANT: Don’t hit the step pad by any metal hummer
within step pad installation, or the step pad will be damaged.
(8) M6X1-20 T-Bolts
(8) M6 Flat Washers
(8) M6 Nylon Lock Nuts
The instruction here is for your reference only. We strongly
recommend the professional installer for best result. We are
not responsible for any damage caused by the installation.
Note: Rotate 90° after inserting the T-Bolts into the
Channel!!!
iArmor®
Customer Support: [email protected]
Rev. 20210801
3
(Fig 4) Driver Side Rear Mounting Location
STEP 3
STEP 4
Attach the Driver Front Mounting Bracket onto the M10X35 Bolt
Plate on the Driver Side Front Mounting Location with (1) M10
Flat Washer, (1) M10 Lock Nut & (1) M10X1.5 Hex Nut. Mark
holes. Remove the bracket and Drill holes as shown, (Fig 5).
NOTE: Be sure to use the correct drill bit size for each
hole.
Remove sealing tape to uncover
mounting hole. Insert M10X35 Bolt
Plate with M10 Plastic Washer
Front
(Fig 3) Driver Side Center Mounting Location
Along the inner body panel, identify the Driver Side Center and
Rear Mounting Locations (Figs 3 & 4). Repeat STEP 2, insert
the M10X35 Bolt Plates into the oval holes on the mounting
locations. Thread the M10 Plastic Washers down against the
sheet metal to hold the Bolt Plates in place.
Front
Front
(Fig 5) Driver Side
Front Mounting Holes
Mark and Drill
(1) M10 Flat Washer
(1) M10 Lock Washer
(1) M10X1.5 Hex Nut
DFM
Front
Hole size: 3/16”
Hole size: 5/16”
STEP 5
Attach the Driver Front Mounting Bracket to the Bolt Plate, and
secure the mounting bracket as shown on Fig 6. Don’t fully
tighten at this time.
(Fig 1) Driver Side Front Mounting Location
(Fig 2) Insert Bolt Plate into the Oval Hole
iArmor®
Customer Support: [email protected]
Rev. 20210801
4
STEP 6
(Fig 6) Driver Front Mounting Bracket Installed
STEP 7
Repeat Steps 2-6 to install the Driver Side Center & Rear
Mounting Brackets to the body panel. Do not fully tighten hard-
ware at this time.
STEP 8
Once all (3) driver side mounting brackets are installed, attach
the Assembled Driver Side Step Bar onto the brackets with (4)
M6X1-20 T-Bolts, (2) M6X1-20 Square Head Bolts, (6) M6
Large Flat Washers and (6) M6x1 Nylon Lock Nuts, (Fig 8). Do
not fully tighten hardware.
(1) M6X1-25 Hex Bolt
(2) M6 Flat Washers
(1) M6 Lock Washer
(1) M6X1 Hex Nut
Front
(1) M10 Flat Washer
(1) M10 Lock Washer
(1) M10X1.5 Hex Nut
(1) ST6x25 Self
Tapping Screw
(Fig 7) Driver Center Brackets Assembly
(1) M8X1.25-30 Hex Bolt
(2) M8 Flat Washers
(1) M8 Lock Washer
(1) M8X1.25 Hex Nut
Select Driver Center Mounting Bracket (DCM) and Driver Cen-
ter Support Bracket (DCS/PCS), assemble them with (1)
M8X1.25-30 Hex Bolt, (2) M8 Flat Washers, (1) M8 Lock
Washer and (1) M8X1.25 Hex Nut, (Fig 7). Do not tighten hard-
ware at this time.
DCM
DCS/PCS
STEP 9
Properly level and adjust the Step Bar and fully tighten all
hardware.
STEP 10
Move to the passenger side of the vehicle. Repeat Steps 2-9
to install passenger side step bar.
Attention
Do periodic inspections to the installation to make sure
that all hardware is secure and tight.
In order to protect your bars/boards, please use only
mild soap/non-abrasive products for cleaning.
iArmor®
Customer Support: [email protected]
Rev. 20210801
5
(2) M6X1-20 Square Head Bolts
(2) M6 Large Flat Washers
(2) M6X1 Nylon Lock Nuts
(2) M6X1-20 T-Bolts
(2) M6 Large Flat Washers
(2) M6X1 Nylon Lock Nuts
(Fig 8) Driver Side Step Bar Installed
Front
(2) M6X1-20 T-Bolts
(2) M6 Large Flat Washers
(2) M6X1 Nylon Lock Nuts
Warning: Install the T-bolt on the step
bar and rotate it to 90 degrees!!!

Other iArmor Automobile Accessories manuals

iArmor IA-N001 User manual

iArmor

iArmor IA-N001 User manual

iArmor EDGE IA-N175 User manual

iArmor

iArmor EDGE IA-N175 User manual

iArmor EDGE IA-N095 User manual

iArmor

iArmor EDGE IA-N095 User manual

iArmor EDGE IA-N295 User manual

iArmor

iArmor EDGE IA-N295 User manual

iArmor EDGE IA-W084 User manual

iArmor

iArmor EDGE IA-W084 User manual

iArmor EDGE IA-N095 User manual

iArmor

iArmor EDGE IA-N095 User manual

iArmor IARMOR EDGE IA-N208 User manual

iArmor

iArmor IARMOR EDGE IA-N208 User manual

iArmor IA-N179 User manual

iArmor

iArmor IA-N179 User manual

iArmor EDGE User manual

iArmor

iArmor EDGE User manual

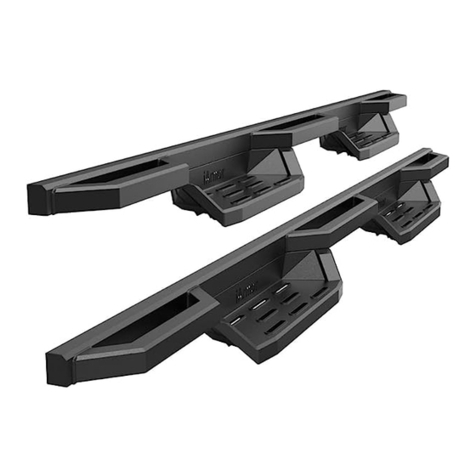
iArmor IARMOR EDGE IA-N179&N208 User manual
iArmor

iArmor IARMOR EDGE IA-N179&N208 User manual

iArmor EDGE IA-W171 User manual

iArmor

iArmor EDGE IA-W171 User manual

iArmor EDGE User manual

iArmor

iArmor EDGE User manual

iArmor EDGE IA-W058 User manual

iArmor

iArmor EDGE IA-W058 User manual

iArmor EDGE User manual

iArmor

iArmor EDGE User manual

iArmor EDGE User manual

iArmor

iArmor EDGE User manual

iArmor EDGE IA-N044H User manual

iArmor

iArmor EDGE IA-N044H User manual

iArmor EDGE IA-N179 User manual

iArmor

iArmor EDGE IA-N179 User manual

iArmor EDGE IA-N007 User manual

iArmor

iArmor EDGE IA-N007 User manual

iArmor EDGE IA-N098 User manual

iArmor

iArmor EDGE IA-N098 User manual
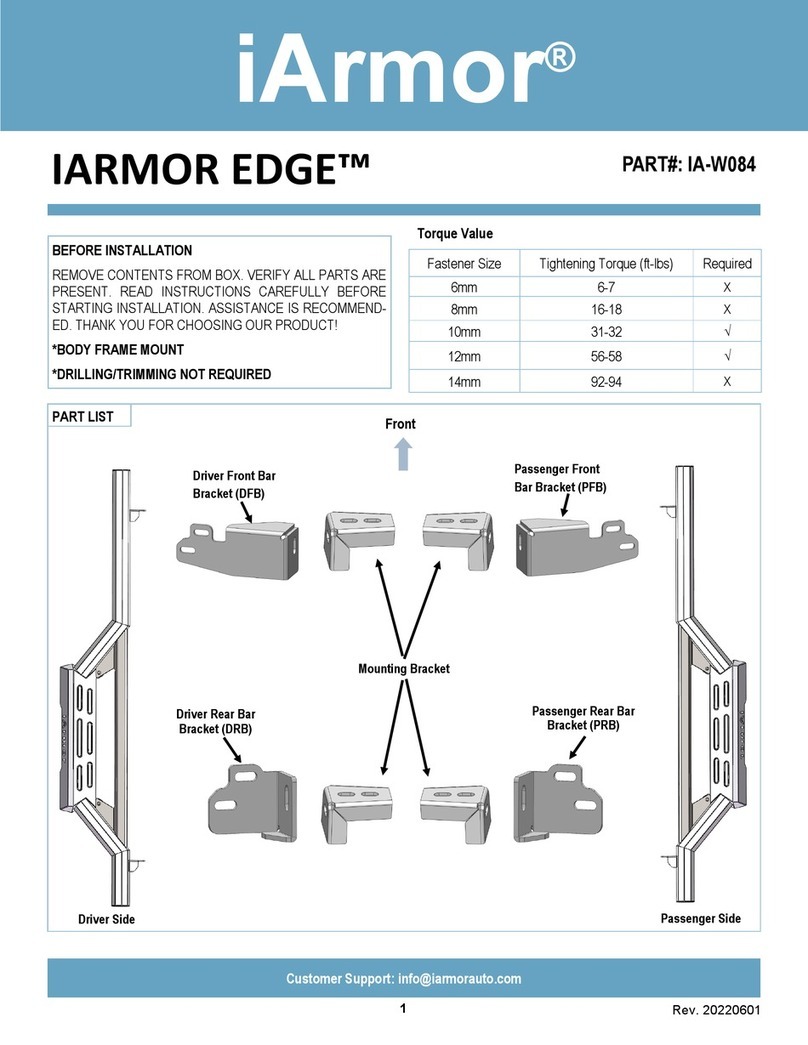
iArmor EDGE IA-W208 User manual

iArmor

iArmor EDGE IA-W208 User manual
iArmor EDGE IA-N060H User manual

iArmor

iArmor EDGE IA-N060H User manual
Popular Automobile Accessories manuals by other brands

Safe Fleet Prime Design VBR-FT21B Assembly instructions

Safe Fleet

Safe Fleet Prime Design VBR-FT21B Assembly instructions

Thule Rapid System 1100 Fitting instructions

Thule

Thule Rapid System 1100 Fitting instructions

Sunsky S-TSA-0104 user manual

Sunsky

Sunsky S-TSA-0104 user manual

Double Intelligence Technology MZDV2 installation guide

Double Intelligence Technology

Double Intelligence Technology MZDV2 installation guide

Hirschmann Car Communication AUTA 4090 L installation instructions

Hirschmann Car Communication

Hirschmann Car Communication AUTA 4090 L installation instructions

Warn PN 37812 installation instructions

Warn

Warn PN 37812 installation instructions

Brink 6473 Fitting instructions

Brink

Brink 6473 Fitting instructions

Husky 33222 Assembly, Installation, Operation and Maintenance Instructions

Husky

Husky 33222 Assembly, Installation, Operation and Maintenance Instructions

curt CM 18031 installation instructions

curt

curt CM 18031 installation instructions

Kargo Master 4A81L Instruction guide

Kargo Master

Kargo Master 4A81L Instruction guide

Shingleback Off Road Swing Arm instructions

Shingleback Off Road

Shingleback Off Road Swing Arm instructions

Kargo Master 4A96L installation guide

Kargo Master

Kargo Master 4A96L installation guide

BraunAbility Simple Stow Operator's manual

BraunAbility

BraunAbility Simple Stow Operator's manual

Kuda-Phonebase 291170 Installation instruction

Kuda-Phonebase

Kuda-Phonebase 291170 Installation instruction

BURY CC 9050 operating manual

BURY

BURY CC 9050 operating manual

Webasto London installation manual

Webasto

Webasto London installation manual

Metra Electronics 95-8733B installation instructions

Metra Electronics

Metra Electronics 95-8733B installation instructions

CRX OBD2 instruction manual

CRX

CRX OBD2 instruction manual

manuals.online logo
manuals.online logoBrands
  • About & Mission
  • Contact us
  • Privacy Policy
  • Terms and Conditions

Copyright 2025 Manuals.Online. All Rights Reserved.