Rev. 20211001
3
iArmor®
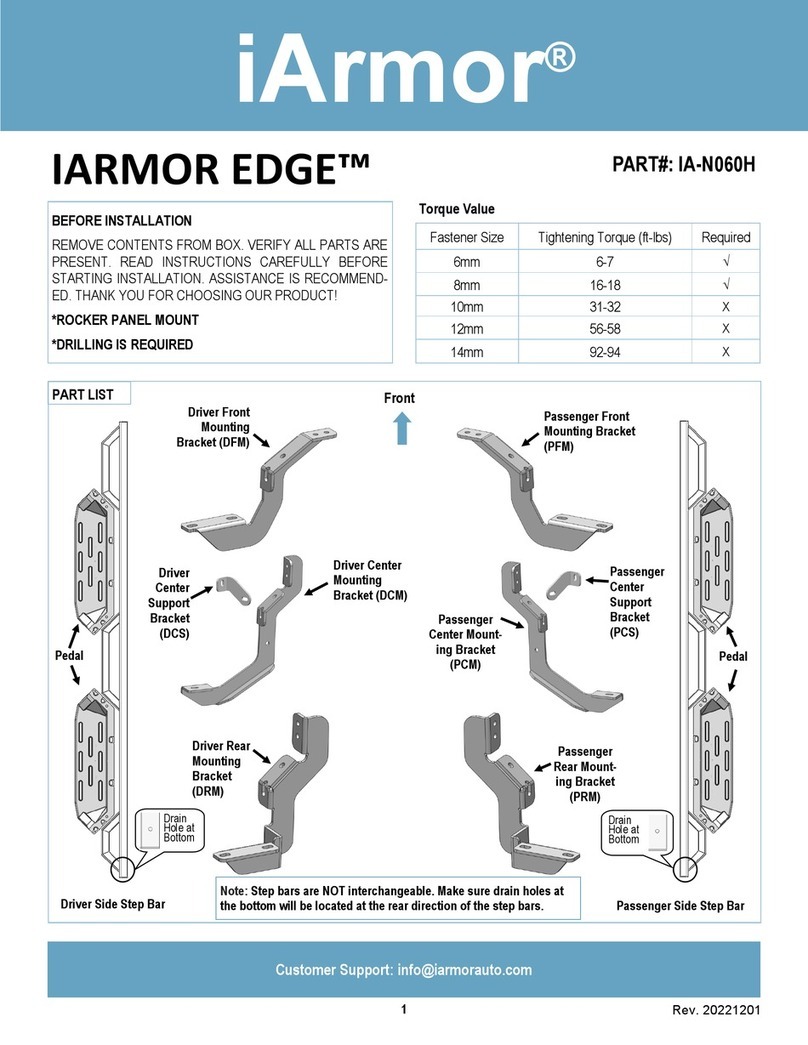
STEP 1
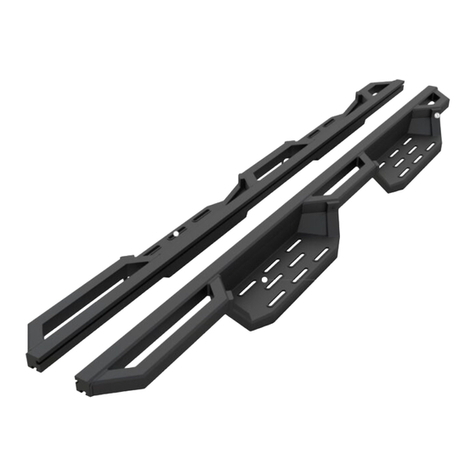
Install the Step Pads onto the step bars with (32) M6x1-20mm
T-Bolts, (32) M6 Flat Washers and (32) M6x1 Nylon Lock Nuts.
IMPORTANT: Don’t hit the step pad by any metal hummer
within step pad installation, or the step pad will be damaged.
The instruction here is for your reference only. We strongly
recommend the professional installer for best result. We are not
responsible for any damage caused by the installation.
STEP 2
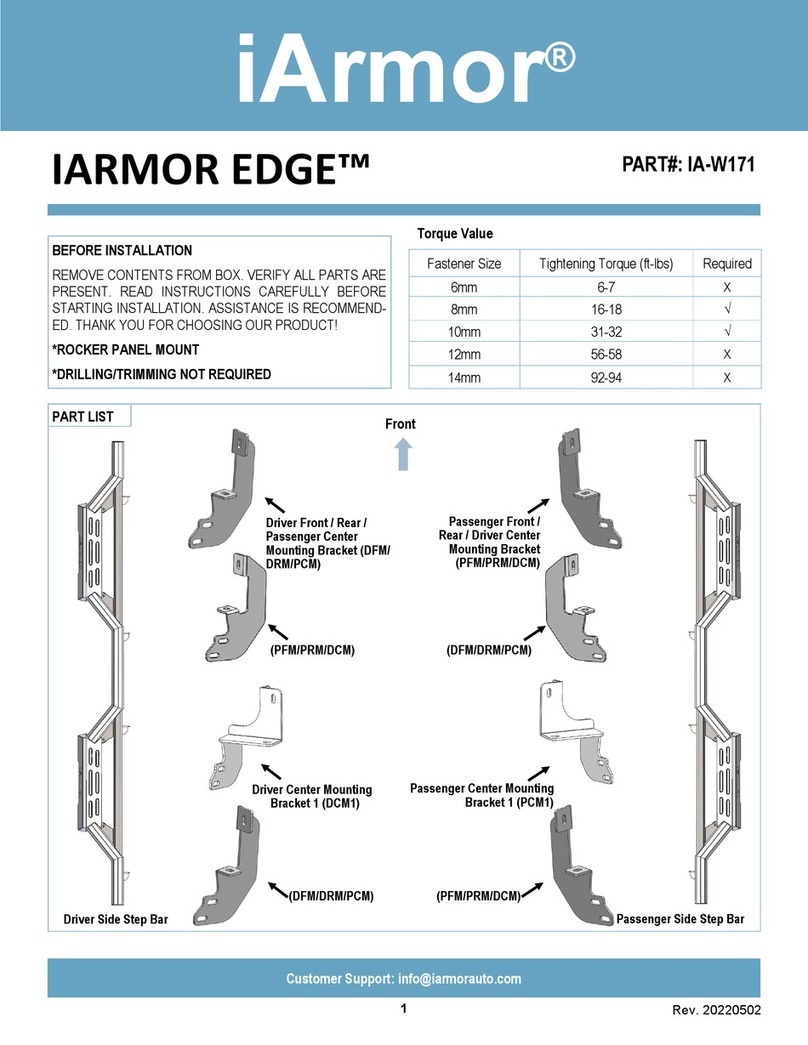
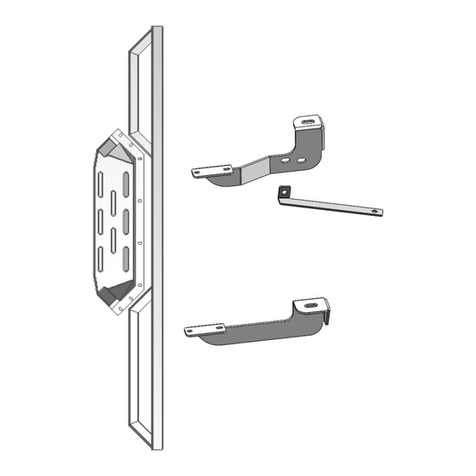
Starting installation from the driver side front of the vehicle,
remove the sealing tape covering the factory holes on the inner
side of body panel, (Fig 1). Note: All Mounting Brackets and
Supporting Brackets for Driver Side are the same.
(8) M6X1-20mm T-Bolts
(8) M6 Flat Washers
(8) M6X1 Nylon Lock Nuts
Note: Rotate 90° after inserting the T-Bolts
into the Channel!!!
STEP 3
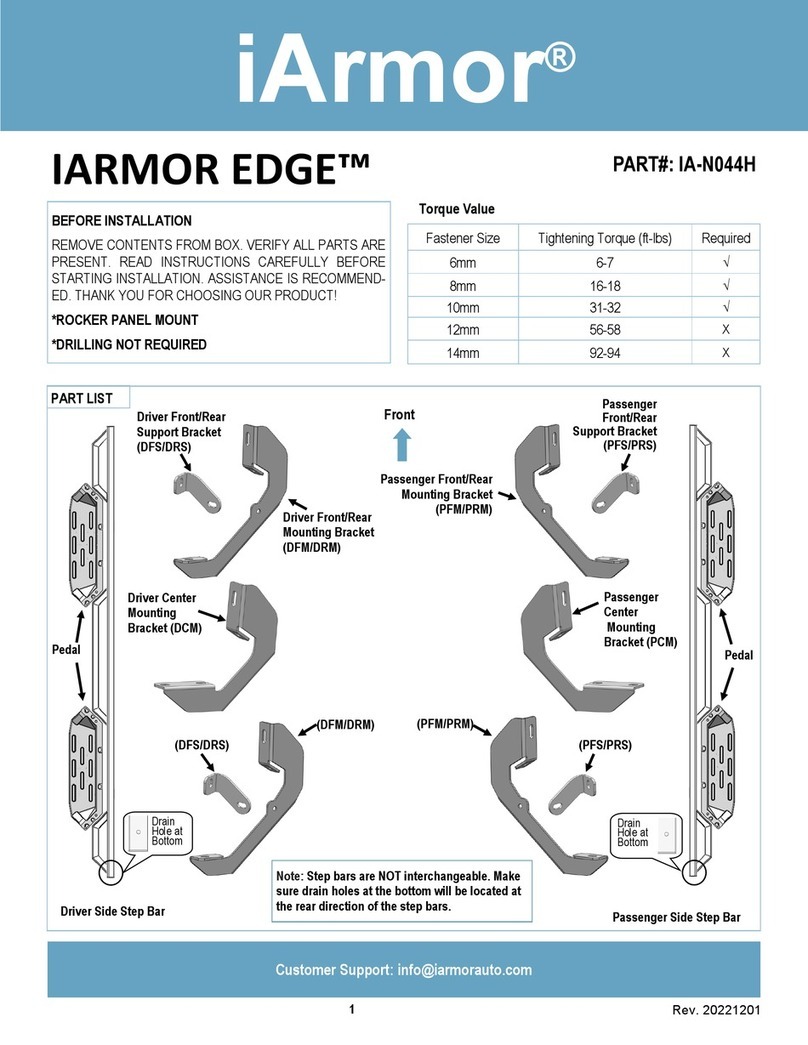
Determine the correct procedure to attach (1) Driver Front
Mounting Bracket for your model/year:
Models without factory threaded inserts in body panel:
a. Select (1) M8 Bolt/Nut Plate (Fig 2). Use the welded bolt as a
handle, insert the welded nut end through the oval factory hole,
and line up the welded nut with the hex hole. Thread (1) M8
Plastic Washer onto the threaded end and down tight against
the body panel, (Fig 2). NOTE: The Plastic washer is de-
signed to keep the Bolt-Nut Plate out of falling into the
body panel and to aid in bracket installation.
b. Attach (1) Driver Front Mounting Bracket to the welded nut
end of the M8 Bolt/Nut Plate on the driver side front location
with (1) M8 Flat Washer, (1) M8 Lock Washer and (1) M8X1.25
–30Hex Bolt, (Fig 3). Do not fully tighten at this time.
Models with factory threaded inserts:
Attach Driver Front Mounting Bracket to the threaded inserts
with (1) M8x1.25-30 Hex Bolt, (1) M8 Lock Washer and (1) M8
Flat Washer, (Figs 4 & 5). Do not fully tighten at this time.
Front
(Fig 1) Driver Side Front Mounting Location
(No factory holes on pinch weld on some trims)
