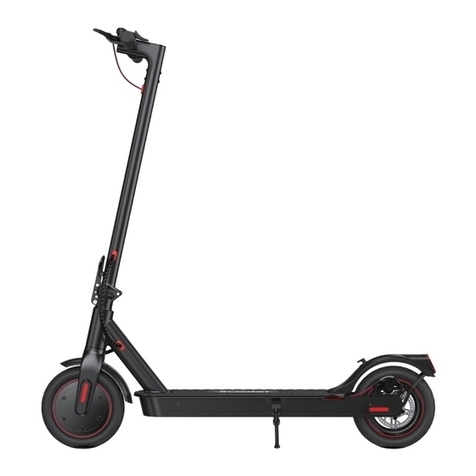
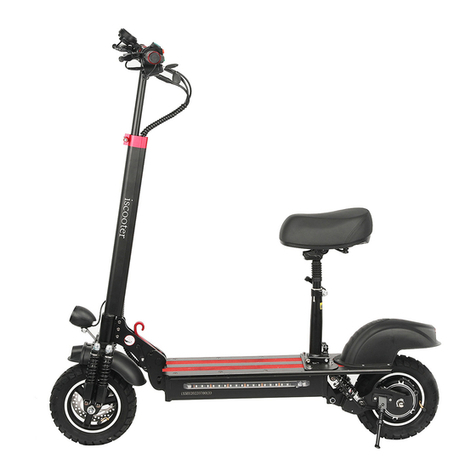
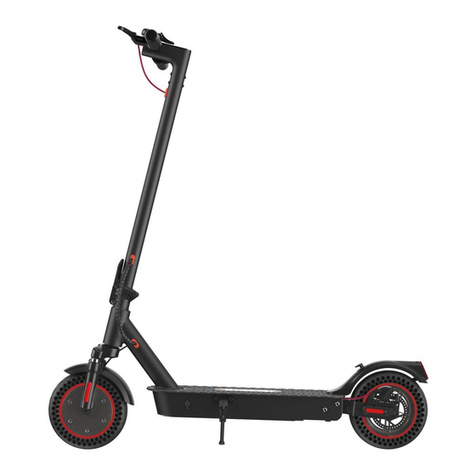
iScooter iX5 User manual

iX5

Scooter display 01
Name of major parts 02
Safety instructions 03
Product introduction
Unfolding steps
Folding steps
Display
Brake
Start
Riding
Lubrication
Tire
Stop riding
04
04
06
08
09
09
09
Riding operations
09
Basic operations 08
09
Battery and charger 10
Maintenance 11
11
Table of Contents(EN)
11
Brake 11
Parameters
General troubleshooting 11
12
Warranty 13

Scooter display
1

2
Name of major parts
Rear motor
Display
Quick release clamp
Handlebar
Ront light switch
Brake lever
Front tube
Front light
Disc brake pad
Rear fender
Suspension
Charger port

3
SAFETY INSTRUCTION
1.This product is suitable for adults and no passengers are allowed.
2.Please wear a helmet and other protective equipment when you are riding.
3.Please ride on the road safely and legally.
4.Practice before riding.
5.Be careful and safe; both hands and feet should be kept on the scooter.
6.Don't turn off the power when you are riding.
7.Please try to avoid riding over 3cm steps, which may hurt your body and
break the scooter.
8.Ride slowly when the road condition is not good.
9.Please adjust to a proper height to ensure safety.
10.Please do not ride on slippery roads.
11.Please do not use the product when the temperature is under -10℃.
12.Do not immerse the product into water which is deeper than 3cm to avoid
damaging the electrical parts.
13.Please ride in good weather.
14.Please charge every 20 days if the product is not used for a long time.

4
Product introduction
Unfolding steps
Step 1: Press the folding lever to unfold the scooter.
Step 2: Lock the folding lever.

5
Step 3: Expand the handlebar upward and keep it straight.
Step 4: Adjust the handlebar to the suitable height and then tighten the
quick release clamp.

6
Folding steps
Step 1: Pull the sleeves out and fold down the handlebar.
Step 2: Release the quick release clamp on the front tube. Press down
the handlebar to the bottom.

7
Step 3: Pull out the folding lever and pull the folding clamp to fold
down the front tube.

8
1.Power switch
2.Mode switch
3.Trigger throttle
4.Battery level
5.Speedometer
6.Odometer
Basic operations
Display
1. Power switch
2.In power on status, press the MODE button to choose from
three modes in which mode 3 is the fastest.
3.Other functions
1.1In power off status, press the button for 3 seconds to turn on
the scooter. It will automatically turn off the power if there is no
operation in 5 minutes.
1.2ln power on status, press the button for 3 seconds to turn
off the scooter.
3.1.Error code
3.2.If the battery indicator flashes, please charge your scooter.
When power on, if abnormal occurs, error code will be
showed on the display. Please ask distributor for help.
Picture:

9
Start
Brake
Please avoid emergency brake which will break the tires and cause slip.
1.Practice outside and choose good road condition.
2.Open the scooter according to the user manual.
3.Adjust the handlebar to the height that fits you.
4.Open the seat and adjust it to a suitable height.
5.Lock the quick release clamp.
Riding
1.Press for 3 seconds. Check the mode before riding.
2.Push your scooter forward and pull the trigger throttle slowly at the
same time, and the scooter will start going forward.
3.Please set the riding mode. Speed can be controlled by the throttle.
4.Please release the throttle or squeeze the brake lever to slow down if
necessary.
Stop riding
Slow down, squeeze the brake lever lightly, put one of your feet on the
ground after your scooter stops.
Notice:
Please do not ride the scooter on rainy days or in freezing weather, or
else it will cause danger.
Riding operation

10
BATTERY AND CHARGER
Each scooter has its own battery and charger. Each part has different
serial numbers. Please do not charge the scooter with chargers of other
brands.
Battery
Please charge your scooter after you receive this scooter. It is better to
fully charge your scooter before first ride.
Please charge your scooter at least 1 month a time. It will damage the
battery if it is not charged for a long time. Please contact the distributor if
the battery can't be charged.
The warranty is invalid if the battery gets deformed or water ingress.
Charger
When the battery is fully charged, the charger will stop charging.
The warranty is invalid if the charger gets deformed or water ingress.
Charging operation
1.Open the charging port cover, insert the DC connector of the charger
into the charging port and the AC plug into a wall outlet.
2.A red indicator light means in charging and a green indicator light
means full charge.
3.Please charge your scooter in a cool, dry, and well-ventilated area.

11
Maintenance
Lubrication
Add some lubricant on the folding part of the handlebar every 6 months
to keep the handlebar working smoothly.
Note: Do not add WD-40 lubes on the scooter. Do not add any lubricant
on the front or rear wheel.
Tire
Both front and rear tires are pneumatic tires, if they are damaged
obviously, please contact the distributor to replace them.
Please check your scooter every 3 months and make sure the screws
are tight enough.
Brake
General troubleshooting
This scooter is equipped with front and rear disc brakes. If the braking
performance is not good enough, please contact the distributor to replace
the brake pads.
The battery can be charged circularly at least 600 times. lf the range
reduces greatly when full charged, please contact the distributor to
replace it with a new battery.
Please keep your scooter clean, and put your scooter in dry, cool, and
well-ventilated areas.
Please try to solve the problem by yourself if the following occur: The
scooter won't work in power on state,
lf you have tried all the solutions, and the scooter still won't work, please
contact the distributor.
a.Check if the battery level is low.
b.Check if the brake lever is in open position. If not, pull up the lever
and then release it.
c.Check if all the plugs are connected well.

12
Parameters
SPECIFICATION
PERFORMANCE
BATTERY
MOTOR
CHARGER
TIRE
BRAKE
Unfolding size 118*60*123cm
Folding size 118*20*50cm
N.W. 27.29kg
Maximum load 150kg
Maximum speed 25KM/h
Climbing ability 15-25°
Rated voltage
Distance
Capacity
Type
Motor type
Rated power output
Maximum speed
Power
Rated voltage
Output
Charging time
Tire size
Tire type
Brake
48V
40-45KM
15AH
Lithium battery
Brushless DC motor
9.5 N.m
1300rmp
1000W
48V
2A
5-8h
10 inch
Pneumatic tire
Front electronic brake
+ front and rear disc brakes

13
WARRANTY
Any of the parts in the following sheet occurs failure in normal use,
please contact us, we will provide complete after-sale service.
Notice: Please use the scooter in the correct way.
The warranty is invalid if failure occurs in abnormal use.
Parts
Motor
Controller
Charger
Battery
Display
Frame
2 year
2 year
6 months
6 months
6 months
1 year
Quality
description
Failure occurs in
normal use
Warranty
period
Failure occurs in
normal use
Failure occurs in
normal use
Failure occurs in
normal use
Failure occurs in
normal use
Failure occurs in
normal use
service
Free of charge
Free of charge
Free of charge
Free of charge
Free of charge
Free of charge

14
Warranty becomes invalid if the followings occur:
1.Haven't maintained according to this manual.
2.Broken parts caused by dangerous actions.
3.Disassembling and assembling by users or use of parts of other
brands. Broken parts resulting from traffic accidents or impact from
external force by users.
4.Water ingress and lost serial number.
5.Broken parts caused by riding on very bad roads.
6.Rental scooter's broken parts caused by force majeure.
Other manuals for iX5
1
Table of contents
Other iScooter Scooter manuals

iScooter
iScooter iX5 User manual

iScooter
iScooter i9 User manual

iScooter
iScooter i9MAX User manual

iScooter
iScooter i9 User manual

iScooter
iScooter i8 User manual

iScooter
iScooter 1S User manual

iScooter
iScooter iK2 User manual

iScooter
iScooter iX4 User manual

iScooter
iScooter iX4 User manual

iScooter
iScooter iX6 User manual