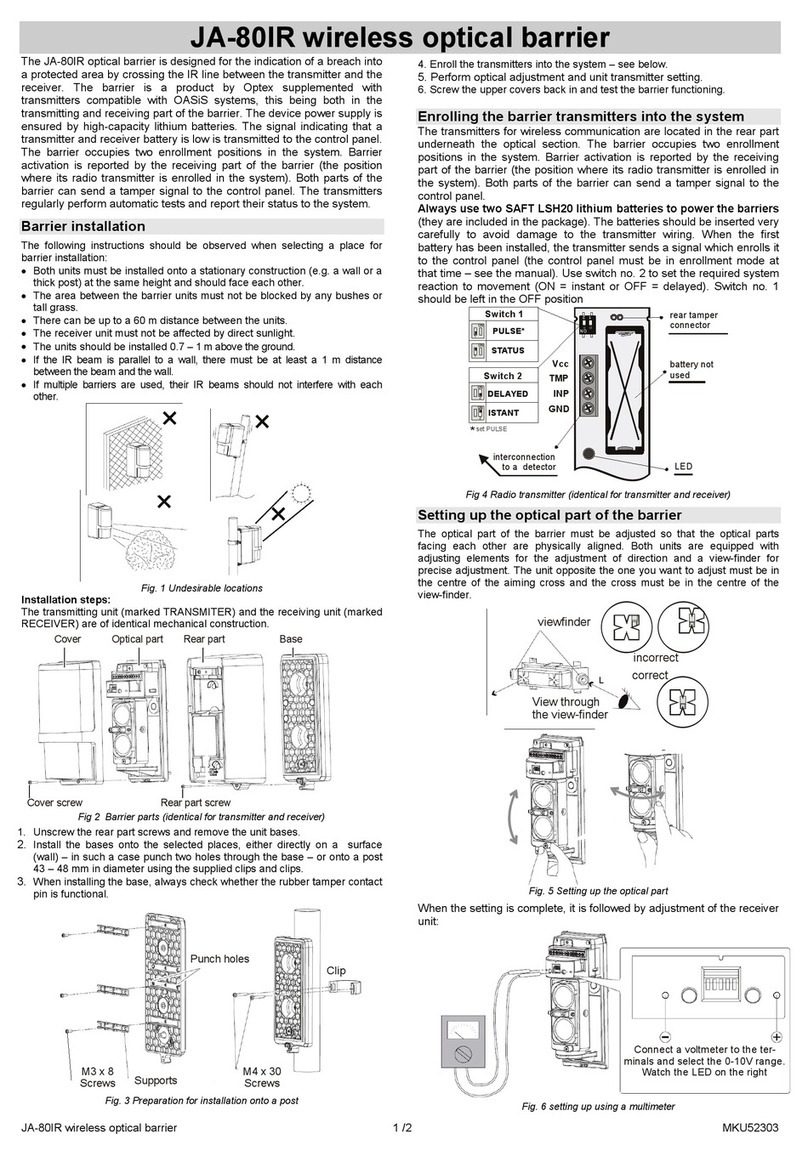
JK-16 PROFI 2/4 MGK24401
4. Detector and accessory installation
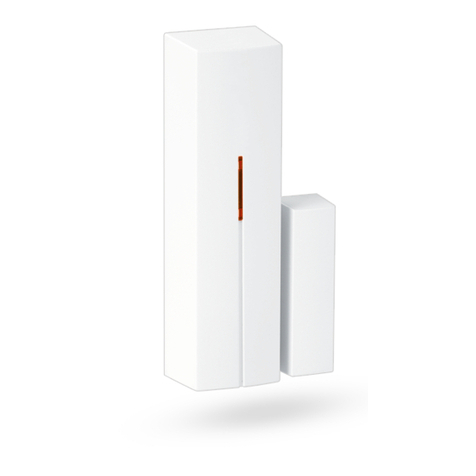
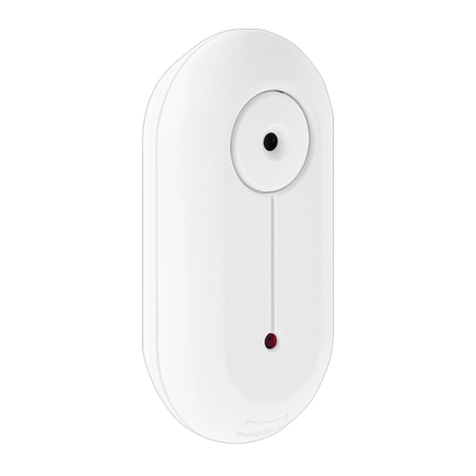
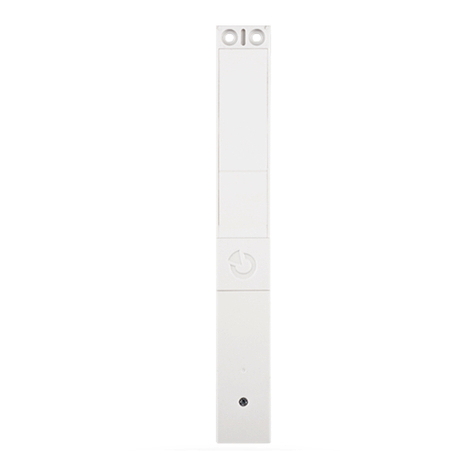
a) Install the JA-60N magnetic detector onto the door
(antenna pointing up or down)
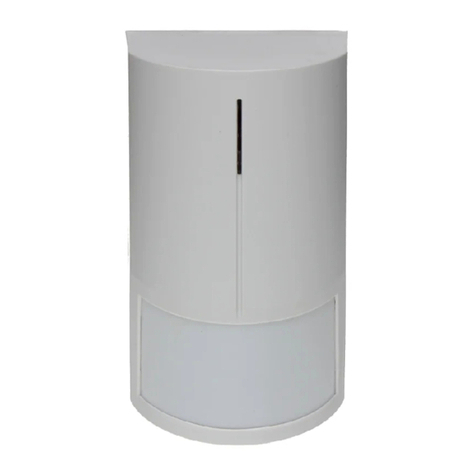
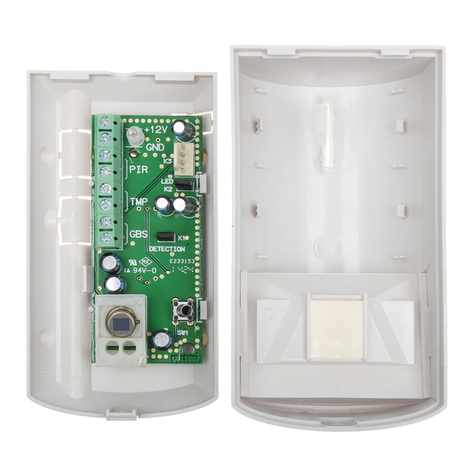
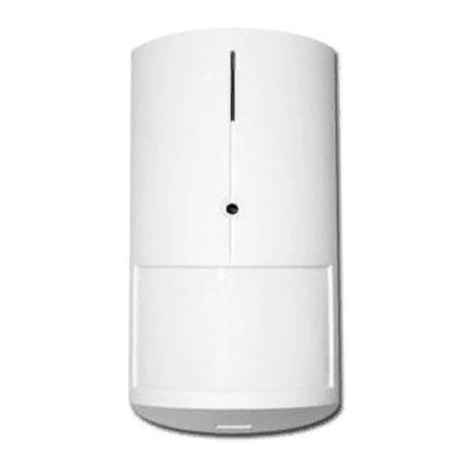
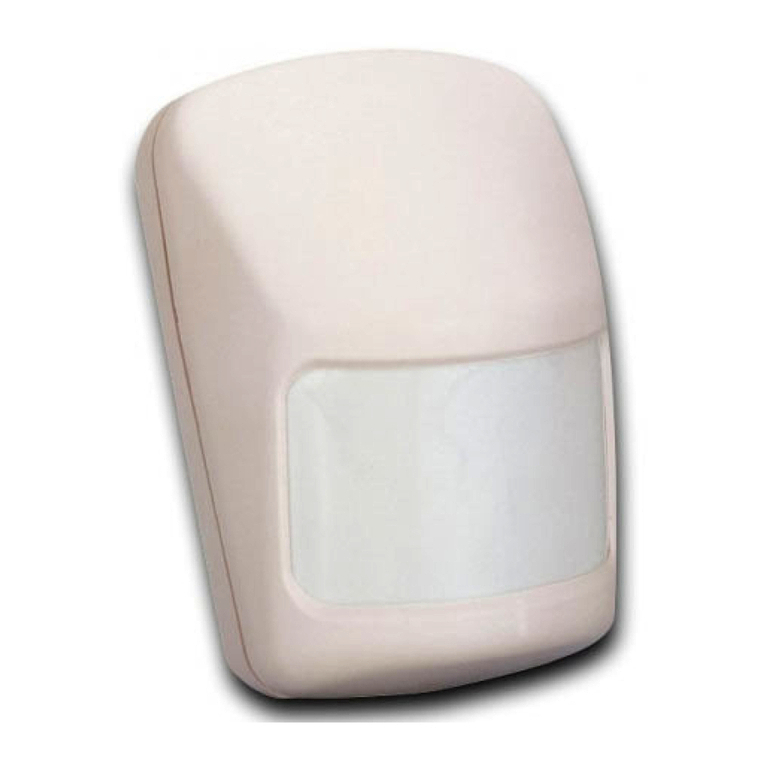
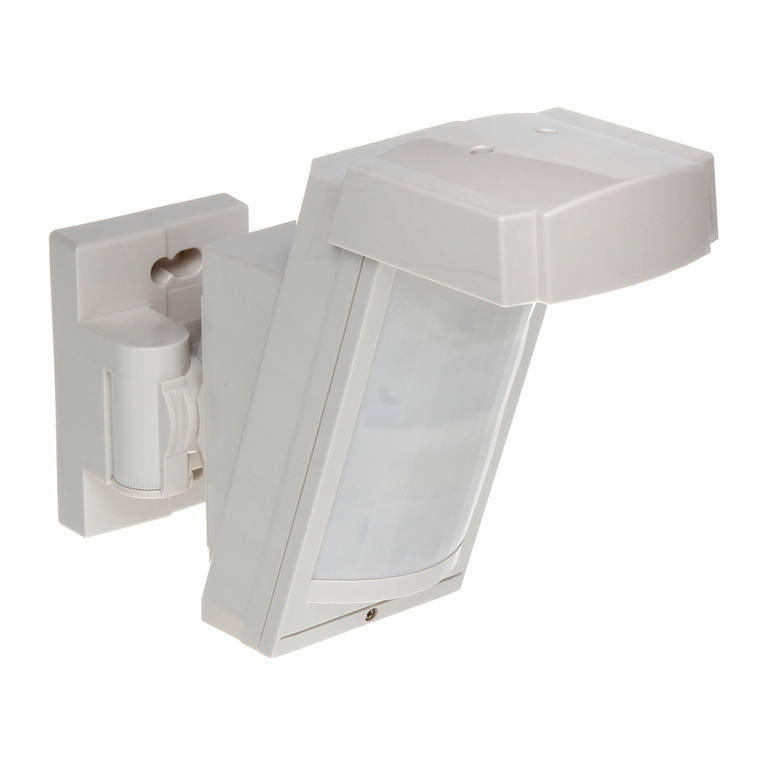
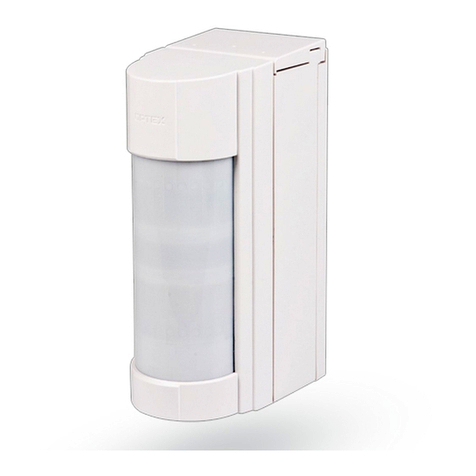
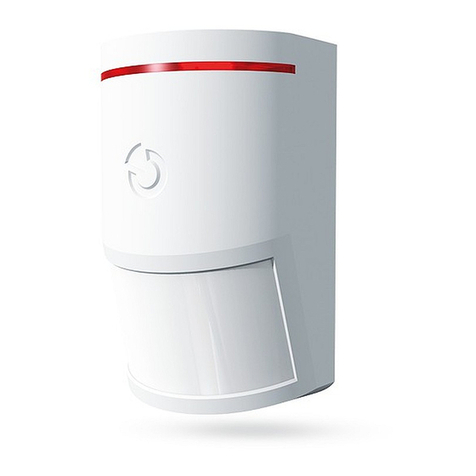
b) Install the JA-60P PIR motion detector
c) Select Instant or Delay reactions via the DIP switches
inside the detectors.
d) Connect the detector’s batteries (pull out the red tape to
activate the batteries)
e) Attach the keypad to the desired location
) Plug the UC-260 wireless siren into a power socket
g) Test the wireless doorbell button and install it.
5. Enrollment of additional accessories
I you install additional detectors (max. 32), you have to enroll
them. The system should be in P mode (i not enter F0 6060):
a) Press 1 to enter enrollment mode*
b) The next free detector position will be displayed on the
keypad.
c) Install batteries into all new detectors step by step to enroll
them (system will automatically o er the next ree position)
d) To scroll through sensor positions, press 1 (up) or 7 (down)
e) To enroll a second detector to an occupied position press 5
be ore you install the detector’s batteries
) To exit enrollment mode press the N key
The wireless keypad (JA-63F) enrolls a ter you install its
battery while in enrollment mode.
The remote control (RC-4x) enrolls a ter you press and hold
both and buttons while in enrollment mode.
The wireless outdoor siren (JA-63A) enrolls a ter it is
powered up while in enrollment mode
To enroll the control panel to C receivers enter 299 on
the keypad while in P mode
Check individual device manuals or more details
• *Enrollment mode will also start a ter shorting the reset pins
in the control panel while it is in P mode.
6. Detector and controller testing
a) The system should be in P mode (i not enter F0 6060)
b) Trigger detectors – their addresses (1=door and 2=PIR) should
be indicated (i the PIR detector does not react, re-enter test
mode by opening and closing its cover)
c) Press button on the RC-4x remote control – c2 will be
indicated
7. To measure the strength of the radio signal
a) While in P mode, press 1 and then using 7 scroll to position 1
b) Press 8 to start measuring
c) Activate the door detector to view its signal strength
d) Using the 1 key, scroll to the next position (2 PIR) and
check its signal strength (i the PIR detector does not react,
reenter its test mode by opening and closing its cover)
e) Repeat step d) to check all enrolled items. The wireless keypad
(c1) signal is indicated a ter you trigger its tamper. The remote
control (c2) is indicated a ter you press it’s button.
) Change the location o an item i its signal is lower than 2
g) Return to P mode by pressing the N key
8. Programming the system
a) The system should be in P mode (i not enter F0 6060)
b) Using the ollowing sequences you can program:
Function Sequence Comments
Your
actory de ault
xxxx new code
Exit delay
=30sec actory de .
Entrance delay
=30 sec actory de .
Alarm duration
=4min actory de .
Time & date
See control panel installation manual for more details.
• Must be changed
•
9. Finishing the installation
a) Fill in the in ormation on the sticker label and attach it inside
the keypad cover.
b) Switch the system to standby (by pressing the N key)
c) Instruct the user on how to operate the system
attach
click
lever
Don't tight
this screw
2
2,5
1,5
1
0,5
12
[m]
[m]
120
ş
12m
zone A
zone B
zone C
JA-60P coverage
avoid locations against windows or close to a heater
