DE - Gebrauchsanleitung
GB - Instruction
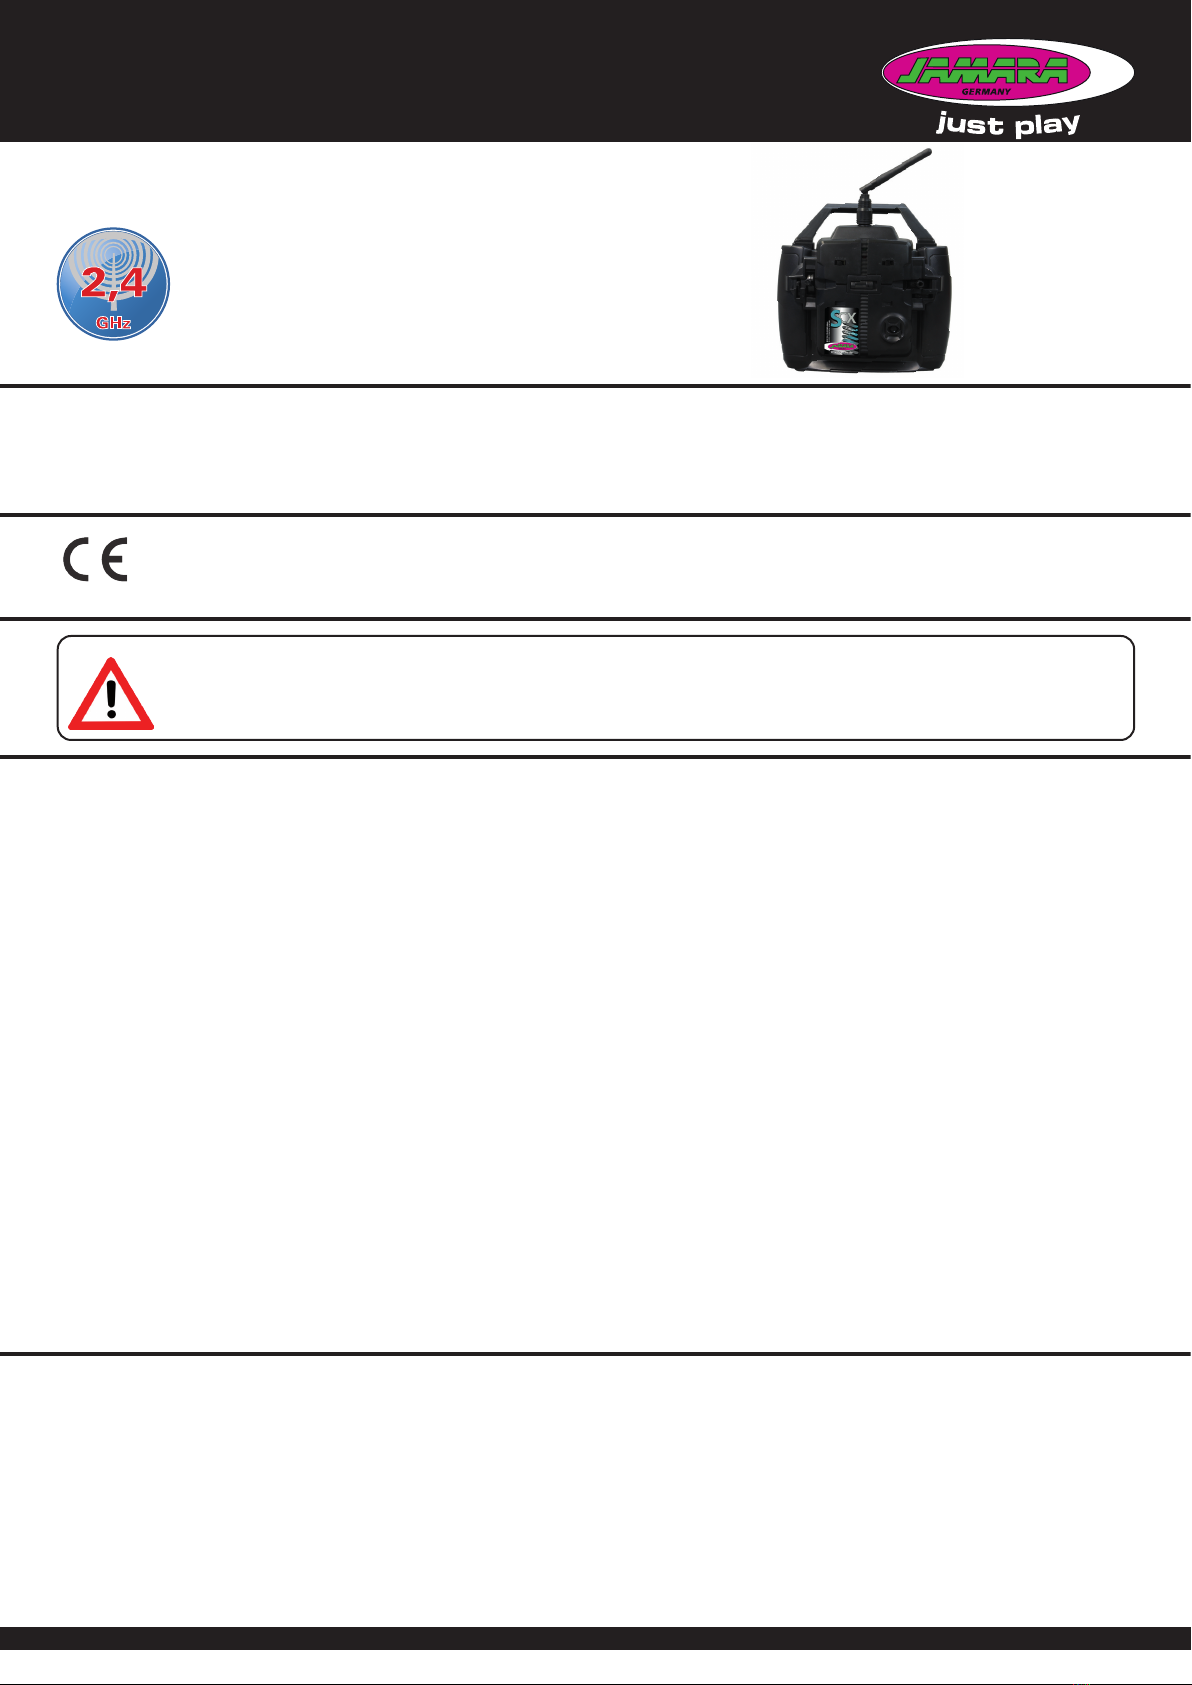
SCX 2,4 GHz
Fernsteuerung | Transmitter
No. 061172
44/20
DE - Allgemeine Hinweise
JAMARA e.K. übernimmt keine Haftung für Schäden, die an dem Produkt selbst oder durch dieses
entstehen, sofern diese auf falsche Bedienung oder Handhabungsfehler zurückzuführen sind. Der
Kunde allein trägt die volle Verantwortung für die richtige Bedienung und Handhabung; dies umfasst
insbesondere die Montage, den Ladevorgang, die Verwendung bis hin zur Wahl des Einsatzberei-
ches. Bitte beachten Sie hierzu die Bedienungs- und Gebrauchsanleitung, diese enthält wichtige
Informationen und Warnhinweise.
GB - General information
JAMARA e.K. is not liable for any damage caused to the product itself or by it, if this is due to impro-
per operation or handling errors. The customer alone bears the full responsibility for the proper use
and handling, including in particular, assembling, charging and using the model, and selecting the
area in which to use it. Please refer to the operating and user instructions, which contain important
information and warnings.
Konformitätserklärung
Hiermit erklärt JAMARA e.K., dass das Produkt‚ “SCX 2,4 GHz, No. 061172“ den
Richtlinien 2014/53/EU, 2011/65/EU entspricht.
Der vollständige Text der EU-Konformitätserklärung ist unter der folgenden
Internetadresse verfügbar: www.jamara-shop.com/Konformitaet
GB - Certicate of Conformity
Hereby JAMARA e.K. declares that the product “SCX 2,4 GHz, No. 061172“ complies with Directive
2014/53/EU, 2011/65/EU.
The full text of the EU Declaration of Conformity is available at the following Internet address:www.
jamara-shop.com/Conformity
Lieferumfang
• Fernsteuerung
•Empfänger
• Anleitung
Empfohlenes Zubehör
8 x AA Batterie Art.-Nr. 140267 (VE 4 Stück)
Ausstattung
• 2 Kanal Sender 2,4 GHz
• 3 Kanal Empfänger 2,4 GHz
• 2 Reverseschalter
• 2 Trimmschieberegler
• Ladebuchse
• Programmierbare Fail-Safe am Empfänger
Technische Daten:
Frequenzband 2,4 GHz
Modulationsart GFSK
Servoauflösung 10 Bit (1024 Schritte)
Modelltypen Auto, Schiff
Steuerfunktionen 2 Kanäle
Temperaturbereich - 15 bis + 58° C
Empfangs-Antennenlänge ~ 26 cm
Betriebsspannung 12 V DC (8 Zellen)
Akkuladung über Ladebuchse
Abmessungen ~ 190 x 210 x 81 mm
Gewicht ~ 614 g
Empfänger SCX 2,4 GHz
Art.-Nr. 06 1171
Technische Daten:
Frequenzband 2,4 GHz
Modulationsart GFSK
Servoauflösung 10 Bit (1024 Schritte)
Betriebsspannung 4,5 - 7,4 V DC
Abmessungen ~ 38 x 22 x 13 mm
Gewicht ~ 6 g
Reichweite: ~ 400 m
Box contents:
• Transmitter
• Receiver
• Instruction
Recommended Accessories
8 x AA Batteries Ord. No. 140267 (4 pieces)
Features:
• 2 Channel 2,4 GHz Tranmitter
• 3 Channel 2,4 GHz Receiver
• 2 Servo Reverse
• 2 Trim Sliders
• Charging socket
• Programmable fail-safe on the receiver
Technical data:
Frequency 2,4 GHz
Modulation GFSK
Servo resolution 10 Bit (1024 Steps)
Model types Car, boat
Functions 2/4 channel
Temperature range - 15 to + 58° C
Receiver antenna length ~ 26 cm
Operating voltage 12 V DC (8 cells)
Charging Via charging socket
Size ~190 x 210 x 81 mm
Weight ~614 g
Receiver SCX 2,4 GHz:
Ord.No. 06 1171
Technical data:
Frequency 2,4 GHz
Modulation GFSK
Servo resolution 10 Bit (1024 steps)
Operating voltage 4,5 - 7,4 V DC
Size 38 x 22 x 13 mm
Weight ~6 g
Range: ~ 400 m
Modellbauartikel - Kein Spielzeug!
Bitte lesen Sie die komplette Bedienungsanleitung und Sicherheitshinweise sorgfältig
durch bevor Sie das Modell in Betrieb nehmen.
Achtung! Warnhinweise / Sicherheitshinweise unbedingt komplett lesen.
Diese dienen Ihrer Sicherheit und können Unfälle / Verletzungen vermeiden.
For model building only - Not a toy!
Read the complete instructions and security instructions carefully before using the
model.
Caution! Please fully and carefully read warnings/ safety instructions.
These are for our own security and can avoid accidents/injuries.
Beachten Sie unbedingt folgende Hinweise:
• Bevor Sie den Empfänger einschalten stellen Sie sicher, dass der Gasgeber auf Motor-Aus steht.
• Stellen Sie sicher, dass der Sender und der Empfänger richtig zusammen arbeiten, richtig
gebunden sind.
• Schalten Sie immer zuerst den Sender und dann den Empfänger ein.
• Schalten Sie immer zuerst den Empfänger, dann den Sender aus.
• Führen Sie vor dem Start einen Reichweiten- und einen Funktionstest durch.
• Gefährden Sie weder Menschen noch Tiere.
• Setzen Sie die Anlage bzw. das zu steuernde Modell nur in geeignetem Gelände ein.
• Bei Sturm, Regen oder einem Gewitter dürfen Sie Ihre Anlage nicht einsetzen.
• Wenn die Anlage länger nicht eingesetzt wird, entfernen Sie die Batterien aus dem Sender.
Following should be strictly adhered to:
• Before Switching on the system ensure that throttle stick is in the off position.
• Check that the transmitter and receiver are compatible and bonded to one another.
• Always switch the transmitter on rst and then the receiver.
• Always switch the receiver off rst and then the transmitter .
• Complete a full range and function test before every take-off .
• Never over-y people and do not allow your model to endanger people or animals.
• Do not y near to over-head cables, buildings or airelds.
• The system must not be operated in rain, or thunder storms.
• If you do not intend to use the transmitter for a long period, remove the batteries.
Frequency bands: 2.4 GHz Frequency range: 2405,5 – 2475,0 Mhz EIRP: < 5 mW (max. power transmitted)


