2822
Work
Settings
Counters
Update
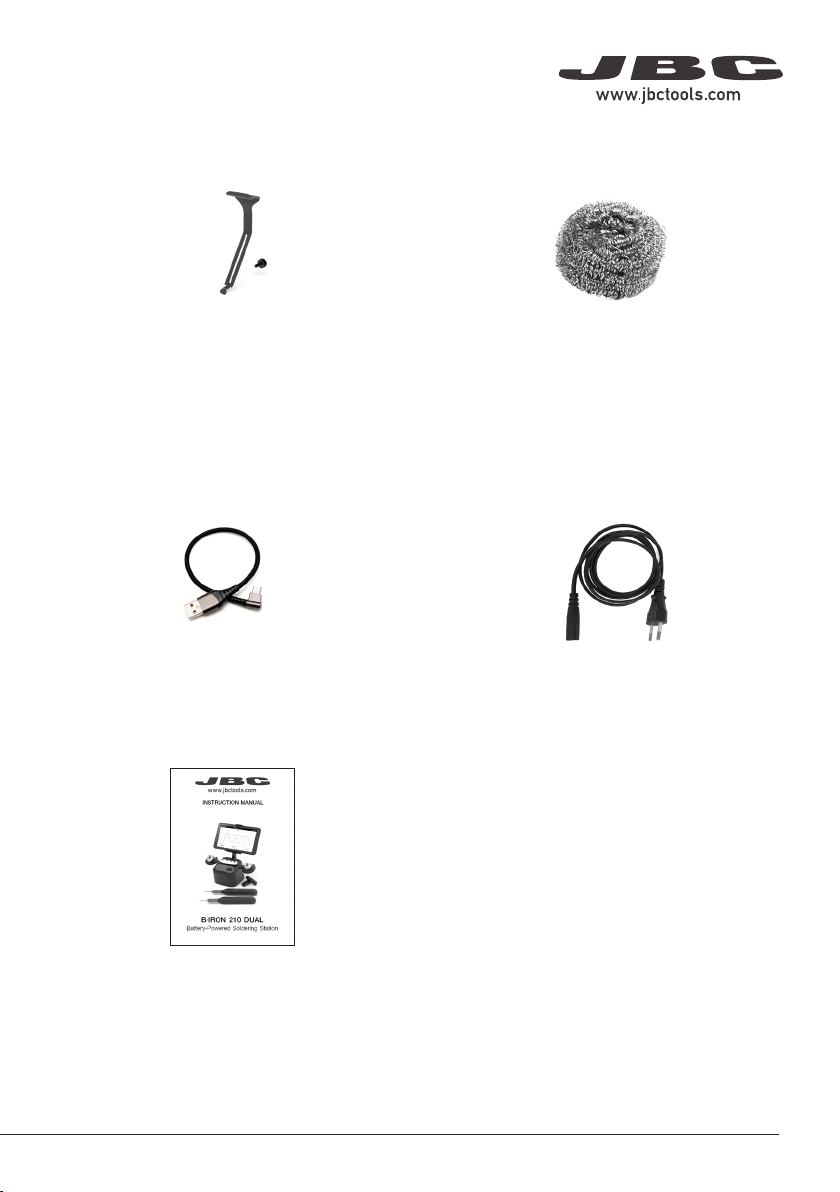
Documents
Light Theme
Dark Theme
Disconnect
Work
Settings
Counters
Update
Documents
Light Theme
Dark Theme
Disconnect
Hibernation delay (seconds)
Hibernation delay (seconds)
Hibernation delay (seconds)
Work
Settings
Counters
Update
Documents
Light Theme
Dark Theme
Add device
Disconnect
Devices
Documents
Light Theme
Dark Theme
2822
Work
Settings
Counters
Update
Documents
Light Theme
Dark Theme
Disconnect
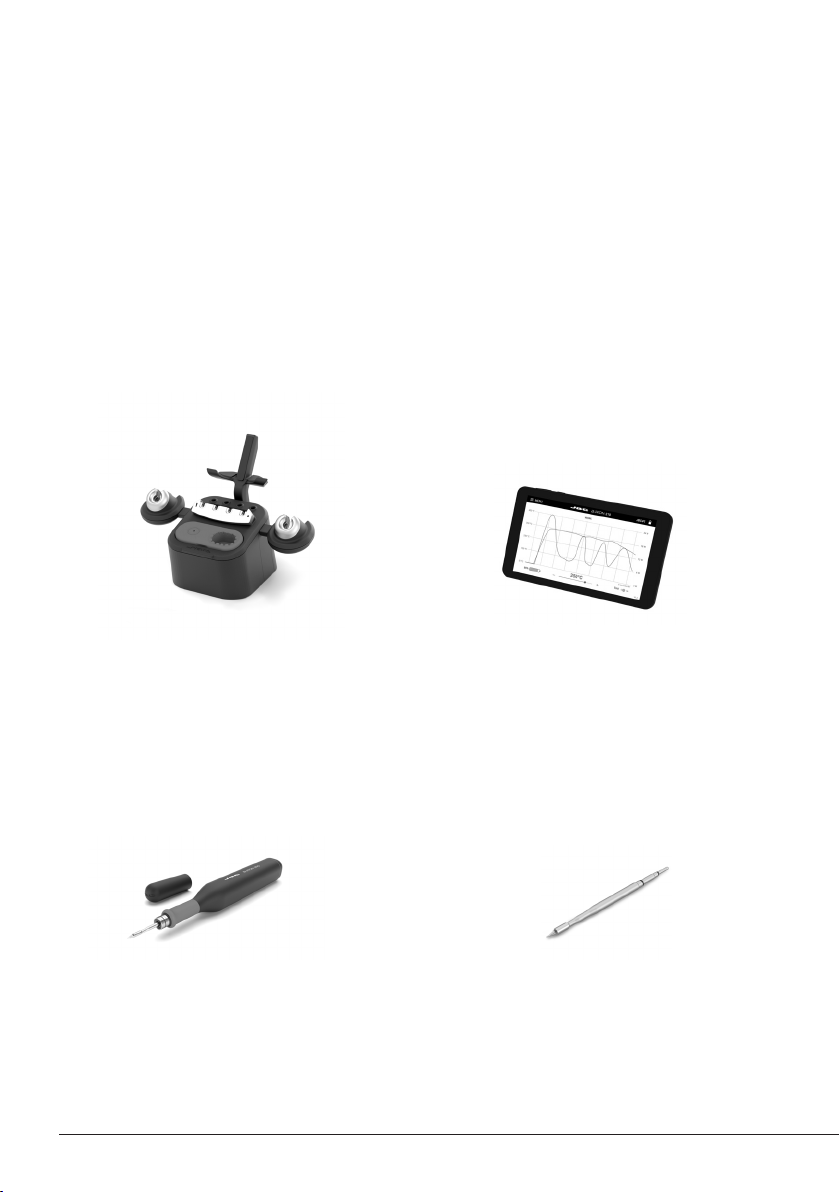
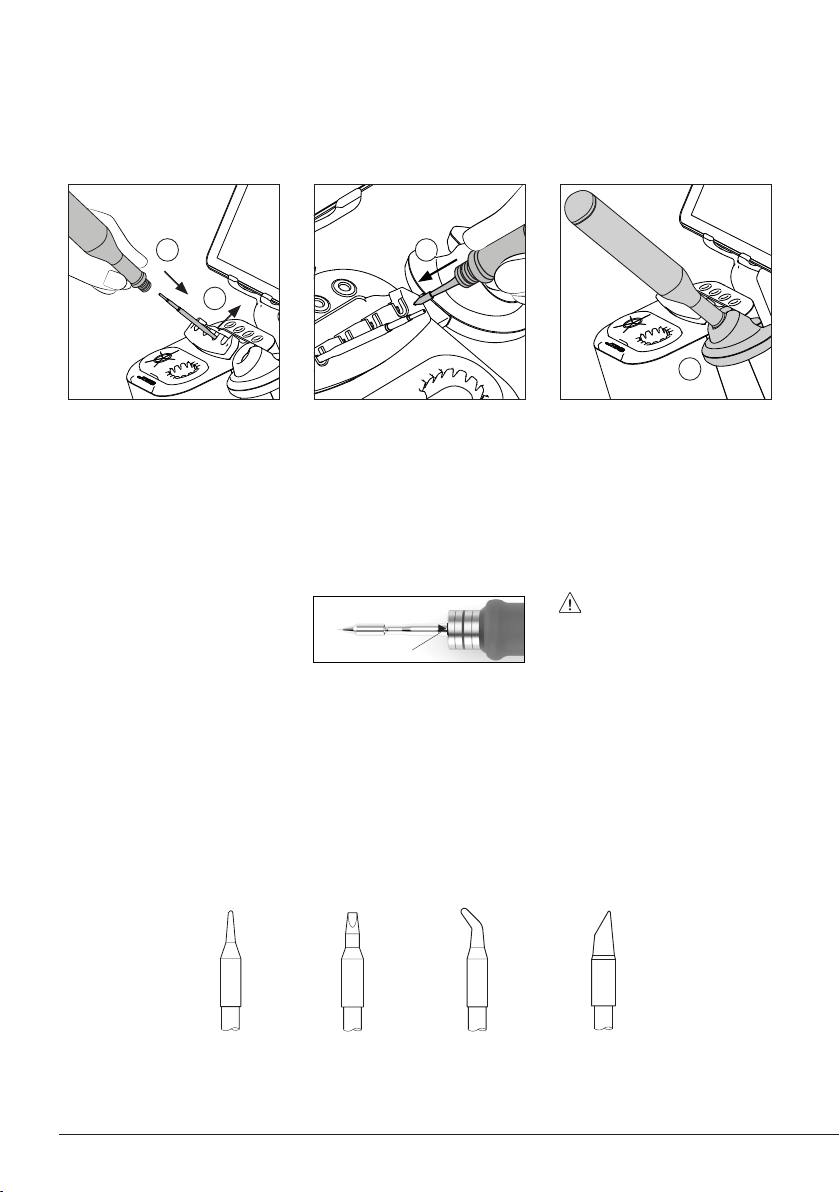
Tool1
Tool1
Tool1 Tool1 Tool2 Tool3
Operation
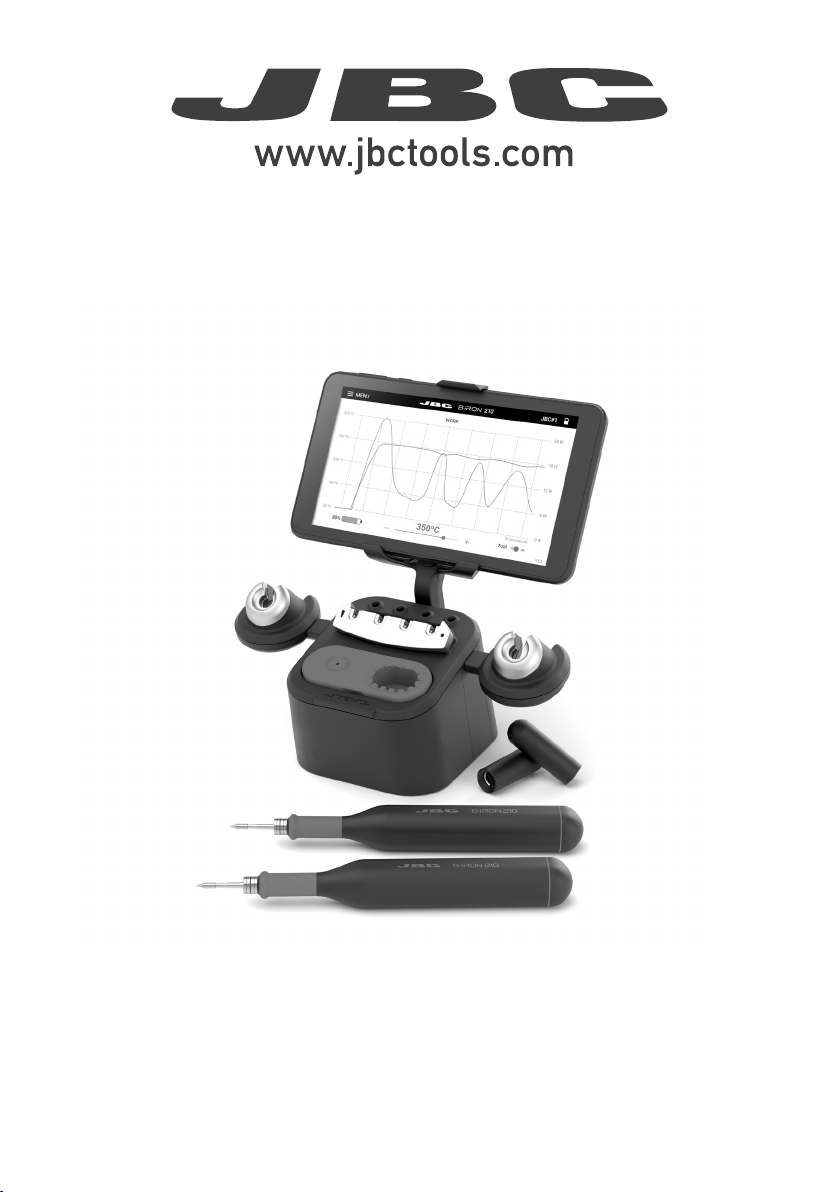
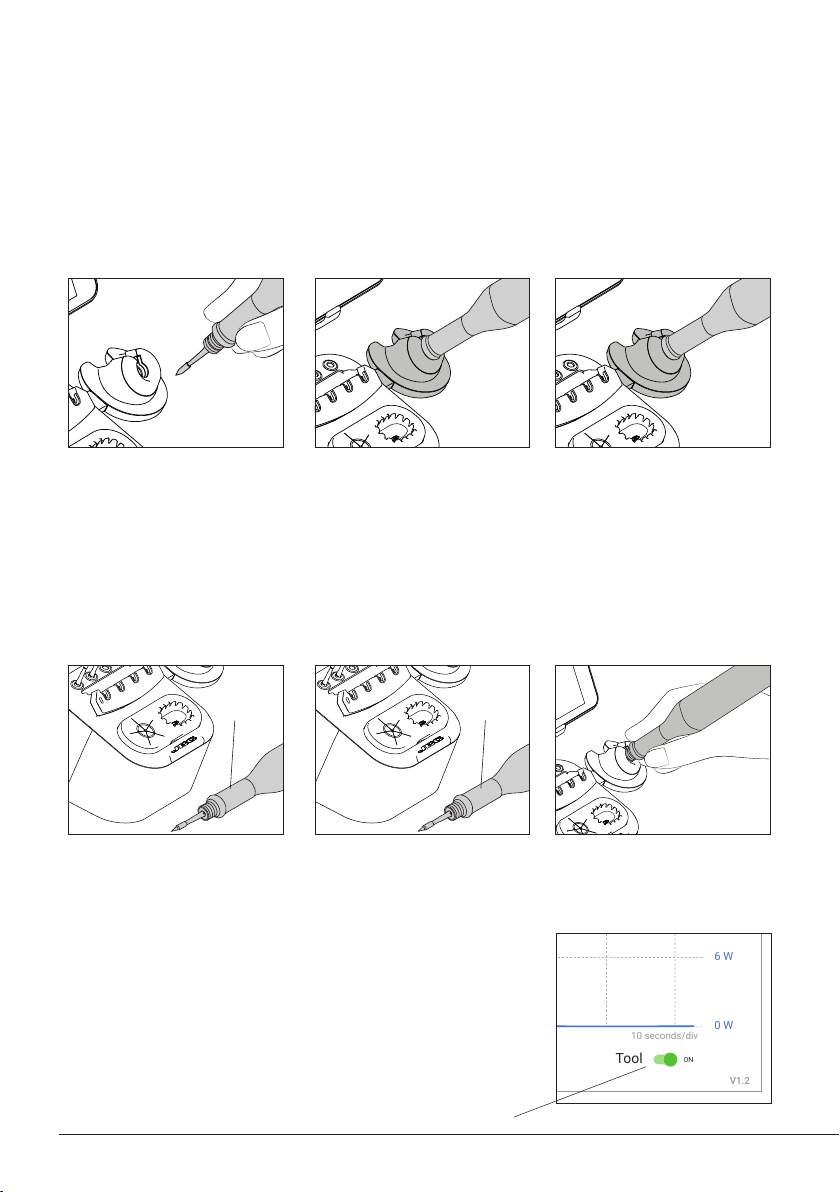
The JBC Most Efficient Soldering System
This revolutionary technology can recover tip temperature extremely quickly. This allows the user to
work at a lower temperature.
Inactive
5 mins.
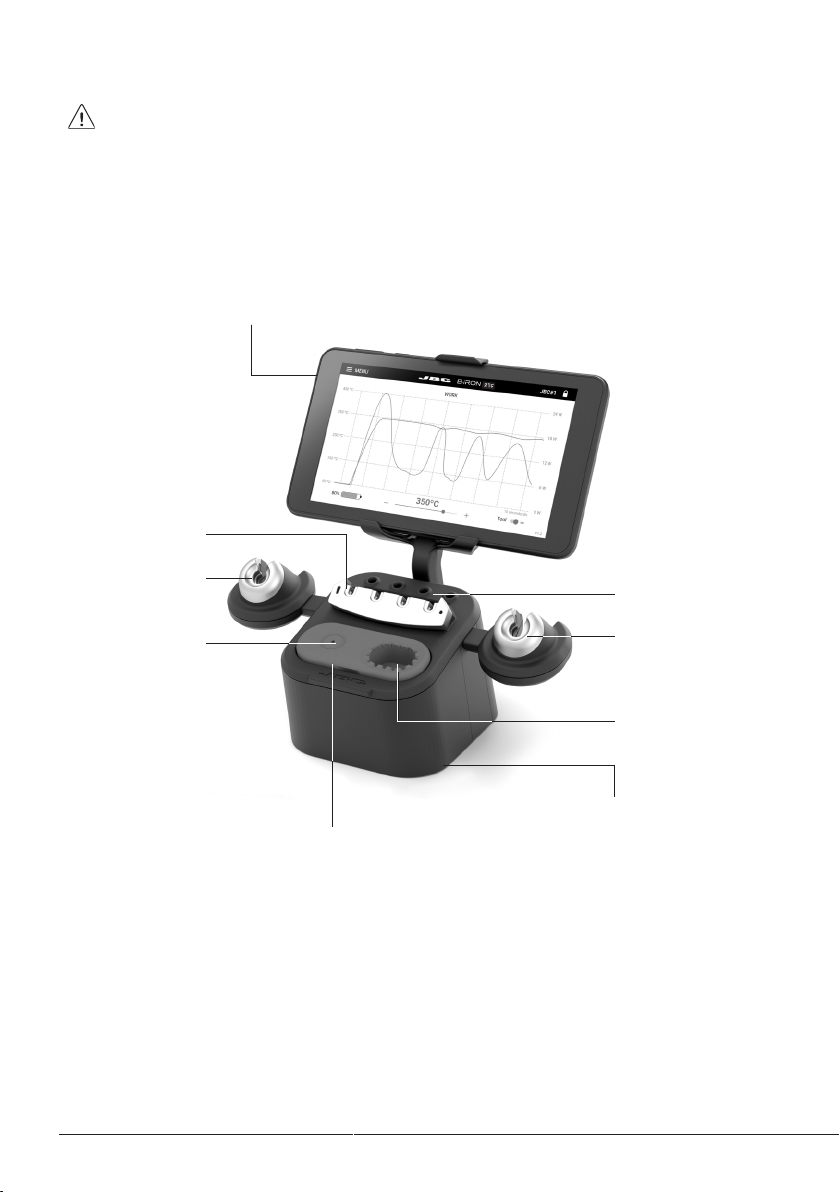
Tool Power Switch
Work Charge Mode
When the tool is lifted from
the tool holder, the tip of the
assembled cartridge will heat
up to the selected working
temperature.
While the tool remains on the
tool holder, it charges and the
tip will gradually cool down to
room temperature.
Hibernation Mode
When the tool is away from
the tool holder and remains
inactive (no movement for at
least 10 seconds), the tool goes
into Hibernation Mode and the
tip temperature gradually cools
down to room temperature.
After automatically turning
off, put the tool back on the
tool holder to turn it on again.
If the tool has been inactive for
a longer period of time (at least
5 minutes), it automatically
turns off.
Automatic Turn Off Turning the Tool Back On
Sleep Mode
If Sleep Mode is activated
(see section “Settings”), upon
placing the tool on its holder,
besides charging it enters Sleep
Mode. The tip temperature will
drop down and remain at Sleep
temperature.
Note: The tool can also be switched off/on manually. Tap the
Tool power switch on the display (bottom right) to switch it off/
on (if the tool is turned off, it will remain connected up to 5
minutes to the station but will not heat up the cartridge).
Inactive
10 secs.
10