01 02
Parts list Qty
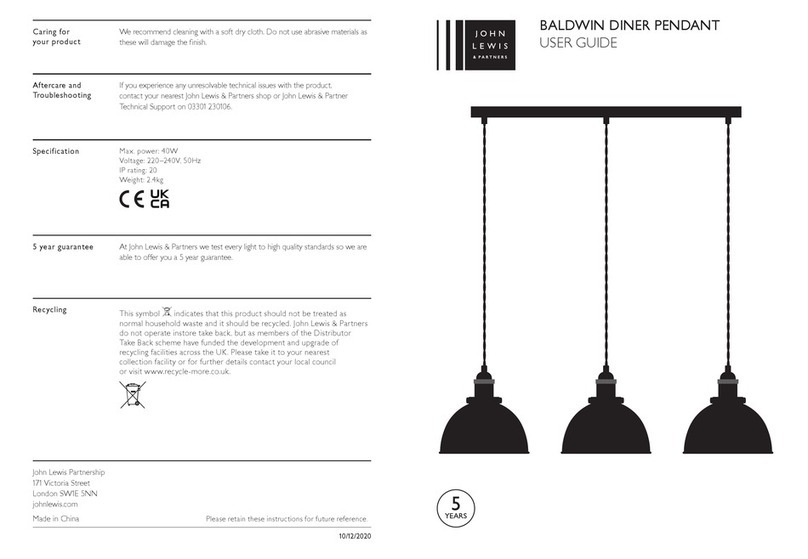
Introduction Thank you for purchasing this Mykki Floor Light.
Please read the instructions carefully before
use to ensure safe and satisfactory operation
of this product.
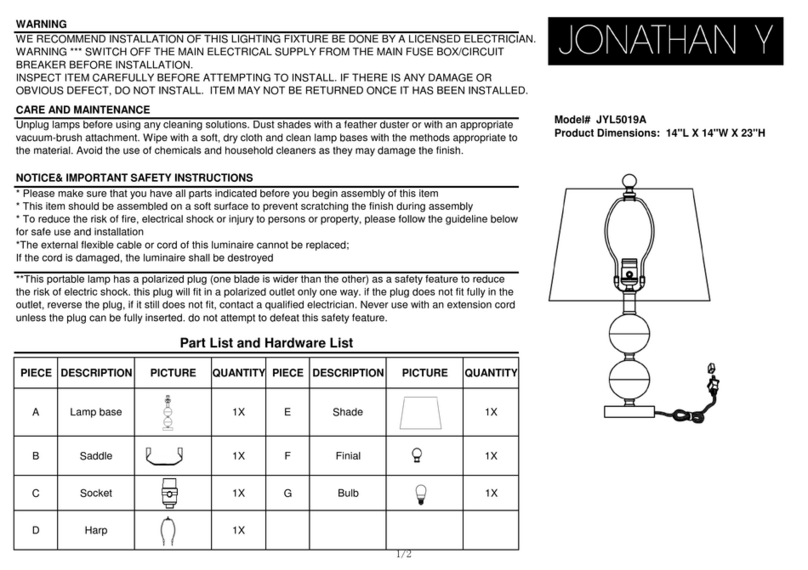
Warnings This is a Class ll product and must NOT be earthed.
Please read these instructions carefully before commencing any work.
Your standard lamp has been packaged as separate parts to prevent damage
during transit.
When manoeuvring or assembling this product, it must be lifted from
the bottom section.
The lamp must be protected by a 3 amp fuse in the mains plug.
If you are in any doubt, please consult a qualied electrician.
For your safety, always switch off the supply before cleaning or adjusting.
If the mains cable becomes damaged it must only be replaced by a technically
competent, qualied person.
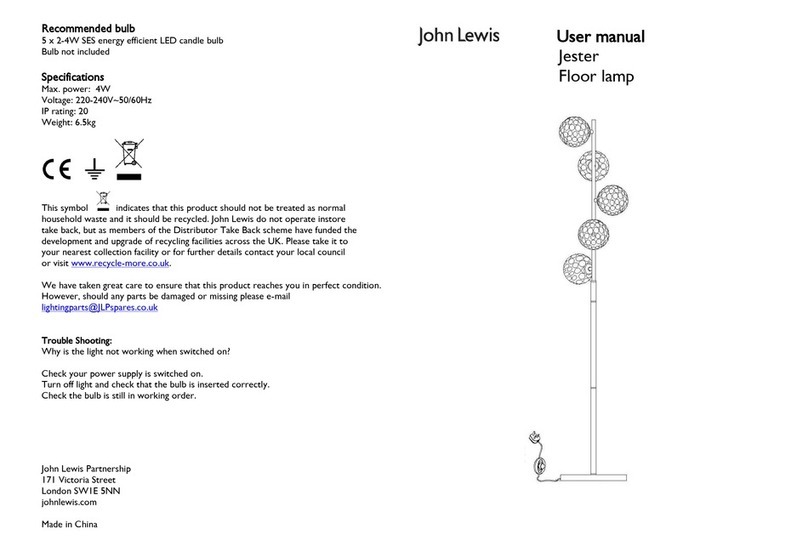
Recommended bulb
Product assembly
1
2
A
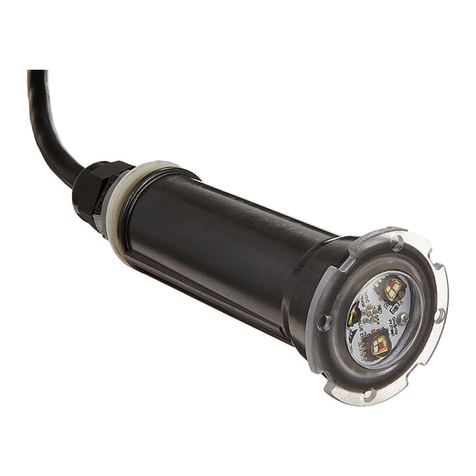
Recommended bulb (included)
1 x 4W GU10 LED
Energy efcient bulb
When changing a bulb, always switch off at the mains and allow the bulb to cool
before handling. Dispose of used bulbs carefully. Do not exceed the rated power
stated or use a different shape bulb from that indicated on the tting.
Refer to assembly drawing opposite. Carefully unpack
the carton, making sure all the parts are present and all
packaging has been removed before assembly.
Gently pull out the protectors from the tube ends.
Do not plug in or use this product until it has been
fully assembled. Disconnect from mains during assembly
or maintenance.
Screw tube A on to the top section in a clockwise
direction, followed by tubes B and C. Take care not
to trap the cable or cross the thread.
Locate the end of tube C on to the base. Gently pull
any excess cable through from under the base and out
through the side of the base.
Screw the stem on to the base thread, taking care
not to trap the cable or cross the threads.
Once the stem has been screwed onto the base,
it will be necessary to align the head with the cable
coming out of the base. The central nut underneath
the base has been left slightly loose for this purpose.
Rotate the head to align with the cable and fully
tighten the nut. A spanner is supplied for this purpose.
Do not use the lamp until the nut has been fully
tightened and the stem is securely xed.
Stand the product upright and check the tightness of
the joints.
Fit the bulb per the instructions overleaf.
Your standard lamp is now ready to use. Switch on
using the oor switch.
Lamp 1
Spanner 1
Bulb 1
Top Section
Tube A
Tube C
Tube B
Base
Spanner
Floor Switch
Arm & Cable
Extension
Spanner
Floor Switch
Base
Top Section
B
C
