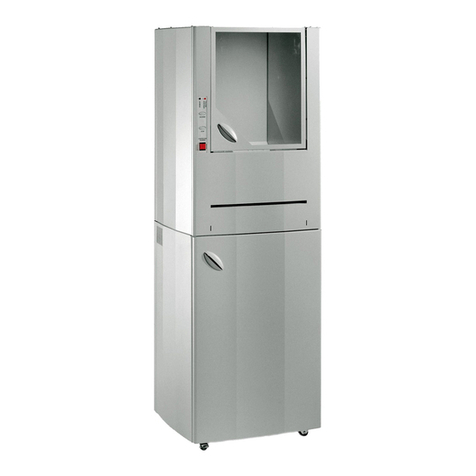
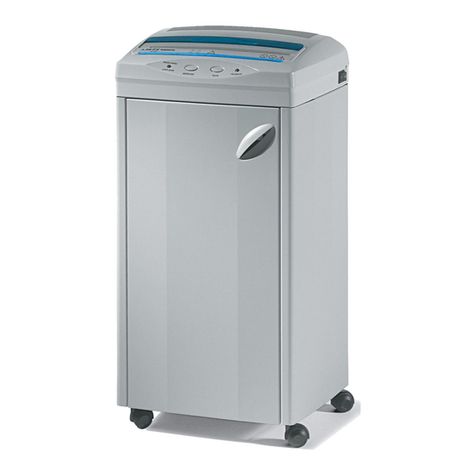
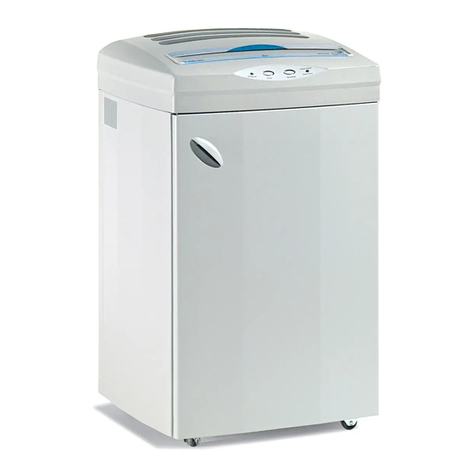
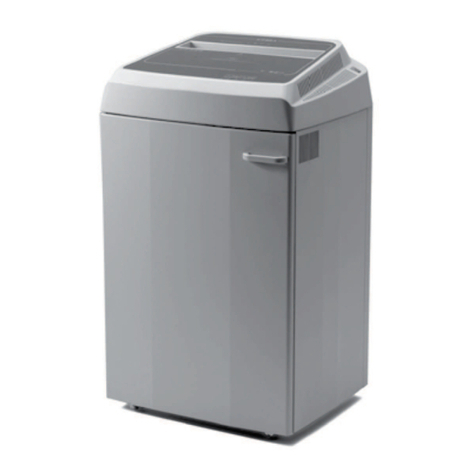
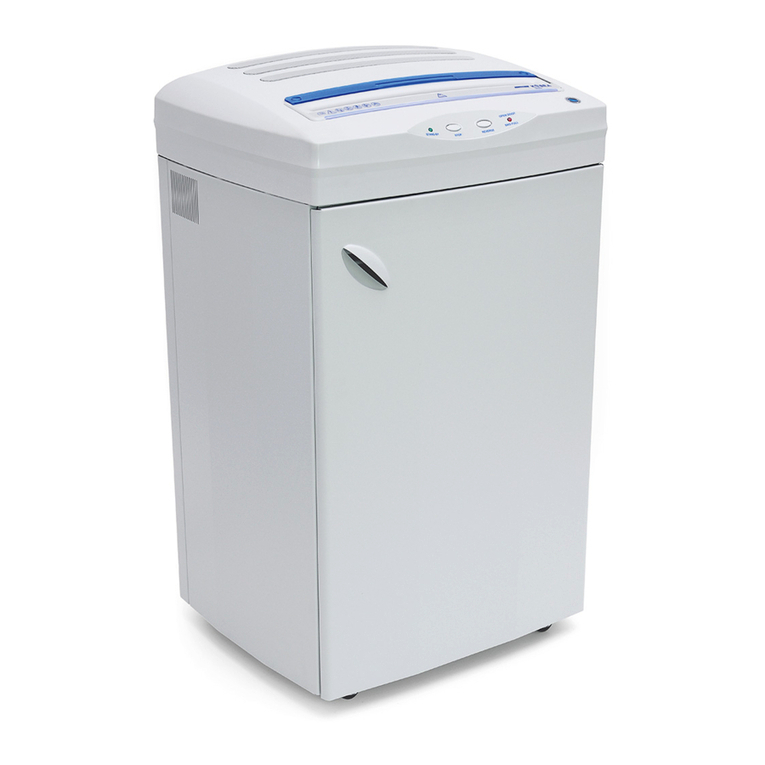
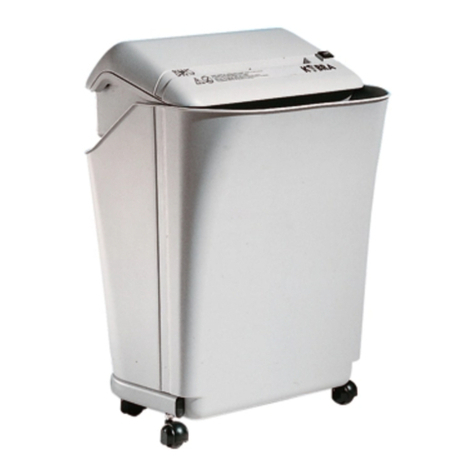
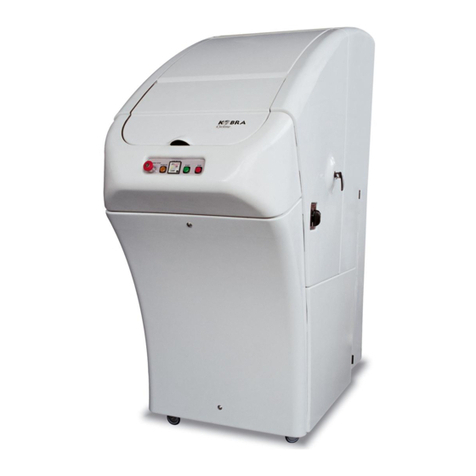
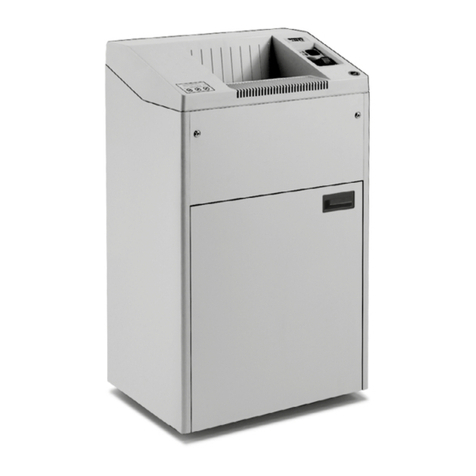
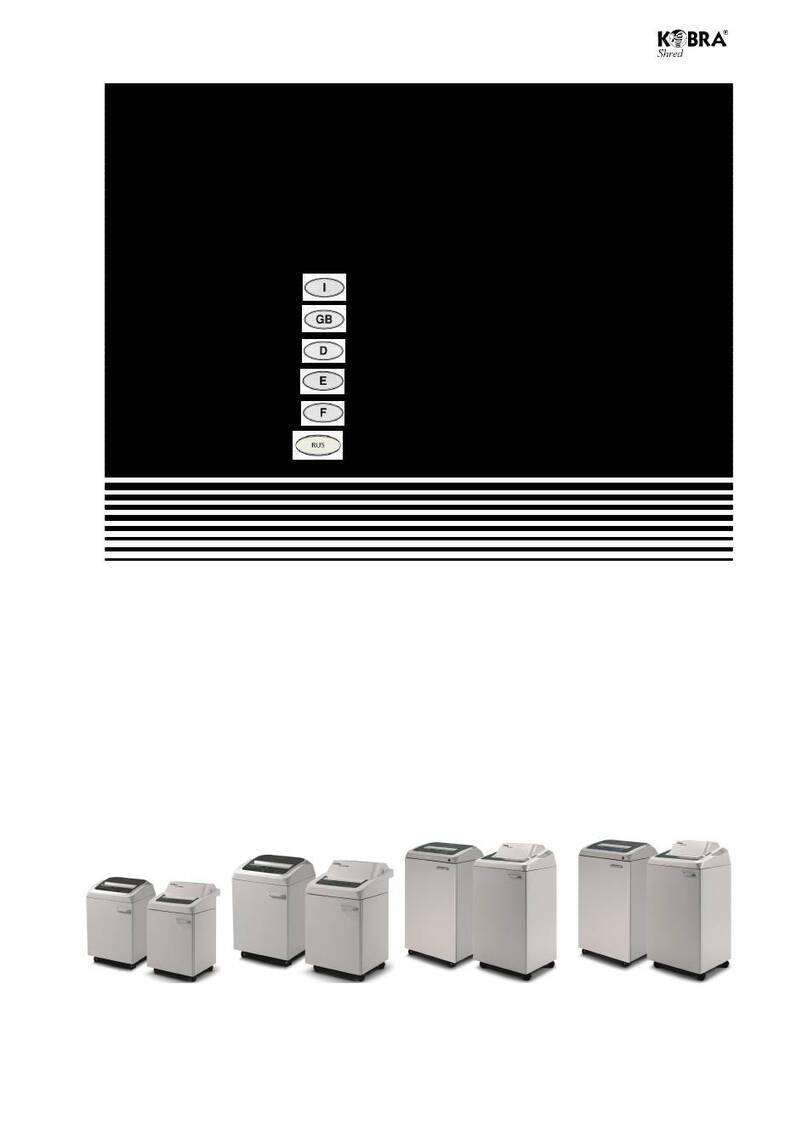
Kobra Cyclone User manual

1 of 30 DI-129/11/07.07.15
OPERATING INSTRUCTIONS
USA VERSION
Multipurpose High Volume Industrial Shredder

2 of 30 DI-129/11/07.07.15
IMPORTANT
THANK YOU FOR PURCHASING THE KOBRA
CYCLONE.
THE CYCLONE IS DESIGNED TO OPERATE UNDER A
VARIETY OF POWER CONDITIONS. HOWEVER, FOR
OPTIMUM PERFORMANCE, YOUR INSTALLER MUST
FOLLOW THE SET-UP AND TUNING PROCEDURE AT
THE END OF THE CYCLONE OPERATIONS MANUAL.
PROPER TUNING AND SET-UP OF YOUR KOBRA
CYCLONE FOR THE SPECIFIC POWER VARIABLES
AT THE INSTALLATION LOCATION WILL
GUARANTEE MAXIMUM EFFICIENCY AND TROUBLE
FREE OPERATION FOR YOUR DOCUMENT
DESTRUCTION APPLICATION.
IMPROPER SET-UP WILL CAUSE OPERATING
DIFFICULTIES AND MAY CAUSE PERMANENT
DAMAGE TO THE UNIT.
PLEASE CONTACT YOUR AUTHORIZED KOBRA
RETAILER FOR ADDITIONAL INFORMATION.

3 of 30 DI-129/11/07.07.15
ATTENTION
KOBRA CYCLONE IS CHECKED AND TESTED AT THE
FACTORY BEFORE SHIPMENT.
PAPER SHREDS YOU MAY FIND IN THE SHREDDING CHAMBER
OR IN THE CYCLONE ARE LEFT OVER FROM THE
OPERATIONAL TESTS.

4 of 30 DI-129/11/07.07.15
KOBRA CYCLONE
SUMMARY
1. INSTALLATION :
1.1 ELECTRICAL SUPPLY
1.2 PLASTIC BAG
1.3 AIR FILTRATION SYSTEM FILTER
2. HOW THE CYCLONE WORKS
3. TECHNICAL DATA / AVAILABLE SCREENS / SECURITY LEVELS
4. OPERATION
5. AUTOMATIC FUNCTIONS
6. CONTROL PANEL
7. MAINTENANCE
8. HOW TO CHANGE THE CUTTING BLADES AND SECURITY LEVEL
9. ACCESSORIES:
AVAILABLE SECURITY LEVELS
PLASTIC WASTE BAG
FILTER
10. TROUBLESHOOTING
11. WIRING DIAGRAM

5 of 30 DI-129/11/07.07.15
KOBRA CYCLONE
USA
WARNING – IMPORTANT
PLEASE READ THE FOLLOWING INSTRUCTIONS BEFORE OPERATING THE MACHINE
•Ask your electrician to check the electrical supply voltage and frequency to confirm it meets your
Cyclone’s requirements. Refer to your site certification form for additional information.
•To operate the machine, it is suggested to wear earmuffs, gloves and goggles.
•The machine must be operated only when plastic waste bag is installed and when air filter for dust
collection is installed.
•Do not operate the machine when plastic waste bag is full.
•Check the filter if dust is observed at the entry opening.
DISCONNECT THE ELECTRICAL POWER FROM THE MACHINE:
•Before changing the waste bag
•Before changing the air filter for dust
collection
•Before each maintenance or service
operation
•Before removing the electrical panel cover
•Before opening the shredding chamber panel
and chamber door
•Before changing the cutting blades or the
security level screen
-
PLEASE BE SURE TO CHECK THE INTERNAL WALLS OF THE CYCLONE SHREDDING CHAMBER ON A REGULAR SCHEDULE, MORE OFTEN IN HEAVY
APPLICATIONS AND IF YOUR APPLICATION REQUIRES SHREDDING OF MATERIALS OTHER THAN PAPER. PLEASE DO NOT OPERATE THE CYCLONE AND
HAVE YOUR KOBRA RETAILER CHECK YOUR MACHINE BEFORE OPERATION IF YOU DISCOVER ANY UNUSUAL WARE OR IRREGULARITIES DURING YOUR
INSPECTION. SHREDDER CHAMBER WALLS MUST BE KEPT CLEAR OF ALL SHREDDING MATERIALS AND IN GOOD CONDITION.

6 of 30 DI-129/11/07.07.15
IMPORTANT
BACK DOORS MUST BE OPEN WHEN
SHREDDING CONTINUOUSLY

7 of 30 DI-129/11/07.07.15
Section A
Fig.1
Fig.2

8 of 30 DI-129/11/07.07.15
Section B
Fig. 3
Fig. 4

9 of 30 DI-129/11/07.07.15
Section C
Fig.5

10 of 30 DI-129/11/07.07.15
Section D
Fig.6
Fig.7
Fig.8 Fig.9
A B C D E
F
G
H
N
R
Q
M
4

11 of 30 DI-129/11/07.07.15
Section E
Fig. 1 Fig
. 2
Fig. 3 Fig. 4
S
8
U
T
7

12 of 30 DI-129/11/07.07.15
Section F
Fig. 10
Fig. 11

13 of 30 DI-129/11/07.07.15
Section G
Fig. 12

14 of 30 DI-129/11/07.07.15
1. INSTALLATION
Please read the following operating instructions
carefully to get the best performance from your KOBRA
Cyclone high volume shredder.
INTRODUCTION
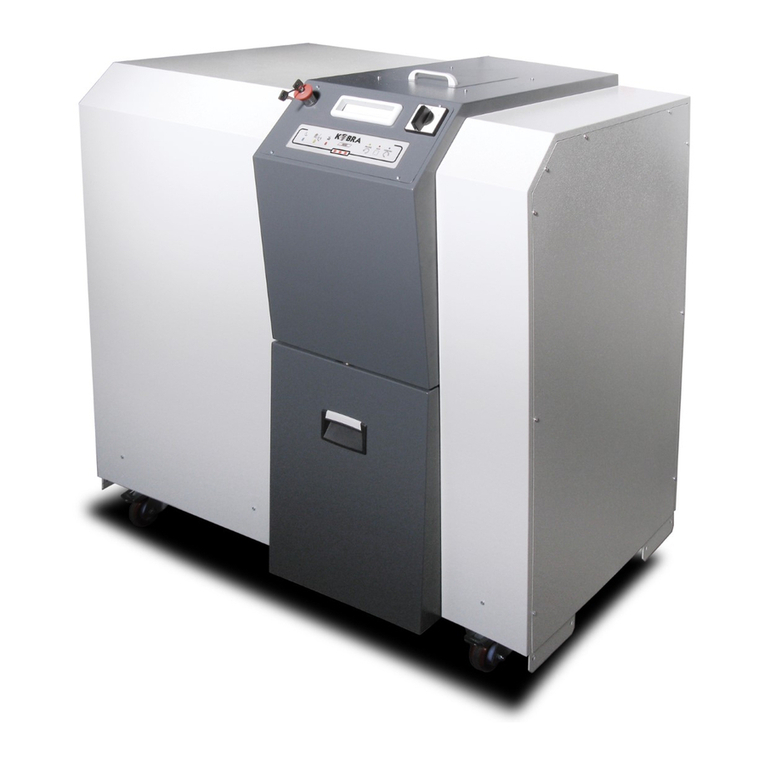
KOBRA CYCLONE has two main components
° The shredding chamber and controls
° The trolley, designed to move away the plastic bag
when full.
The machine is delivered packed in a sturdy wooden
crate which protects the unit during transportation.
The following tools are needed to unpack and install the
machine:
oHammer
oPincers
o13 mm Wrench
o4 mm. Hexagon key
Open up the wooden crate by removing the cover (2A)
and side walls (2B) by using your hammer and pincers.
The Cyclone is fixed to the wooden pallet (2) [Sec.-
Fig.2] by the fixing plates (3-4).
Remove lateral (3) and rear (4) transportation plates by
removing screws (1) and (3).
Your Cyclone is now free to move on the pallet.
Before rolling the Cyclone off the pallet follow these
steps [Sec. B-Fig.3]:
oOpen the doors (4) by opening the door lock (5)
oRemove wooden ramps (3A) from the trolley (Q).
Align the ramps on the front of the pallet. [Sec. B-
Fig.4]
oRemove the trolley (Q) by pulling out the two trolley
fixing pins (7)
oClose back doors (4) and lock doors with door
lock (5)
The Cyclone can now be rolled off the pallet.
It is suggested that a minimum of two people handle
this operation.
Open the paper entry opening cover (7).
Grab the front of the machine as shown in [Sec.C-Fig.5]
and roll the Cyclone down off the pallet.
The second person should help the first operator from
the rear of the machine by pushing and keeping the
Cyclone aligned with ramps while it rolls down off the
pallet.
The Cyclone is equipped with heavy duty casters and
once it has reached the floor level can be easily moved
into its final destination.
The Cyclone dimensions are
(LXWXH) (85X32X84 inch) and the minimum
dimensions of the
area
which allows a comfortable
operation of the machine are
(LxWxH) (155X110x98inch).
The Cyclone should be positioned on a flat floor with
the four wheels firmly touching the floor.
The electrical installation of the Cyclone must be
performed by experienced professional electrician who
will connect the three phase power supply line to the
machine by complying with the electrical safety
standards required by your local law.
The Cyclone is delivered with a power cord. The power
supply cord is 3 meters (10 Ft) in length with
3 wires + ground conductor for 208 Volts connection.
It is required to connect the main power cord wire to an
electrical terminal which is approved and complies with
the safety standards required by your local law.
If a longer cord is needed replace the standard power
cord with a longer wire by disconnecting and
reconnecting the longer wire directly to the connector in
the panel board (see enclosed electrical diagram).
WARNING: Do not make any electrical connections
to extend the length of the standard power cord
delivered with the machine. Replace the complete
power cord if you need to extend the length of the
cord.
NOTE
1- Electrical plugs or junction boxes must be located
near the equipment and must be of easy access.
2-
To protect against excessive current, short circuit
and earth faults in PRIMARY CIRCUITS protective
devices must be an integral part of the supply line
to the installation point.

15 of 30 DI-129/11/07.07.15
USA
ELECTRICAL INSTALLATION AND WIRING
IMPORTANT!!!
After the Cyclone has been connected to the power supply it is necessary to check
the auto-shut off time by adjusting the “ALARM C” knob as shown in the “Electrical
Set-up and Tuning” section at the end of this operating instruction book.
The adjustment of the “ALARM C” knob will adjust the automatic shut-down time of
the Cyclone based on the local power.
The “ALARM C” knob is already set at the factory but small differences in the local
power requires the adjustment of the shut down time at the installation location.

16 of 30 DI-129/11/07.07.15
1.1 ELECTRICAL INSTALLATION
AND WIRING
IMPORTANT!!!
A
fter the machine is connected to the main power
supply it is required to check if blades are rotating in a
COUNTER-CLOCK-WISE DIRECTION when looking
from the top of the blades.
WARNING- DANGER!
These instructions must be followed carefully and in the
exact steps to check the rotation direction:
oTurn the main switch (U) [Sec. E-Fig.2] to “I” (on)
position
oPress the START button (D) [Sec. D-Fig.6] and
after a few seconds
oPress the STOP button (E) [Sec. D-Fig.6]
oPress the emergency button (A) [Sec. D-Fig.6] and
lock it by taking the key out.
oRemove the plastic side cover (M) [Sec. D-Fig.8]
by unlocking it with the standard key delivered with
the Cyclone.
oOpen the shredding chamber and check direction
of rotation of the blades while the blades are
coming to a stop.
DO NOT ENTER THE SHREDDING CHAMBER WITH
YOUR HANDS OR ANY PART OF YOUR BODY.
DO NOT TOUCH THE BLADES.
From outside the shredding chamber it is now possible
to check the rotation of the blades of the Cyclone
(which should still be rotating due to the starting
momentum).
If rotation of the blades is clock-wise the electrical
connection to the main power supply must be changed
by switching the position of two of the three phase
wires.
The Turbine/Cyclone system cannot operate if rotation
is clock-wise and no material can be shredded.
Make sure ROTATION OF THE BLADES IS
COUNTER-CLOCK-WISE and make sure that THE
MAIN POWER SUPPLY CAN PROVIDE SUFFICIENT
POWER TO THE CYCLONE AT 208 VOLTS 50 AMPS.
1.2 PLASTIC WASTE BAG [ Sec. D-Fig.9]
The plastic waste bag is a key component of the
Cyclone. The plastic bag is directly integrated in the
Turbine/Cyclone air closed circuit with its main function
to collect the shredded material.
o
The plastic bag is manufactured to withstand the
air pressure of the turbine
oThe Plastic bag is located in the rear section of the
machine
oOpen rear doors (4) to access the plastic bag.
oThe plastic bag must be mounted on the rubber
seal and held in position by the metal ring and
locked.
oThe plastic bag can be removed from the machine
through the integrated trolley (Q)
oThe weight of the plastic bag when full depends on
the security level (screen) of the machine and on
the type of material which is being shredded.
oPlastic waste bag level is monitored by an
Electronic control system (electronic eyes)
1.3 AIR FILTER BAG
[Sec.F-Fig.10 –11]
The Cyclone is equipped with a dedicated motor which
provides the machine with an air filtration system
designed to maintain clean shredding operation
environment. The filter system collects the dust that
may exit the shredding chamber while shredding
operation is performed.
oThe dust is collected in the filter located in a
dedicated housing in the rear of the machine
oTo access the filter bag open rear doors (4),
Remove plastic waste bag (R) by the integrated
trolley (Q) (Remove blocking pins (7) [Sec. B-Fig.4]
before removing the trolley with the plastic bag on
it).
oUnlock the filter bag panel (P) with the standard
Cyclone key and open filter bag panel. It is now
possible to check if filter bag is full and needs to be
replaced.
To replace filter bag:
oRemove filter by pulling the cardboard flange of the
filter off the vacuum tube
oPosition the new filter bag into its housing and
gently insert and push the cardboard flange
completely onto the vacuum tube.
oClose filter bag panel (P)
Reinstall the plastic bag trolley in its position and fix
it with its blocking pins (7)
oSecure waste bag in place around the cyclone
oClose back doors of the Cyclone

17 of 30 DI-129/11/07.07.15
USA
OPERATION
IMPORTANT !!!
Before starting shredding operation and before any material is introduced into the Cyclone the
following points must be carefully checked:
1. When the “START” button is pressed the Cyclone main motor starts and the
plastic bag must be inflated by the airflow.
2. The Cyclone will shut itself off automatically after approximately 30-40 seconds
when empty and when the tuning and setup procedure at the end of this
operations manual is done correctly if needed.

18 of 30 DI-129/11/07.07.15
2HOW THE CYCLONE WORKS
KOBRA Cyclone is equipped with a turbine generating
a high pressure air-flow and sets of high speed rotating
blades. By making the air stream spin, particles of
shredded material are subjected to centrifugal forces
and deposited from the air- flow into the disposal bag.
3TECHNICAL FEATURES
[Sec. E and Sec. D]
Various Security Levels are available with the Kobra
Cyclone. It is possible to switch the machine to any of
the available Security Levels by following the
instructions in the following 8.2 paragraph. This unique
feature allows the Cyclone to produce the output
particles which meet the requirements of the most
demanding applications in terms of bulk reduction,
shredding speed and security.
The highest Security Level (Level 6) sets the machine
for high security shredding, maximum bulk reduction of
shredded material and minimum shredding output
per
hour. At the other end of the spectrum the lowest
Security Level sets the machine for minimum bulk
reduction of shredded material and maximum shredding
output per hour. The following is a helpful guide for
choosing the correct set up of the KOBRA Cyclone:
oLevel 006
High Security shredding for very classified shredding.
Military and Government use.
Maximum bulk reduction.
Only shredding of paper is suggested
oLevel 005
High Security, suitable for Embassies, Military and
Government offices.
Very high bulk reduction of shredded material
Only shredding of paper is suggested
oLevel 004
Suitable for destruction of confidential documents.
Increased bulk reduction of shredded material
oLevel 003
Suggested for most common commercial shredding
applications.
Combines an excellent degree of security, bulk
reduction of shredded material and shredding output.
oLevel 002
Low degree of bulk reduction of shredded paper.
High output.
4OPERATION
( Sec. D-Sec. E-Sec. F)
Before the KOBRA Cyclone is turned on check If:
oFilter bag (S) has been installed
oPlastic waste bag (R) has been correctly
installed and fastened in place by
the bag holder belt.
oTrolley (Q) is correctly attached
and fixed to the machine with its locking pins
installed.
oThe machine is correctly connected to
three phases 208 volt power supply .
The KOBRA Cyclone is easy to operate.
oTurn main switch (U) [Sec. E-Fig.2] from position
“0” to position “I”. Stand-by light (B) located on front
panel will glow.
oPress the “Start” button (D) on front panel
[Sec. d-Fig.6] .Turbine motor and air filter system
motors will start.
oOpen entry cover (7) [Sec. E-Fig.2] and drop the
material to be shredded into the entry opening of
the Cyclone. If the quantity of material inserted is
small or the weight is very light, the material
itself cannot open the second entry flap to the
shredding chamber. By rotating the handle (T)
[Sec. E-Fig.2] located on the right side of the
machine the entry flap can be opened and
the material will drop into the shredding chamber.
Monitor and keep the LOAD METER (C) [Sec. D-Fig.6]
out of the red zone during continuous shredding
operations..
The LOAD METER detects the actual load on the
Turbine and blade systems and it shows the operator
how much paper or quantity of material can be inserted
into the machine.
LOAD METER green area= 100% capacity available
LOAD METER yellow area= 50% capacity available
LOAD METER red area= No capacity available. Do not
insert any material!
The Cyclone can be loaded with material to shred only
when the load meter is in the green area or yellow area
(50% only or 100%).
In case the Cyclone is overloaded the automatic
thermal protection of the main relay may activate. If this
automatic protection has been activated by an overload
of material, it is required to leave the machine off for a
few minutes to cool off and then re-start the machine
with the START button.
The KOBRA Cyclone is equipped with an automatic
system which will switch the machine to Stand-By mode
when the shredding of the material has been
completed.
It is not therefore required to shut the Cyclone off
manually. The machine will finish shredding and shut
itself off automatically.

19 of 30 DI-129/11/07.07.15
USA
IMPORTANT !!!
WHAT TO DO IN CASE OF A PAPER JAM
A jam has occurred if plastic waste bag does not inflate by the turbine airflow and the shredded
material does not get into the plastic waste bag.
If the machine is overloaded with too much paper (or other material) or in case the
machine is shut down manually while still shredding, the machine could jam.
Usually a paper jam is due to paper blocking the rotating blades (jammed paper
between the first blade and the screen) or shredded paper clogging the turbine exit.
The machine is jammed when the plastic waste bag does not inflate or the blades do
not rotate.
In order to clear the paper jam follow these steps:
1. Remove the paper from the shredding chamber and make sure the blades are
free to rotate.
2. Open turbine cover (Fig.13) and remove the shredded paper clogging the
turbine exit.
3. Press the START button without introducing any material into the machine
and check If the plastic waste bag inflates
Fig. 13

20 of 30 DI-129/11/07.07.15
IMPORTANT
WHEN THE RED BAG FULL LIGHT (8) FLASHES,
STOP LOADING THE CYCLONE IMMEDIATLEY. THE
MACHINE WILL COMPLETE SHREDDING THE
MATERIAL IN THE CHAMBER AND SHUT ITSELF
OFF FOR APPROXIMATELY 3 MINUTES TO AVOID
ANY FURTHER INSERTION OF PAPER AND TO
ALLOW CHANGING OF THE PLASTIC WASTE BAG.
5AUTOMATIC FUNCTIONS
(Sec. D-Fig.6)
The KOBRA Cyclone is equipped with a front
operations panel which controls shredding functions.
By pressing the START button (D) the turbine, cutting
blades and the air filter system are turned on and the
system is ready for operation.
oTHE QUANTITY OF MATERIAL IN THE
SHREDDING CHAMBER.
If material is in the shredding chamber, the
Cyclone will continue to operate.
If the Cyclone detects that all material has been
shredded and the shredding chamber is empty the
machine will shut down automatically after
one minute and 30 seconds later, the air filter
system will turn off.
oThe shredding chamber door is equipped with a
sensor which detects if the door is open and will
not allow the unit to start until the door is closed
and locked.
oThe bag full sensor functions as follows:
- When red light (8) [Sec. E-Fig3] flashes, stop loading
the machine and let the unit finish shredding.
- Let the Cyclone complete the shredding cycle
and wait until it switches to
stand-by mode.
- The Cyclone now cannot be activated for
approximately 3 minutes in order to allow the
time necessary to change the plastic waste bag. Shut
the main power switch off while replacing the bag.
- After plastic waste bag is replaced, turn power back
on. The red light (8) turns off and the Cyclone can be
started again by pressing the START button (D)
IMPORTANT: Make sure the sensors in the back by the
bag are clean and clear if the bag full light flashes after
the bag has been replaced. The machine can also be
shut down to reset the bag full cycle if needed.
6CONTROL PANEL BOARD
(Sec.D-Fig.6)
The operations panel, conveniently located in the front
of the Cyclone, includes:
oAN EMERGENCY SWITCH (A) which is equipped
with a lock In case of emergency, press the red
button (A) and the system will turn off immediately.
The emergency button can be re-set with the
emergency switch key.
The emergency switch can also locked and used to
prevent unauthorized access.
oSTAND-BY SIGNAL (B) indicates when the
Cyclone is getting power and is ready to be started
by pressing the start button.
oYELLOW LIGHT (9) Sec. E FIG.3
This signal will flash when the air filter system
needs to be checked. Check the filter air entry right
above the paper entry throat for blockage and the
filter bag to make sure the bag is not full. Please
note the filter light does not indicate a full filter bag.
oLOAD METER(C) indicates the actual load on the
turbine and on the blades of the Cyclone and
shows the available shredding capacity of the
machine during continuous shredding operations.
LOAD METER green area= 100% capacity
LOAD METER yellow area= 50% capacity
LOAD METER red area=no shredding capacity
oSTART BUTTON (GREEN) (D) When stand by
light is on, pressing the start button activates the
turbine, cutting blades and the air filter system
motors
oSTOP BUTTON (RED) (E) Pressing the stop
button turns the turbine motor and cutting blades
off immediately and the vacuum system motor will
stop after 30 seconds
oBAG FULL SENSOR (V) [Sec. F –Fig. 10]
This system has been designed to stop the
machine when the plastic waste bag is full.
(A light signal shows the operator when the bag is
full).
oCONTROL PANEL BOARD
The control panel board is directly wired to the
main electrical board located behind the front
plastic enclosure (S) of the Cyclone [Sec.E-Fig.4]
The components of the main electrical panel board
are tuned and set at the factory to perform the
operating sequences.
Other manuals for Cyclone
1
Table of contents
Other Kobra Paper Shredder manuals

Kobra
Kobra Kobra AF+1 User manual

Kobra
Kobra Kobra 260 S2 User manual

Kobra
Kobra K245TS User manual

Kobra
Kobra 240.1 User manual

Kobra
Kobra +1 Series User manual

Kobra
Kobra 400 HS User manual

Kobra
Kobra 400-WB User manual

Kobra
Kobra AF.2 COMPACTOR User manual

Kobra
Kobra Cyclone User manual

Kobra
Kobra 240 User manual