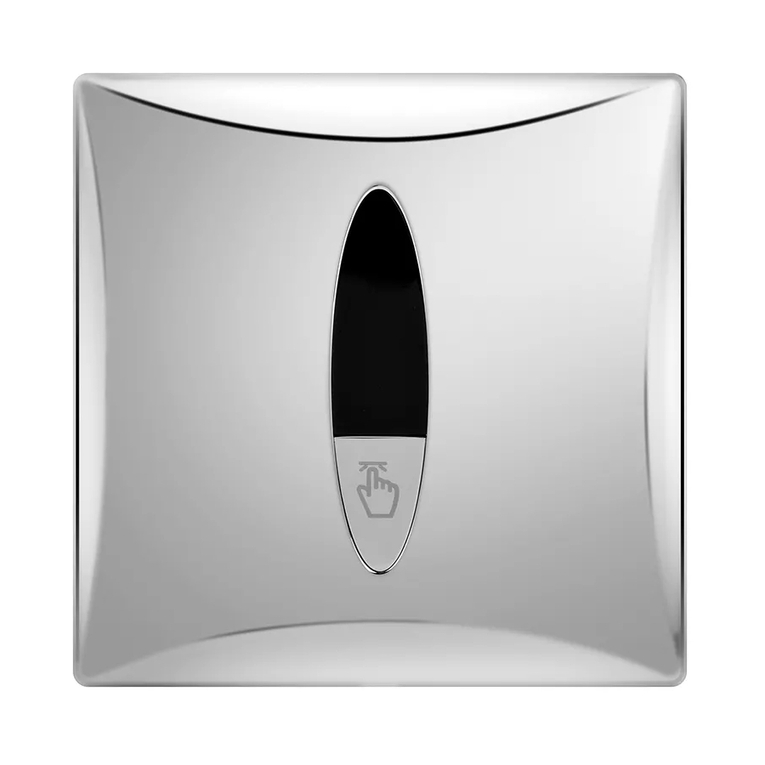
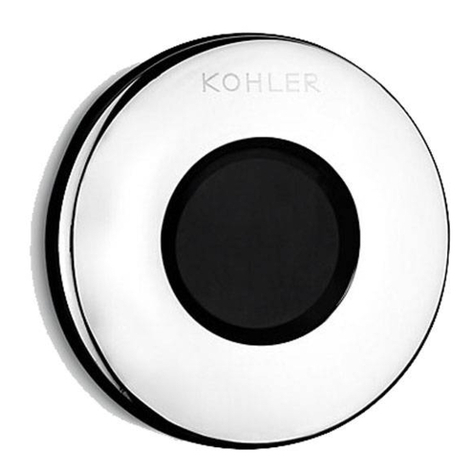
Kohler K-4991X-ET Assembly instructions

1095928-X2-A©2014 Kohler Co. 1
INSTALLATION AND CARE GUIDE
ขอแนะนําการติดตั้งและการดูแลรักษา
กอนเริ่มการติดตั้ง
BEFORE YOU BEGIN
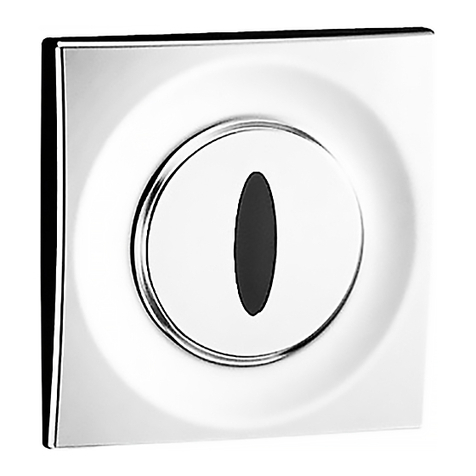
EXPOSED URINAL SENSOR
เซ็นเซอรฟลัชวาลวสําหรับโถปสสาวะชาย
เครื่องมือและวัสดุที่ใชสําหรับการติดตั้ง RECOMMENDED TOOLS AND MATERIALS
รายละเอียดทางเทคนิคของเซ็นเซอร SENSOR SPECIFICATIONS
All information is based on the latest product information
available at the time of publication, Kohler Co. reserves
the right to make changes in product characteristics,
packaging, or availability at any time without notice.
Please leave these instructions for the consumer. They
contain important information.
K-8828X-C01
• Adjustable wrenches
• Tape measure
• Basin wrench
• Pipe wrench
• Square
• Socket wrench with sockets
• Screwdriver
• Level
• Pliers
Model : 8828X-C01-CP
Power : 2 "AAA" size alkaline batteries
Liter per flushing : When the water pressure is 0.1MPa,
the water usage of sensor is no more than 3.0L per flush.
Temperature : Environmental temperature: 1 to 55°C
Starting pressure : 0.05~0.86MPa.
Sensing distance : 70cm away from sensing window
(Automatic adjustment range: 50~70cm)
Testing time : About 2 seconds or 5 seconds
(Automatic adjustment)
Flushing mode : Flushing after used
NOTE: When the water pressure stays between 0.18 to
0.55MPa, the average water usage of the sensor with
K-4904X-ET-0, K-4991X-ET-0 or K-5016T-YET
is no more than 3.0L per flush.
รุน : 8828X-C01-CP
กําลังไฟ :
ใชนํ้าชําระลาง :
อุณหภูมิ :
คาเริ่มตนของแรงดัน :
ระยะการตรวจจับ :
เวลาทดสอบ :
โหมดการชําระลาง :
ขอสังเกต :

1095928-X2-A ©2014 Kohler Co.2
ขอมูลสําคัญสําหรับผูใชผลิตภัณฑ IMPORTANT CONSUMER INFORMATION
ความรับผิดชอบของผูใชผลิตภัณฑ
Consumer Responsibilities
1. Do not attack the sensor.
2. Do not directly flush the sensor with water. The
sensor is an electronic instrument.
3. Do not let sunlight or other light source enter or be
reflected into Sensor Window.
4. Do not hang on the opposite wall any reflective items
or install light/electronic
sensor such as toilet flushing sensor.
5. Do not make Sensor Window near strong ultraviolet
or electromagnetic field.
6. Keep the sensor window clean. The sensor cover
can be cleaned by soft rag with neutral liquid
detergent. Do not use eradicator, abrasive powder
or oil, acid or alkali liquid detergent. Do not spray air
freshener, disinfectant or other kinds of odious
removing, cleaning organic liquid to the sensor
directly.
7. Urinal is designed for use with potable water. Avoid
water that includes a lot of contaminants or acid/alkali
water and impure water.

1095928-X2-A©2014 Kohler Co. 3
ระยะติดตั้ง ROUGHING-IN
Unit: mm
ขอสังเกต:
ขอสังเกต:
NOTE:
a. The dimensions above are just for reference.
b. The connection take between the outlet
connection and urinal is not supplied in this
package.
NOTE:
To ensure an effective flush performance, strongly
recommended inner diameter of water supply
(including water meter, valve, etc.) is no less than
25mm, and supplied water pressure (sensor inlet
dynamic pressure) is 0.18MPa ~0.55MPa.
วิธีติดตั้งเซ็นเซอร INSTALL THE SENSOR
1. The installation heights of sensor
and pipe are different in different
urinal types. Please referring
the next form to choose outlet pipe.
ขอสังเกต:
NOTE:
Please choose the outlet pipe and
make sure the dimension of installation
position according to the urinal type.
2. Make sure the position and set up
the pipe circuit, adjust the outlet
pipe depth, estimate the wall
thickness to make it flush with the
plane which has been pasted with
tile. Screw the main part of sensor
to the outlet pipe; Screw the flange
to the wall after the sensor is
screwed to the right position.
G3/4 Female Thread
G3/4 Male Thread
K-5016T-YET
K-4904X-ET
2383X-NA
2384X-NA
K-4991X-ET 2384X-NA
Urinal Type Outlet
K-5016T-YET
K-4904X-ET
2383X-NA
2384X-NA
K-4991X-ET 2384X-NA
Pipeline
3/4" Adapter
180-220
A
56
175
K-5016T-YET
K-4904X-ET
486
534
K-4991X-ET 534
A
Model/
Dimension/

1095928-X2-A ©2014 Kohler Co.4
ขอสังเกต:
NOTE:
a. Align the centre of sensor with the
centre of urinal.
b. Make sure the installation position
of sensor is vertical.
c. Please clean the inside of water
supply pipe before connecting to
the product.
d. The product is CP-plated, do not
damage the surface during
installation.
ขอสังเกต:
3. Insert the pipe which has been
hitched with nuts and flange into the
urinal inlet, then make the pipe inlet
is opposite with the valve assembly
outlet, place a flat washer at the
centre, and screw tightly the nuts
with wrench.
NOTE:
a. The bottom of the pipe should be
cut if required.
b. Put on clean gloves during
installation to avoid surface injury
by cement or sand.
วิธีประกอบแบตเตอรี่ INSTALL THE BATTERY
ขอสังเกต:
1. Unscrew the adjustment screw at the
back of sensor with hex pan, then
draw the cap lightly to make it apart
from the main part, take out the
battery box assy.
NOTE: Do not apply fleetness and
excessive force to the cap, otherwise,
sealing washer may be damaged.
ขอสังเกต:
2. Unscrew the two screws from the
battery box assembly with screw
driver, and enclose two batteries
as shown picture (please notice
the polar shown as the battery
cover). Tighten the battery box
cover with screws.
NOTE: Don't mistake the polar of the
batteries and don't mix new and used
batteries together. When no enough
power, the indicator will flash
continuously. When out of power,the
indicator will flash every 2 seconds
and the sensor will not work until new
batteries are supplied. No need to
reset the program after the battery
changed.
Decorating Cover
Indicator
Pipe
G1/2 Gasket
Nut
Cap
Cap
Adjustment Screw
Hex pan
Screws
Batteries
Battery Box Cover
Battery Box

1095928-X2-A©2014 Kohler Co. 5
ขอสังเกต:
3. Put the battery box assembly with
batteries into the battery box
bracket, then force it lightly to
the end.
4. Link the power wire and solenoid
valve respectively, then force the
wire into suitable room, prevent
touching the wire when installing
the cap assembly, insert the cap
assembly into the top of the main
part and adjust the position, make
the sensor window front, screw
tightly the socket head screw with
socket head wrench, securing the
cap assy.
NOTE: Do not use this system until
the power is on for 10 minutes.
The sensing distance will be adjusted
and the system will not work during
this time.
ขอแนะนําผูใชงาน USER’S GUIDE
สถานะการทํางาน
Working Satus Flushing
Before powering on, clear the unwanted objects in front
of the sensor window lest shortening the sensing
distance.
การชําระลางแบบแมนนวล
ขอสังเกต:
Manual Flushing
This system can have a good sense
toward most of the clothes. However,
it may have abnormal sense to a very
small number of clothes. If this occurs,
you may use the mode of manual
flushing. Press the button with your
hand to flush the urinal with water, or
loosen the button to stop flushing.
NOTE:
a. The button is a standby device that
will be used when the sensor cannot
perform correctly or the urinal is
being repaired. It is not recommended
to use when the sensor is normally
functional.
b. When the sensor cannot function
properly, please refer to the list of
troubleshooting.
c. Do not exert too much force to avoid
the manual button from damaged.
ระบบชําระลางอัตโนมัติ
Protective Flushing
When the urinal has not been used for a long time, the
sensor will drive the solenoid valve to flush every 24
hours to avoid the deodorizer and the sewer pipe from
drying up.
Battery Box Assy
Battery Box
Bracket
Cap Assy
Solenoid Valve
Wire
Power Wire
Valve Body
Manual Button
1095928-X2-A ©2014 Kohler Co.6
การชําระลางแบบกําจัดกลิ่น
Deodorizing Flushing
The sensor will take a flushing automatically when
urinal is used 3 or 4 times in 2 minutes.
การบํารุงรักษา MAINTENANCE
การซอมแซมโถปสสาวะชาย
ขอสังเกต:
Urinal Repair
When repairing, you don't have to dismount the
sensor. Cover the sensing window with tape and work
with ease.
NOTE:
Don't use very adhesive tape in case the scar will be
hard to remove.
ทําความสะอาดฟลเตอร
ขอสังเกต:
Clean the Filter Screen
If the flushing volume reclines sharply after installation or used for
a long time with no cause from water pressure, the filter may need
a wash. Please operate as following steps: After turning clockwise
the adjusting bolt with hex pan to close the valve, turn off the
fixed cap with filter-key. Take out the fixed cap with filter and clean
with a brush and reinstall them, and turning counterclockwise the
adjusting bolt with hex pan to open the valve.
NOTE:
a. Turn off the water supply or tighten the adjusting bolt before
cleaning. Do not disassemble the fixed cap and filter during the
operations.
b. Do not use pipe wrench to if necessary clean the valve and the
screen.
การดูแลรักษาและทําความสะอาด
ขอสังเกต:
Care & Clean
Keep the sensing window clean. Wipe with soft cloth
and mild cleaner.
NOTE:
a. Do not use dust-removing powder, abrasive powder
or cleaner containing oil, acid or alkaline ingredient.
b. Do not spray air-refresher, disinfector, or other
deodorizing, cleaning solvent directly into the
sensing window.
c. Keep wire away from water.
d. Don't attack the sensor window.
Filter-Key
Filter
Adjusting Bolt

1095928-X2-A©2014 Kohler Co. 7
การแกปญหาเบื้องตน
อาการ
สาเหตุที่เปนไปได
การแกปญหา
TROUBLESHOOTING
Please make following checks before repair:
Symptoms Probable causes Corrective actions
No flushing
(Indicator not flashing).
1. No power or mistake connected.
2. There is an object within the sensing
distance.
3. The sensing window needs cleaning.
1. Check the power connect.
2. Remove the object .
3. Clean the window.
No flushing or poor
flushing while the
indicator can flash.
1. Still in the waiting status.
2. Adjusting bolt not fully open
3. Low water pressure.
4. Filter is obstructed.
5. The connector is not connected well.
1. Wait for 10 minutes.
2. Open the adjusting bolt.
3. Improve water supply.
4. Clean the filter.
5. Check the connector.
Keep flushing
indicator not flashing.
The valve core is blocked. Wash the valve core with a brush.
Battery indicating light
keeps flashing and
no flushing.
Out of electricity. Replace batteries.

1095928-X2-A ©2014 Kohler Co.
**Finish/color code must be specified when ordering.
Call Center: +(66) 2204 6222
e-mail: [email protected]
อุปกรณประกอบและอะไหล SERVICE PARTS
Hex Pan
Filter-Key
1097205-SP
Manual Button Assy
1093168-SP
Decorating Cover
Sealing Washer Assy
1056063-SP
Spring
1056064-SP
Adjustment Bolt Assy
1056062-SP
O-ring
Filter
Pressing Board
1093147-SP
Solenoid Valve Cover
1056077-SP
Small Valve Core Spring
1093146-SP
Valve Cover
1109378-SP
Diaphragms
1097204-SP
O-ring
1097203-SP
O-ring
1097201-SP
Valve Core Assy
O-ring
O-ring
O-ring
Control Unit Fixed Plate
Connection Nut
Screw M2.5x8
1056053-SP
Battery Box Assy.
Screw M2.5x8
Battery Box Bracket
1056081-SP
Solenoid Valve Assy.
O-ring
Connector
Connector
1097202-SP
Electronic unit
Adjustment
Screw
Screw M2.5x5
1093139-SP
Cap
This manual suits for next models
3
Table of contents
Other Kohler Accessories manuals

Kohler
Kohler GM87026-KP1-WHT User manual

Kohler
Kohler K-4709 Assembly instructions

Kohler
Kohler 24146IN-7 User manual

Kohler
Kohler GM88594-KP1-QS User manual

Kohler
Kohler K-EX27460T-NW-CP User manual

Kohler
Kohler KARAT 72870T-ST User manual

Kohler
Kohler 744T(DC) User manual

Kohler
Kohler K-EX29936T-N-CP User manual

Kohler
Kohler 8787T-B01 User manual

Kohler
Kohler 1019439 Manual