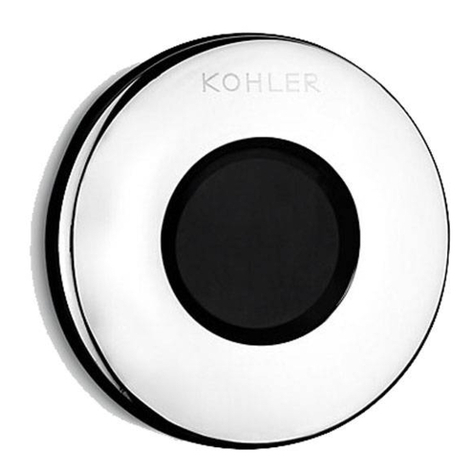
Kohler KARAT 72870T-ST User manual

BEFORE YOU BEGINBEFORE YOU BEGIN
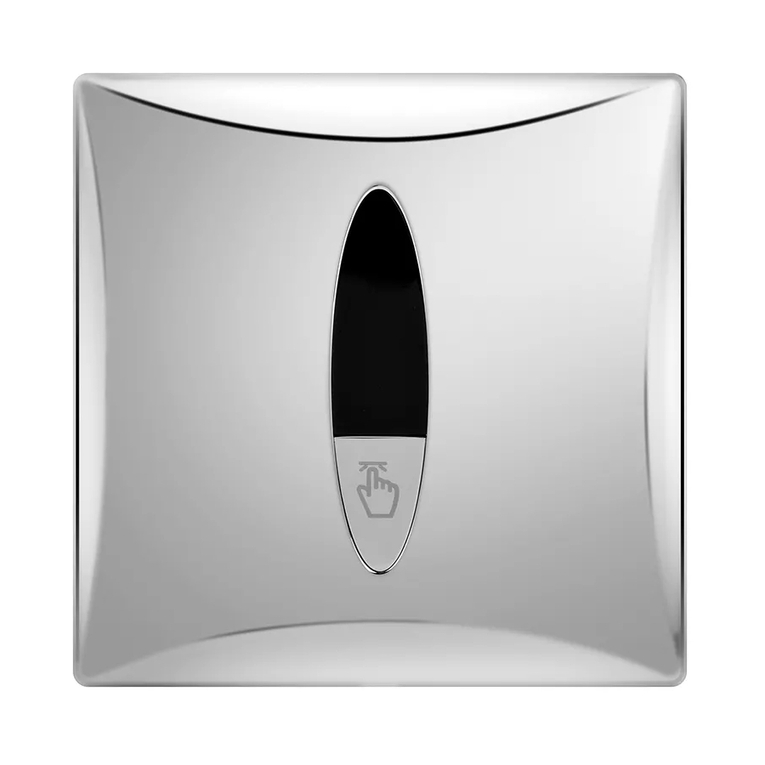
TOUCHLESS URINAL SENSOR
72870T-ST
TOUCHLESS URINAL SENSOR
72870T-ST
Please read these instructions carefully to familiarize
yourself with the required tools, materials, and installation
sequences. Follow the sections that pertain to your
particular installation. This will help you avoid costly
mistakes. In addition to proper installation, read all
operating and safety instructions.
All information in these instructions is based upon the
latest product information available at the time of
publication. Kohler China reserves the right to make
changes in product characteristics, packaging, or
availability at any time without notice.
These instructions contain important care, cleaning, and
warranty information -
please leave instructions for the consumer
-
RECOMMENDED TOOLS AND MATERIALSRECOMMENDED TOOLS AND MATERIALS
Open end/adjustable wrenches
Tape measure
Basin wrench
Pipe wrench
Square
Level
Pliers
Socket wrench with sockets
Philips driver
Seal tape
Special wrenches
Wire cutter
Insulation tape
Bushing
/
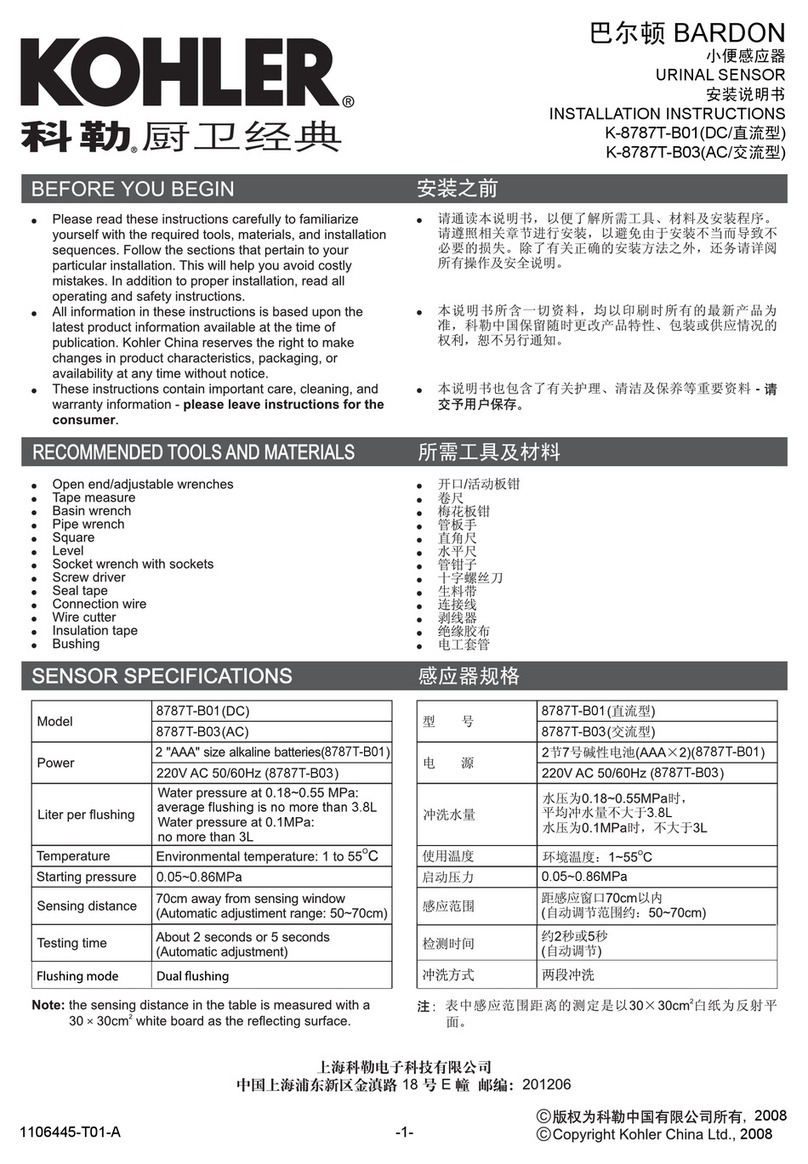
SENSOR SPECIFICATIONSSENSOR SPECIFICATIONS
72870T-ST
AC 220V DC 6V 4 AA
0.3mW 3W
150,000
10-70cm( )
1-60
0.07Mpa -0.7Mpa
G1/2
:
2 26
0.3Mpa 3-5L
95RH
Model 72870T-ST
Power AC 220V/DC 6V (4pcs AA alkaline batteries)
Can use dual power supply switches autom
atically, or used alone AC or DC.
Power consumption: static state 0.3mW trends 3W
Battery life 150,000 cycles
Sensing range 10-70cm( adjustable)
Working temperature 1-60
Working pressure 0.07Mpa -0.7Mpa
Water interface G1/2 external thread
Installation: concealed into the wall
Flushing way two-stage flush, the first is 2 seconds,
the second is 6 seconds
Rated flow: flush water about 3-5L when the water
pressure is 0.3Mpa
Environment humidity: below 95RH

INSTALLATION DIMENSIONSINSTALLATION DIMENSIONS
Notice:
a. The dimensions above are just for reference.
b. The connection take between the outlet connection and urinal is not supplied in this package.
c. To ensure an effective flush performance, an urial with corresponding flush volume is required.
Siphon urinal is not recommened
Recommended working water pressure: 0.18MPa.~0.55MPa.
0.18MPa-0.55MPa
INSTALLATIONINSTALLATION
1. Determine the installation location per rough-in
dimensions and the table of installation position.
Chisel out a slot and install the supply tubes.Then
flush the supply tubes. The depth of the slot is not
less than 90mm, see the figure to the right for
rough in dimension requirement. See the figure
right for rough-in dimension requirement.
Notice:
a. No light shall enter or be reflected into the
sensing window.
b. No reflectible objects in front of the sensing
window (e.g., mirror, polishing stainless steel and
some other polished plates).
c. No strong ultraviolet radiation or electromagnetic
field nearby.
170mm
90mm90mm
a.
b.
c.
1.
90mm
a.
b.
C.
5
55

Note:
please clean the inside of water supply pipe
before connecting to the product.
1
2
3
4
a
b
a. AC 220V
b. 2
AC 220V 2
c. 45AA 1
d.
a.
b. G1/2
2. G1/2
G1/2 1
3
Outer diameter
21mm
AC 220V
2. First, connected the Connecting Pipe to the pipeline,
then to connect with the mortar inlet end and
Connecting Pipe. Connecting the outlet-side by
mounting dimensions of the urinal (see page 3)
Note:
a. Do not mistake the direction out of the water.
b. Please put the rubber gasket into the middle of
connection with water inlet and movable joint,
then tighten the nut activities
a.The AC 220V power line enclose the electrical wire
tube, and inserted ti into the tube hole.
b. Remove the protective cover, 2 red lines on the
adapter, respectively, to tied together with the
2 AC 220V power wires, then use electrical tape to
wrapped separately.
c. Open the battery holder, put into 4 pieces AA
alkaline batteries.
d.Put the power adapter and battery holder into the
mortar. (see Figure 4)
3. Connected to water, with a boosting device for
pipeline pressure to 0.7Mpa, and check the
connectors have no leaks.
4. Remounted the protective cover, with mortar to
landfill cracks around the enclosure, sticking tiles.
5. After the mortar solidification, then remove the
protective cover.
6. Connected the solenoid valve line beyond panel
and the new plug-in of control box, then fixed panel
plate with 4 pieces long screws and cover the panel.
Note:
a.
b. Tighten the screws of the battery box to avoid the
batteries from wetting.
Don't mistake the polarity of the batteries and don't
mix the new and used batteries together
Installing an AC & DC Transformer:
Slurry
Water hole
Tile
Panel frame
Connectine Pipe
G1/2
Bushing
Slurry Mold

USER'S GUIDE
The sensing distance of this product is set at within
70cm away from the sensing window along the
direction of transmitting angle (with a 30cm x 30cm
white board as the reflecting surface) in the factory
with an infrared transmitting angle of about 20 do
wnward.Usually, it needn't adjust the sensing distance.
Of insist, please purchase another remote control to
adjustment.
When the toilet has not been used for a long time, the
sensor will drive the solenoid valve to flush every 24
hours to avoid the deodorizer and the sewer pipe from
drying up.
B.
70cm 30cm 30cm
20
22
63
3
4.4V
63
24
5
3. 0.7Mpa
4.
2
5. 3
6. ,
4
4
a. 5
20
When people pass into the sensing range up to 2
seconds, flushing about 2 seconds, and flushing about
6 seconds after left. (At the time of induction, indicate
when the indicator flash once every 3 seconds; for more
than three minutes of the induction time, the indicator
light will blink rapidly)
To adjust the water flow, with a sucker to take down the
panel, with straight screwdriver to adjust the flow
clockwise, and counter-clockwise turn up the flow.
Note:
a.The sensor window of control box module must be in
beneath. (see Figure 5)
b. The indicator will flash 1 second upon connected
power, then enter standby of normal induction.
The sensor will closed water automatically when the
power voltage less than 4.4V; the indicator will flash
3 times every 6 seconds to prompted replace the
batteries if people use it.
Light
Sucker
with an infrared transmitting
angle of about 20 downward.
Big Small

MAINTENANCE
Clean the Filter Screen
If the flushing volume reclines sharply after
installation or used for a long time with no cause
from water pressure, the filter may need a wash.
Turn off the fixed cap with filter-key,
take out the filter, clean with a brush and reinstall it.
a. Turn off the water supply or tighten the
adjusting bolt before cleaning.
b. Carefully take out the filter when cleaning to
avoid foreign materials entering the inside
of the valve body.
Notice:
a. Do not use dust-removing powder, abrasive
powder or cleaner containing oil, acidor
alkaline ingredient.
b. Do not spray air-refresher, disinfector, or
other deodorizing,cleaning solvent directly
into the sensing window.
c. Keep wire away from water.
d. Don t attack the sensor window.
Notice:
Care & Clean
Keep the sensing window clean.Wipe with soft cloth
and mild cleaner.
a.
b.
a.
b.
c.
d.
*
*
*
* 2007
*
* Our company has an extensive quality promise to the
end customers. The karat products proven to be
correctly installed and properly used enjoy a mainten
ance period of 1 year during which any products with
quality defects shall be repaired without any charge.
* Quality defects caused by the following factors are
not included in the promise:
1) Quality defects caused by improper installation,
replacing and repairing are not included in the promise.
2) Products of industrial and commercial use are not in
cluded in the promise.
However the end customers are included.
3) Quality defects caused by misuse, abuse, careless
ness and employment of
non-Karat components are not included in the promise.
* Please keep your invoice of the Karat product properly
to ensure better service from us.
* This promise base on the produced since 2007 of our
company in China.
* The company keep its right of use the latest compon
ent for repairing.
ONE-YEAR WARRANTYONE-YEAR WARRANTY
Filter

163
2
331
465
5 1-3
6
7
TROUBLESHOOTING OF SIMPLETROUBLESHOOTING OF SIMPLE
If anything exceptional situation while use, please
refer to the following expression and solve accordingly.
If any further questions, call the karat service number.
When the normal water supply and water pressure, the
following happens.
1. No water. The in person front of the sensor window,
indicator continue flash 3 times, it is said power
shortages, should change AC power module or new
batteries.
2. No water. The in person front of the sensor window,
but the indicator no response, it is show following:
1). Did not connect or poor contact between control box
module and power socket. Please pull out and
reinsert.
2). Have no AC power supply or install batteries. Check
the power or change new batteries.
3). Wrong with control box module, should change it.
3. No water. The in person front of the sensor window,
the indicator flash 1 time, it means as follow:
1). Bad connection of solenoid valve line or fault with it,
please change solenoid valve module.
2). The filter was blocked in water inlet of solenoid valve,
please clean the filter.
4. No water. The indicator flash 4 times every 6 seconds,
it shows that there has obstacle in front of sensor or
the position is not suitable of wash basin.
Please move obstacle and adjust the faucet position.
5. Can not turn off water, lots of water flowing from spout.
According to the 1-3 to checked.
6. Still running small water after closed, maybe the water
pressure too low or solenoid valve module error, please
change it.
7. Small water flow but open and close water is normal,
the reason is that the water pressure too low or the filter
has impurities blocked.

Consumer Responsibilities
1. Do not attack the sensor.
2. Do not directly flush the sensor with water. The
sensor is an electronic instrument.
3. Do not let sunlight or other light source enter
or be reflected into Sensor Window.
4. Do not hang on the opposite wall any reflective
items or install light/electronic sensor such as to
ilet flushing sensor.
5. Do not make Sensor Window near strong
ultraviolet or electromagnetic field.
6. Keep the sensor window clean.
The sensor cover can be cleaned by soft rag with
neutral liquid detergent.
Do not use eradicator, abrasive powder or oil,
acid or alkali liquid detergent.
Do not spray air freshener, disinfectant or other
kinds of odious removing, cleaning organic
liquid to the sensor directly.
7. Urinal is designed for use with potable water.
Avoid water that includes a lot of contaminants
or acid/alkali water and impure water.
8. When AC power unit is connected to 220V AC
power supply, corresponding protective
measures should be taken.
9. Please confirm no water penetration at the
connection
area of AC wire, and the connection area is not
easy to be affected by damp.
10. Don t connect power unit to AC power supply
until the sensor installation is finished.
11. The head AC power supply must be protected
with appropriate fuse.
12. Please confirm the AC power supply and water
supply should be shut off before maintaining the
products with AC power related.
13. All electrical connection must be compliance
with related regulation and codes.
14. All installation staff should be well familiar with
installation instruction.
IMPORTANT CONSUMER INFORMATIONIMPORTANT CONSUMER INFORMATION
1.
2.
3.
4.
5.
6.
7.
8. 220V
9.
10.
11.
12.
13.
14.
Shanghai Kohler International Trade Co., Ltd.
Address: Room324, 2 Xinlin Rd,
Waigaoqiao Free Trade Zone, Shanghai
Tel: 021-26062000
Postcode: 200131
106 2 324
021-26062000
200131
106 2 324
021-26062000
200131
1244994
Connectine Pipe
G1/2
1244995
Washer
1244996
Adjustment Assy
1245862
Valve Cover
1245863
Fiter
1244998
Solenoid Valve
1244997
POM Valve Body
POM
220V
1244999
Solenoid Valve Screw
1245000
Valve Box
1245006
Sucke
1245023
Bracket Assy
1245001
Slurry Mold
1245002
Control Box Assy
1245004
Panel Screw
1245003
Panel
1245005
AC&DC Transformer
1244990
.
Battery Box Assy.
SERVICEPARTSPAGESERVICEPARTSPAGE
TOUCHLESS URINAL SENSOR
72870T-ST
TOUCHLESS URINAL SENSOR
72870T-ST
Table of contents
Other Kohler Accessories manuals

Kohler
Kohler Bardon K-8787T-C01 User manual

Kohler
Kohler GM87026-KP1-WHT User manual

Kohler
Kohler 8787T-B01 User manual

Kohler
Kohler PATIO K-8791T-YC01(0.5L/DC) User manual

Kohler
Kohler K-8872T-C01 User manual

Kohler
Kohler K-4991X-ET Assembly instructions

Kohler
Kohler 24146IN-7 User manual

Kohler
Kohler K-EX27460T-NW-CP User manual

Kohler
Kohler K-682 Assembly instructions

Kohler
Kohler GM88594-KP1-QS User manual