manuals.online logo
Brands
  1. Home
  2. •
  3. Brands
  4. •
  5. Krick
  6. •
  7. Toy
  8. •
  9. Krick Ro Marin ro1539 Instruction Manual

Krick Ro Marin ro1539 Instruction Manual

Bauanleitung / Building Instructions / Notice de construction
Bojenset / Buoys Set / Kit de bouée
Nr.
ro1539
Das Set beinhaltet die Teile zur Erstellung von 2 Bojen.
Vorbereitungen
– Die äußeren Füße des Bojen-Oberteils 1 mit Ø1 mm durchbohren.
– Die Bügel 2 nach der Maßstab 1:1 Zeichnung biegen. Als Biegevorrichtung eignet sich ein Rund-
holz von ca. Ø 15 mm.
Zeichnung I
– Das Rohr 3 an den Enden entgraten und in das Bojen-Oberteil 1 einschieben. Das Überstands-
maß von 20 mm einstellen.
– Die Bügel 2 einsetzen und gerade ausrichten. Maß 37 mm in der Übersichtszeichnung beachten.
Rohr sowie Bügel von innen mit Acrylit-Kleber dicht verkleben.
– Die Bügel oben miteinander verlöten.
– Das Bojen-Unterteil 4 mit dem Ring 5 dicht verkleben (Acrylit-Kleber).
– Die Einheit von unten auf das Rohr schieben, bis der Ring 5 am Oberteil 1 anliegt. Den Rohraus-
tritt markieren.
– Unterteil mit Ring wieder abziehen.
– Unterhalb der Markierung rundurn Acrylit-Kleber aufbringen. Gleichzeitig den Ring oben ein-
streichen.
– Das Unterteil nach oben schieben, übergequollenen Klebsto abstreichen.
– Klebestellen gut aushärten lassen.
Zeichnung II
– Die Stellringe 6 und 7 ineinanderschieben und Schraube 8 eindrehen.
– Stellringe auf das Rohr schieben, Schrauben 8 festziehen.
– Vom selbstklebenden Magnetband 9 die Schutzfolie abziehen. Das Magnetband aufkleben,
Überlange mit einem scharfem Messer anpassen.
– Das Rohr unten mit Acrylit-Kleber verschließen.
– Den fertigen Bojenkörper lackieren. Unten erfolgt die Lackierung in schwarz. Oberhalb des
– Magnetbands werden der Bojen- und Lampenkörper 10 in rot oder grün eingefärbt.
Die Bojen sind damit fertiggestellt.
Klaus Krick Modelltechnik Technische Änderungen vorbehalten
© Klaus Krick Modelltechnik 05.12.2019
Geeigneter Acrylit-Klebsto Bestell Nr.
Henkel Stabilit Express ro5015
DELUXE Fusion Acrylit 44015
Bauanleitung / Building Instructions / Notice de construction
Bojenset / Buoys Set / Kit de bouée
Nr.
ro1539
Le kit contient toutes les pièces pour réaliser 2 bouées.
Préparation
– Percez des trous de Ø1mm dans les pieds extérieurs du haut de la bouée 1.
– Cintrez les arceaux 2 selon le plan échelle 1 :1. Pour vous aider à cintrer, utilisez un rond de
Ø15mm env.
Vue 1
– Ebarbez le tube 1 à ses extrémités et enlez-le dans lecône supérieur 1 de la bouée. Réglez le
dépassement à 20mm.
– Insérez les arceaux 2 et ajustez leur position. Respectez la cote 37mm de la vue d’ensemble.
Collez le tube et les arceaux par l’intérieur avec de la colle Acrylit.
– Soudez le hautdes deux arceaux ensemble.
– Collez de façon étanche le cône inférieur de la bouée avec l’anneau 5 (colle Acrylit).
– Enlez l’ensemble sur le tube par le bas, jusqu’à ce que l’anneau bute sur le cône supérieur 1.
Marquez la sortie du tube.
– Retirez le cône inférieur avec son anneau.
– Appliquez de la colle Acrylit sur le tube en dessous du marquage. Enduisez également l’anneau
de colle.
– Enlez la partie inférieure sur le tube, enlevez la colle qui dépasse.
– Laissez bien sécher la colle.
Vue 2
– Enlez les bagues d’arrêt 6 et 7 l’une dans l’autre et montez la vis 8.
– Enlez les bagues d’arrêt sur le tube, serrez la vis 8.
– Retirez le lm de protection de la bande magnétique autocollante 9. Collez la bande magné-
tique, coupez la sur-longueur avec un couteau auté.
– Bouchez le bas du tube avec de la colle Acrylit.
– Peindre le corps de bouée. La partie inférieure sera peinte en noir. La partie supérieure au-dessus
de la bande magnétique et le corps de lampe seront peints en rouge ou vert.
Les bouées sont ainsi terminées
Klaus Krick Modelltechnik Toutes modications techniques réservées
© Klaus Krick Modelltechnik 10.07.2017
Colles appropriées pour le montage Réf. N°
Henkel Stabilit Express ro5015
DELUXE Fusion Acrylit 44015
The set contains the parts for the creation of 2 buoys.
Preparations
– Drill through the outer feet of buoy top 1 with Ø1 mm.
– Bend the brackets 2 according to the drawing scale 1: 1. A round wood of approx. Ø 15 mm is
suitable as bending device.
Drawing I
– Deburr the pipe 3 at the ends and push it into the buoy top 1. Set an overlap of 20 mm.
– Insert the brackets 2 and align them straight. Take care of dimension 37 mm in the drawing. Seal
the tube and the brackets from inside with acrylite adhesive.
– Solder the brackets together on top.
– Stick the bucket bottom 4 tightly with the ring 5 (acrylite adhesive).
– Push the unit from below onto the pipe until the ring 5 rests against the upper part 1. Mark the
pipe outlet.
– Remove the lower part with ring.
– Apply acrylite glue underneath the marking. At the same time apply glue to the ring at the top.
– Slide the lower part upwards, sweep over the swollen adhesive.
– Let dry the adhesive joints well.
Drawing II
– Screw the adjusting rings 6 and 7 into each other and screw in the screws 8.
– Place adjusting rings on the pipe, tighten screw 8.
– Remove the protective lm from the self-adhesive magnetic tape 9. Stick the magnetic tape,
adjust it with a sharp knife.
– Close the tube with acrylite adhesive.
– Paint the nished Buoy. The bottom is painted black. Above the
– Magnetic bands of the buoy and lamp body 10 are painted in red or green.
The buoys are now completed.
Klaus Krick Modelltechnik Technical alterations reserved
© Klaus Krick Model Technology 10.07.2017
Suitable acrylite adhesive Order No.
Henkel Stabilit Express ro5015
DELUXE Fusion Acrylit 44015
Other Krick Toy manuals

Krick 20310 User manual

Krick

Krick 20310 User manual

Krick Lisa M. Instruction Manual

Krick

Krick Lisa M. Instruction Manual

Krick ro marin Neptun Instruction Manual

Krick

Krick ro marin Neptun Instruction Manual

Krick Habicht User manual

Krick

Krick Habicht User manual

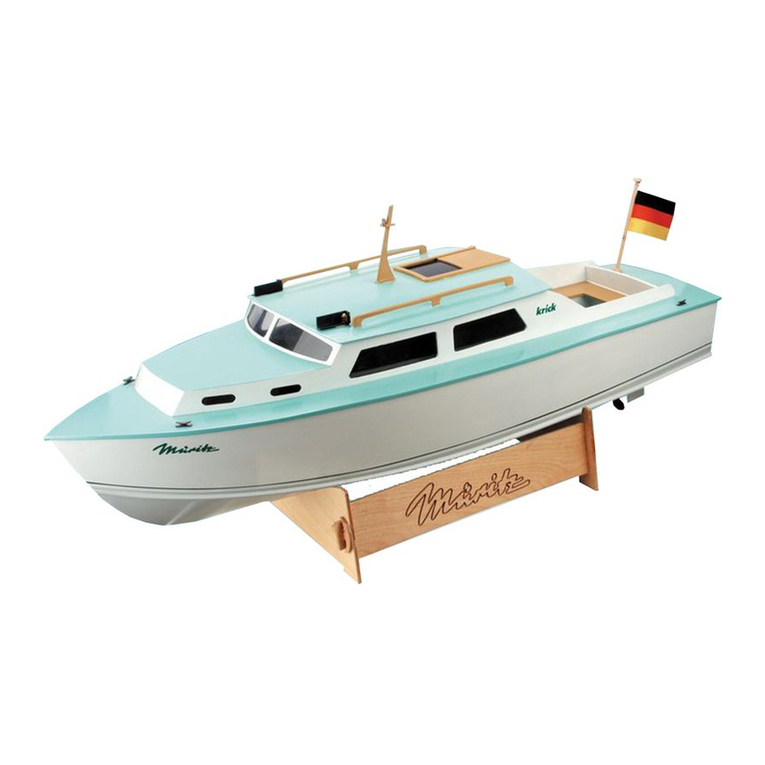
Krick Muritz Instruction Manual

Krick

Krick Muritz Instruction Manual

Krick ro1160 User manual

Krick

Krick ro1160 User manual

Krick 20360 Instruction Manual

Krick

Krick 20360 Instruction Manual

Krick Victoria User manual

Krick

Krick Victoria User manual

Krick Anna User manual

Krick

Krick Anna User manual

Krick Ro-marin Katja Instruction Manual

Krick

Krick Ro-marin Katja Instruction Manual

Krick ANTARES User manual

Krick

Krick ANTARES User manual

Krick Sea Cruiser ARIADNE Instruction Manual

Krick

Krick Sea Cruiser ARIADNE Instruction Manual

Krick 20320 Instruction Manual

Krick

Krick 20320 Instruction Manual

Krick Nordstrand Instruction Manual

Krick

Krick Nordstrand Instruction Manual

Krick Fishing Cutter Antje Instruction Manual

Krick

Krick Fishing Cutter Antje Instruction Manual

Krick 20300 Instruction Manual

Krick

Krick 20300 Instruction Manual

Krick COMTESSE User manual

Krick

Krick COMTESSE User manual

Krick Katja Instruction Manual

Krick

Krick Katja Instruction Manual

Krick Borkum Island Supporter Instruction Manual

Krick

Krick Borkum Island Supporter Instruction Manual

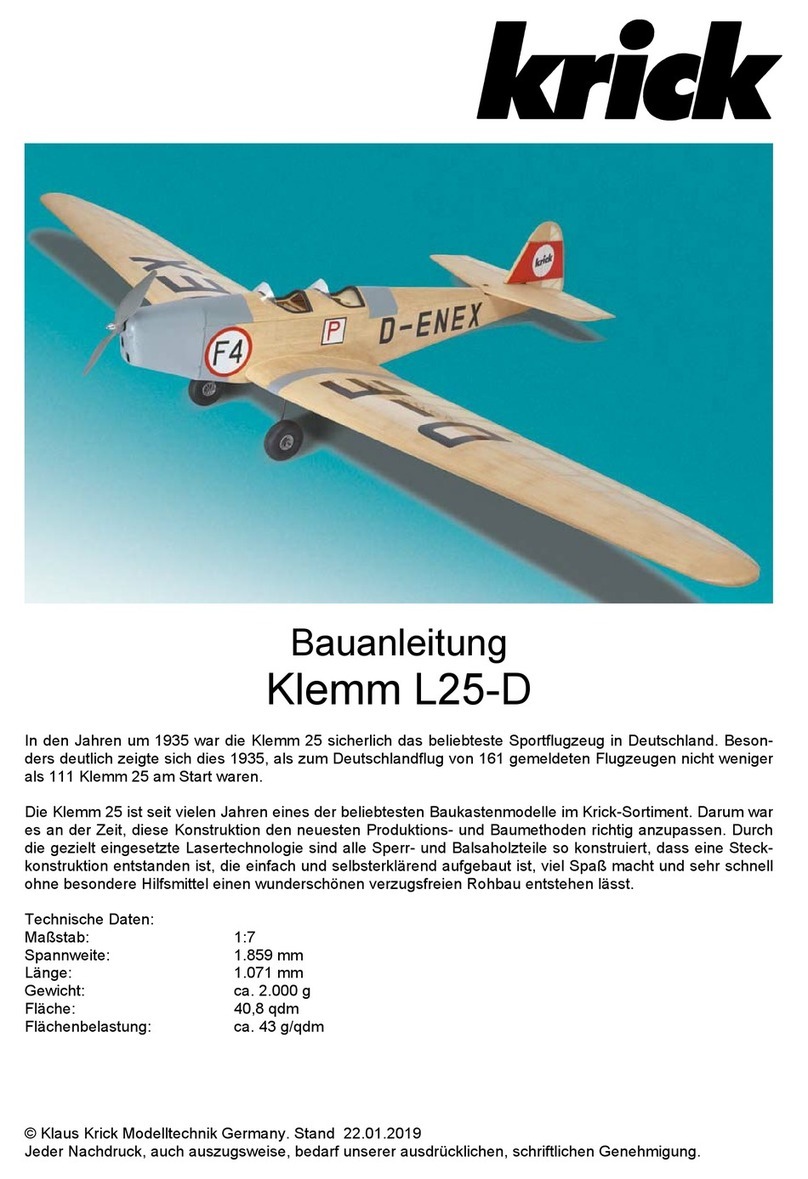
Krick Klemm L25-D User manual

Krick

Krick Klemm L25-D User manual

Krick 65312 Instruction Manual

Krick

Krick 65312 Instruction Manual

Popular Toy manuals by other brands

PIKO BR V200 Instructions for use

PIKO

PIKO BR V200 Instructions for use

MTHTrains Rail King RKS H10-44 Diesel Engine Operator's manual

MTHTrains

MTHTrains Rail King RKS H10-44 Diesel Engine Operator's manual

Mattel Disney PIXAR Cars 2 instructions

Mattel

Mattel Disney PIXAR Cars 2 instructions

REVELL Easy Plane user guide

REVELL

REVELL Easy Plane user guide

Eduard Mi-24V Hind armament set Assembly instructions

Eduard

Eduard Mi-24V Hind armament set Assembly instructions

Fisher-Price J4966 instruction sheet

Fisher-Price

Fisher-Price J4966 instruction sheet

CNC Workshop MINIATURE SCENERY Observation Blimp instructions

CNC Workshop

CNC Workshop MINIATURE SCENERY Observation Blimp instructions

Eduard Seafire F.XVII landing flaps manual

Eduard

Eduard Seafire F.XVII landing flaps manual

Mega Construx WONDER BUILDERS POKEMON FVK81 manual

Mega Construx

Mega Construx WONDER BUILDERS POKEMON FVK81 manual

Horizon Hobby miss elam owner's manual

Horizon Hobby

Horizon Hobby miss elam owner's manual

Mattel Disney-PIXAR WALL-E instructions

Mattel

Mattel Disney-PIXAR WALL-E instructions

Airigami 8GUSA20C08 instructions

Airigami

Airigami 8GUSA20C08 instructions

LEGO City 60097 Building instructions

LEGO

LEGO City 60097 Building instructions

Faller DOUBLE SILO manual

Faller

Faller DOUBLE SILO manual

Tree House Kids TrickSnake 1042 user manual

Tree House Kids

Tree House Kids TrickSnake 1042 user manual

Chad Valley Fantasy Island Assembly & user instructions

Chad Valley

Chad Valley Fantasy Island Assembly & user instructions

LEGO City 60080 Building instructions

LEGO

LEGO City 60080 Building instructions

ROBBE DUSSELDORF 1195 Building instructions

ROBBE

ROBBE DUSSELDORF 1195 Building instructions

manuals.online logo
manuals.online logoBrands
  • About & Mission
  • Contact us
  • Privacy Policy
  • Terms and Conditions

Copyright 2025 Manuals.Online. All Rights Reserved.