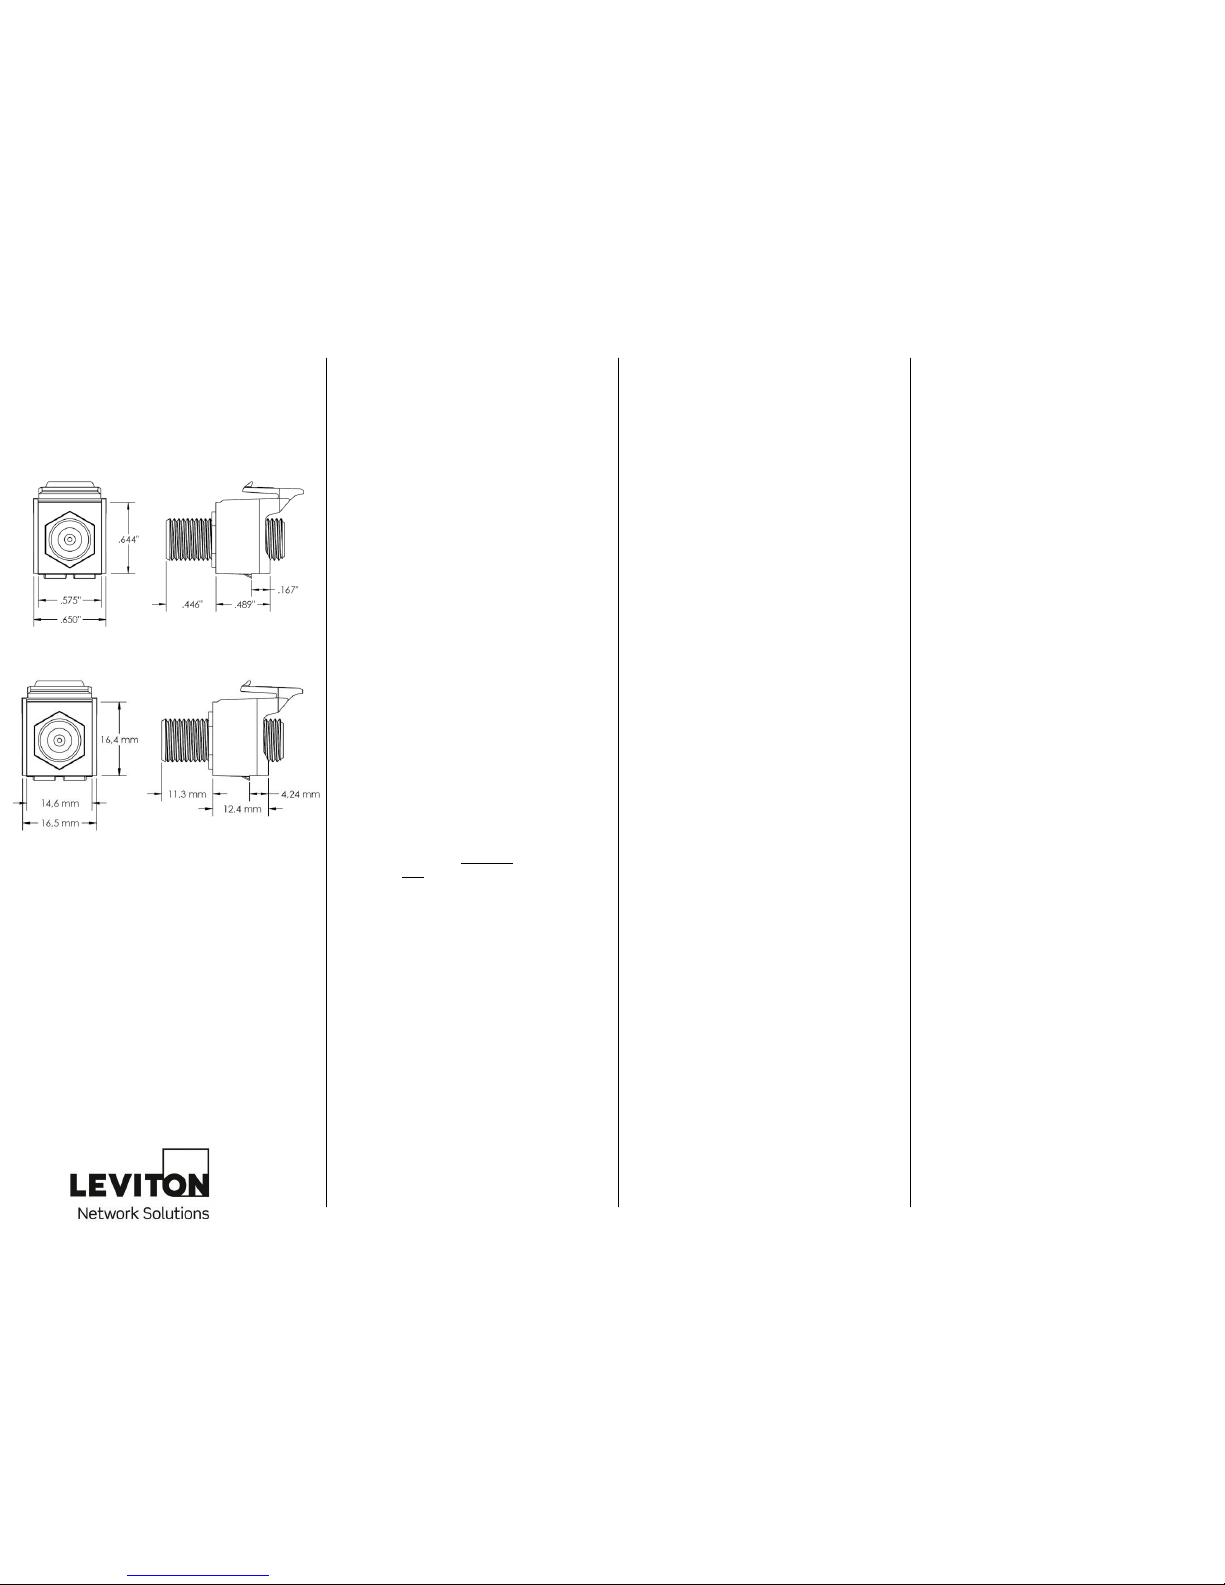
manuals.online logo
Brands
  1. Home
  2. •
  3. Brands
  4. •
  5. Leviton
  6. •
  7. Control Unit
  8. •
  9. Leviton 41084-FxF User manual

Leviton 41084-FxF User manual

INSTRUCCIONES
IMPORTANTES
1. Lea y comprenda perfectamente todas las
instrucciones. Siga todas las instrucciones y
advertencias marcadas en el producto.
2. No utilice estos producto cerca del agua, por
ejemplo, cerca de bañeras, tinas,
lavaderos o lavabos, en sótanos húmedos o
cerca de piscinas.
3. Nunca introduzca objetos de ningún tipo a
través de las aberturas de estos productos, ya
que puedan hacer contacto con voltajes
peligrosos.
4.CONSERVE ESTAS
INSTRUCCIONES.
INFORMACION DE
SEGURIDAD
1. Nunca instale cableado con componentes de
comunicaciones durante una tormenta eléctrica.
2. Nunca instale componentes de
comunicaciones en un local mojado, si los
componentes no han sido diseñados
específicamente para ser usados en
locales mojados.
3. Nunca toque alambres o terminales sin
aislante, si el cableado no ha sido
desconectado
de la interfaz de la red.
4. Tenga precaución cuando este instalando o
modificando cableado o componentes de
comunicaciones.
Leviton y los bloques y diseños de Leviton son Marcas Registradas de Leviton
Manufacturing Co., Inc. y son Marcas Registradas en muchos países del
mundo.
DIRECTIVES
IMPORTANTES
1. Lire les présentes directives et s’assurer de bien
les comprendre; observer tous les
avertissements et directives apparaissant sur le
dispositif.
2. Ne pas installer ce dispositif à proximité d’une
source d’eau – comme une baignoire, un bac à
laver, une cuve à lessive ou un évier de cuisine –
, dans un sous-sol humide ni près d’une piscine.
3. Ne jamais insérer quelque objet que ce soit dans
les ouvertures de ce dispositif; il pourrait entrer
en contact avec des tensions dangereuses.
4. CONSERVER LES
PRÉSENTES
DIRECTIVES.
CONSIGNES DE
SÉCURITÉ
1. Ne jamais effectuer l’installation de câblage ou
de composants de communication pendant un
orage.
2. Ne jamais installer de composants de
communication dans des endroits mouillés à
moins qu’il s’agisse de dispositifs conçus
spécialement pour cet usage.
3. Ne jamais toucher des bornes de raccordement
ni du fil non isolés, à moins que le circuit ne soit
pas relié à l’interface réseau.
4. On doit prendre toutes les précautions requises
lorsqu’on installe ou modifie du câblage ou des
composants de télécommunication.
Leviton, son logo et son design sont des marques de commerce de Leviton
Manufacturing Co., Inc., déposées dans de nombreux pays de par le monde.
IMPORTANT
INSTRUCTIONS
1. Read and understand all instructions.
Follow all warnings and instructions
marked on the product.
2. Do not use this product near water —
e.g., near a tub, wash basin, kitchen sink
or laundry tub, in a wet basement, or
near a swimming pool.
3. Never push objects of any kind into this
product through openings, as they may
touch dangerous voltages.
4. SAVE THESE
INSTRUCTIONS.
SAFETY
INFORMATION
1. Never install communications wiring or
components during a lightning storm.
2. Never install communications components
in wet locations unless the components
are designed specifically for use in wet
locations.
3. Never touch uninsulated wires or
terminals unless the wiring has been
disconnected at the network interface.
4. Use caution when installing or modifying
communications wiring or components.
Leviton and Leviton Block & Design are trademarks of Leviton Manufacturing
Co., Inc. and are registered trademarks inmany countriesthroughout the
world.
41084-FxF
40831-xxx
QuickPort®F-Type
Bulkhead Module
Módulo en Bloque
QuickPort Tipo F
Module coaxial
QuickPortMD de
type « F »
Instructions for Use Directives d’utilisation Instrucciones de uso
© 2014 Leviton Manufacturing Co., Inc.
Customer Support: 800.824.3005
International: +1.425.486.2222
Web: www.leviton.com
PK-93062-10-02-0B
DESCRIPTION
Leviton’s QuickPort® F-Type Bulkhead
Modules are designed to snap into any
QuickPort housing. Use with other
QuickPort connectors to create a
customized multimedia center for TV,
VCR, DVD and satellite applications.
INSTALLATION
1.Attach an appropriate connector to your
cable using the instructions provided by
the connector’s manufacturer.
2.Connect cable to the back of the module
and rotate the module clockwise until the
connector is fully seated. *See Note
Below
3.Snap the F-connector into the wallplate
according to that wallplate’s instruction
sheet. Orient the “UP” designation on
module, with “UP” designation on
wallplate.
4.The use of a small screwdriver may aid in
the insertion of the device into the
wallplate, or removal of the device from
the wallplate
NOTE: For quality video connections, we
recommend the use of threaded F-Type
connectors only (no push-on types).
For the best video quality it is recommended that
video connections be tighter than just finger-tight.
The use of a tightening tool such as Ideal 35-046
is recommended. Needle nose pliers or other
tools may also be used to tighten F-connectors,
both behind and on the front of the wallplate.
Standards recommend that F-Connectors, for
indoor applications, be tightened to a torque of 5-
15 in-lb (0.6-1.8 N-M).
DESCRIPTION
Les modules coaxiaux QuickPort de
type « F » de Leviton sont conçus pour
s’enclencher dans n’importe quels
logements ou plaques de la gamme.
On peut ainsi les utiliser avec d’autres
connecteurs QuickPort pour créer un
centre multimédia personnalisé reliant
téléviseurs, magnétoscopes, lecteurs
DVD et récepteurs de signaux
satellites.
DIRECTIVES
1. Fixer le connecteur approprié au câble
utilisé en suivant les directives de son
fabricant.
2. Raccorder le câble à l’arrière du module
et tourner ce dernier vers la droite
jusqu’à ce qu’il soit bien ancré. *Voir la
remarque ci-dessous.
3. Enclencher le module dans le logement
ou la plaque, conformément aux
directives accompagnant ces derniers,
en orientant les marques « UP » de tous
les dispositifs dans le même sens (vers
le haut).
4. L’utilisation d’un petit tournevis pourrait
faciliter l’insertion du dispositif dans la
plaque et son retrait au besoin.
REMARQUE : pour obtenir des connexions
vidéo de qualité, on recommande de n’utiliser
que des connecteurs « F » filetés (aucun
dispositif à enfoncer de type push-on).
Ces connexions doivent en outre être plus
serrées que ce qui est possible de faire à la
main. L’utilisation d’un outil comme le modèle
Ideal 35-046 est conseillée. On peut aussi
employer une pince à bec effilé pour visser les
connecteurs tant à l’avant qu’à l’arrière de la
plaque murale.
Les normes recommandent que les connecteurs
« F » utilisés à l’intérieur soient serrés en
appliquant un couple de 5 à 15 po-lb (0,6 à 1,8
N.m.).
DESCRIPCION
Los Módulos en Bloque QuickPort
Tipo F están diseñados para encajar
en cualquier caja QuickPort. También
se pueden utilizar con otros
conectores QuickPort para crear
centros de multimedia especiales
para televisión, videograbadoras,
DVD y aplicaciones de TV por
satélite.
INSTALACION
1. Instale un conector apropiado al cable,
utilizando las instrucciones
suministradas con el conector.
2. Conecte el cable a la parte posterior
del módulo y gire el módulo en el
sentido de las agujas del reloj hasta
que el conector quede ajustado. *Vea
la de nota abajo.
3. Enganche el conector F en el marco de
pared siguiendo las instrucciones.
Posicione la señal “UP” (arriba) del
módulo con la correspondiente señal
en el marco de pared.
4. El uso de un destornillador pequeño le
puede ayudar a insertar y sacar el
dispositivo de la placa de pared.
NOTA: Para conexiones de vídeo de calidad,
recomendamos usar sólo conectores roscados
tipo F (No los tipos a presión).
Para obtener mejor calidad de vídeo, se
recomienda que las conexiones de vídeo se
aprieten bien, más que sólo apretarlas con los
dedos. Se recomienda una herramienta que
apriete como ideal 35-046. También se pueden
utilizar alicates de punta aguja u otras
herramientas para apretar los conectores F en
la parte posterior y frontal de la placa de pared.
Se recomiendan que los conectores F, para
aplicaciones interiores, se aprieten a una
tensión de 5-15 in-lb (0.6 a 1.8 NM).
PK-93062-10-02-0B

This manual suits for next models

1

Other Leviton Control Unit manuals

Leviton Decora Home Controls 6375 User manual

Leviton

Leviton Decora Home Controls 6375 User manual

Leviton 10A11-1 Mounting instructions

Leviton

Leviton 10A11-1 Mounting instructions

Leviton 47605-C5B User manual

Leviton

Leviton 47605-C5B User manual

Leviton 476TL-T12 User manual

Leviton

Leviton 476TL-T12 User manual

Leviton Decora Illumatech User manual

Leviton

Leviton Decora Illumatech User manual

Leviton GreenMAX RPM00-100 User manual

Leviton

Leviton GreenMAX RPM00-100 User manual

Leviton 73A00-4ZB Mounting instructions

Leviton

Leviton 73A00-4ZB Mounting instructions

Leviton Decora Sureslide 6629-3, 1.5A User manual

Leviton

Leviton Decora Sureslide 6629-3, 1.5A User manual

Leviton SGAMP User manual

Leviton

Leviton SGAMP User manual

Leviton decora 6630 User manual

Leviton

Leviton decora 6630 User manual

Leviton Verifeye 8000 Series User manual

Leviton

Leviton Verifeye 8000 Series User manual

Leviton SureSlide 6637 User manual

Leviton

Leviton SureSlide 6637 User manual

Leviton SPLCH User manual

Leviton

Leviton SPLCH User manual

Leviton Vizia RF+ VRP15-1LW User manual

Leviton

Leviton Vizia RF+ VRP15-1LW User manual

Leviton 59A00-1 User manual

Leviton

Leviton 59A00-1 User manual

Leviton DHO Intellisense HXP15 User manual

Leviton

Leviton DHO Intellisense HXP15 User manual

Leviton SGAMP User manual

Leviton

Leviton SGAMP User manual

Leviton 72A00-1 Mounting instructions

Leviton

Leviton 72A00-1 Mounting instructions

Leviton 73A00-3ZB Mounting instructions

Leviton

Leviton 73A00-3ZB Mounting instructions

Leviton CP series Operation manual

Leviton

Leviton CP series Operation manual

Leviton Decora Illumatech RTF01-10 User manual

Leviton

Leviton Decora Illumatech RTF01-10 User manual

Leviton RENOIR II Series User manual

Leviton

Leviton RENOIR II Series User manual

Leviton 73A00-3ZB Mounting instructions

Leviton

Leviton 73A00-3ZB Mounting instructions

Leviton 48211-6A User manual

Leviton

Leviton 48211-6A User manual

Popular Control Unit manuals by other brands

Allen-Bradley 1440-DYN02-01RJ user manual

Allen-Bradley

Allen-Bradley 1440-DYN02-01RJ user manual

Rockwell Automation Allen-Bradley Guard I/O DeviceNet 1732DS-IB8 user manual

Rockwell Automation

Rockwell Automation Allen-Bradley Guard I/O DeviceNet 1732DS-IB8 user manual

Comelit Simplebus2 Ultra UT2020 Technical manual

Comelit

Comelit Simplebus2 Ultra UT2020 Technical manual

SimCom SIM900B EVB user guide

SimCom

SimCom SIM900B EVB user guide

Data Video MCU-400 instruction manual

Data Video

Data Video MCU-400 instruction manual

Lunos 5/UNI-FT operating manual

Lunos

Lunos 5/UNI-FT operating manual

Sensus AMR-960 installation instructions

Sensus

Sensus AMR-960 installation instructions

Texas Instruments SimpleLink Wi-Fi CC3 20 Series user guide

Texas Instruments

Texas Instruments SimpleLink Wi-Fi CC3 20 Series user guide

Marmitek W home TM13AU manual

Marmitek

Marmitek W home TM13AU manual

SMC Networks VQD1000 Series user manual

SMC Networks

SMC Networks VQD1000 Series user manual

ABB ACSM1 Series Hardware manual

ABB

ABB ACSM1 Series Hardware manual

Victor DRAC2 manual

Victor

Victor DRAC2 manual

Unitronics IO-AI4-AO2 installation guide

Unitronics

Unitronics IO-AI4-AO2 installation guide

National Instruments PXI-2568 manual

National Instruments

National Instruments PXI-2568 manual

UNIPUMP TURBI-M3 DUAL-THRESHOLD Installation and operation manual

UNIPUMP

UNIPUMP TURBI-M3 DUAL-THRESHOLD Installation and operation manual

Sporlan B5D Installation and servicing instructions

Sporlan

Sporlan B5D Installation and servicing instructions

Siemens FCA2018-U1 installation instructions

Siemens

Siemens FCA2018-U1 installation instructions

Victaulic FireLock NXT 764 Series Installation, Maintenance, and Testing Manual

Victaulic

Victaulic FireLock NXT 764 Series Installation, Maintenance, and Testing Manual

manuals.online logo
manuals.online logoBrands
  • About & Mission
  • Contact us
  • Privacy Policy
  • Terms and Conditions

Copyright 2025 Manuals.Online. All Rights Reserved.