manuals.online logo
Brands
  1. Home
  2. •
  3. Brands
  4. •
  5. Leviton
  6. •
  7. Controllers
  8. •
  9. Leviton Decora IPHS5 Series User manual

Leviton Decora IPHS5 Series User manual

Sensitivity
Lo Md
Off Off
Hi
Time Humidistat
2 3
1 4
20 80
cycle
(10 min.) (45 min.)
(20 min.) (30 min.) (Stop Marks)
(Stop Marks) (Stop Marks)
Single Pole Humidity Sensor and Fan Controller
Cat. Nos. IPHS5 - INDOOR USE ONLY
120VAC, 60Hz - Single Pole Only
Incandescent: 600W - MLV/Fluorescent: 400VA - LED/CFL: 150W - Fan: 1/6Hp
INSTALLATION ENGLISH
DI-000-IPHS5-02B
DI-000-IPHS5-02B
WARNINGS
• TO AVOID FIRE, SHOCK OR DEATH:TURN OFF POWER AT CIRCUIT BREAKER
OR FUSE AND TEST THAT THE POWER IS OFF BEFORE WIRING!
• TO AVOID PERSONAL INJURY OR PROPERTY DAMAGE, DO NOT install to
control a receptacle, or a load in excess of the specified rating.
• To be installed and/or used in accordance with electrical codes and regulations.
• If you are not sure about any part of these instructions, consult an electrician.
CAUTIONS
• Clean outer surface gently with damp cloth only. DO NOT use soaps or cleaning
liquids.
• No user serviceable components. DO NOT attempt to service or repair.
• Use this device WITH COPPER CLAD WIRE ONLY.
Installation
WARNING: TO AVOID FIRE, SHOCK OR DEATH,
turn off power at circuit breaker or fuse and test that
the power is off before wiring.
1. Identify your wires
(most common):
NOTE: If the wiring in the wall box does not
resemble this configuration, consult an electrician.
2. Wire.
Working on one connection at a
time, connect wires as shown.
NOTE: Neutral connection
is required.
GROUND
GROUND
NEUTRAL
NEUTRAL
LINE
LOAD
3. Test.
Restore power. Locator light
will illuminate but will not blink.
Refer to Locator Light status
chart to determine
operational status.
Operation
1. Manual
(for all modes of operation)
• Press push pad to manually turn on the load.
Internal time will activate and turn off load
when set time out expires.
• Press and release push pad to manually turn
off load.
4. Mount.
Turn off power at circuit breaker before
completing the outlet installation.
• Gently push wires into wall box. Screw
outlet to box.
• Install wallplate base and snap on
Decora
®
wallplate.
• Restore power.
You Will Need:
• Slotted/Phillips screwdriver
• Pencil
• Electrical tape
• Cutters
• Pliers
• Ruler
LocationFeatures
The humidity sensor and fan controller senses the humidity of your bathroom
and turns your bath fan or fan/light on when the humidity gets too high,
reducing condensation in your bathroom and increasing ventilation when used
in other household spaces.
• Compatible with Incandescent, LED, CFL and Fluorescent loads when
used with combination fan and light fixtures.
• Sensitivity adjustment.
• Built in countdown timer feature for manual operation.
• Automatic ventilation/air circulate mode for continuous operation with
hourly preset time outs.
Changing your device color
Remove Replace
2. To adjust settings
• Remove wallplate and sensor face
(see section "Changing Your Device Cover".)
• Adjust dials with small screwdriver.
NOTE: DO NOT
rotate the adjustment
dials past the stop
marks shown.
Locator Light Status Chart
Locator light action Status
ON Fan OFF
OFF Fan ON
Blinking 2 seconds ON, 2 seconds OFF Air Cycle Mode is active
Blinking 2 seconds ON, 1/10 second OFF Manual override
Fast blink Defective unit
LINE
LOAD
NEUTRAL
GROUND
3. Dial Descriptions
Time
1. Adjust the time selector to set the time out duration, which is the minimum
desired length of time the fan will remain ON after being turned on in any
mode of operation.
2. For use with all Automatic Modes of Operation.
Sensitivity - To reduce false activation, reduce sensitivity.
1. Hi - use for large rooms
2. Medium - use for medium sized rooms
3. Low
- use for small rooms
4. OFF - used in Air Cycle mode.
Humidistat
1. OFF - device ignores the humidity set point and controls fan based on
detection of excess humidity.
2. Minimum relative humidity - when the humidity is below your set level, the
fan can only be turned on manually.
4. Default Settings
• For bathroom applications the device should be placed
at a level to detect steam. Placing the detector directly
above a heater or near drafts is not recommended.
• NOTE: DO NOT use to control a fan/light combination
where the fan/light is the only means of illumination.
• NOTE: The Leviton humidity sensor and fan control will
not eliminate condensation and must be used
For Technical Assistance Call: 1-800-824-3005 (USA Only)
or 1-800-405-5320 (Canada Only) www.leviton.com DI-000-IPHS5-02B© 2019 Leviton Mfg. Co., Inc.
5. Mode Descriptions
What to do if...
Mode Issue Make this adjustment
Auto Mode or
Auto Mode with humidistat False triggers • lower the sensitivity setting
• raise the humidistat setting
Auto Mode or
Auto Mode with humidistat Does not trigger/turns on too late
• raise the sensitivity setting
• lower the humidistat setting
• ensure there are no drafts
Auto Mode or
Auto Mode with humidistat False triggers, but does not trigger when taking a shower • in large bathrooms, raise the sensitivity setting
• raise the minimum humidistat
Humidistat Mode Does not trigger • ensure sensitivity setting is Off
• lower the humidistat setting
Air Cycle Mode Does not trigger
• Turn on fan by pressing push pad
• DO NOT manually turn off, let it time out
• The LED should be blinking 2 seconds on, 2 seconds off
Modes When to use
this setting
Dials Your fan will
turn on when... How the dial should look
Time Sensitivity Humidistat
Auto On/
Auto Off
(factory
default)
Bathrooms
and rooms
where large
changes in
humidity can
occur
Any Low, Med or High
• Low - needs
>20% increase
in humidity to
trigger
• Med - between
10 and 20%
• High - needs
<10% increase
in humidity to
trigger
Off There is a change
in humidity that
is greater than
or equal to the
percentage of the
sensitivity setting.
Auto On/
Auto Off
with humidity
set point
Bathrooms
and rooms
where large
changes in
humidity can
occur
Any Low, Med or High
• Low - needs
>20% increase
in humidity to
trigger
• Med - between
10 and 20%
• High - needs
<10% increase
in humidity to
trigger
Between 20
and 80
The Relative
Humidity is greater
than or equal to the
percentage of the
sensitivity setting
AND the relative
humidity is greater
than or equal to the
humidistat setting.
Air Cycle Basements
and rooms
requiring reg-
ular ventila-
tion such as
bathrooms
in locations
with humid
climates
Any Off Cycle Every hour for the
number of minutes
you have set on
the Time dial (X
minutes).
NOTE: The fan will
go on for X minutes
and will be off for 60
minus X minutes.
NOTE: Any time
the push pad is
pressed while the
device is operating
in a air cycle mode,
the mode will cease
function until the
push pad is pressed
again.
Humidistat Basements,
laundry
rooms and
damp rooms
Any Off Between
20 and 80
Relative humidity
is greater than or
equal to the humidi-
stat setting. Fan will
run for the number
of minutes you have
set on the Time dial
(X minutes).
NOTE: The fan will
run for X minutes
every hour until the
relative humidity
is less than the
humidistat setting.
Manual
Timer
Rooms that
need to
have the fan
turned on
once for a
short time
Any Off Off Runs the fan for
X minutes (X=the
number you set
on the Time dial)
when the button
is pressed. Stops
fan if pressed while
running.
Sensitivity
Lo Md
Off Off
Hi
Time Humidistat
20 80
cycle
(10 min.)
(45 min.)
(20 min.) (30 min.)
2 3
1 4
any of the
4 settings
any of the
settings
except Off
Sensitivity
Lo Md
Off Off
Hi
Time Humidistat
2 3
1 4
20 80
cycle
(10 min.)
(45 min.)
(20 min.) (30 min.)
any of the
4 settings
anywhere
between
20 and 80
Sensitivity
Lo Md
Off Off
Hi
Time Humidistat
2 3
1 4
20 80
cycle
(10 min.) (45 min.)
(20 min.) (30 min.)
any of the
4 settings
Sensitivity
Lo Md
Off Off
Hi
Time Humidistat
20 80
cycle
(10 min.)
(45 min.)
(20 min.) (30 min.)
any of the
4 settings
2 3
1 4
anywhere
between
20 and 80
Sensitivity
Lo Md
Off Off
Hi
Time Humidistat
2 3
1 4
20 80
cycle
(10 min.)
(45 min.)
(20 min.) (30 min.)
any of the
4 settings
any of the
settings
except Off
FCC STATEMENT: This device complies with Part 15 of the FCC Rules. Operation is subject to following two conditions: (1) this device may not cause harmful interference, and (2) this device must accept any
interference received, including interference that may cause undesired operation of the device. This equipment has been tested and found to comply with the limits for a Class B Digital Device, pursuant to
Part 15 of the FCC Rules. These limits are designed to provide reasonable protection against harmful interference in a residential installation. This equipment generates, uses, and can radiate radio frequency
energy and, if not installed and used in accordance with the instructions, may cause harmful interference to radio communications. However, there is no guarantee that interference will not occur in a particular
installation. If this equipment does cause harmful interference to radio or television reception, which can be determined by turning the equipment OFF and ON, the user is encouraged to try to correct the
interference by one or more of the following measures:
• Reorient or relocate the receiving Antenna. • Increase the separation between the equipment and the receiver.
• Connect the equipment into an outlet on a circuit different from that to which the receiver is connected. • Consult the dealer or an experienced radio/tv technician for help.
FCC CAUTION: Any changes or modifications not expressly approved by Leviton Manufacturing Co., Inc., could void the user's authority to operate the equipment.
LIMITED 5 YEAR WARRANTY For Leviton’s limited product warranty, go to www.leviton.com. For a printed copy of the warranty,call 1-800-824-3005.
Patents covering this product, if any, can be found on www.leviton.com/patents.
FOR CANADA ONLY
For warranty information and/or product returns, residents of Canada should contact Leviton in writing at Leviton Manufacturing of Canada Ltd to the attention of the Quality Assurance Department, 165 Hymus
Blvd, Pointe-Claire (Quebec), Canada H9R 1E9 or by telephone at 1-800-405-5320.

This manual suits for next models

3

Other Leviton Controllers manuals

Leviton GreenMax DRC DRC07-ED0 User manual

Leviton

Leviton GreenMax DRC DRC07-ED0 User manual

Leviton LE-RZCZ Installation instructions

Leviton

Leviton LE-RZCZ Installation instructions

Leviton D3208 User guide

Leviton

Leviton D3208 User guide

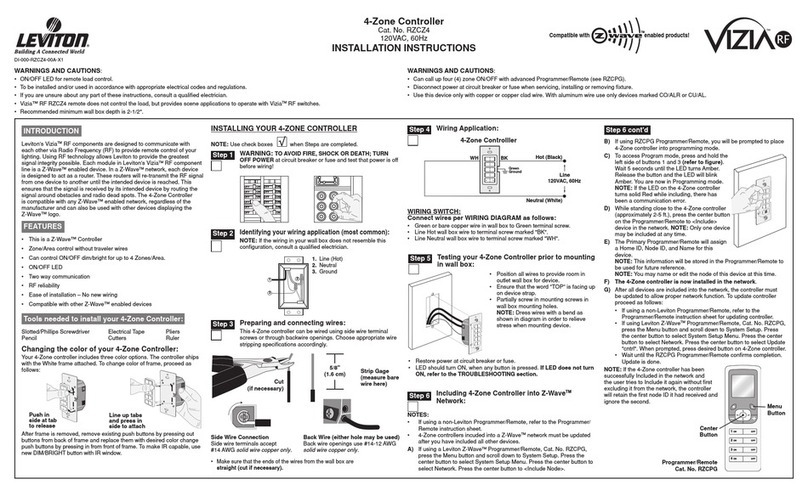
Leviton RZCZ4 User manual

Leviton

Leviton RZCZ4 User manual

Leviton miniZ mZn20-102 User manual

Leviton

Leviton miniZ mZn20-102 User manual

Leviton BITWISE BWBC1 User manual

Leviton

Leviton BITWISE BWBC1 User manual

Leviton NorthStar Site Controller User manual

Leviton

Leviton NorthStar Site Controller User manual

Leviton MLC128R User manual

Leviton

Leviton MLC128R User manual

Leviton miniZ mZb00-102 User manual

Leviton

Leviton miniZ mZb00-102 User manual

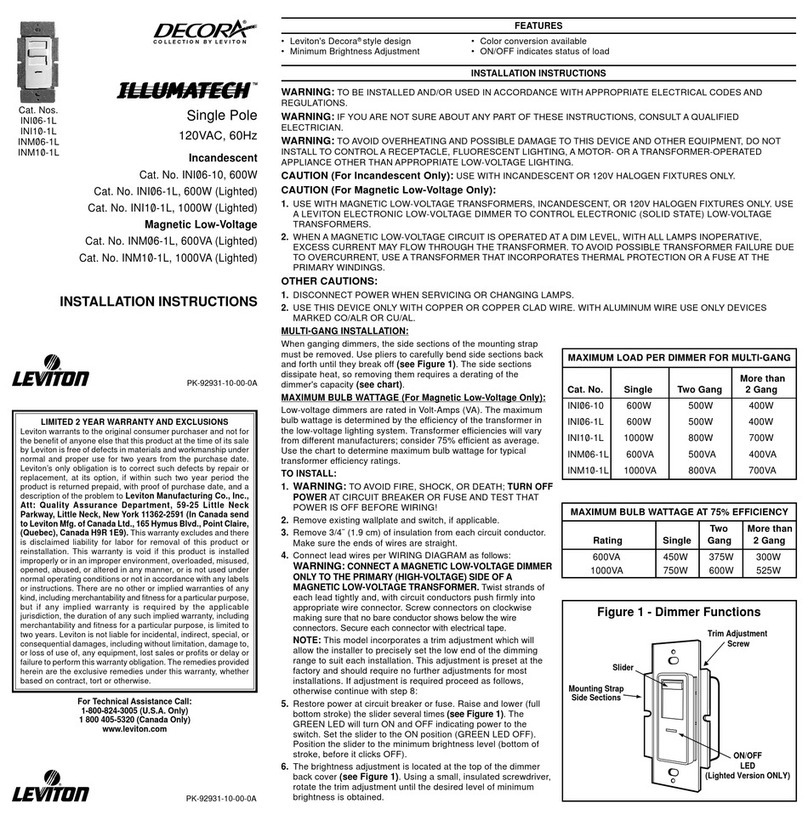
Leviton Decora Illumatech IPF05-1L User manual

Leviton

Leviton Decora Illumatech IPF05-1L User manual

Leviton SGVSM-00W User instructions

Leviton

Leviton SGVSM-00W User instructions

Leviton NE505 User manual

Leviton

Leviton NE505 User manual

Leviton Lumina LURPC-01W User manual

Leviton

Leviton Lumina LURPC-01W User manual

Leviton vizia rf+ User manual

Leviton

Leviton vizia rf+ User manual

Leviton Decora HCC2D User manual

Leviton

Leviton Decora HCC2D User manual

Leviton Decora NE515 User manual

Leviton

Leviton Decora NE515 User manual

Leviton lumina LU20S User manual

Leviton

Leviton lumina LU20S User manual

Leviton Acenti ACF01-1L User manual

Leviton

Leviton Acenti ACF01-1L User manual

Leviton Decora Illumatech IPF01-1L User manual

Leviton

Leviton Decora Illumatech IPF01-1L User manual

Leviton VZ00R-10 User manual

Leviton

Leviton VZ00R-10 User manual

Leviton Decora Smart DW4BC User manual

Leviton

Leviton Decora Smart DW4BC User manual

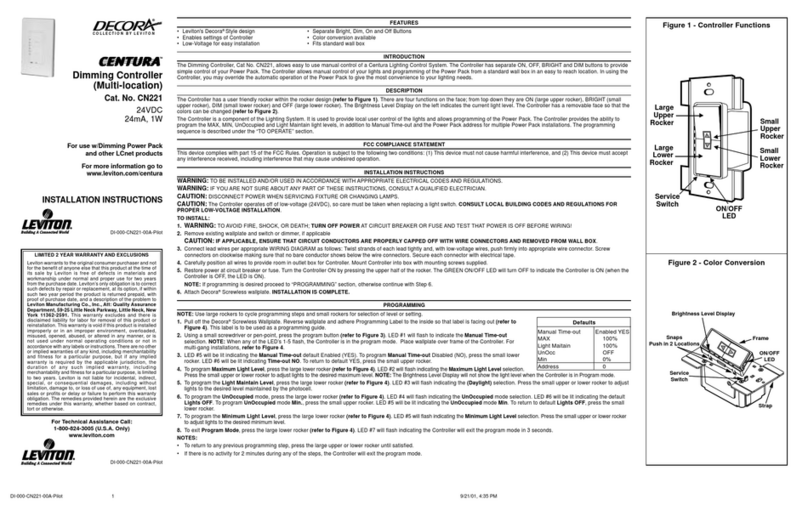
Leviton CN221 User manual

Leviton

Leviton CN221 User manual

Leviton N1000-006 User manual

Leviton

Leviton N1000-006 User manual

Leviton RTD01-10 User manual

Leviton

Leviton RTD01-10 User manual

Popular Controllers manuals by other brands

Honeywell LKS 310 Instruction handbook

Honeywell

Honeywell LKS 310 Instruction handbook

ABB ACS 800 Series Hardware manual

ABB

ABB ACS 800 Series Hardware manual

Compaq StorageWorks HSZ80 Configuration and CLI Reference Guide

Compaq

Compaq StorageWorks HSZ80 Configuration and CLI Reference Guide

Johnson Controls A350E Product/Technical Bulletin

Johnson Controls

Johnson Controls A350E Product/Technical Bulletin

UIS WAC-110 user manual

UIS

UIS WAC-110 user manual

Vivo DESK-E3CTBC instruction manual

Vivo

Vivo DESK-E3CTBC instruction manual

Fbt VAIE 2000 operating manual

Fbt

Fbt VAIE 2000 operating manual

CHC HCE300 manual

CHC

CHC HCE300 manual

L&L KILNS ONE-TOUCH Operation

L&L KILNS

L&L KILNS ONE-TOUCH Operation

3Ware 9650SE-2LPB-10 - Sataii Raid Hardware 10Pk user guide

3Ware

3Ware 9650SE-2LPB-10 - Sataii Raid Hardware 10Pk user guide

aquanta AQ-CA-E100-ESL installation instructions

aquanta

aquanta AQ-CA-E100-ESL installation instructions

AVE 44 048AA Series quick start guide

AVE

AVE 44 048AA Series quick start guide

ROTOR Pakscan quick start guide

ROTOR

ROTOR Pakscan quick start guide

Intel 6 SERIES CHIPSET - THERMAL MECHANICAL S AND DESIGN GUIDELINES... Specifications

Intel

Intel 6 SERIES CHIPSET - THERMAL MECHANICAL S AND DESIGN GUIDELINES... Specifications

Inter-m PMC-6208 Operation manual

Inter-m

Inter-m PMC-6208 Operation manual

PAW FC4.13 Manual For Specialised Craftsman

PAW

PAW FC4.13 Manual For Specialised Craftsman

Barthelme CHROMOFLEX RC manual

Barthelme

Barthelme CHROMOFLEX RC manual

TrolMaster Aqua-X NFS-1 instructions

TrolMaster

TrolMaster Aqua-X NFS-1 instructions

manuals.online logo
manuals.online logoBrands
  • About & Mission
  • Contact us
  • Privacy Policy
  • Terms and Conditions

Copyright 2025 Manuals.Online. All Rights Reserved.