manuals.online logo
Brands
  1. Home
  2. •
  3. Brands
  4. •
  5. Ltech
  6. •
  7. Controllers
  8. •
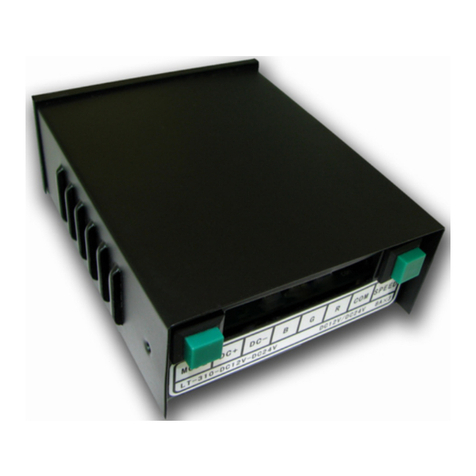
  9. Ltech LT-200 User manual

Ltech LT-200 User manual

(with a power adapter)
<2W
SPI(TTL)
DMX512
LT-200 LED Digital Controller
Working Voltage: 12Vdc
Power Consumption:
LT-200 controls LED with the following compatible ICs: LPD1101/6803/8803/8806, WS2801/2803/2811/2812,
UCS1903/1909/1912/2903/6909/6912, TM1804/1809/1812, TLS3001/3002, P9813, D705.
Change Mode: 540 Modes
Control Qty: 1024 Pixels
Working Temperature: -30℃~65℃
Dimension: L163×W125×H40mm
Package Size: L269×W129×H46mm
Weight (G.W): 820g
2.1 LCD screen, simple to set up parameters.Built-in a
2.2 Built-in perpetual calendar, real-time display system clock, can be set up to play different programs in
any time, Monday to Sunday or holiday.
2.3 540 lighting modes. Such as 7 static color, sync jumping and smooth, color flow, color chasing, smooth
flow, meteor trailing, etc.
2.4 Multi-level changing speed, brightness, RGB grey scales adjustment, effect of movement direction, etc.
Built-in LCD operator display, powerful but simple easy to use. Two ways to adjust modes, speed & brightness
either by RF remote or controller itself.
Supporting international standard protocol DMX512/1990 interface, with DMX administration mode to invoke
the built-in functions for choosing mode, speed, brightness, types and direction changing by DMX512
console. Furthermore, it has the DMX decoder mode, customers could use DMX512 console to program
& control every channel of the LEDs with the compatible ICs listed above. (0-100% dimming range, program
any lighting effect required).
Output Signal:
3rd Part Port:
1
LT-200
LED Digital Controller
1. Product Parameter:
2. Function Features:
warranty
5 years
2.5 Feel free to define many changing modes into a step, 8 independent cycle steps maximum.
8
8. Warranty Agreement:
8.1 We provide lifelong technical assistance with this product:
★ This manual only applies to this model. LTECH reserves the right to make changes without prior
notice.
8.4 Any amendment or adjustment to this warranty must be approved in writing by LTECH only.
8.3 Repair or replacement as provided under this warranty is the exclusive remedy to the customer.
LTECH shall not be liable for any incidental or consequential damages for breach of any stipulation
in this warranty.
8.2 Warranty exclusions below:
For faults beyond the 5-year warranty, we reserve the right to charge for time and parts.
A 5-year warranty is given from the date of purchase. The warranty is for free repair or replacement
if cover manufacturing faults only.
Any man-made damages caused from improper operation, or connecting to excess voltage and
overloading.
The product appears to have excessive physical damage.
Damage due to natural disasters and force majeure.
Warranty label, fragile label and unique barcode label have been damaged.
The product has been replaced by a brand new product.
Update Time: 2018.09.21
LT-200 LED Digital Controller LT-200 LED Digital Controller
7. Attention:
7.1 The product shall be installed and serviced by the qualified person.
7.7 If a fault occurs, please return the product to your supplier. Do not attempt to fix this product by yourself.
7.6 Ensure all wire connections and polarities are correct before applying power to avoid any damages
to the LED lights.
7.5 Please ensure that adequate sized cable is used from the controller to the LED lights to carry the
current. Please also ensure that the cable is secured tightly in the connector.
7.4 Please check if the output voltage of the LED power supply used comply with the working voltage
of the product.
7.3 Good heat dissipation will prolong the working life of the controller. Please ensure good ventilation.
7.2 This product is non-waterproof. Please avoid the sun and rain. When installed outdoors please ensure
it is mounted in a water proof enclosure.
www.ltech-led.com
3
29 DMX DECODE
DMX ADDRESS 001 30 DMX MODE
:
29~30:
DMX512 Control
Modes
29 30
DMX decode DMX mode
1
2
3
4
5
6
7
8
9
10
11
12
13
14
15
Table of Changing Modes.
No. No.
Black
Red
Green
Blue
Yellow
Purple
Cyan
White
Red & White
Green/White
Blue/White
Yellow/White
Purple/White
Cyan/White
Color ColorDisplay Display
Red/Yellow
Red/Purple
Green/Yellow
Green/Cyan
Blue/Purple
Blue/Cyan
Yellow/Purple
Yellow/Cyan
Purple/Cyan
Red/Green
Red/Blue
Green/Blue
Red/Green/
Blue
All Color
01 BLA
2017-02-10 12 00
:
02 RED FLOAT
SPEED 8 BRT 8
::
15 R/Y FLOAT
SPEED 8 BRT 8
::
1-28
General Modes
03 GRN FLOAT
SPEED 8 BRT 8
::
04 BLU FLOAT
SPEED 8 BRT 8
::
05 YLW FLOAT
SPEED 8 BRT 8
::
06 PUR FLOAT
SPEED 8 BRT 8
::
07 CYN FLOAT
SPEED 8 BRT 8
::
08 WHI FLOAT
SPEED 8 BRT 8
::
09 R/W FLOAT
SPEED 8 BRT 8
::
10 G/W FLOAT
SPEED 8 BRT 8
::
11 B/W FLOAT
SPEED 8 BRT 8
::
12 Y/W FLOAT
SPEED 8 BRT 8
::
13 P/W FLOAT
SPEED 8 BRT 8
::
14 C/W FLOAT
SPEED 8 BRT 8
::
16 R/P FLOAT
SPEED 8 BRT 8
::
17 G/Y FLOAT
SPEED 8 BRT 8
::
18 G/C FLOAT
SPEED 8 BRT 8
::
19 B/P FLOAT
SPEED 8 BRT 8
::
20 B/C FLOAT
SPEED 8 BRT 8
::
21 Y/P FLOAT
SPEED 8 BRT 8
::
22 Y/C FLOAT
SPEED 8 BRT 8
::
23 P/C FLOAT
SPEED 8 BRT 8
::
24 R/G FLOAT
SPEED 8 BRT 8
::
25 R/B FLOAT
SPEED 8 BRT 8
::
26 G/B FLOAT
SPEED 8 BRT 8
::
27 RGB FLOAT
SPEED 8 BRT 8
::
28 ALL FLOAT
SPEED 8 BRT 8
::
16
17
18
19
20
21
22
23
24
25
26
27
28
[Attn]
How to select 7 static
colors:
In the mode 2-8, select
Jump type and change
the speed in maximum 8
or minimum 1.
FU N
BB
31 PLAY1 OFF
2017-02-15 12 00
:
35 PLAY5 OFF
2017-02-15 12 00
:
32 PLAY2 OFF
2017-02-15 12 00
:
36 PLAY6 OFF
2017-02-15 12 00
:
33 PLAY3 OFF
2017-02-15 12 00
:
37 PLAY7 OFF
2017-02-15 12 00
:
34 PLAY4 OFF
2017-02-15 12 00
:
39 PLAY1-PLAY8
2017-02-15 12 00
:
38 PLAY8 OFF
2017-02-15 12 00
:
39
31
32
33
34
35
36
37
38
Play5 off
Play6 off
Play7 off
Play8 off
Play1-Play8
Play1 off
Play2 off
Play3 off
Play4 off
Press “MODE+” / ”MODE-” button to switch modes.
31-38:
Automatic Change
Modes
39: Automatic Time Running Mode
Adjust speed by press or Adjust brightness by press or
: :: FLOAT
SPEED 8 BRT 8
::
Press or to switch 8 mode types: JUMP,
FLASH, SMOOTH, FADE, FLOW, CHASE, METEOR, FLOAT.
For mode types FLOW/CHASE/METEOR/FLOAT,
press or long press to switch 4 directions:
forward, reverse, close, split.
FUN
SETUP
SS
BRT+
SPEED+
BRT-
SPEED-
FU N
( ) ( ) ( ) ( )
(on controller)
(on controller) (on controller)
(on controller)
(on remote)
(on remote) (on remote)
(on remote)
For mode 1~28:
3. Configuration Diagram:
LCD Screen
125mm
4. Operating Instructions:
8 function keys on the controller : MODE+, MODE-, SPEED+, SPEED-, BRT+ , BRT-,
SETUP, FUN.
(brightness)
Controller
Mode+/Mode- Brightness+/-
Setup
Fun
Speed+/Speed-
SETUP: Short press to adjust the mode direction. Long press to enter menu setting interface.
FUN: Short press to Long press to ID learning process.switch changing type.
RF Remote Control
Manufacturers
Interface
Power
Switch
Power
Input
RJ45 XLR-3
FUN
Scene-mode keys
50mm 15mm
108mm
MM
FU N
S
B
S
B
M1 M 2
M3 M 4
Mode+/Mode-
On/Off
Speed+/Speed–
153mm
163mm
40mm
ID Learning Method:
Long press button on the controller
for 2 seconds, there is a buzzer beep,
keep pressing:
Learning ID:
Press any key on the remote in 3s.
FU N
Canceling ID:
Press any key on the remote over 3s.
Buzzer on/off: Long press "On/Off" button on the remote.
Brightness+/ -Brightness
Signal & Power Combination Terminal
Output
SPI signal
MODE+: to black color mode.
MODE-: Long press to mode 31.
Long press
Press 2s to save current color
or changing effect
Short press: Switch 8 kinds of
mode types;
Long press: Switch 4 kinds of
mode directions.
2
2.6 Supporting 2 output ports: green terminals and signal & power combination terminal (load 20A current)
2.7 Support third-party DMX512 interface, it can be realized DMX management mode, invoke controller's
most function by DMX console.
2.8 Work as DMX-SPI decoder, using DMX512 console to control every channel and program new changing
effect.
www.ltech-led.com
LT-200 LED Digital Controller LT-200 LED Digital Controller
Press to adjust value.
Press to switch items.
SE TUP
SE TUP
BRT+
BRT+
BRT+
BRT+
BRT+
BRT+
BRT+
BRT+
SPEED+
SPEED+
SPEED+
SPEED+
SPEED+
SPEED+
SPEED+
BRT-
BRT-
BRT-
BRT-
BRT-
BRT-
BRT-
BRT-
SPEED-
SPEED-
SPEED-
SPEED-
SPEED-
SPEED-
SPEED-
IC types and RGB
sequence setting
Chip option: TM1809, LPD6803, LPD8806, WS2801,P9813, TLS3001.
Order option: RGB, RBG, GRB, GBR, BRG, BGR
CHIP TM1809
ORDER RGB
:
:
5.4 buttonIn the mode 31-38, press for 3 seconds to enter submenu, see the form below.
31 PLAY1 OFF
OPEN1 SAVE1 OFF
OFF
OPEN1 SAVE1
OPEN1 SAVE1
RUN WEEK MTWTFSS
TIME 18 00-06 00
:
: : :
1
2
NO.Submenu Function
(Press MODE+/-
to switch) LCD Display Setting Methods
Setting switch state
Setting operation
week
DATE01 0101-0103
TIME 00 00-00 00
:
: : :
3
6
7
LOAD DEFAULT SET
PRESS BRT+ - KEY
8
DATE/TIME SETUP
2012-01-01 12 00
:
DATE02 0501-0503
TIME 00 00-00 00
:
: : :
DATE03 1001-1007
TIME 00 00-00 00
:
: : :
4
5
System clock
setting
Modes restore
default value
(date)
(time)
(date)
(time)
(date)
(time)
(time)
(day of the week)
Press to switch items.
Operate time and
date 1
Operate time and
date 2
Operate time and
date 3
Press to restore default value of the
current setting automatic mode.
Press to switch CHIP and ORDER.
BRT+ BRT+
BRT+
BRT- BRT-
BRT-
Press to adjust value.
Press to switch 2 options: ON/OFF
2012-01-01 12 00
1001-10 07
00 00-00 00
05 01-05 01
00 00-00 00
01 01-01 03
00 00-00 00
MTWTFSS
00 00-00 00
M
T
W
T
F
S
S
:
:
:
:
:
:
:
:
:
Monday
Tuesday
Wednesday
Thursday
Friday
Saturday
Sunday
(if you do not choose the Monday to Sunday, the
screen will appear "_" the one mark)
Press to switch items.
Press to exit submenu.save and
Load 31~38 modes to
1~28 modes.
to confirm.
press
Save 1~28 modes to
31~38 modes.
press to confirm.
Select “ON” to 39 automatic time running mode.
In mode 39, will play the corresponding mode at some fixed time as pre-saved in mode 31-38, only factory
reset is available of this submenu, please use cautiously.
5
LOAD DEFAULT SET
PRESS BRT+ - KEY Press to restore default value of mode 39.
5.5 In the mode 39, press button for 3 seconds to enter submenu.
SE TUP
PIXEL NUMBER 0032
COLOR PIXEL 08
:
:
RUN TIMES 255
000 NOT RUNNING
=
:
Pixel No. option (range: 0032-1024)
Running times adjustment
(range: 000-255)
Reset options to default
5. “SETUP” Key Instruction:
LOAD DEFAULT SET
PRESS BRT+ - KEY
5.1 In the mode 1-28, press for 3 seconds to enter submenu, see the form below.button
5.2 buttonIn the mode 29, press for 3 seconds to enter submenu, see the form below.
5.3 buttonIn the mode 30, press for 3 seconds to enter submenu, see the form below.
Press to restore the default
value of the current mode.
Press to adjust value.
Press to switch items.
Submenu Function
(press mode+/- to switch)Setting Method
NO.
1
2
3
LCD Display
Set DMX address
Set DMX address
Submenu Function
Submenu Function
LCD Display
LCD Display
Setting Methods
Setting Methods
Press to switch items.
Press to adjust value.
SE TUP
SE TUP
SE TUP
SE TUP
SE TUP
SE TU P
BRT+
BRT+
BRT+
BRT+
BRT+
SPEED+
SPEED+
BRT-
BRT-
BRT-
BRT-
BRT-
SPEED-
SPEED-
(range: 001~512)
(Range: 0~512)
Press to adjust running times.
Pixel width option (04, 08, 16, 32)
(Only work for the modes 31~38)
Multiple setting (range: 01-06)
The above changes by the DMX console are shown on the LCD screen accordingly.
【Note】
30 DMX MODE
P/W FADE S3B3
( ) This sign on the screen indicates console signal.
Press to exit submenu.save and
4
DMX ADDRESS 512
:
:
DECODE Mul 01
DMX ADDRESS 512
:
Channel Function
st
1 channel 0-255 : Red LED 0-100% dimming( )
0-255 : Red LED 0-100% dimming( )
0-255(G) : Green LED 0-100% dimming
0-255(B) : Blue LED 0-100% dimming
0-255: Select modes, 256( ) values divided into 32 portion
th
(8 value per portion). The 29 mode occupy 4 portions (32 value).
1-29 0-255
0-255 (G): Green LED 0-100% dimming.
0-255 (B): Blue LED 0-100% dimming.
29
DMX
Decoder
Mode
30
Manage
Mode
DMX
nd
2 channel
rd
3 channel
st
1 channel
nd
2 channel :Speed (8 levels). nd
2 channel
rd
3 channel : Brightness (8 levels).
th
4 channel : Mode type
th
5 channel : Direction changing
th
6 channel : Dynamic strobe
rd
3 channel
th
4 channel
Table of 29-30 Functional Modes.
Modes
R
R
st
When 1 channel select the 1-28 modes st
When 1 channel select 29 mode
www.ltech-led.com
LT-200 LED Digital Controller LT-200 LED Digital Controller
6.3 Connected with DMX 512 computer console to realize DMX decoding function.
DMX Manual console
DMX signal input
USB -DMX
Signal c onve rter
DMX 512
Computer
Console
DMX Signal Input
DMX Input
DMX input
DMX Output
DMX output
DMX Output
DMX output
DMX Output
DMX output
DC+
DC+
DC+
DC +
DC+
DC +
DC-
DC-
DC-
DC-
DC-
DC-
12Vdc 12Vdc 12Vdc
12Vdc 12Vdc 12Vdc
Power Input Power Input Power Input
Power input Power input Power input
SPI Signal Output SPI Signal Output SPI Signal Output
LED Strip LED Strip LED Strip
6.4 Connected with DMX 512 manual console, realizing DMX administrative function.
DMX Input
DMX input
7
6.2 Power-up separately
Adapter
Adapter
LED Digital Spot Light
48Vdc
12Vdc
12Vdc
12Vdc
100-240Vac
100-240Vac
Max. 1024 Pixel
Max. 1024 Pixel
Digital LED Strip
6.1 Sharing power supply
220Vac
Hi-power Wall Washer
Wiring Method Signal cable Compatible ICs
Two cables
DATA CLK
DATA
Single cable
SPI OUT
D C L G
SPI OUT
D C L G
Choosing IC
CHIP TM1809
ORDER RGB
:
:
TM1804 1809 1812, TM1914,
TM1914A, UCS1903, UCS1909,
UCS1912, UCS2903, UCS2909,
UCS2912, WS2811, WS2812,
KL592D, GS8206(BGR), SM16703
, TM , TM
CHIP LPD6803
ORDER RGB
:
:
LPD6803, LPD1101, D705
UCS6909, UCS6912
CHIP LPD8806
ORDER RGB
:
:
LPD8803 LPD8806,
CHIP WS2801
ORDER RGB
:
:
WS2801 WS2803,
CHIP P9813
ORDER RGB
:
:
CHIP TLS3001
ORDER RGB
:
:
P9813
TLS3001 TLS3002,
6. Wiring Diagram:
SPI Signal Output
SPI Signal Output
SPI Signal Output
6www.ltech-led.com
LT-200 LED Digital Controller LT-200 LED Digital Controller

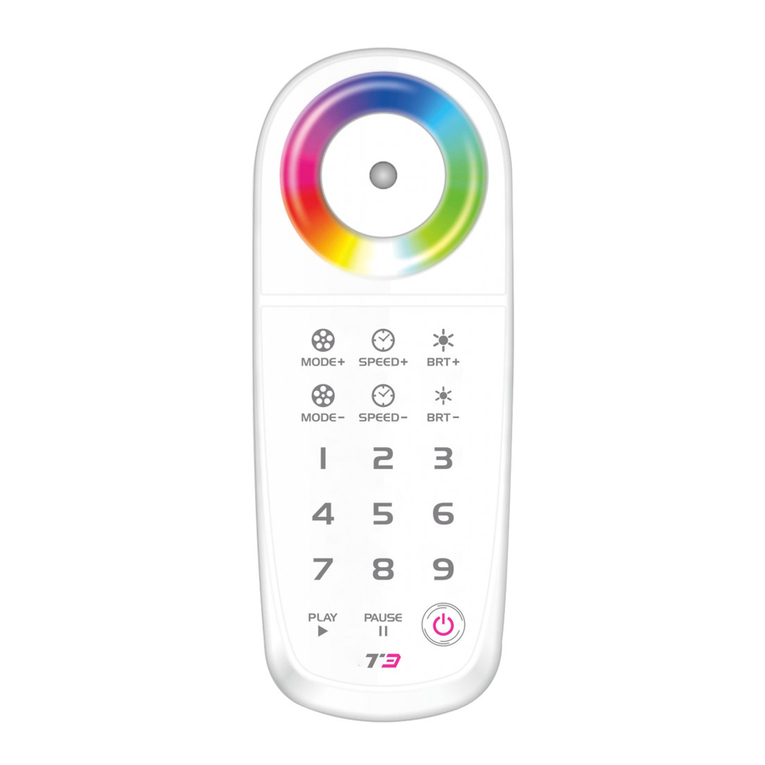
Other Ltech Controllers manuals

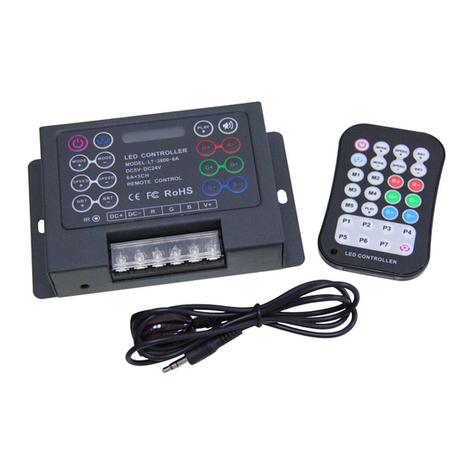
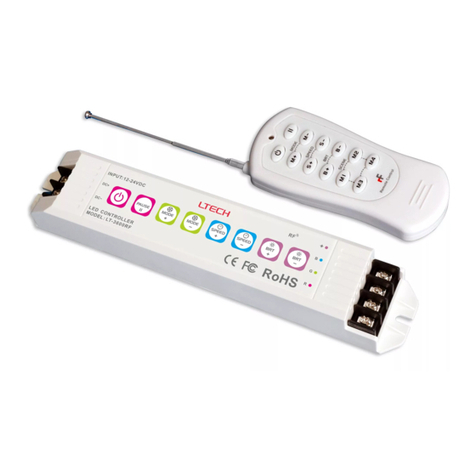
Ltech LT-3800-6A User manual

Ltech

Ltech LT-3800-6A User manual

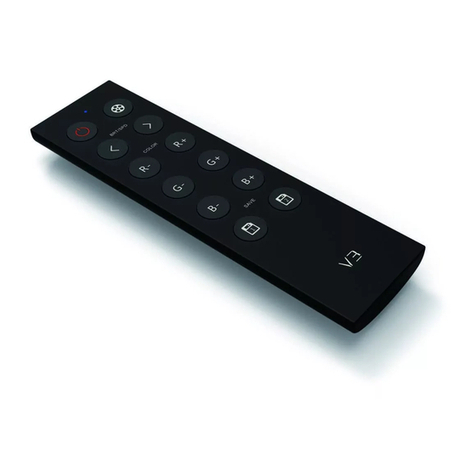
Ltech V3 User manual

Ltech

Ltech V3 User manual

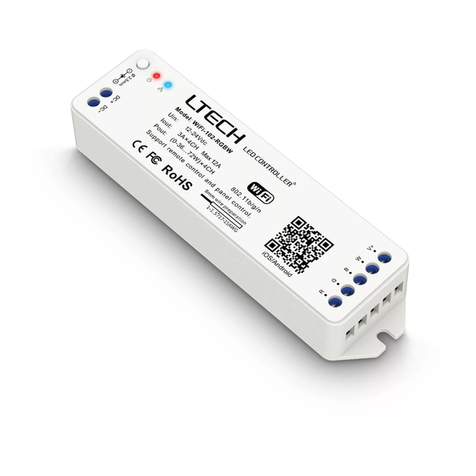
Ltech WiFi-102 LED Controller User manual

Ltech

Ltech WiFi-102 LED Controller User manual

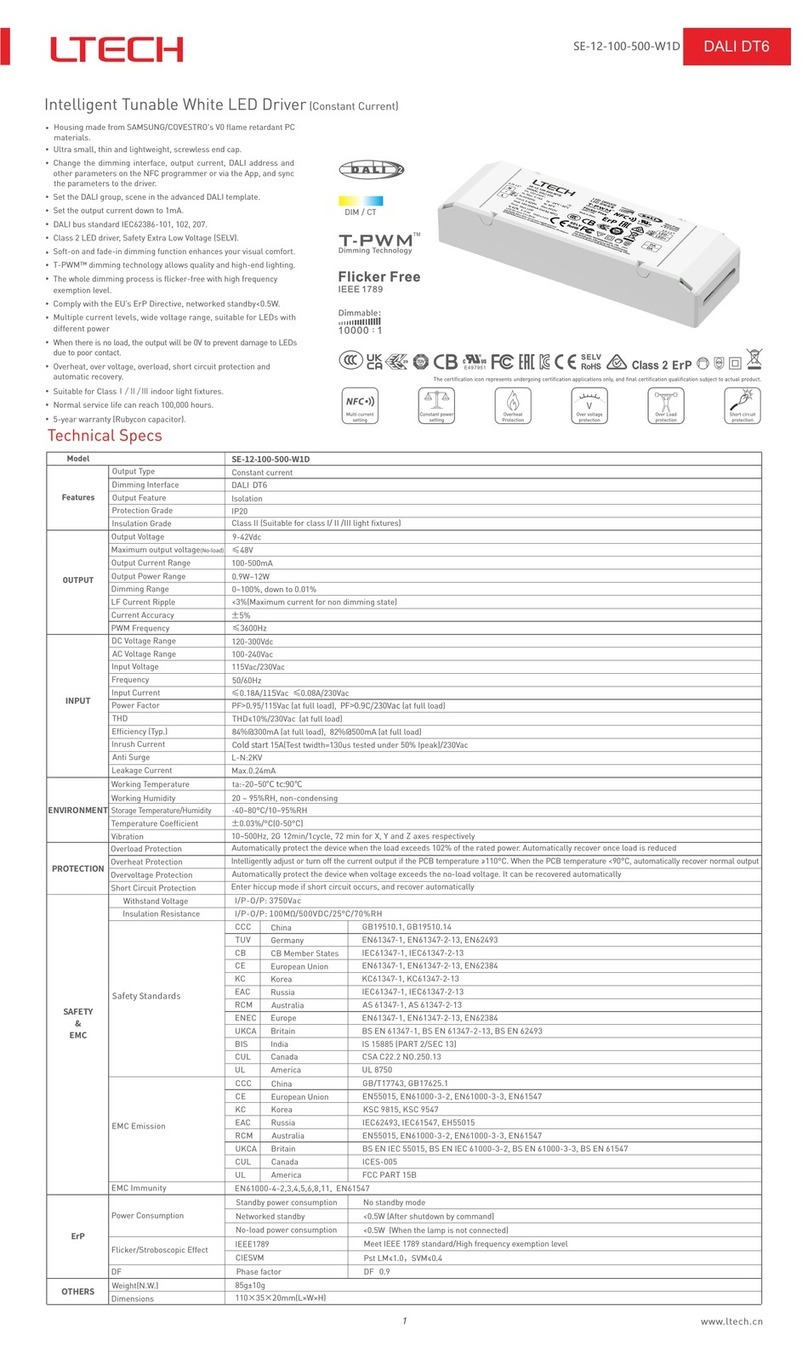
Ltech T-PWM SE-12-100-400-W1Y User manual

Ltech

Ltech T-PWM SE-12-100-400-W1Y User manual

Ltech TT-DX-R4-5A User manual

Ltech

Ltech TT-DX-R4-5A User manual

Ltech WiFi-102-RGBW User manual

Ltech

Ltech WiFi-102-RGBW User manual

Ltech WiFi-102-CT User manual

Ltech

Ltech WiFi-102-CT User manual

Ltech LT-3500-6A User manual

Ltech

Ltech LT-3500-6A User manual

Ltech WiFi-108 User manual

Ltech

Ltech WiFi-108 User manual

Ltech LT-312RF User manual

Ltech

Ltech LT-312RF User manual

Ltech LT-3900 User manual

Ltech

Ltech LT-3900 User manual

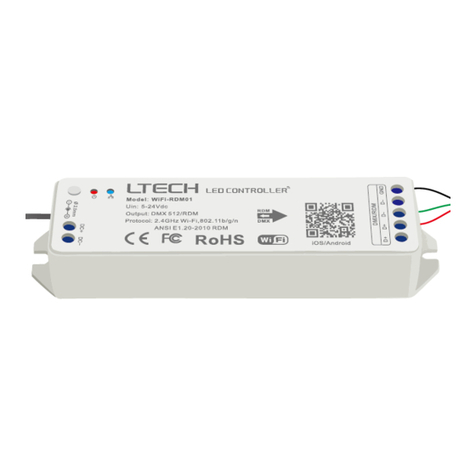
Ltech WiFi-RDM01 User manual

Ltech

Ltech WiFi-RDM01 User manual

Ltech LT-3700 User manual

Ltech

Ltech LT-3700 User manual

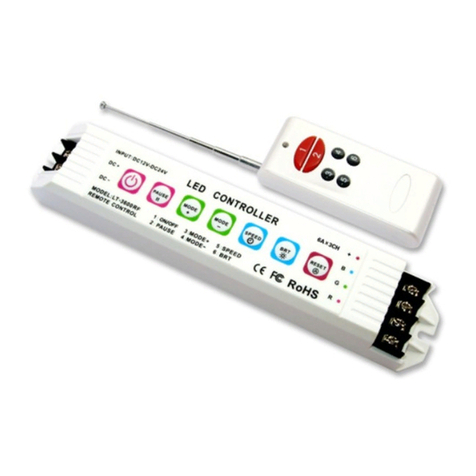
Ltech LT-3600RF User manual

Ltech

Ltech LT-3600RF User manual

Ltech WiFi-101-RGBW User manual

Ltech

Ltech WiFi-101-RGBW User manual

Ltech WiFi-104 User manual

Ltech

Ltech WiFi-104 User manual

Ltech WiFi-101-CT User manual

Ltech

Ltech WiFi-101-CT User manual

Ltech LT-311 User manual

Ltech

Ltech LT-311 User manual

Ltech T3 Series User manual

Ltech

Ltech T3 Series User manual

Ltech LT-3800-5A Installation instructions

Ltech

Ltech LT-3800-5A Installation instructions

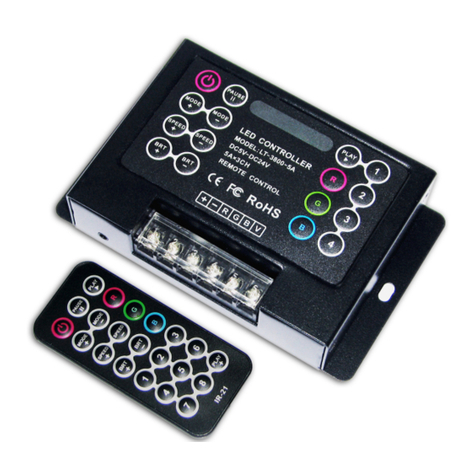
Ltech LT-3600 User manual

Ltech

Ltech LT-3600 User manual

Ltech T3M User manual

Ltech

Ltech T3M User manual

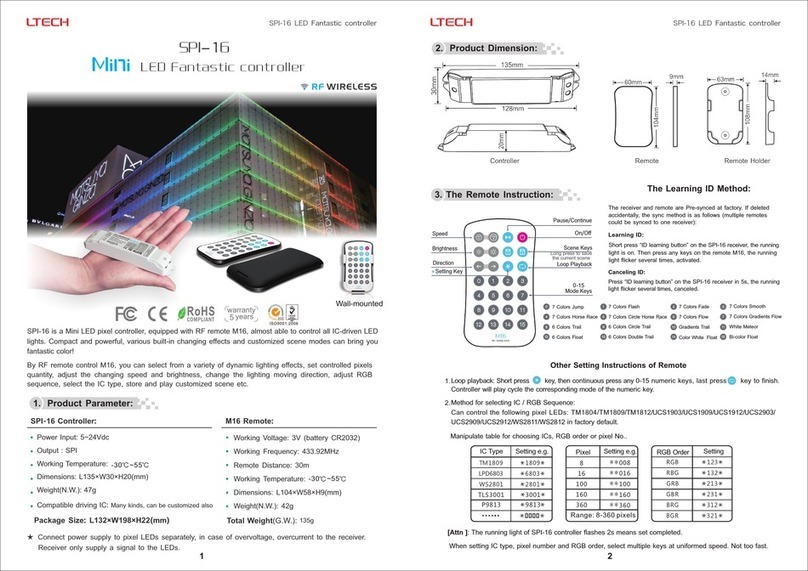
Ltech SPI-16 User manual

Ltech

Ltech SPI-16 User manual

Ltech WiFi-103 User manual

Ltech

Ltech WiFi-103 User manual

Popular Controllers manuals by other brands

Stellar Lighting LEK-431 APP user manual

Stellar Lighting

Stellar Lighting LEK-431 APP user manual

Yatai PKC1 Series Operating	 instruction

Yatai

Yatai PKC1 Series Operating instruction

Elan OLE Specifications

Elan

Elan OLE Specifications

Siko MSA501 user manual

Siko

Siko MSA501 user manual

ControlOMatic MiniWarden installation manual

ControlOMatic

ControlOMatic MiniWarden installation manual

Siemens SINUMERIK 840D sl operating manual

Siemens

Siemens SINUMERIK 840D sl operating manual

Johnson Controls M9108-A-1N Series installation guide

Johnson Controls

Johnson Controls M9108-A-1N Series installation guide

JUMO DICON touch operating manual

JUMO

JUMO DICON touch operating manual

Neptronic BT000S Specification & installation instructions

Neptronic

Neptronic BT000S Specification & installation instructions

SpaGuts VS500SZ-Series Operation guide

SpaGuts

SpaGuts VS500SZ-Series Operation guide

Tohnichi SB-FH2 Operating	 instruction

Tohnichi

Tohnichi SB-FH2 Operating instruction

Roberts Gorden bzc 700 Operation manual

Roberts Gorden

Roberts Gorden bzc 700 Operation manual

Inovance AC800 Series user guide

Inovance

Inovance AC800 Series user guide

Wheatstone Corporation E-6 Technical manual

Wheatstone Corporation

Wheatstone Corporation E-6 Technical manual

Panasonic CZ-64ESMC3 installation instructions

Panasonic

Panasonic CZ-64ESMC3 installation instructions

Lennox E210 Installation, operation & maintenance manual

Lennox

Lennox E210 Installation, operation & maintenance manual

Carel EASY FREEZE quick start guide

Carel

Carel EASY FREEZE quick start guide

BIFFI EFS2000v4 Instructions and operating manual

BIFFI

BIFFI EFS2000v4 Instructions and operating manual

manuals.online logo
manuals.online logoBrands
  • About & Mission
  • Contact us
  • Privacy Policy
  • Terms and Conditions

Copyright 2025 Manuals.Online. All Rights Reserved.