manuals.online logo
Brands
  1. Home
  2. •
  3. Brands
  4. •
  5. M-system
  6. •
  7. Security System
  8. •
  9. M-system ASWL2 User manual

M-system ASWL2 User manual

ASWL2
P. 1 / 3EM-1619 Rev.2
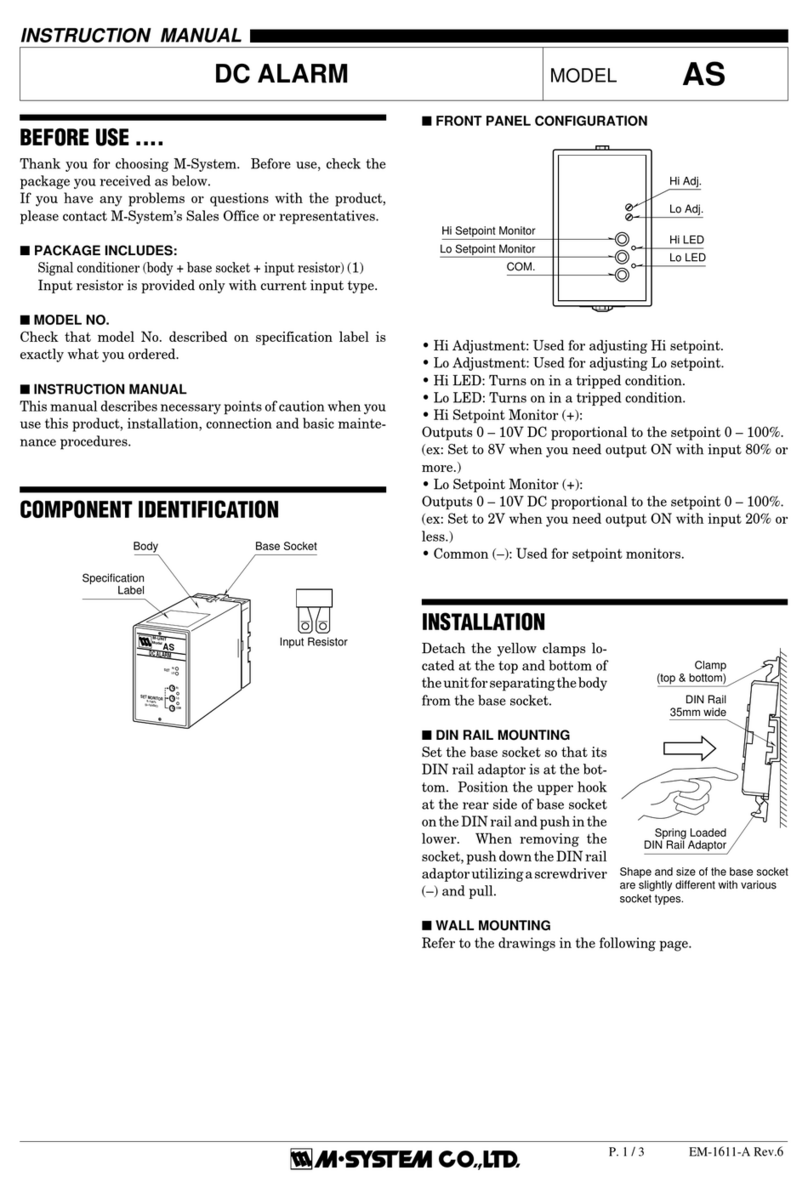
BEFORE USE ....
Thank you for choosing M-System. Before use,check the package
you received as below.
If you have any problems or questions with the product, please
contact M-System's Sales Office or representatives.
n PACKAGE INCLUDES:
Signal conditioner (body + base socket + input resistor).....(1)
Input resistor is provided only with current input type.
n MODEL NO.
Check that model No. described on specification label is exactly
what you ordered.
n INSTRUCTION MANUAL
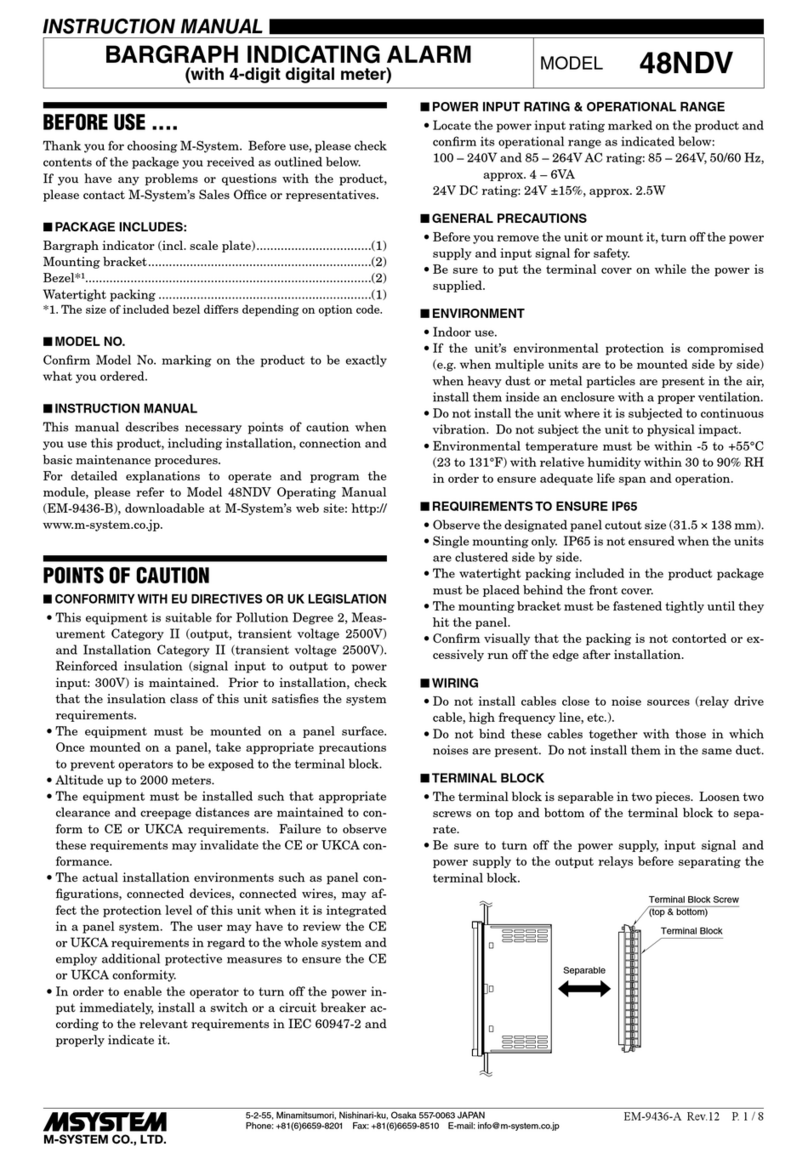
This manual describes necessary points of caution when you
use this product, installation, connection and basic maintenance
procedures.
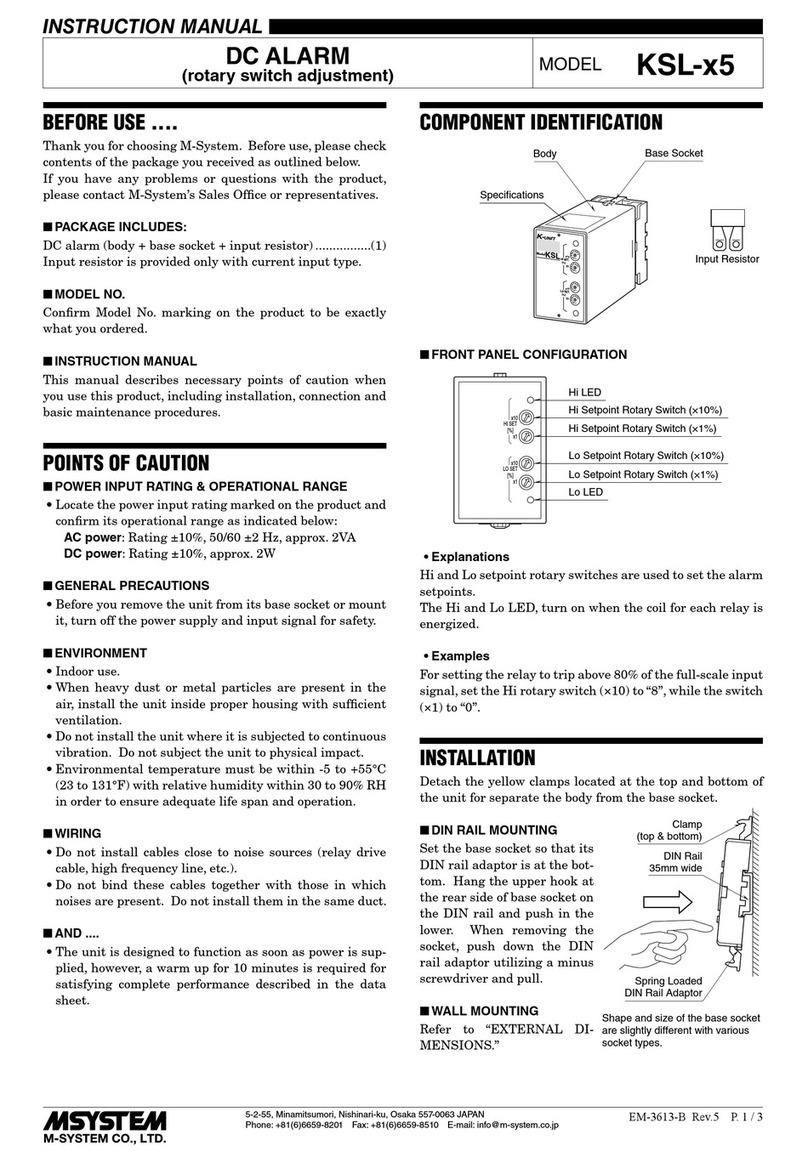
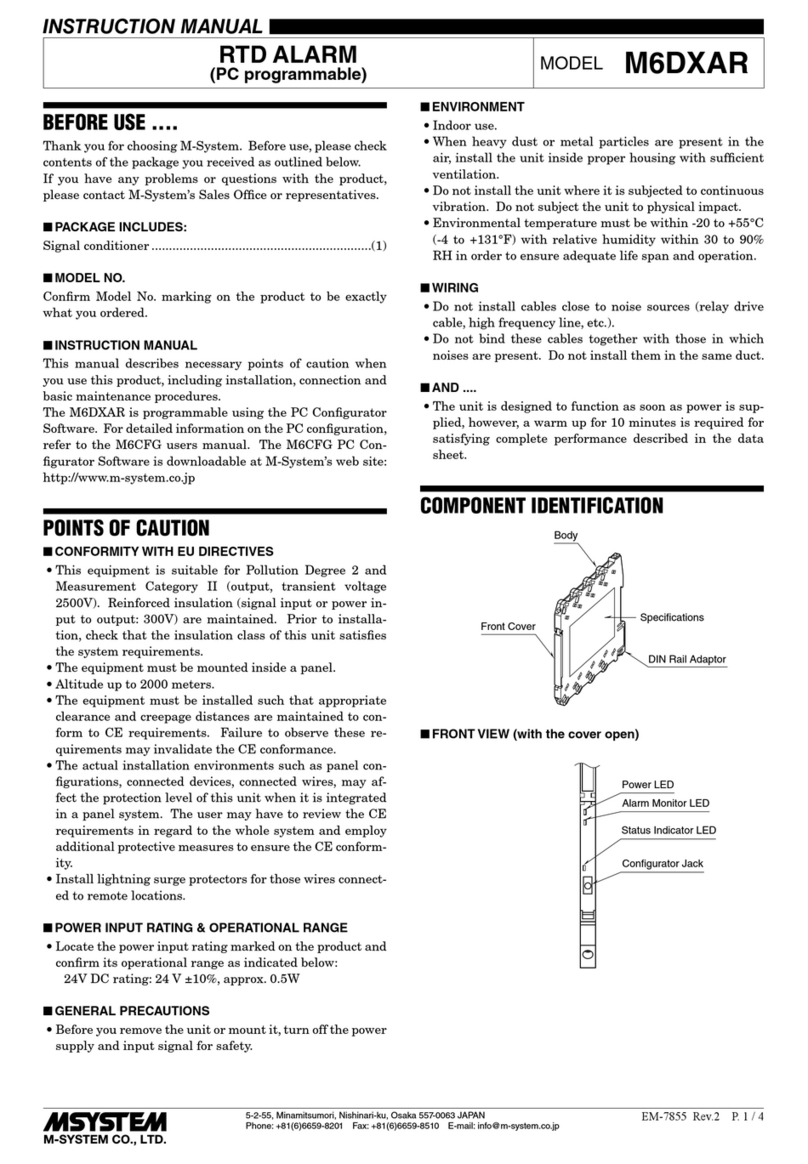
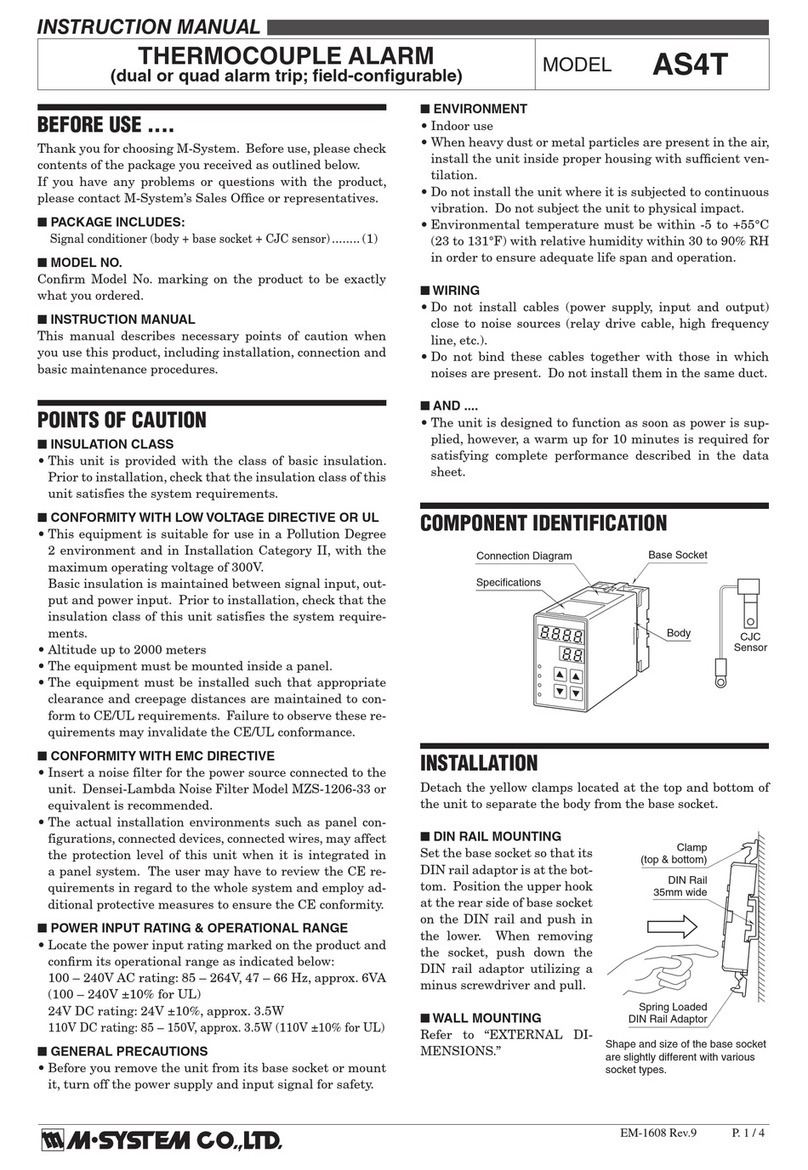
COMPONENT IDENTIFICATION
Body Base Socket
Specification
Label
x10
HI SET.
(%)
X1
x10
LO SET.
(%)
X1
1
2
3
4
5
6
7
8
9
0
1
2
3
4
5
6
7
8
9
0
1
2
3
4
5
6
7
8
9
0
1
2
3
4
5
6
7
8
9
0
DC ALARM
(rotary switch adjustment) MODEL ASWL2
INSTRUCTION MANUAL
INSTALLATION
Detach the yellow clamps located at the top and bottom of the
unit for separating the body from the base socket.
n DIN RAIL MOUNTING
Set the base socket so that its
DIN rail adaptor is at the bot-
tom. Position the upper hook at
the rear side of
base socket on the DIN rail and
push in the lower. When remov-
ing the socket, push down the
DIN rail
adaptor utilizing a screwdriver
(–) and pull.
n WALL MOUNTING
Refer to “EXTERNAL DIMEN-
SIONS.”
Clamp
(top & bottom)
DIN Rail
35mm wide
Spring Loaded
DIN Rail Adaptor
Shape and size of the base socket
are slightly different with various
socket types.
POINTS OF CAUTION
nCONFORMITY WITH EC DIRECTIVES
• This equipment is suitable for Pollution Degree 2 and Instal-
lation Category II.
The relay output circuit is suitable for use in Pollution Degree
2 environment in Over Voltage Category II with the maximum
operating voltage 150V, in Over Voltage Category I with 240V.
Reinforced insulation (signal input or output to power input:
300V) and basic insulation (signal input to output: 300V) are
maintained. Prior to installation, check that the insulation
class of this unit satisfies the system requirements.
• The equipment must be mounted inside a suitable re enclosure.
• Altitude up to 2000 meters
• The equipment must be installed such that appropriate clear-
ance and creepage distances are maintained to conform to CE
requirements. Failure to observe these requirements may
invalidate the CE conformance.
nPOWER INPUT RATINGS
• Operational range & power consumption: Check the power
rating for the unit on the specification label.
AC rating: Rating ±10%, 50/60 ±2 Hz, approx. 2VA
DC rating: Rating ±10%, approx. 2W
n GENERAL
• Before you remove the unit from its base socket or mount it,
turn off the power supply and input signal for safety.
n ENVIRONMENT
• Indoor use.
• When heavy dust or metal particles are present in the air,
install the unit inside proper housing and ventilate it.
• Do not install the unit where it is subjected to continuous
vibration. Do not apply physical impact to the unit.
• Environmental temperature must be within -5 to +60°C (23
to 140°F) with relative humidity within 30 – 90% RH in order
to ensure adequate life span and operation.
Input Resistor
n WIRING
• Do not install cables (power supply, input and output) close
to noise sources (relay drive cable, high frequency line, etc.).
• Do not bind these cables together with those in which noises
are present. Do not install them in the same duct.
n AND ....
• The unit is designed to function as soon as power is supplied,
however, a warm up for 10 minutes is required for satisfying
complete performance described in the data sheet.
ASWL2
P. 2 / 3EM-1619 Rev.2
TERMINAL CONNECTIONS
Connect the unit as in the diagram below or refer to the connec-
tion diagram label on top of the unit.
When an input resistor is provided with the module, attach it
together with input wiring to the input screw terminals.
FRONT PANEL CONFIGURATION
• Explanations
Hi and Lo setpoint rotary switches are used to set the alarm setpoints.
The Hi and Lo LED lights turn on when the coil for each relay is energized.
• Examples
For setting the relay to trip above 80% of the full-scale input signal, set the Hi
rotary switch (x10) to "8", while the switch (x1) to "0".
U(+)
V(–)
POWER
7
14
+
–
*
INPUT
4
R
12
HI OUTPUT
11
2
1
LO OUTPUT
15
10
9
N.C.
N.O.
COM
N.C.
N.O.
COM
*
Input shunt resistor attached for current input.
CHECKING
1) Terminal wiring: Check that all cables are correctly connected
according to the connection diagram.
2) Power input voltage: Check voltage across the terminal 7
–14 with a multimeter.
3) Input: Check that the input signal is within 0 – 100% of the
full scale.
4) Alarm operations: Check the alarm operations referring to
the figure below.
5) Output load: Check that the output load is 380V AC/120VA or
125V DC/30W at the maximum (≤0.5A). For maximum relay
life with inductive load, external protection is recommended.
Alarm Trip Operation Terminal No. in parentheses
Trip Operation in Power Failure
: Terminals 1 – 2, 9 – 10 turn ON.
050 100
Input
(%)
Lo Setpoint Hi Setpoint
Hi Output
(9–15)ON
Lo Output
(1–2)ON
(1–11)ON
(9–10)ON
6 Lo LED
5 Lo Setpoint Rotary Switch (x1%)
4 Lo Setpoint Rotary Switch (x10%)
3 Hi Setpoint Rotary Switch (x1%)
2 Hi Setpoint Rotary Switch (x10%)
1 Hi LED
HI SET
[%]
x1
x10
LO SET
[%]
x1
x10
MAINTENANCE
Regular calibration procedure is explained below:
n CALIBRATION
Warm up the unit for at least 10 minutes.
• Hi Setpoint
Increase the input signal from a value lower than the setpoint and
check that the trip point remains within the accuracy described
in the data sheet.
• Lo Setpoint
Decrease the input signal from a value higher than the setpoint and
check that the trip point remains within the accuracy described
in the data sheet.
When the trip points are out of tolerance,contact M-System's Sales
Office or local representatives.
ASWL2
P. 3 / 3EM-1619 Rev.2
M-SYSTEM WARRANTY
M-System warrants such new M-System product which it manufactures to be free from defects in materials and workmanship during the 36-month period following the date that such
product was originally purchased if such product has been used under normal operating conditions and properly maintained, M-System’s sole liability, and purchaser’s exclusive
remedies, under this warranty are, at M-System’s option, the repair, replacement or refund of the purchase price of any M-System product which is defective under the terms of this
warranty. To submit a claim under this warranty, the purchaser must return, at its expense, the defective M-System product to the below address together with a copy of its original
sales invoice.
THIS IS THE ONLY WARRANTY APPLICABLE TO M-SYSTEM PRODUCT AND IS IN LIEU OF ALL OTHER WARRANTIES, EXPRESS OR IMPLIED, INCLUDING ANY IMPLIED
WARRANTIES OF MERCHANTABILITY OR FITNESS FOR A PARTICULAR PURPOSE. M-SYSTEM SHALL HAVE NO LIABILITY FOR CONSEQUENTIAL, INCIDENTAL OR
SPECIAL DAMAGES OF ANY KIND WHATSOEVER.
M-System Co., Ltd., 5-2-55, Minamitsumori, Nishinari-ku, Osaka 557-0063 JAPAN, Phone: (06) 6659-8201, Fax: (06) 6659-8510, E-mail: info@m-system.co.jp
EXTERNAL DIMENSIONS unit: mm (inch)
80 (3.15)
50 (1.97)
72 (2.83) [3.3 (.13)]
80 (3.15)
20
(.79)
35.4 (1.39)
60 (2.36)
72 (2.83)
7.8 (.31)
CLAMP
(top & bottom)
DIN RAIL
35mm wide
2–4.5 (.18) dia.
MTG HOLE
25 (.98) deep
14–M3.5
SCREW
•When mounting, no extra space is needed between units.
•Input shunt resistor attached for current input.
56
14
11
1
1015
3
2
7
9
8
103 (4.06)
132 (5.20)
12 (.47)
INPUT RESISTOR
(model: REM)
12
4

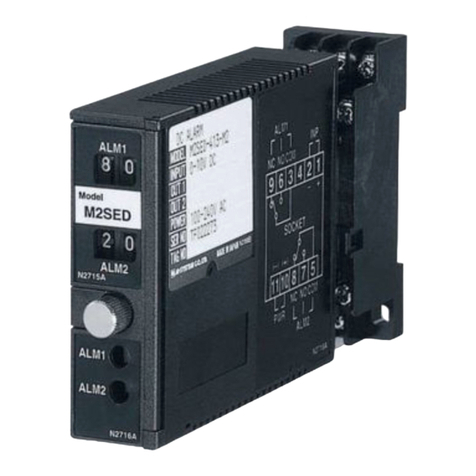
Other M-system Security System manuals

M-system M2AS User manual

M-system

M-system M2AS User manual

M-system Mini-M M2SED User manual

M-system

M-system Mini-M M2SED User manual

M-system AS4V User manual

M-system

M-system AS4V User manual

M-system M1EAXV-2 User manual

M-system

M-system M1EAXV-2 User manual

M-system 10AS User manual

M-system

M-system 10AS User manual

M-system 48NDM User manual

M-system

M-system 48NDM User manual

M-system ANR User manual

M-system

M-system ANR User manual

M-system AS User manual

M-system

M-system AS User manual

M-system M1EAXV-1 User manual

M-system

M-system M1EAXV-1 User manual

M-system KS2V2 User manual

M-system

M-system KS2V2 User manual

M-system AS4V User manual

M-system

M-system AS4V User manual

M-system 48NAT User manual

M-system

M-system 48NAT User manual

M-system ASL User manual

M-system

M-system ASL User manual

M-system AS4R User manual

M-system

M-system AS4R User manual

M-system AS4LC User manual

M-system

M-system AS4LC User manual

M-system KS2V3 User manual

M-system

M-system KS2V3 User manual

M-system 48NDVD User manual

M-system

M-system 48NDVD User manual

M-system 48NAM User manual

M-system

M-system 48NAM User manual

M-system AS4T User manual

M-system

M-system AS4T User manual

M-system M7EASDY User manual

M-system

M-system M7EASDY User manual

M-system 48NDV User manual

M-system

M-system 48NDV User manual

M-system R3-AV8 User manual

M-system

M-system R3-AV8 User manual

M-system KS2TR2 User manual

M-system

M-system KS2TR2 User manual

M-system AYDV User manual

M-system

M-system AYDV User manual

Popular Security System manuals by other brands

Renkforce GX111 Short instructions

Renkforce

Renkforce GX111 Short instructions

Honeywell FG8MS installation instructions

Honeywell

Honeywell FG8MS installation instructions

Honeywell Lynx Plus Series Quick guide to user functions

Honeywell

Honeywell Lynx Plus Series Quick guide to user functions

Guardall PX18 user manual

Guardall

Guardall PX18 user manual

Halio CB400 installation guide

Halio

Halio CB400 installation guide

DAITEM SH511AX installation manual

DAITEM

DAITEM SH511AX installation manual

Seneca MyALARM2 user manual

Seneca

Seneca MyALARM2 user manual

PNI SAFE HOUSE PG600 user manual

PNI

PNI SAFE HOUSE PG600 user manual

Risco LightSYS 2 Series Installation and programming manual

Risco

Risco LightSYS 2 Series Installation and programming manual

COBHAM FleetBroadband SAILOR 3771 quick start guide

COBHAM

COBHAM FleetBroadband SAILOR 3771 quick start guide

Honeywell ADEMCO VISTA-10P Installation supplement

Honeywell

Honeywell ADEMCO VISTA-10P Installation supplement

Inter-m ARM-911A Operation manual

Inter-m

Inter-m ARM-911A Operation manual

Karizma Plus operating instructions

Karizma

Karizma Plus operating instructions

ACR Electronics GlobalFix V5 Category 1 AIS EPIRB user manual

ACR Electronics

ACR Electronics GlobalFix V5 Category 1 AIS EPIRB user manual

Velleman CU2200 user manual

Velleman

Velleman CU2200 user manual

VT TECH HomeSafe-G VT-G992E user manual

VT TECH

VT TECH HomeSafe-G VT-G992E user manual

Honeywell Fire-Lite Alarms ANN-80 Series Product installation document

Honeywell

Honeywell Fire-Lite Alarms ANN-80 Series Product installation document

WOOX R7052 quick start guide

WOOX

WOOX R7052 quick start guide

manuals.online logo
manuals.online logoBrands
  • About & Mission
  • Contact us
  • Privacy Policy
  • Terms and Conditions

Copyright 2025 Manuals.Online. All Rights Reserved.