Monacor img Stage Line LE-114 User manual

LE-124
Best.-Nr. 38.1350
Lichteffektgerät
„Fächer“
1 Einsatzmöglichkeiten
Die Lichteffektgeräte LE-114 und LE-124 sind
besonders für den Einsatz auf der Bühne und in
Diskothekengeeignet.DieGeräteerzeugentan-
zende, vielfarbige Lichtmuster und sorgen somit
füreineidealeDancefloor-Atmosphäre.DieLicht-
steuerung erfolgt über ein integriertes Mikrofon.
Die oben aufgeführten Lichteffektgeräte sind
nicht für den Dauerbetrieb geeignet. Es ist
eine ununterbrochene Betriebsdauer von max.
1 Stunde zulässig. Wird die zulässige Betriebs-
dauer überschritten, kann es zu Schäden am
Gerät kommen. In diesem Fall kann keine Ga-
rantie für das Gerät und keine Haftung für Fol-
geschäden an anderen Geräten oder an Perso-
nen übernommen werden.
2 Hinweise für den sicheren
Gebrauch
Dieses Gerät entspricht der Richtlinie für elektro-
magnetische Verträglichkeit 89/336/EWG und
der Niederspannungsrichtlinie 73/23/EWG.
Beachten Sie unbedingt die folgenden Punkte:
●Das Gerät ist nur zur Verwendung im Innen-
bereich geeignet. Schützen Sie es vor Feuch-
tigkeit und Hitze (zulässiger Einsatztempera-
turbereich 0
-
40°C).
●Während des Betriebs wärmt sich das Gerät
sehr stark auf. Um Verbrennungen zu vermei-
den, berühren Sie das Gehäuse nicht wäh-
rend des Betriebes bzw. lassen Sie das Gerät
nach dem Ausschalten einige Minuten ab-
kühlen, bevor Sie es berühren.
●Die in dem Gerät entstehende Wärme muß
durch Luftzirkulation abgegeben werden.
Darum dürfen die Lüftungsöffnungen des Ge-
häuses nicht mit irgendwelchen Gegenstän-
den abgedeckt werden.
●Stecken Sie nichts durch die Lüftungsöffnun-
gen bzw. lassen Sie nichts hineinfallen! Dabei
kann es zu einem elektrischen Schlag kom-
men.
●Nehmen Sie das Gerät nicht in Betrieb, bzw.
ziehen sie sofort den Netzstecker aus der
Steckdose, wenn:
1. sichtbare Schäden am Gerät oder an der
Netzanschlußleitung vorhanden sind,
2. nach einem Sturz oder ähnlichem der Ver-
dacht auf einen Defekt besteht,
3. Funktionsstörungen auftreten.
●Das Gerät wird mit lebensgefährlicher Netz-
spannung (230V~) versorgt. Nehmen Sie
deshalb nie selbst Eingriffe im Gerät vor.
Durch unsachgemäßes Vorgehen besteht die
Gefahr eines elektrischen Schlages. Lassen
Sie das Gerät in jedem Fall in einer Fach-
werkstatt reparieren.
●Eine beschädigte Netzanschlußleitung darf
nur durch den Hersteller oder durch eine auto-
risierte Fachwerkstatt ersetzt werden.
●Ziehen Sie den Netzstecker nie an der Zulei-
tung aus der Steckdose.
●Verwenden Sie für die Reinigung nur ein
trockenes, weiches Tuch, niemals Wasser
oder Chemikalien.
●Wird das Gerät zweckentfremdet, falsch mon-
tiert, nicht richtig bedient oder nicht fachge-
recht repariert, kann für eventuelle Schäden
keine Haftung übernommen werden.
●Soll das Gerät endgültig aus dem Betrieb
genommen werden, übergeben Sie es zur
Entsorgung einem örtlichen Recyclingbetrieb.
3 Lampen einsetzen
Das Lichteffektgerät wird ohne Lampen gelie-
fert.
Wichtig! Ziehen Sie vor dem Einsetzen bzw.
HerausnehmenderLampenunbedingtdenNetz-
stecker!DadieLampenimBetriebsehrheißwer-
den,lassenSie sie nach Betrieb desGeräteserst
abkühlen (Abkühlzeit mindestens 5 Minuten),
bevor Sie sie auswechseln.
Es werden zwei Halogenlampen mit 120V/
150
-
300W,SockelGY6,35oderGX6,35(z.B.
HLT-120/150 oder HLT-120/300 von „img Stage
Line“) benötigt. Pro Fassung eine Lampe einset-
zen.
1) Die schwarze Schraube auf der Oberseite
des Gehäuses abschrauben, und den Ge-
häusedeckel öffnen.
2) Bei einem Lampenwechsel die alte Lampe
vorsichtig aus der Fassung ziehen.
3) Die neue Halogenlampe nicht mit den Fin-
gern berühren. Hautfett und -schweiß min-
dern die Leuchtkraft und brennen sich ein.
Die Lampe mit Hilfe eines sauberen, weichen
Tuches in die Fassung stecken.
4) Den Gehäusedeckel mit der Schraube wie-
der fest verschließen.
4 Montage
Mit einer Lichtstrahler-Halterung bzw. einer sta-
bilen Montageschraube das Gerät über den
Montagebügel an der gewünschten Stelle (Tra-
verse eines Lichtstrahlerstativs oder Querge-
stänge) befestigen.
ZumAusrichten des Gerätes die Feststellschrau-
ben am Montagebügel lösen, die gewünschte
Neigung des Gerätes einstellen, und die Fest-
stellschrauben wieder anziehen.
Wichtig! Zur Vermeidung von Wärmestaus im
Gerätmußdie Montagestelle so gewähltwerden,
daß bei Betrieb eine ausreichende Luftzirkulation
gewährleistet ist. Die Lüftungsöffnungen des Ge-
häuses dürfen nicht abgedeckt werden.
5 Bedienung
Das Lichteffektgerät mit dem Netzstecker an
eine Steckdose (230V~/50Hz) anschließen.
Bei Anschluß an die Stromversorgung ist das
Gerät eingeschaltet: Die beiden Lampen leuch-
ten.
An der Musikanlage die gewünschte Laut-
stärke einstellen. Mit dem Drehregler auf der
Rückseite des Gerätes die gewünschte Mikro-
fonempfindlichkeit einstellen. Wird der Regler
entgegen dem Uhrzeigersinn bis zum Anschlag
gedreht, ist das Mikrofon ausgeschaltet. Je wei-
ter der Regler im Uhrzeigersinn aufgedreht wird,
desto höher wird die Mikrofonempfindlichkeit.
Den Regler so einstellen, daß die Dynamik der
Musik optimal durch die sich bewegenden Licht-
strahlen wiedergegeben wird.
HINWEIS: Bei Veränderung der Lautstärke an
der Musikanlage muß auch die Mikrofonemp-
findlichkeit über den Drehregler entsprechend
angepaßt werden.
Zum Ausschalten des Gerätes den Netzstecker
ziehen. Für einen besseren Bedienkomfort das
Gerät an eine Steckdose anschließen, die sich
über einen Lichtschalter ein- und ausschalten
läßt.
6 Technische Daten
Stromversorgung: . . . . . . . . 230V~/50Hz
Leistungsaufnahme: . . . . . . 620VA
Leuchtmittel: . . . . . . . . . . . . 2 Halogenlampen
(120V/150
-
300W) Sockel
GX6,35 oder
GY6,35
Abmessungen
LE-114: . . . . . . . . . . . . . . . 44 x 22 x 43cm
LE-124: . . . . . . . . . . . . . . . 44 x 30 x 43cm
Gewicht
LE-114: . . . . . . . . . . . . . . . 7,5kg
LE-124: . . . . . . . . . . . . . . . 9,1kg
Laut Angaben des Herstellers.
Änderungen vorbehalten.
Copyright©by MONACOR®International GmbH & Co. KG, Bremen, Germany. All rights reserved. 03.01.01
®
LE-114
Best.-Nr. 38.1340
wwwwww..iimmggssttaaggeelliinnee..ccoomm
D
A
CH
D
A
CH

Light Effect Unit
“Fan”
1 Applications
The light effect units LE-114 and LE-124 are
ideally suited for applications on stage and in
discothèques. The units create dancing, multi-
coloured light patterns and thus provide an ideal
dancefloor atmosphere. Light control is made via
an integrated microphone.
Theabove-mentionedlighteffectunitsarenot
suitable for continuous operation. An uninter-
rupted operating time of 1 hour max. is admissi-
ble. If the admissible operating time is exceeded,
the unit may be damaged. In this case, there will
be no guarantee for the unit and no liability for
consequential damage to other units or persons.
2 Safety Notes
This unit corresponds to the directive for elec-
tromagnetic compatibility 89/336/EEC and to
the low voltage directive 73/23/EEC.
Please observe the following items in any case:
●The unit is suitable for indoor use only. Protect
it against humidity and heat (admissible
ambient temperature range 0
-
40°C).
●The unit heats up very much during operation.
To prevent burning yourself, do not touch the
housing during operation or let the unit cool
down for a few minutes after switching off
before touching it.
●The heat generated within the unit must be
carried off by air circulation. Therefore, do not
cover the air vents of the housing with any
objects.
●Do not drop or insert anything through the air
vents! This may result in an electric shock.
●Do not operate the unit or immediately dis-
connect the plug from the mains socket
1. if there is visible damage to the unit or to the
mains cable,
2. if a defect might have occurred after the unit
was dropped or suffered a similar accident,
3. if malfunctions occur.
●The unit is supplied with hazardous mains
voltage (230 V~). Leave servicing to skilled
personnel only. Inexpert handling may cause
an electric shock hazard. In any case the unit
must be repaired by skilled personnel.
●A damaged mains cable must be replaced by
the manufacturer or by skilled personnel only.
●Never pull the mains cable to disconnect the
mains plug from the socket.
●For cleaning only use a dry, soft cloth, by no
means chemicals or water.
●If the unit is used for other purposes than orig-
inally intended, if it is not correctly mounted or
operated or not repaired in an expert way, no
liability for any damage will be accepted.
●If the unit is to be put out of operation defini-
tively, take it to a local recycling plant for dis-
posal.
3 Inserting the Lamps
The light effect unit is supplied without lamps.
Important! Disconnect the mains plug in any
case before inserting or removing the lamps! As
the lamps become very hot during operation, let
them cool down after operation of the unit before
replacing them (cooling time at least 5 minutes)
Two halogen lamps of 120V/150
-
300W,
lamp base GY6,35 or GX6,35 (e.g. HLT-120/150
orHLT-120/300by“imgStageLine”)arerequired.
Insert one lamp into each lampholder.
1) Unscrew the black screw at the upper part of
the housing and open the cover of the hous-
ing.
2) When replacing the lamp, carefully remove
the old lamp from the lampholder.
3) Do not touch the new halogen lamp with your
fingers. Grease and sweat from human skin
reduce the light intensity and burn in. Insert
the lamp into the lampholder by means of a
soft, clean cloth.
4) Tightly screw down the cover of the housing
with the screws.
4 Mounting
Useasupportforprojectorsor a stable mounting
screw to fix the unit via a mounting bracket at the
desired location (cross arm of a stand for pro-
jectors or horizontal bar).
To align the unit, release the setscrews at the
mounting bracket, adjust the unit as desired and
tighten the setscrews again.
Important! To prevent heat accumulation within
the unit, the mounting location must be selected
in such a way that a sufficient air circulation is
ensured during operation. The air vents of the
housing must not be covered.
5 Operation
Connect the mains plug of the light effect unit to a
mainssocket(230V~/50Hz).Theunit is switched
on as soon as it has been connected to the power
supply: Both lamps light up.
Adjust the desired volume on the music
system.Adjust the desired microphone sensitivity
with the rotary control on the rear side of the unit.
If the control is turned counterclockwise until it
stops, the microphone is switched off.The further
the control is turned clockwise, the higher the
microphone sensitivity. Adjust the control in such
a way that the dynamic range of the music is
reproduced in an optimum way by the moving
light beams.
NOTE: When changing the volume on the music
system, the microphone sensitivity must be
matched accordingly via the rotary control.
To switch off the unit, disconnect the mains plug.
For a more convenient operation, connect the
unit to a mains socket to be switched on and off
via a light switch.
6 Specifications
Power supply: . . . . . . . . . . . 230V~/50Hz
Power consumption: . . . . . . 620VA
Lamps: . . . . . . . . . . . . . . . . . 2 halogen lamps
(120V/150
-
300W) lamp
base GX6,35 or
GY6,35
Dimensions
LE-114: . . . . . . . . . . . . . . . 44 x 22 x 43cm
LE-124: . . . . . . . . . . . . . . . 44 x 30 x 43cm
Weight
LE-114: . . . . . . . . . . . . . . . 7.5kg
LE-124: . . . . . . . . . . . . . . . 9.1kg
According to the manufacturer.
Subject to technical change.
Copyright©by MONACOR®International GmbH & Co. KG, Bremen, Germany. All rights reserved. 03.01.01
®
LE-114
Order No. 38.1340
wwwwww..iimmggssttaaggeelliinnee..ccoomm
LE-124
Order No. 38.1350
GB

Appareil pour effets
lumineux “Eventail”
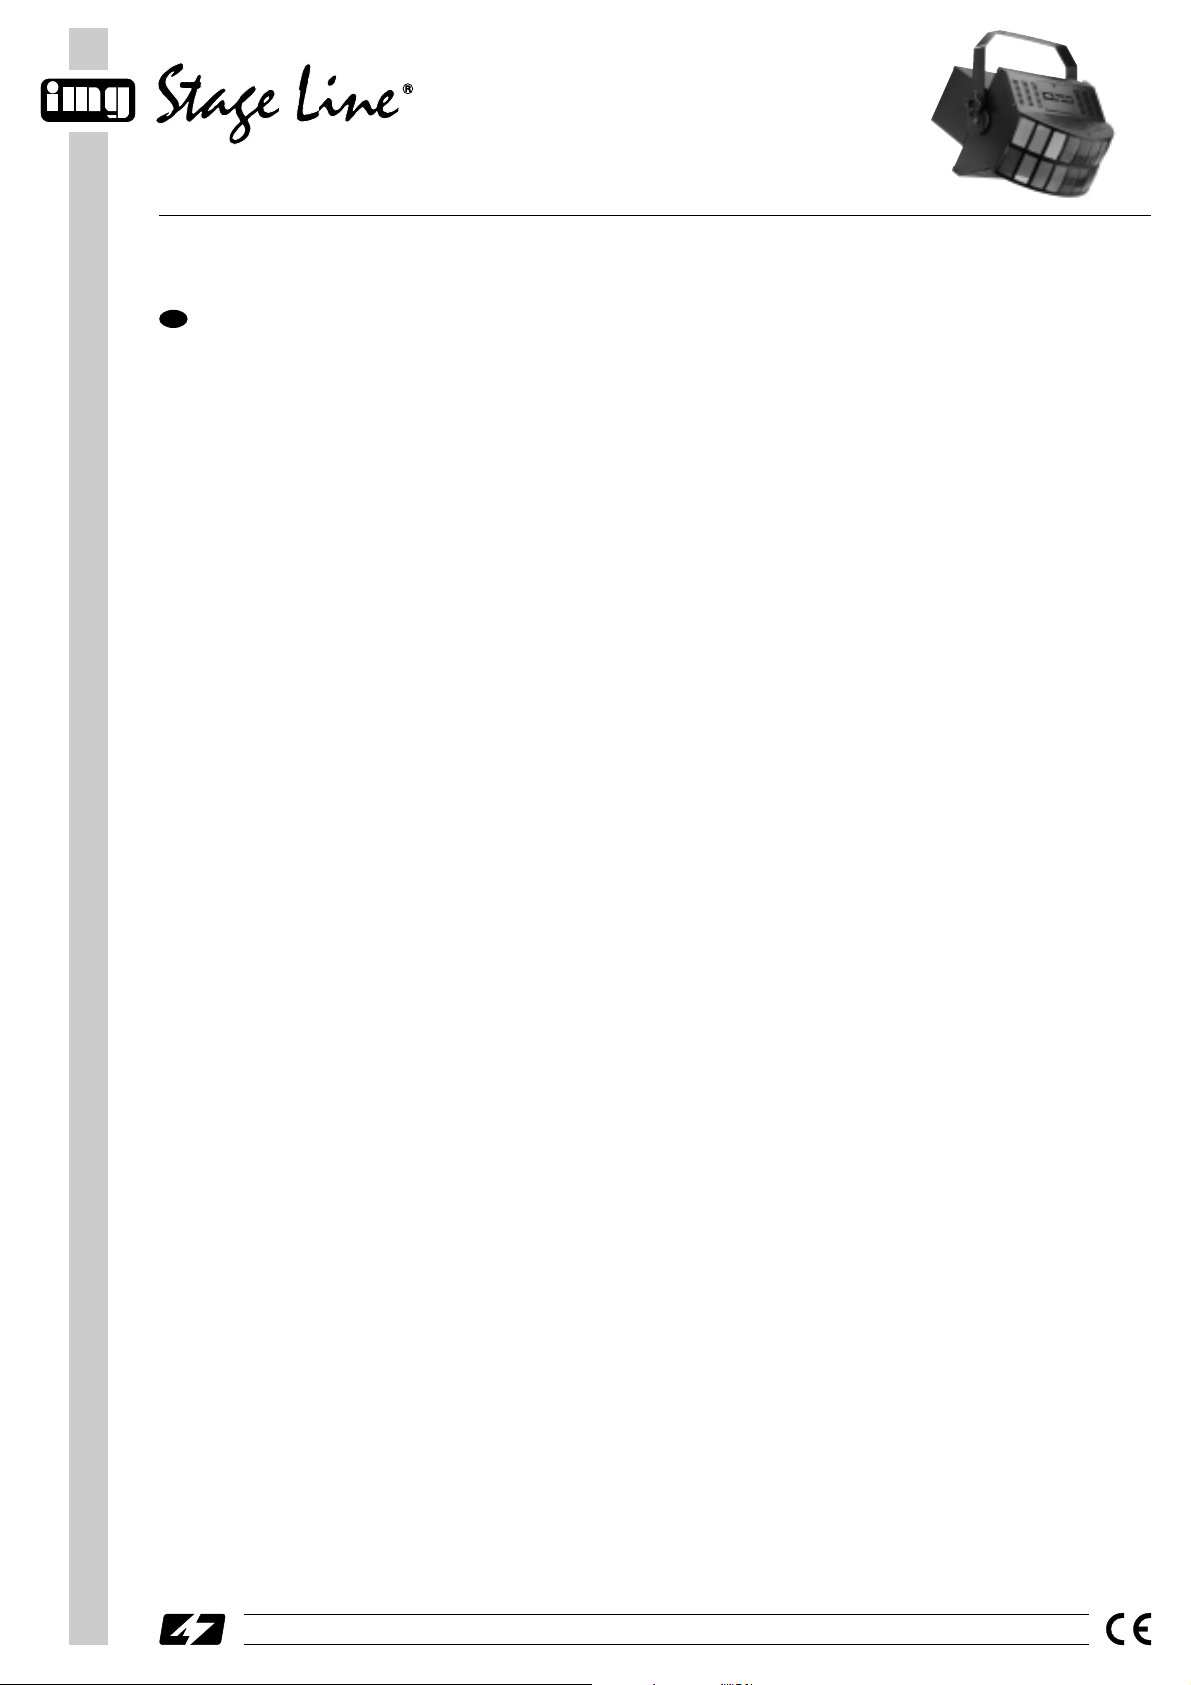
1 Possibilités d'utilisation
LesappareilspoureffetslumineuxLE-114et LE-
124 sont conçus pour une utilisation sur scène
et en discothèque. Les effets lumineux multico-
lores et dansants permettent de créer une
atmosphère “dance”. La lumière est comman-
dée par un micro intégré.
Ces appareils ne sont pas adaptés à un
fonctionnement en continu; une durée de fon-
ctionnement ininterrompue de 1 heure maxi-
mum est autorisée. En cas de dépassement,
cela pourrait générer des dommages sur l'ap-
pareil. Dans ce cas, tout droit à la garantie
devient caduque, notre responsabilité ne saurait
être engagée en cas de dommages causés sur
d'autres appareils ou des personnes.
2 Conseils d'utilisation
Cet appareil répond à la norme européenne
89/336/CEE relative à la compatibilité électro-
magnétique et à la norme 73/23/CEE portant
sur les appareils à basse tension.
Respectez scrupuleusement les points suivants:
●Cet appareil n'est conçu que pour une utilisa-
tion en intérieur; protégez-le de l'humidité
et de la chaleur (température d'utilisation
0
-
40°C).
●Pendant son fonctionnement, l'appareil
chauffe fortement. Pour éviter tout risque de
brûlure, ne touchez jamais le boîtier pendant
le fonctionnement, laissez refroidir l'appareil
quelques minutes après son fonctionnement
avant de le toucher.
●La chaleur dégagée par l'appareil doit être
évacuée par une circulation d'air adaptée. En
aucun cas, les ouïes de ventilation ne doivent
être obstruées par quelque objet que ce soit.
●Ne faites rien tomber et n'insérez rien dans les
ouïes de ventilation, vous pourriez subir un
choc électrique.
●Ne faites pas fonctionner l'appareil et débran-
chez-le immédiatement lorsque:
1. des dommages apparaissent sur l'appareil
ou sur le cordon secteur,
2. après une chute ou un cas similaire, vous
avez un doute au sujet de l'état de l'ap-
pareil,
3. des défaillances apparaissent.
Copyright©by MONACOR®International GmbH & Co. KG, Bremen, Germany. All rights reserved. 03.01.01
®
LE-114
N° de réf. 38.1340
wwwwww..iimmggssttaaggeelliinnee..ccoomm
LE-124
N° de réf. 38.1350
F
B
CH
●L'appareil est alimenté par une tension en
230V~. Ne touchez jamais l'intérieur de l'ap-
pareil car, en cas de mauvaise manipulation,
vouspourriez subir un choc électrique. En tout
cas, faites effectuer les réparations de l'ap-
pareil par un technicien spécialisé.
●Seul le constructeur ou un technicien habilité
peut remplacer un cordon secteur endom-
magé.
●Ne débranchez jamais l'appareil en tirant
directement sur le cordon secteur.
●Pour nettoyer l'appareil, utilisez un chiffon sec
et doux, en aucun cas, de produits chimiques
ou d'eau.
●Nous déclinons toute responsabilité en cas de
dommage si l'appareil est utilisé dans un but
autre que celui pour lequel il a été conçu, s'il
n'est pas correctement monté, réparé, ou uti-
lisé.
●Lorsque l'appareil est définitivement retiré du
service, vous devez le déposer dans une
usine de recyclage adaptée.
3 Insertion des lampes
L'appareil est livré sans lampes.
Important: avant d'insérer ou de retirer une
lampe, veillez à ce que l'appareil soit débranché
du secteur. Pendant le fonctionnement, les lam-
pes halogènes sont très chaudes, laissez tou-
jours refroidir l'appareil (5 minutes au moins)
avant de procéder au remplacement.
Deux lampes halogènes 120V/150
-
300W,
culot GY6,35 ou GX6,35 (par exemple HLT-
24/150 ou HLT-120/150 de “img Stage Line”)
sont nécessaires. Insérez une lampe par douille.
1) Dévissez la vis noire sur la face supérieure
du boîtier et ouvrez le couvercle.
2) Pour remplacer une lampe, retirez avec pré-
caution l'ancienne lampe de la douille.
3) Pour ne pas salir la nouvelle lampe, ne la tou-
chez pas directement avec les doigts: la
graisse et la sueur de la peau réduisent l'in-
tensité lumineuse. Insérez la nouvelle lampe
en la plaçant dans la douille à l'aide d'un chif-
fon net et doux.
4) Refermez le couvercle et revissez à l'aide de
la vis.
4 Montage
Utilisez un support pour projecteur ou une vis de
montage pour fixer l’appareil via l’étrier de mon-
tage à l’endroit voulu (traverse ou bras de pied
de lumière par exemple).
Pour orienter l'appareil, desserrez les vis de
l’étrier de montage, orientez-le puis revissez.
Important: pour éviter toute accumulation de
chaleur dans l'appareil, sélectionnez un lieu de
montage assurant une circulation d'air suffi-
sante. En aucun cas, les ouïes de ventilation de
l'appareil ne doivent être obturées.
5 Fonctionnement
Reliez l'appareil à une prise 230V~/50Hz. Il est
allumé dès son branchement au secteur. Les
deux lampes s’allument.
Sur l’installation audio, réglez le volume sou-
haité. Avec le réglage rotatif situé sur la face
arrière du boîtier, réglez la sensibilité souhaitée
dumicro. Si le réglage est tourné en sens inverse
horaire jusqu'à la butée, le micro est déconnecté.
Plus vous tournez ce réglage en sens horaire,
plus vous augmentez la sensibilité du micro.
Choisissez un réglage pour lequel la dynamique
de la musique soit reproduite de manière opti-
male par les faisceaux lumineux mouvants.
N.B. Lorsque vous modifiez le volume de l’instal-
lation audio, vous devez adapter la sensibilité du
micro à l'aide du réglage rotatif.
Pour déconnecter l'appareil, débranchez-le du
secteur. Pour un meilleur confort d'utilisation,
reliez l'appareil à une prise qui est commandée
par un interrupteur.
6 Caractéristiques techniques
Alimentation: . . . . . . . . . . . . 230V~/50Hz
Consommation: . . . . . . . . . . 620VA
Lampes: . . . . . . . . . . . . . . . . 2 lampes halogè-
nes (120V/
150
-
300W),
culot GX6,35 ou
GY6,35
Dimensions
LE-114: . . . . . . . . . . . . . . .44 x 22 x 43cm
LE-124: . . . . . . . . . . . . . . .44 x 30 x 43cm
Poids
LE-114: . . . . . . . . . . . . . . .7,5kg
LE-124: . . . . . . . . . . . . . . .9,1kg
D'après les données du constructeur.
Tout droit de modification réservé.

Unità per effetti di luce
“Fan”
1 Possibilità d'impiego
Le unità per effetti di luce LE-114 e LE-124 sono
previste specialmente per l'uso professionale.
Le unità producono disegni danzanti multicolori
creando una suggestiva atmosfera da pista da
ballo. Il comando luce avviene tramite il micro-
fono incorporato.
Queste unità per effetti di luce non sono indi-
cate per l’uso ininterrotto. È ammesso l’uso
ininterrotto di 1 ora max. Se si supera tale durata
d’esercizio, l’unità può subire dei danni. In quel
caso non si assume nessuna responsabilità per
danni ad altri apparecchi o alle persone.
2 Avvertenze di sicurezza
Quest’apparecchio corrisponde alle direttive CE
89/336/CEE sulla compatibilità elettromagne-
tica e 73/23/CEE per apparecchi a bassa ten-
sione.
Durante l’uso si devono osservare assoluta-
mente i seguenti punti:
●Lo strumento è previsto solo per l’uso all’in-
terno di locali. Proteggerlo dall'umidità e dal
calore (temperatura d’impiego ammessa fra 0
e 40°C).
●Durante il funzionamento, lo strumento si ri-
scalda molto. Per evitare delle bruciature, non
toccarlo durante il funzionamento, e dopo
averlo spento lasciarlo raffreddarsi per alcuni
minuti prima di toccarlo.
●Dev’essere garantita la libera circolazione
dell’aria per dissipare il calore che viene pro-
dotto all’interno dell’apparecchio. Non coprire
in nessun modo le fessure di aerazione.
●Non inserire oggetti nelle fessure di aerazione
e non farci cadere niente. Altrimenti si po-
trebbe provocare una scarica elettrica.
●Non mettere in funzione l’apparecchio e stac-
care subito la spina rete se:
1. l’apparecchio o il cavo rete presentano dei
danni visibili;
2. dopo una caduta o dopo eventi simili sussi-
ste il sospetto di un difetto;
3. l’apparecchio non funziona correttamente.
●L'unitàfunzionacontensionediretedi230V~.
Non intervenire mai al suo interno; la manipo-
lazione scorretta può provocare delle scariche
pericolose. Se l’apparecchio viene aperto,
cessa ogni diritto di garanzia. Per la ripara-
zione rivolgersi sempre ad una officina com-
petente.
●Il cavo rete, se danneggiato, deve essere
sostituito solo dal costruttore o da un labora-
torio autorizzato.
●Staccare il cavo rete afferrando la spina,
senza tirare il cavo.
●Per la pulizia usare solo un panno asciutto;
non impiegare in nessun caso prodotti chimici
o acqua.
●Nel caso di uso improprio, di montaggio sba-
gliato, di impiego scorretto o di riparazione
non a regola d’arte non si assume nessuna
responsabilità per eventuali danni.
●Se si desidera eliminare l'apparecchio definiti-
vamente, consegnarlo per lo smaltimento ad
un'istituzione locale per il riciclaggio.
3 Inserire le lampadine
L'unità viene consegnata senza lampadine.
Importante! Staccare l'unità assolutamente
dalla corrente prima di inserire o sostituire le
lampade! Poiché le lampade alogene si riscal-
dano moltissimo durante il funzionamento, con-
viene lasciarle raffreddarsi dopo un uso prolun-
gato (minimo 5 minuti), prima di sostituirle.
Sono richieste due lampade alogene con
120V/150
-
300W, zoccolo GY6,35 oppure
GX6,35(p.es. HLT-120/150oHLT-120/300 della
“img Stage Line”). Inserire una lampada in ogni
portalampada.
1) Allentare la vite nera sul lato superiore del
contenitore e aprire completamente il coper-
chio.
2) Per sostituire le lampade, togliere le vecchie
lampade delicatamente del portalampada.
3) Per non sporcare le nuove lampade con i
grassi della mano, non toccarle con le dita,
perché ciò diminuirebbe la loro luminosità,
bensì afferrarle per il montaggio con un panno
morbido e pulito.
4) Richiudere bene il coperchio con la vite.
4 Montaggio
Fissare lo strumento con un apposito supporto o
con una vite robusta di montaggio nel punto
desiderato (treppiede o simili) servendosi della
staffa di montaggio.
Per orientare l'unità, allentare le viti di bloccag-
gio della staffa di montaggio, registrare l'inclina-
zione voluta e riavvitare le viti.
Importante! Per evitare un accumulo di calore
nell'unità stessa, il punto di montaggio dev'es-
sere scelto in modo da garantire una circola-
zione d'aria sufficiente. Non coprire le fessure di
aerazione del contenitore.
5 Funzionamento
Collegare l'unità per effetti con una presa di rete
(230 V~ /50 Hz): l'unità è sotto corrente e le lam-
pade si accendono.
Impostare il volume sull'impianto di musica
secondo desiderio. Regolare la sensibilità del
microfono servendosi del regolatore posto sul
retro dell’unità. Girandolo in senso antiorario fino
all’arresto, il microfono è spento. Più si gira il
regolatore in senso orario, più aumenta la sensi-
bilità del microfono. Impostare il regolatore in
modotalecheilmovimentodei raggi di luce ripro-
duca in maniera ottimale la dinamica della
musica.
N.B.: Cambiando il volume dell'impianto di
musica, occorre adattare anche la sensibilità del
microfono mediante l'apposito regolatore.
Per spegnere l'unità staccare la spina dalla rete.
Per maggiore comodità conviene collegare l’u-
nità con una presa di rete comandata da un
interruttore.
6 Dati tecnici
Alimentazione: . . . . . . . . . . . 230V~/50Hz
Assorbimento: . . . . . . . . . . . 620VA
Lampade: . . . . . . . . . . . . . . . 2 lampade alo-
gene (120V/
150
-
300W),
zoccolo GX6,35
o GY6,35
Dimensioni
LE-114: . . . . . . . . . . . . . . . 44 x 22 x 43cm
LE-124: . . . . . . . . . . . . . . . 44 x 30 x 43cm
Peso
LE-114: . . . . . . . . . . . . . . . 7,5kg
LE-124: . . . . . . . . . . . . . . . 9,1kg
Dati forniti dal costruttore.
Con riserva di modifiche tecniche.
LE-124
Nr. ordine 38.1350
Copyright©by MONACOR®International GmbH & Co. KG, Bremen, Germany. All rights reserved. 03.01.01
®
LE-114
Nr. ordine 38.1340
wwwwww..iimmggssttaaggeelliinnee..ccoomm
I
This manual suits for next models
3
Table of contents
Languages:
Other Monacor Lighting Equipment manuals

Monacor
Monacor LEDW-270 Series User manual

Monacor
Monacor RL-6 User manual

Monacor
Monacor AL-16/ RT User manual

Monacor
Monacor BAL-230 User manual

Monacor
Monacor THEATER-100 User manual

Monacor
Monacor img Stage Line SDC-200 User manual

Monacor
Monacor img Stage Line SDC-202LED User manual

Monacor
Monacor EDL-65TW User manual

Monacor
Monacor img Stage Line LE-150 User manual

Monacor
Monacor LO-16 User manual