manuals.online logo
Brands
  1. Home
  2. •
  3. Brands
  4. •
  5. Monacor
  6. •
  7. Lighting Equipment
  8. •
  9. Monacor img Stage Line LE-150 User manual

Monacor img Stage Line LE-150 User manual

Lichteffektgerät mit Lochkugel
1 Einsatzmöglichkeiten
DasLichteffektgerätLE-150istbesondersfürdenEinsatzaufderBühne,
in der Diskothek oder im privaten Partykeller geeignet. Durch die per-
manent rotierende Lochkugel wird ein Lichtmuster mit einem spiegel-
kugelähnlichen Effekt für eine ideale Dancefloor-Atmosphäre erzeugt.
Das Gerät ist nicht für den Dauerbetrieb geeignet; ununterbrochene
Betriebsdauer max. 1 Stunde.
2 Hinweise für den sicheren Gebrauch
Das Gerät entspricht der Richtlinie für elektromagnetische Verträg-
lichkeit 89/336/EWG und der Niederspannungsrichtlinie 73/23/EWG.
●Verwenden Sie das Gerät nur im Innenbereich. Schützen Sie es vor
FeuchtigkeitundHitze(zulässigerEinsatztemperaturbereich0–40°C).
●Während des Betriebs heizt sich das Gerät stark auf. Um Verbren-
nungen zu vermeiden, berühren Sie das Gerät nicht während des
Betriebs bzw. lassen Sie es nach dem Ausschalten einige Minuten
abkühlen, bevor Sie es berühren.
●Nehmen Sie das Gerät nicht in Betrieb bzw. ziehen Sie sofort den
Netzstecker aus der Steckdose, wenn:
1. sichtbare Schäden am Gerät oder an der Netzanschlußleitung vor-
handen sind,
2. nach einem Sturz oder ähnlichem der Verdacht auf einen Defekt
besteht,
3. Funktionsstörungen auftreten.
Das Gerät wird mit lebensgefährlicher Netzspannung (230V~) ver-
sorgt. Nehmen Sie deshalb nie selbst Eingriffe im Gerät vor. Durch
unsachgemäßes Vorgehen besteht die Gefahr eines elektrischen
Schlages. Lassen Sie das Gerät in einer Fachwerkstatt reparieren.
●Eine beschädigte Netzanschlußleitung darf nur durch den Hersteller
oder durch eine autorisierte Fachwerkstatt ersetzt werden.
●Verwenden Sie für die Reinigung nur ein trockenes, weiches Tuch,
auf keinen Fall Chemikalien oder Wasser.
●Wird das Gerät zweckentfremdet, falsch bedient oder nicht fachge-
recht repariert, kann für eventuelle Schäden keine Haftung übernom-
men werden.
●Soll das Gerät endgültig aus dem Betrieb genommen werden, über-
geben Sie es zur Entsorgung einem örtlichen Recyclingbetrieb.
3 Leuchtmittel einsetzen oder auswechseln
Das Lichteffektgerät wird ohne Leuchtmittel geliefert. Benötigt wird eine
Halogenlampe 230V/100W mit einem Sockel GY6,35 (z.B. HLT-
230/100 von „img Stage Line“).
Wichtig! Ziehen Sie vor dem Einsetzen bzw. Auswechseln der Halo-
genlampe unbedingt den Netzstecker! Weil die Lampe im Betrieb sehr
heiß wird, nach dem Ziehen des Netzsteckers das Gerät mindestens
5 Minuten abkühlen lassen.
1) Die drei Rändelschrauben an der Lochkugel abschrauben, und die
Halbkugel abnehmen.
2) Beieinem Lampenwechsel die defekteLampe vorsichtig aus derFas-
sung ziehen.
3) Die neue Halogenlampe nicht mit den Fingern berühren. Hautfett und
-schweiß mindern die Leuchtkraft und brennen sich ein. Die Lampe
mit Hilfe eines sauberen, weichen Tuches in die Fassung stecken.
4) Die abgenommene Halbkugel mit den drei Rändelschrauben wieder
befestigen.
4 Montage
Das Lichteffektgerät an geeigneter Stelle der Decke oder an zwei paral-
lelen Trägerstangen einer Traverse festschrauben.
5 Bedienung
Nach der Montage den Netzstecker in eine Steckdose stecken (230V~/
50Hz). Damit ist das Lichteffektgerät eingeschaltet, die Lochkugel
rotiert. ZumAusschalten den Netzstecker wieder aus der Steckdose zie-
hen. Für einen besseren Bedienkomfort das Gerät an eine Steckdose
anschließen, die sich über einen Lichtschalter ein- und ausschalten läßt.
6 Technische Daten
Stromversorgung: . . . . . . . . 230V~/50 Hz/120VA
Halogen-Leuchtmittel: . . . . . 230V/100W mit Sockel GY6,35
z.B. HLT-230/100 von „img Stage Line“
Abmessungen: . . . . . . . . . . Ø 18cm x 25 cm
Gewicht: . . . . . . . . . . . . . . . 1,7kg
Laut Angaben des Herstellers.
Änderungen vorbehalten.
LE-150 Best.-Nr. 38.1230
Light Effect Unit with Perforated Ball
1 Applications
The light effect unit LE-150 is especially suitable for stage, disco, and
private party applications. Due to the permanently rotating perforated
ball a light pattern with an effect similar to a mirror ball is produced which
createsan ideal dance floor atmosphere.Theunit is not suitablefor con-
tinuous operation; uninterrupted operating time max. 1 hour.
2 Safety Notes
The unit corresponds to the directive for electromagnetic compatibility
89/336/EEC and to the low voltage directive 73/23/EEC.
●Only use the unit indoors. Protect it against humidity and heat (admis-
sible ambient temperature range 0–40°C).
●During operation the unit heats up very much. To avoid burnings, do
not touch the unit during the operation or let it cool down for some
minutes after switching off before you touch it.
●Donot setthe unit into operation or immediately disconnect the mains
plug from the mains socket if:
1. damage is visible at the unit or mains cable,
2. a defect might have occurred after a drop or similar accident,
3. there are malfunctions.
The unit is supplied with dangerous mains voltage (230V~). In order
to prevent a shock hazard, do not open it. Leave servicing to author-
ized, skilled personnel only.
●A damaged mains cable must only be replaced by the manufacturer
or authorized personnel.
●
Forcleaningonly use a dry,softcloth.Donotuse any chemicals or water.
●If the unit is used for purposes other than originally intended, if it is not
operated correctly or not repaired in an expert way, no liability for any
damage will be accepted.
●If the unit is to be put out of operation definitively, it must be disposed
of in a local recycling plant.
●Important for U.K. Customers!
The wires in this mains lead are coloured in accordance with the
following code:
green/yellow = earth, blue = neutral, brown = live
As the colours of the wires in the mains lead of this appliance may not
correspond with the coloured markings identifying the terminals in
your plug, proceed as follows:
1. The wire which is coloured green and yellow must be connected
to the terminal in the plug which is marked with the letter Eor by the
earth symbol , or coloured green or green and yellow.
2. The wire which is coloured blue must be connected to the terminal
which is marked with the letter Nor coloured black.
3. The wire which is coloured brown must be connected to the termi-
nal which is marked with the letter Lor coloured red.
Warning – This appliance must be earthed.
3 Inserting or Replacing of the Lamp Insert
The light effect unit is supplied without lamp insert. A halogen lamp
230V/100W with a base GY6,35 (e.g. HLT-230/100 by “img Stage
Line”) is necessary.
Important! Priorto inserting orreplacing of thehalogen lamp disconnectthe
mains plug in any case!As the lamp becomes very hot during operation, let
the unit cool down for at least 5 minutes after disconnecting the mains plug.
1) Unscrew the three knurled screws on the perforated ball, and take off
the hemispherical ball.
2) Forchangingalamp, carefully pull the defective lamp out of thesocket.
3) Do not touch the new halogen lamp with your fingers. Grease and
sweat from the skin reduce the lighting power and burn in. Insert the
lamp into the socket by means of a clean, soft cloth.
4) Fixthe hemispericalballwhichhasbeen taken offwiththe threeknurled
screws again.
4 Mounting
Tightly screw the light effect unit at a suitable place of the ceiling or at
two parallel carrying bars of a traverse.
5 Operation
After mounting connect the mains plug to a mains socket (230V~/
50Hz). Thus, the light effect unit is switched on, the perforated ball ro-
tates. For switching off, disconnect the mains plug again from the mains
socket. For more comfortable operation connect the unit to a mains
socket to be switched on and off via a light switch.
6 Specifications
Power supply: . . . . . . . . . . . 230V~/50Hz/120VA
Halogen lamp insert: . . . . . . 230V/100W with base GY6,35,
e.g. HLT-230/100 by “img Stage Line”
According to the manufacturer. Subject to change.
wwwwww..iimmggssttaaggeelliinnee..ccoomm
Copyright©by MONACOR®International GmbH & Co. KG, Bremen, Germany. All rights reserved. 02.01.01
®
D A CH
GB
Modulateur de lumière avec
boule perforée
1 Possibilités d’utilisation
Le modulateur de lumière LE-150 est spécialement conçu pour une uti-
lisation sur scène, en discothèque ou pour la soirée privée. A cause de
la boule perforée qui tourne permanentement, un dessin lumineux avec
un effet similaire à une boule de miroir est produit pour créer une atmos-
phère idéale des soirées dansantes. L’appareil n’est pas approprié au
service permanent; la durée de service ininterrompue est 1 heure max.
2 Conseils d’utilisation
Cet appareil répond à la norme européenne 89/336/EEC relative à la
compatibilité électromagnétique et à la norme européenne 73/23/CEE
portant sur les appareils à basse tension.
●Cetapareil n’est conçu que pour une utilisation en intérieur;protégez-
le de l’humidité et de la chaleur (température ambiante admissible
0–40°C).
●Pendant le fonctionnement, l’appareil chauffe fortement. Pour éviter
toute brûlure, ne touchez jamais l’appareil pendant son fonctionne-
ment. De même, une fois éteint, laissez-le refroidir quelques minutes
avant de le toucher.
●Ne faites pas fonctionner l’appareil ou débranchez-le immédiatement
du secteur lorsque:
1. des dommages apparaissent sur l’appareil ou sur le cordon secteur,
2. après une chute ou un cas similaire, vous avez un doute sur l’état
de l’appareil,
3. des défaillances apparaissent.
L’appareilestalimentépar une tension très dangereuseen230V~.En
cas de mauvaise manipulation, vous pourriez subir une décharge
électrique mortelle. Faites toujours appel à un technicien spécialisé
pour effectuer les réparations.
●Seul le constructeur ou un technicien habilité peut remplacer un cor-
don secteur endommagé.
●Pour le nettoyer, utilisez un chiffon sec et doux, en aucun cas, de pro-
duits chimiques ou d’eau.
●Nous déclinons toute responsabilité en cas de dommage si l’appareil
estutilisédansunbutautre que celui pour lequel il a étéconçu,s’iln’est
pas correctement utilisé ou n’est pas réparé d’une façon appropriée.
●Lorsque l’appareil est définitivement retiré du service, vous devez le
déposer dans une usine de recyclage adaptée.
3 Insérer ou remplacer la lampe
Le modulateur de lumière est livré sans lampe. Une lampe halogène
230V/100W, culot GY6,35 (p.ex. HLT-230/100 de la gamme “img Stage
Line”) est nécessaire.
Important! Avant d’insérer ou de remplacer la lampe halogène, veillez
à ce que l’appareil soit débranché du secteur en tout cas! Pendant le
fonctionnement, la lampe est très chaude, laissez refroidir l’appareil
5 minutes au moins après le débranchement du secteur.
1) Dévissez les trois vis moletées de la boule perforée, et retirez l’hé-
misphère.
2) Pour changer une lampe, retirez avec précaution la lampe défec-
tueuse de la douille.
3) Ne touchez pas la nouvelle lampe halogène avec les doigts. La
graisse et la sueur de la peau réduisent l’intensité lumineuse et cui-
sent dedans. Insérez la nouvelle lampe halogène dans la douille à
l’aide d’un chiffon doux et propre.
4) Fixez l’hémisphère retirée de nouveau avec les trois vis moletées.
4 Montage
Vissez le modulateur de lumière à une place appropriée du plafond ou
à deux barres portantes parallèles d’une traverse.
5 Fonctionnement
Après le montage, reliez l’appareil au secteur (230V~/50Hz). Le modu-
lateur de lumière est alors allumé, la boule perforée tourne. Pour
déconnecter,débranchez le modulateur de lumière du secteur.Pour une
opération plus facile, branchez l’appareil à une prise du secteur qui peut
être allumée et débranchée via un commutateur d’éclairage.
6 Caractéristiques techniques
Alimentation: . . . . . . . . . . . . 230V~/50Hz/120VA
Lampe halogène: . . . . . . . . 230V/100W avec culot GY6,35,
p.ex. HLT-230/100 de “img Stage Line”
Dimensions: . . . . . . . . . . . . Ø 18cm x 25cm
Poids: . . . . . . . . . . . . . . . . . 1,7kg
D’aprèsdesdonnéesdu constructeur.Toutdroitde modification réservé.
LE-150 Best.-Nr. 38.1230
Unità per effetti luce con sfera a fori
1 Possibilità d’impiego
L’unità per effetti di luce LE-150 è adatta in particolar modo per l’impiego
professionale e privato. Grazie alla sfera a fori permanentemente
rotante, si creano disegni di luce con effetti simili a quelli delle sfere a
specchi, ideali per un atmosfera di dancefloor. L’apparecchio non è pre-
visto per l’uso continuo; l’uso ininterrotto è consentito per 1 ora max.
2 Avvertenze
Quest’apparecchiocorrispondealledirettiveCE89/336/CEEsullacom-
patibilità elettromagnetica e 73/23/CEE per apparecchi a bassa ten-
sione.
●Lo strumento è previsto solo per l’uso all’interno di locali. Proteggerlo
dall’umidità e dal calore (temperatura d’impiego ammessa fra
0–40°C).
●Durante il funzionamento l’unità si riscalda moltissimo. Per evitare
bruciature non toccarla mai durante il funzionamento e farla raffred-
darsi per alcuni minuti dopo lo spegnimento.
●Non mettere in funzione l’apparecchio e staccare subito la spina rete
se:
1. l’apparecchio o il cavo rete presentano dei danni visibili;
2. dopo una caduta o dopo eventi simili sussiste il sospetto di un
difetto;
3. l’apparecchio non funziona correttamente.
L’unità funziona con tensione di rete di 230V~. Non intervenire mai al
suo interno; la manipolazione scorretta può provocare delle scariche
pericolose. Per la riparazione rivolgersi ad una officina competente.
●Il cavo rete, se danneggiato, deve essere sostituito solo dal costrut-
tore o da un laboratorio autorizzato.
●Per la pulizia usare solo un panno morbido, asciutto; non impiegare
in nessun caso prodotti chimici o acqua.
●Nel caso di uso improprio, di collegamenti sbagliati o di riparazione
scorretta non si assume nessuna responsabilità per eventuali danni.
●Se si desidera eliminare l’apparecchio definitivamente, consegnarlo
per lo smaltimento ad un’istituzione locale per il riciclaggio.
3 Montaggio o sostituzione della lampadina
L’unità viene fornita senza lampadina. È richiesta una lampada allogena
230V/100W con zoccolo GY6,35 (p.es. HLT-230/100 della “img Stage
Line”).
Importante! Staccare assolutamente la spina di rete prima di montare
o sostituire una lampadina! Dato che la lampadina diventa molto calda
durante il funzionamento, fare raffreddare l’unità per non meno di
5 minuti dopo avere staccato la spina di rete.
1) Svitare le tre viti zigrinate dalla sfera e togliere la semisfera.
2) Nel caso di sostituzione della lampadina estrarre quella difettosa deli-
catamente dal suo zoccolo.
3) Non toccare la nuova lampadina con le mani. Il grasso della mano e
il sudore riducono la potenza luminosa. Inserire la lampadine nello
zoccolo servendosi di un panno morbido e pulito.
4) Rimettere la semisfera e fissare di nuovo le tre viti zigrinate.
4 Montaggio dell’unità
Avvitare l’unità al soffitto o a due barre parallele di una traversa.
5 Funzionamento
Dopo il montaggio inserire la spina di rete in una presa (230V~/50Hz).
L’unità è accesa e la sfera comincia a roteare. Per spegnerla, staccare
la spina dalla rete. Per maggiore comodità si può collegare l’unità con
una presa comandata da un interruttore.
6 Dati tecnici
Alimentazione: . . . . . . . . . . 230V~/50 Hz/120VA
Lampada allogena: . . . . . . . 230V/100W con zoccolo GY6,35
p.es. HLT-230/100 della “img Stage
Line”
Dimensioni: . . . . . . . . . . . . . Ø 18cm x 25cm
Peso: . . . . . . . . . . . . . . . . . 1,7kg
Dati forniti dal produttore.
Con riserva di modifiche tecniche.
wwwwww..iimmggssttaaggeelliinnee..ccoomm
Copyright©by MONACOR®International GmbH & Co. KG, Bremen, Germany. All rights reserved. 02.01.01
®
I
F B CH

This manual suits for next models

1

Other Monacor Lighting Equipment manuals

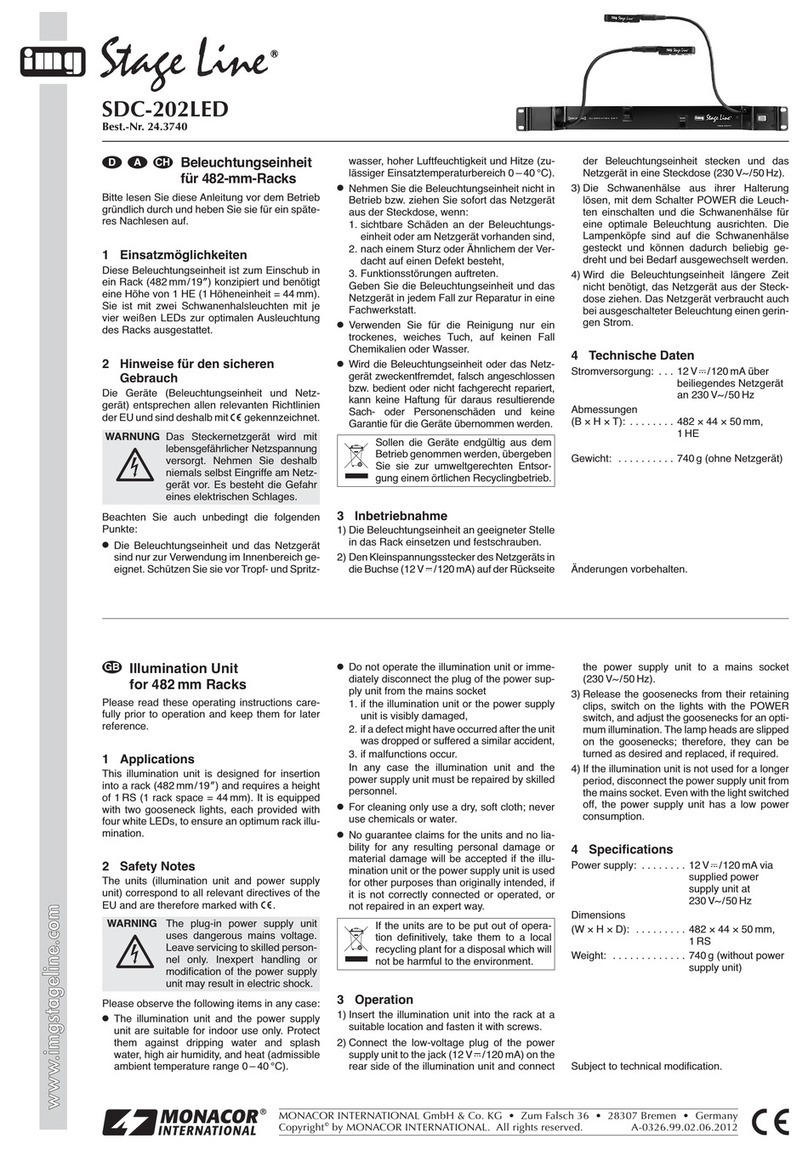
Monacor img Stage Line SDC-202LED User manual

Monacor

Monacor img Stage Line SDC-202LED User manual

Monacor img Stage Line LE-114 User manual

Monacor

Monacor img Stage Line LE-114 User manual

Monacor EDL-65TW User manual

Monacor

Monacor EDL-65TW User manual

Monacor LO-16 User manual

Monacor

Monacor LO-16 User manual

Monacor img Stage Line SDC-200 User manual

Monacor

Monacor img Stage Line SDC-200 User manual

Monacor BAL-230 User manual

Monacor

Monacor BAL-230 User manual

Monacor RL-6 User manual

Monacor

Monacor RL-6 User manual

Monacor CU-4BOOST User manual

Monacor

Monacor CU-4BOOST User manual

Monacor LEDW-270 Series User manual

Monacor

Monacor LEDW-270 Series User manual

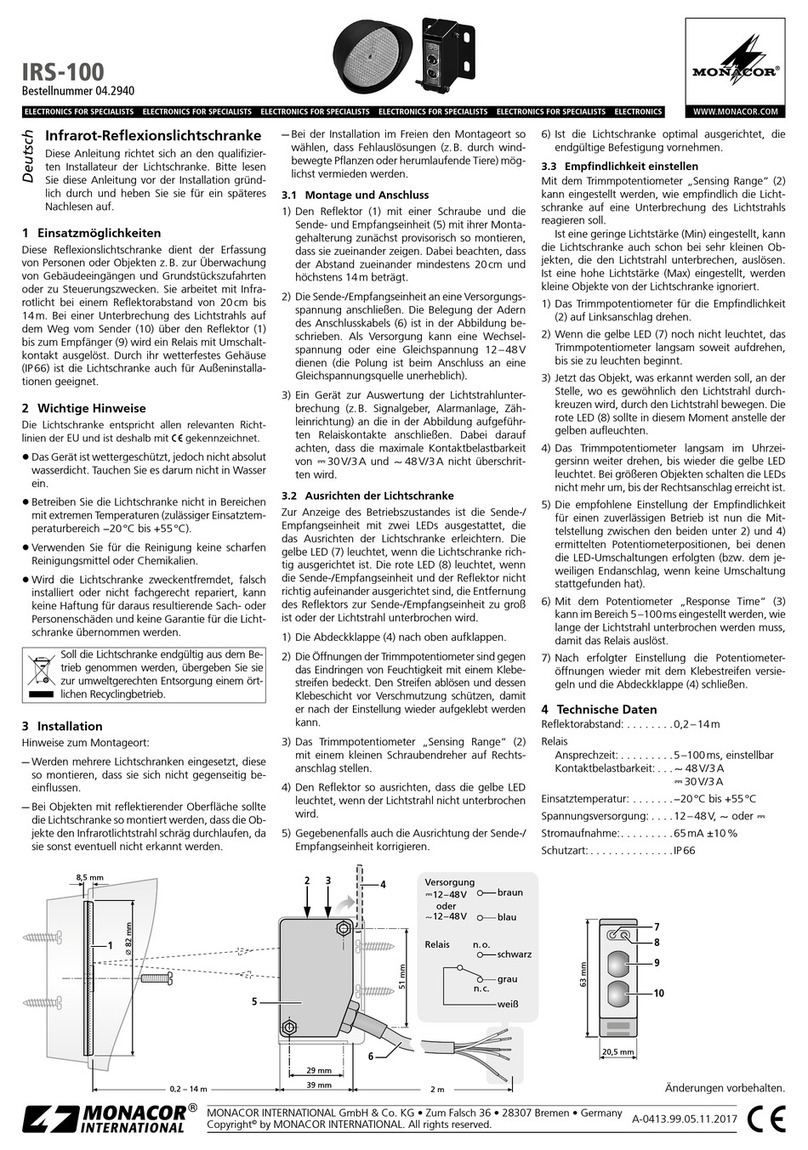
Monacor IRS-100 User manual

Monacor

Monacor IRS-100 User manual

Monacor DREAMLIGHT User manual

Monacor

Monacor DREAMLIGHT User manual

Monacor AL-16/ RT User manual

Monacor

Monacor AL-16/ RT User manual

Monacor THEATER-100 User manual

Monacor

Monacor THEATER-100 User manual

Monacor img Stage Line STROBE-190 User manual

Monacor

Monacor img Stage Line STROBE-190 User manual

Popular Lighting Equipment manuals by other brands

LightSKIN S311 user guide

LightSKIN

LightSKIN S311 user guide

COLBOR CL220 user manual

COLBOR

COLBOR CL220 user manual

Atex Tsubaki TL10-090DM K Series installation manual

Atex

Atex Tsubaki TL10-090DM K Series installation manual

ERJK VOICE RAFFAELLO instruction manual

ERJK

ERJK VOICE RAFFAELLO instruction manual

Trilux T 200 Series Mounting instructions

Trilux

Trilux T 200 Series Mounting instructions

Phason LDB-2 User manual and installation guide

Phason

Phason LDB-2 User manual and installation guide

American DJ mace User instructions

American DJ

American DJ mace User instructions

Matco Tools UTL12A quick start guide

Matco Tools

Matco Tools UTL12A quick start guide

Braun 59223 Owner's manual & safety instructions

Braun

Braun 59223 Owner's manual & safety instructions

Marmitek LM12 user manual

Marmitek

Marmitek LM12 user manual

Ultra-tow 40509 owner's manual

Ultra-tow

Ultra-tow 40509 owner's manual

Cameo OTOS SP6 user manual

Cameo

Cameo OTOS SP6 user manual

Oase LunAqua Micro Eco Set operating instructions

Oase

Oase LunAqua Micro Eco Set operating instructions

Lucci LEDlux RIBBON II installation instructions

Lucci LEDlux

Lucci LEDlux RIBBON II installation instructions

Luxibel LX152 user manual

Luxibel

Luxibel LX152 user manual

STARVILLE DJ Lase 400-B Blue DMX showlaser user manual

STARVILLE

STARVILLE DJ Lase 400-B Blue DMX showlaser user manual

Kompernass KH 4144 operating instructions

Kompernass

Kompernass KH 4144 operating instructions

bsw RivieraPool INTEGRA 2-13 technical information

bsw

bsw RivieraPool INTEGRA 2-13 technical information

manuals.online logo
manuals.online logoBrands
  • About & Mission
  • Contact us
  • Privacy Policy
  • Terms and Conditions

Copyright 2025 Manuals.Online. All Rights Reserved.