manuals.online logo
Brands
  1. Home
  2. •
  3. Brands
  4. •
  5. Monacor
  6. •
  7. Recording Equipment
  8. •
  9. Monacor AR-30 User manual

Monacor AR-30 User manual

ELECTRONICS FOR SPECIALISTS ELECTRONICS FOR SPECIALISTS ELECTRONICS FOR SPECIALISTS ELECTRONICS FOR SPECIALISTS ELECTRONICS FOR SPECIALISTS ELECTRONICS
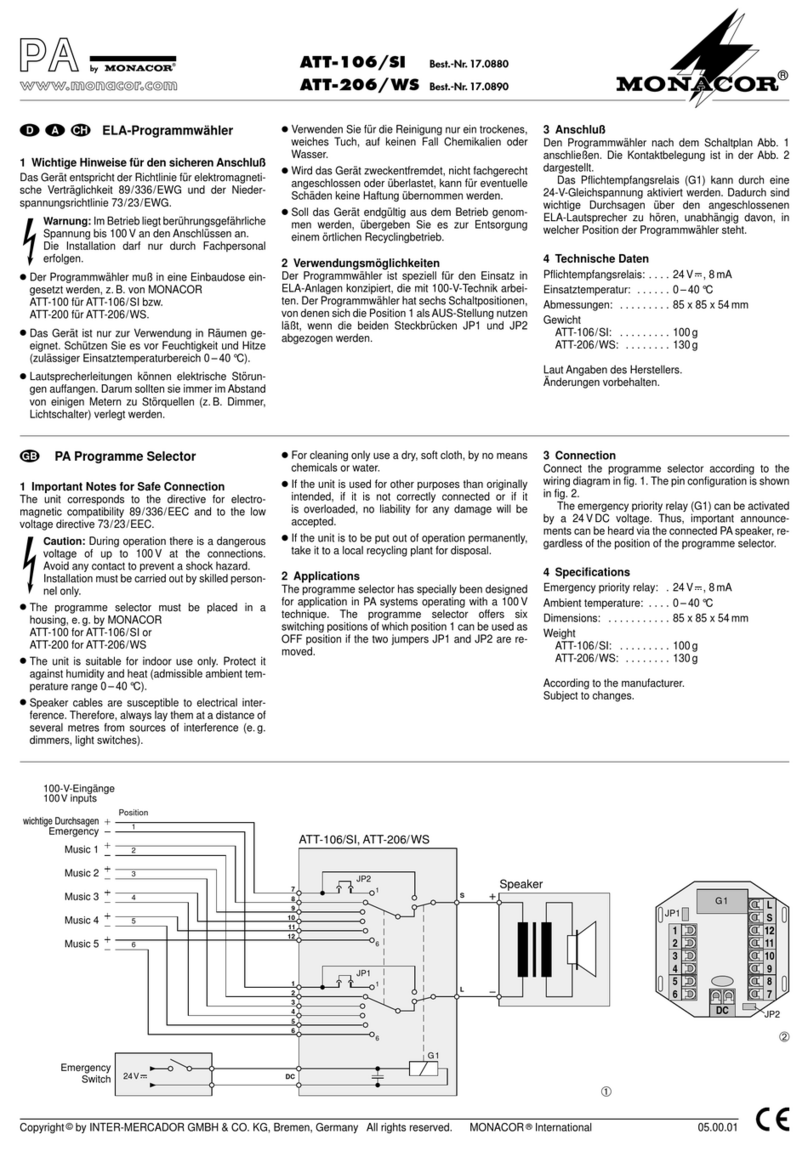
AR-30 Bestell-Nr. • Order No. 16.2790
AR-50 Bestell-Nr. • Order No. 16.2800
MONACOR INTERNATIONAL GmbH & Co. KG • Zum Falsch 36 • 28307 Bremen • Germany
Copyright©by MONACOR INTERNATIONAL. All rights reserved. A-1204.99.03.04.2018
Exciter
These operating instructions are intended
for users with basic knowledge in audio
technology. Please read the instructions
carefully prior to operation and keep them
for later reference.
1 Application
This exciter is screwed via its mounting plate to
a surface capable of vibrating (e.g. door, table
plate, bookshelf, lightweight wall panel, ceiling
panel, etc., however, no glass surface) and con-
nected to the speaker output of an audio am-
plifier. In case of audio signals (music or speech)
from the amplifier, it will cause the mounting
surface to vibrate and thus to serve as a speaker
cone. Sound quality and maximum volume de-
pend on the material properties and the dimen-
sions of the mounting surface.
Due to its robust and weatherproof housing,
the exciter is also suitable for outdoor applica-
tions and for wet environments (e.g. bathroom,
patio).
2 Important Notes
The exciter corresponds to all relevant directives
of the EU and is therefore marked with .
•
The exciter is waterproof according to IP68
(24h at a maximum water depth of 2m),
however, it must not be used for underwater
operation.
•
For cleaning never use aggressive detergents
or chemicals.
•
No guarantee claims for the exciter and no
liability for any resulting personal damage or
material damage will be accepted if the ex-
citer is used for other purposes than originally
intended, if it is not correctly installed or if it
is overloaded.
If the exciter is to be put out of opera-
tion definitively, take it to a local recy-
cling plant for a disposal which is not
harmful to the environment.
3 Installation
1) Unscrew the mounting plate from the exciter
and mount the plate with 6 screws onto the
mounting surface, then screw the exciter via
its threaded jack onto the mounting plate.
As the exciter starts to vibrate during oper-
ation and the vibration energy is transmitted
to the mounting surface, make sure to tighten
all screw connections during the installation.
2) Switch off the amplifier the exciter is to be
connected to!
3) Connect the cables of the exciter to the
speaker output of the amplifier. The cables
are provided with crimp connectors by which
they can be connected to a speaker cable.
When connecting several exciters, make
sure that all exciters have the same polarity
(e.g. black core = negative connection) and
that the load impedance of the amplifier out-
put will not fall below the admissible value.
4) Switch on the amplifier and adjust the desired
volume.
Subject to technical modification.
Körperschallwandler
Diese Anleitung richtet sich an Benutzer
mit Grundkenntnissen in der Audiotechnik.
Bitte lesen Sie die Anleitung vor dem Betrieb
gründlich durch und heben Sie sie für ein
späteres Nachlesen auf.
1 Verwendungsmöglichkeiten
Dieser Körperschallwandler (Exciter) wird über
seine Montageplatte auf eine schwingungs-
fähige Fläche geschraubt (z.B. Tür, Tischplatte,
Regal, Leichtbauwand, Deckenplatte, usw.,
jedoch keine Glasfläche) und an den Lautspre-
cherausgang eines Audioverstärkers angeschlos-
sen. Bei Audiosignalen (Musik oder Sprache)
vom Verstärker versetzt er die Montagefläche in
Schwingungen, die somit als Lautsprechermem-
bran dient. Klangqualität und Maximallautstärke
hängen von der Materialbeschaffenheit und der
Dimensionierung der Montagefläche ab.
Dank seines robusten und wetterfesten Ge-
häuses lässt sich der Wandler auch im Feucht-
und Außenbereich verwenden (z.B. Bad, Ter-
rasse).
2 Wichtige Hinweise für den Gebrauch
Der Wandler entspricht allen relevanten Richt-
linien der EU und trägt deshalb das -Zeichen.
•
Der Wandler ist wasserfest gemäß IP68 (24h
bei max. 2m Wassertiefe), darf jedoch nicht für
den Unterwasserbetrieb verwendet werden.
•
Verwenden Sie zum Säubern keine aggressi-
ven Reinigungsmittel oder Chemikalien.
•
Wird der Wandler zweckentfremdet, nicht
fachgerecht installiert oder überlastet, kann
keine Haftung für daraus resultierende Sach-
oder Personenschäden und keine Garantie für
den Wandler übernommen werden.
Soll der Wandler endgültig aus dem
Betrieb genommen werden, über-
geben Sie ihn zur umweltgerechten
Entsorgung einem örtlichen Recycling-
betrieb.
3 Installation
1) Die Montageplatte vom Wandler abschrau-
ben und sie mit 6 Schrauben auf der Monta-
gefläche montieren, dann den Wandler über
seine Gewindebuchse auf die Montageplatte
schrauben.
Da der Wandler im Betrieb in Schwingun-
gen versetzt wird und die Schwingungsener-
gie auf die Montagefläche überträgt, bei der
Montage darauf achten, dass alle Schraubver-
bindungen fest angezogen sind.
2) Den Verstärker, an den der Wandler ange-
schlossen werden soll, ausschalten!
3) Die Anschlussleitungen des Wandlers mit
dem Lautsprecherausgang des Verstärkers
verbinden. Die Leitungen sind mit Quetsch-
verbindern ausgestattet, über die sie mit
einem Lautsprecherkabel verbunden werden
können.
Beim Anschluss mehrerer Wandler darauf
achten, dass die Wandler alle gleich gepolt
werden (z.B. schwarze Ader = Minusan-
schluss) und die zulässige Anschlussimpedanz
des Verstärkerausgangs nicht unterschritten
wird.
4) Den Verstärker einschalten und die ge-
wünschte Lautstärke einstellen.
Änderungen vorbehalten.
DeutschEnglish
Technische Daten Specifications AR-30 AR-50
Nennbelastbarkeit Power rating 15W 30W
Musikbelastbarkeit Music power load 30W 50W
Impedanz Impedance 8Ω 8Ω
Frequenzbereich Frequency range montageabhängig • depending on mounting
Resonanzfrequenz Resonant frequency 600Hz 500Hz
Minimale Montagefläche Minimum mounting surface ⌀80mm
Gehäuseschutzart Protective class of housing IP68
Zulässige Einsatztemperatur Admissible ambient temperature −10°C … +60°C
Abmessungen, Gewicht Dimensions, weight ⌀80mm × 40mm, 650g ⌀90mm × 55 mm, 950 g
ELECTRONICS FOR SPECIALISTS ELECTRONICS FOR SPECIALISTS ELECTRONICS FOR SPECIALISTS ELECTRONICS FOR SPECIALISTS ELECTRONICS FOR SPECIALISTS ELECTRONICS
MONACOR INTERNATIONAL GmbH & Co. KG • Zum Falsch 36 • 28307 Bremen • Germany
Copyright©by MONACOR INTERNATIONAL. All rights reserved. A-1204.99.03.04.2018
AR-30 Référence num. • Codice 16.2790
AR-50 Référence num. • Codice 16.2800
Convertitore di
vibrazionimeccaniche
Queste istruzioni sono rivolte a utenti con
conoscenze base nella tecnica audio. Vi pre-
ghiamo di leggerle attentamente prima dell’in-
stallazione e di conservarle per un uso futuro.
1 Possibilità d’impiego
Questo convertitore di vibrazioni meccaniche
(exciter/risonatore) si avvita per mezzo della sua
piastra di montaggio su una superficie oscillante
(p.es. porta, tavolo, scaffale, parete leggera,
controsoffitto ecc. ma non vetro) e quindi si
collega con l’uscita per altoparlanti di un ampli-
ficatore audio. Se dall’amplificatore si ricevano
dei segnali audio (musica o lingua parlata), la
superficie sulla quale è montato oscilla e quindi
serve come la membrana di un altoparlante. La
qualità sonora e il volume massimo dipendono
dalle caratteristiche del materiale e delle dimen-
sioni della superficie di montaggio.
Grazie al suo contenitore robusto e resistente
alle intemperie, il convertitore può essere usato
anche in ambienti umidi e all’esterno (p.es.
bagno, terrazza).
2 Avvertenze importanti per l’uso
Il convertitore è conforme a tutte le direttive rile-
vanti dell’UE e pertanto porta la sigla .
•
Il convertitore è resistente all’acqua secondo
IP68 (24h a 2m max. di profondità dell’ac-
qua), ma non deve essere utilizzato per impie-
ghi subacquei.
•
Per la pulizia non impiegare detergenti aggres-
sivi o prodotti chimici.
•
Nel caso d’uso improprio, di installazione non
a regola d’arte o di sovraccarico del converti-
tore, non si assume nessuna responsabilità per
eventuali danni consequenziali a persone o a
cose e non si assume nessuna garanzia per il
convertitore.
Se si desidera eliminare il convertitore,
consegnarlo per lo smaltimento ad
un’istituzione locale per il riciclaggio.
3 Installazione
1) Svitare la piastra di montaggio dal converti-
tore e montarla con 6 viti sulla superficie pre-
vista per il montaggio; quindi avvitare il con-
vertitore sulla piastra per mezzo della boccola
filettata.
Dato che durante il funzionamento, il con-
vertitore è soggetto a delle oscillazioni, tra-
smettendo l’energia oscillante sulla superficie
di montaggio, controllare che tutti i collega-
menti a vite siano stretti bene.
2) Spegnere l’amplificatore al quale si deve col-
legare il convertitore!
3) Collegare i cavi di collegamento del conver-
titore con l’uscita per altoparlanti dell’am-
plificatore. I cavi sono equipaggiati con con-
nettori a schiacciamento che permettono il
collegamento con un cavo per altoparlanti.
Collegando più convertitori, fare atten-
zione che i convertitori abbiano tutti la stessa
polarità (p.es. conduttore nero = contatto
negativo) e che l’impedenza ammessa di col-
legamento dell’uscita dell’amplificatore non
risulti al di sotto del valore previsto.
4) Accendere l’amplificatore e regolare il volume.
Con riserva di modifiche tecniche.
Convertisseur de bruits corporels
Cette notice s’adresse aux utilisateurs avec
des connaissances techniques de base
en audio. Veuillez lire la présente notice
avec attention avant le fonctionnement et
conservez-la pour pouvoir vous y reporter
ultérieurement.
1 Possibilités d’utilisation
Ce convertisseur de bruits (Exciter) se visse via
sa plaque de montage sur une surface pouvant
vibrer (par exemple porte, table, étagère, cloi-
son, plaque de plafond, etc., mais pas surface
en verre) et se relie à la sortie haut-parleur d’un
amplificateur audio. Pour des signaux audio
(musique ou discours) de l’amplificateur, il fait
vibrer la surface de montage qui sert alors de
membrane de haut-parleur. La qualité sonore
et le volume maximal dépendent des propriétés
des matériaux et des dimensions de la surface
de montage.
Grâce à son boîtier robuste et résistant aux
intempéries, il peut être utilisé également en
extérieur ou en milieu humide (p.ex., salle de
bain, terrasse).
2 Conseils importants d’utilisation
Le convertisseur répond à toutes les directives
nécessaires de l’Union européenne et porte donc
le symbole .
•
Le convertisseur est étanche selon la norme
IP68 (24 heures à une profondeur maximale de
2m) mais il ne doit pas être utilisé sous l’eau.
•
Pour le nettoyage, n’utilisez pas de détergents
abrasifs ou de produits chimiques.
•
Nous déclinons toute responsabilité en cas de
dommages matériels ou corporels résultants
si le convertisseur est utilisé dans un but autre
que celui pour lequel il a été conçu, s’il n’est
pas correctement installé ou s’il y a surcharge;
en outre, la garantie deviendrait caduque.
Lorsque le convertisseur est définitive-
ment retiré du service, vous devez le
déposer dans une usine de recyclage
adaptée pour contribuer à son élimi-
nation non polluante.
CARTONS ET EMBALLAGE
PAPIER À TRIER
3 Installation
1) Dévissez la plaque de montage du convertis-
seur et montez-la avec 6 vis sur la surface de
montage puis vissez le convertisseur, via sa
prise filetée, sur la plaque de montage.
Dans la mesure où le convertisseur, en
fonction, est mis en ondulation et que l’éner-
gie des ondulations est transmise à la surface
de montage, veillez, lors du montage, à ce
que toutes les connexions soient bien serrées.
2) Eteignez l’amplificateur auquel le convertis-
seur doit être relié !
3) Reliez les câbles de branchement du conver-
tisseur à la sortie haut-parleur de l’amplifica-
teur. Les câbles sont dotés de connecteurs
sertis via lesquels ils peuvent être reliés à un
câble haut-parleur.
Si plusieurs convertisseurs sont reliés, veil-
lez à ce que les convertisseurs aient tous la
même polarité (p.ex. conducteur noir = bran-
chement moins) et à ce que l’impédance de
branchement de la sortie de l’amplificateur ne
soit pas inférieure à la valeur autorisée.
4) Allumez l’amplificateur et réglez le volume
souhaité.
Tout droit de modification réservé.
FrançaisItaliano
Caractéristiques techniques Dati tecnici AR-30 AR-50
Puissance nominale Potenza nominale 15W 30 W
Puissance musique Potenza musicale 30W 50 W
Impédance Impedenza 8Ω 8 Ω
Bande passante Gamma di frequenze selon le lieu de montage • a seconda del montaggio
Fréquence de résonance Frequenza di risonanza 600Hz 500 Hz
Surface minimale de montage Superficie minima di montaggio ⌀80 mm
Classe de protection du boîtier Grado di protezione del contenitore IP68
Température fonc. Temperatura d’esercizio ammessa −10°C … +60 °C
Dimensions, poids Dimensioni, peso ⌀80mm × 40 mm, 650 g ⌀90mm × 55 mm, 950 g

This manual suits for next models

3

Other Monacor Recording Equipment manuals

Monacor ATT-306PEU User manual

Monacor

Monacor ATT-306PEU User manual

Monacor IMG Stageline LE-460 User manual

Monacor

Monacor IMG Stageline LE-460 User manual

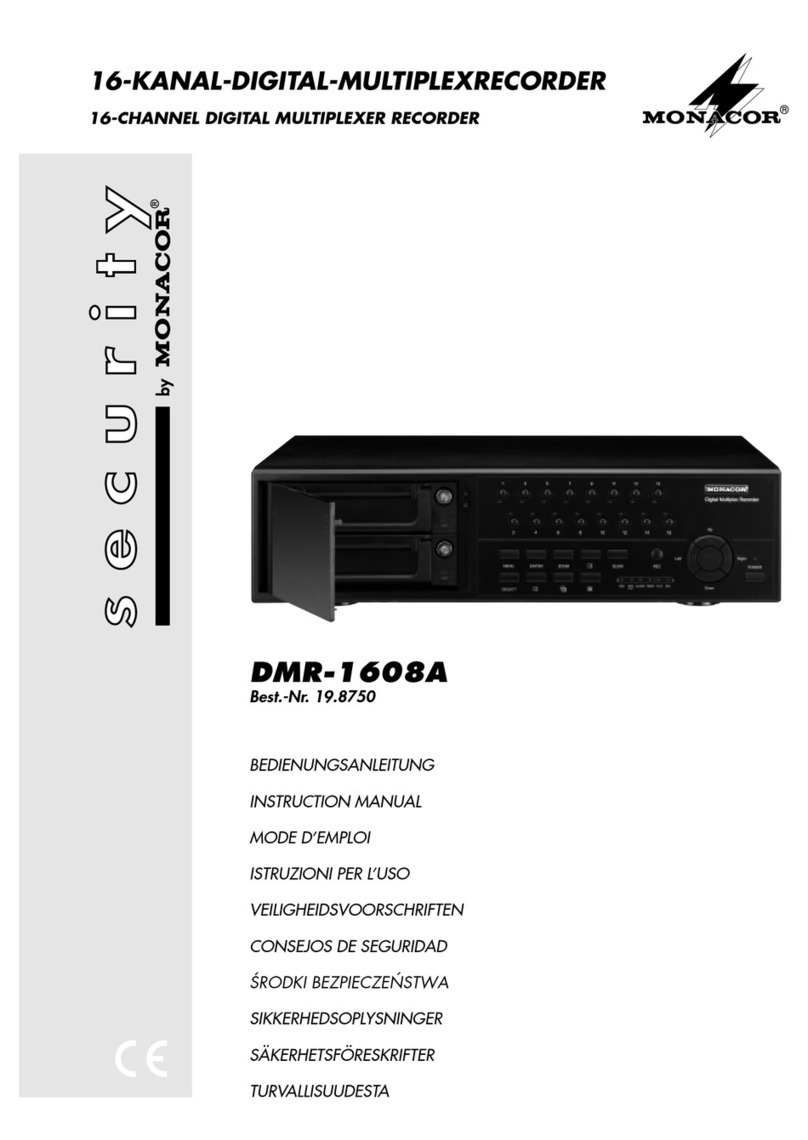
Monacor DMR-1608A User manual

Monacor

Monacor DMR-1608A User manual

Monacor ATT-306 User manual

Monacor

Monacor ATT-306 User manual

Monacor ATT-106/SI User manual

Monacor

Monacor ATT-106/SI User manual

Monacor PA-24FR User manual

Monacor

Monacor PA-24FR User manual

Monacor HDVR-186 User manual

Monacor

Monacor HDVR-186 User manual

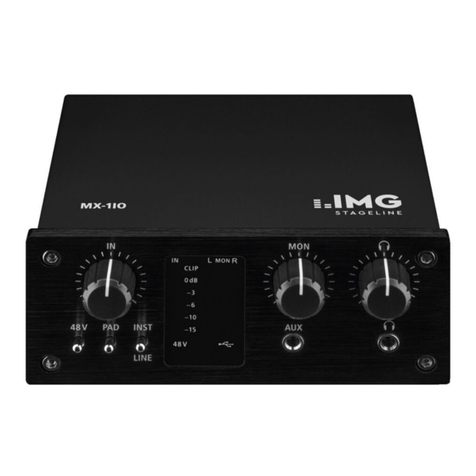
Monacor IMG STAGELINE MX-1IO User manual

Monacor

Monacor IMG STAGELINE MX-1IO User manual

Monacor DMR-408A User manual

Monacor

Monacor DMR-408A User manual

Monacor PA-100ANC User manual

Monacor

Monacor PA-100ANC User manual

Monacor ATT-306 User manual

Monacor

Monacor ATT-306 User manual

Monacor DSP-26 User manual

Monacor

Monacor DSP-26 User manual

Monacor MFE-212 User manual

Monacor

Monacor MFE-212 User manual

Monacor EVAB-22 User manual

Monacor

Monacor EVAB-22 User manual

Monacor PA ATT-306 User manual

Monacor

Monacor PA ATT-306 User manual

Monacor CD-113DPR User manual

Monacor

Monacor CD-113DPR User manual

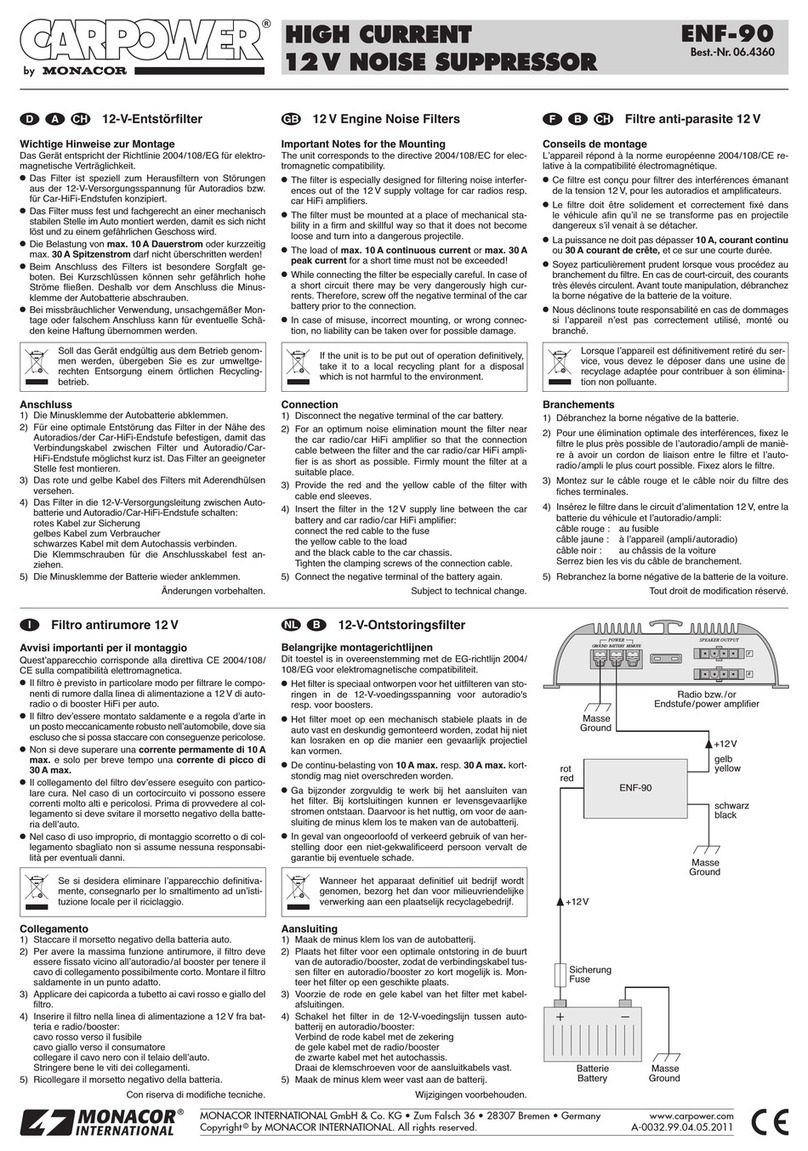
Monacor CARPOWER ENF-90 User manual

Monacor

Monacor CARPOWER ENF-90 User manual

Popular Recording Equipment manuals by other brands

Cochlear Baha 4 user manual

Cochlear

Cochlear Baha 4 user manual

Roland Sonar V-Studio 100 Getting started

Roland

Roland Sonar V-Studio 100 Getting started

Extron electronics Interface RGB 120p user guide

Extron electronics

Extron electronics Interface RGB 120p user guide

LST FWI2-1 Specification sheet

LST

LST FWI2-1 Specification sheet

Icom CT-10 instruction manual

Icom

Icom CT-10 instruction manual

Sony SEQ-421 operating instructions

Sony

Sony SEQ-421 operating instructions

Tascam DV-RA1000 Supplemental manual

Tascam

Tascam DV-RA1000 Supplemental manual

Gemtech MK-9K Operation and maintenance

Gemtech

Gemtech MK-9K Operation and maintenance

Shure ANI22 user manual

Shure

Shure ANI22 user manual

Steren HER-253 instruction manual

Steren

Steren HER-253 instruction manual

Steren K-400 user manual

Steren

Steren K-400 user manual

Yamaha PLG150-DX manual

Yamaha

Yamaha PLG150-DX manual

Focusrite Forte user manual

Focusrite

Focusrite Forte user manual

Lab.gruppen PLM Series Operation manual

Lab.gruppen

Lab.gruppen PLM Series Operation manual

Native Instruments Maschine Getting started guide

Native Instruments

Native Instruments Maschine Getting started guide

Ekssperimental Sounds AUTO X COMP user guide

Ekssperimental Sounds

Ekssperimental Sounds AUTO X COMP user guide

Broadcast Tools GPI-16 Plus/RJ Installation and operation manual

Broadcast Tools

Broadcast Tools GPI-16 Plus/RJ Installation and operation manual

TLS VoiceMaker Blue instruction manual

TLS

TLS VoiceMaker Blue instruction manual

manuals.online logo
manuals.online logoBrands
  • About & Mission
  • Contact us
  • Privacy Policy
  • Terms and Conditions

Copyright 2025 Manuals.Online. All Rights Reserved.