10
English
6 Switching on/off, Muting
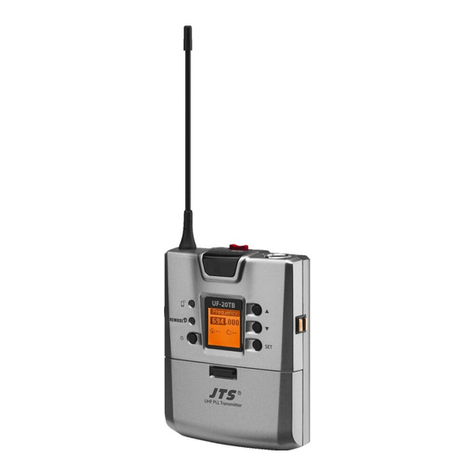
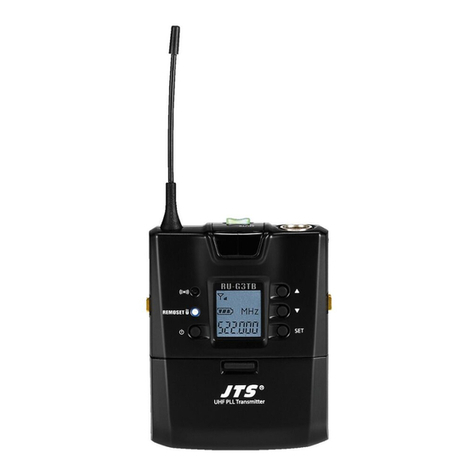
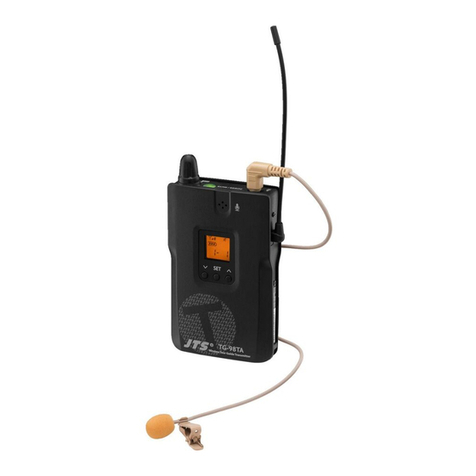
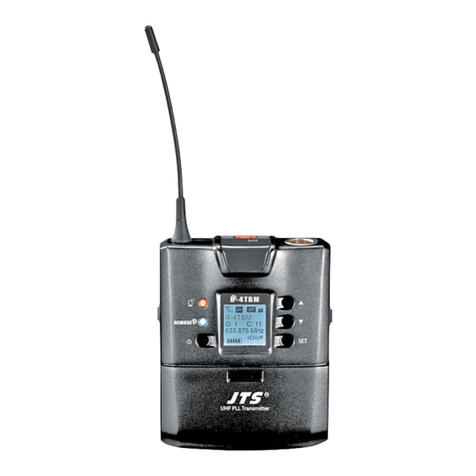
To switch on the pocket transmitter, briefly press
the button POWER/MUTE (1). The LED of the
button will indicate the status of the batteries:
green = batteries are sufficiently charged
red = batteries are almost discharged
For information with regard to the indications
on the display, please refer to chapter 1: ☞Dis-
play(4).
To mute the transmitter, briefly press the but-
ton POWER/MUTE; the display will briefly show
. The LED of the button will start flashing
in green (or, when the batteries are almost dis-
charged, alternately in red and green) and will
appear on the display. To unmute the transmitter,
press the button again; the display will briefly
show .
To switch off the transmitter, keep the button
POWER/MUTE pressed until the display shows .
7 Setting the Transmitter
The function is a most convenient fea-
ture to configure the transmitter on the receiver:
Make the settings on the receiver and then simply
press the button to transfer the set-
tings to the transmitter via ultrasound. The data
sent will be received via the ultrasonic sensor (3)
of the transmitter. Detailed information on how
to transfer data via ultrasound can be found in
chapter 8.1 of the user instructions of the receiver.
Once the data have been successfully transferred,
the LED of the button POWER/MUTE (1) on the
transmitter will light continuously in blue for a
few seconds and will briefly appear on the
display. The LED will start flashing in blue when an
error has occurred during data reception.
All settings for the transmitter can also be
made via its configuration menu. This menu ad-
ditionally provides the menu item “Key lock”.
7.1 Configuring the transmitter via the menu
Use the buttons SET, and (5) to operate the
menu (menu structure: ☞fig. 1, page 2).
1)
To call up the menu, keep the button SET
pressed for 2 seconds. The display will briefly
show , then the first menu item will be
selected.
2) To select a menu item, press the button SET
repeatedly until the menu item has been
reached.
3) To change a setting, use the button or .
4) To save a change, press the button SET. The
display will show . Then the menu will
be exited.
Note: Setting the radio frequency requires two steps;
therefore, the setting will be saved after the second
step (after the channel has been selected or the last
three digits of the frequency have been set).
To exit the menu without any changes, press the
button SET repeatedly until is briefly shown
on the display.
The following chapter provides an overview of
the menu settings.
7.1.1 Overview of the menu settings
The transmitter provides two functions for radio
frequency adjustment. Adjust the radio frequency
on the transmitter in the same way as on the
receiver.
Menu item Setting
Selecting a frequency from a group
(overview of the groups: ☞page 3)
The group number starts flashing: Use
the button or to set the group; then
press the button SET.
The channel number starts flashing: Use
the button or to set the channel;
then press the button SET to save the
setting.
Setting the frequency directly
The first three digits of the frequency
shown start flashing: Use the button
or to set the frequency in steps of
1MHz; then press the button SET.
The last three digits of the frequency
shown start flashing: Use the button
or to set the frequency in steps of
0.025MHz; then press the button SET to
save the frequency.
Note: The order in which the two functions for fre-
quency setting appear in the menu depends on which
of them has been most recently used.
