OPERATING THE TRANSACTIONS END OF DAY PROCESS
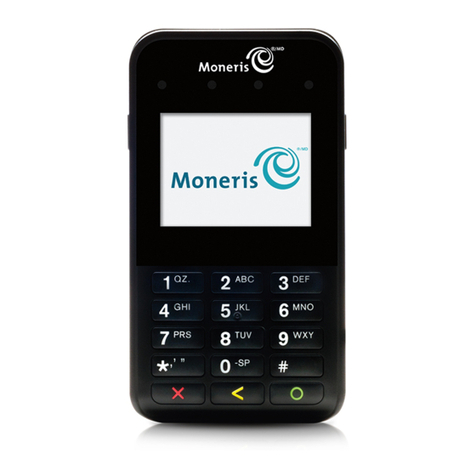
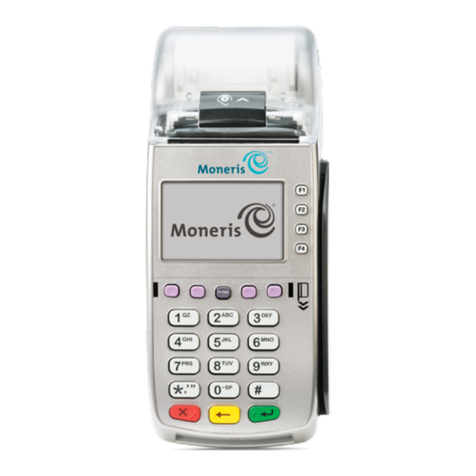
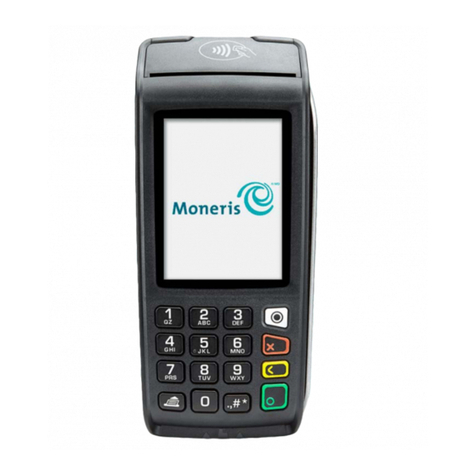
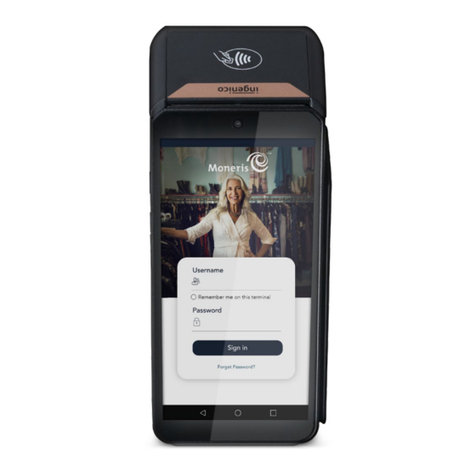
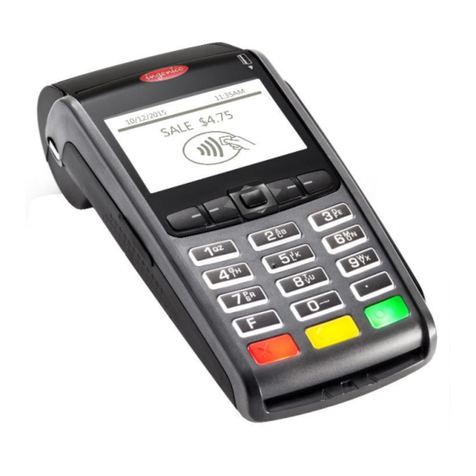
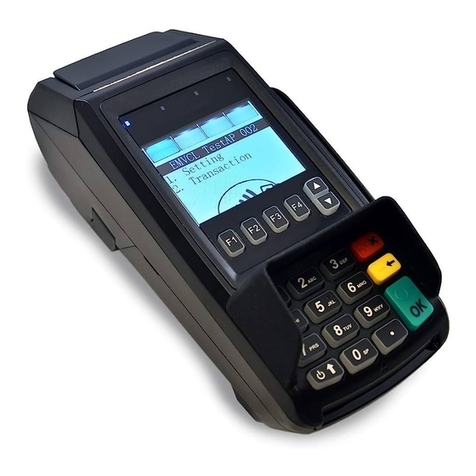
The Moneris Mobile 8200 consists of:
all-in-one, Allows you to pass the terminal back and
wireless forth to your customer so you can both
terminal enter information on the terminal.
NOTE: Some transactions,e.g., a Credit
Purchase without Tip, may not
have customer prompts so you
will not need to pass the terminal.
rechargeable Along with the wireless communications,
battery allows you to take the Mobile 8200
terminal to your customer
communications- Connects to up to seven (7) terminals via
and-charge base wireless communications,and to the
Moneris host via Ethernet
communications. Also charges Mobile
8200 batteries. A charge-only base is
also available to charge batteries.
Administrative Transactions
Logon [02]
If the“Please Logon”prompt appears,you must log on before
you can perform transactions on the terminal.
1. Press the Admin key, select ADMIN then select LOGON.
2. If prompted,swipe your POS Admin Card or press OK.
3. The READY screen appears within 60 seconds.
Logoff [03]
To ensure unauthorized transactions cannot be processed, your
terminal should be logged off at the end of the business day.
1. Press the Admin key, select ADMIN then LOGOFF.
2. The PLEASE LOGON prompt appears within 60 seconds.
Re-Initialization [01]
The Moneris Merchant Service Centre may ask you to reinitialize
your terminal if changes have been made to your terminal or your
merchant account.
1. Press the Admin key, select CONFIGURATION then select
INITIALIZATION.
2. If prompted,swipe your POS Admin Card or press OK.
3. Press F1 (YES) to keep all parameters set as they are.
4. Press F3 (NO) to keep all stored transactions.
5. Follow the Logon instructions above.
Wireless Communication
The Mobile 8200 handheld terminal uses wireless communications
to connect to the communications base. The handheld must be
within the coverage area of the communications base to process
transactions.
Wireless Signal Status Icon
This icon appears in the top right corner of the display on the
following screens:MAIN MENU, REPORT FUNCS,ADMIN
FUNCS,and CONFIG FUNCS.
Icon Description
The terminal can see the wireless signal from the base
and can process transactions.
Testing the Wireless Communications
a. Power up the base and power up the handheld.
b. Press the Admin key.The MAIN MENU appears.
c. Walk with the handheld to the spot furthest away from the
base that the handheld is likely to be used (e.g. the far side
of the patio or the back room).
d. While you are walking, check that the wireless signal icon
(the ) is displayed on the MAIN MENU on the handheld
the whole time.
!!! If the is not displayed, transactions cannot be performed
when the handheld is in that spot.
Register a Terminal to a Base
A terminal must be registered to a communications base in order
to process transactions.Registering‘introduces’the terminal to
the base so the terminal knows which base to look for and the
base knows which terminals to accept transactions from.
NOTE: - A maximum of seven terminals can be registered to
one communications base.
- Every terminal must be registered individually.
- A terminal can only be registered to one
communications base at any one time.To use a
different base, register the terminal to that base.
1. Place the terminal on the communications base that it is being
registered to.
2. Press the Admin key then select CONFIGURATION then
select BASE CONFIG.
3. If prompted, swipe the POS Admin Card or press OK.
4. Select REGISTER BASE.
5. Key in the 8-digit Base ID (the last 8 digits of the S/N
printed below the bar code on the bottom of the base) and
press OK.The BASE CONFIG menu reappears.
6. Press Can/Ann until the READY screen reappears.
Clerk Subtotals Report [82]
This prints a list of transaction totals by card type and grand
totals by transaction type by Clerk ID for one, a group or all
Clerk IDs.
NOTE: Clerk Subtotalling must be enabled to perform this
report.
1. Press the Admin key then select REPORTS then select
CLERK INQUIRY.
2. If prompted,swipe your POS Admin Card.
The SINGLE/MULTIPLE CLERKS? prompt appears.
3. To print the Clerk Subtotals report for one clerk:
a. Press F1 to select SINGLE.
b. Key in the Clerk ID and press OK.
To print the Clerk Subtotals report for multiple clerks:
a. Press F3 to select MULTIPLE.
b. To select a specific group of Clerk IDs, select
GROUP OR
To select all Clerk IDs, select ALL CLERKS
c. If prompted, key in the Group ID and press OK then
select PROCESS LIST.
4. The terminal prints the Clerk Subtotals report and returns
to the READY screen.
Pre-Auth List [62]
This prints a list of all uncompleted Pre-Auth transactions (i.e.
an Advice hasn’t been performed to complete it). Use this to
select and delete Pre-Auth transactions that will not be
completed.
1. Press the Admin key then select REPORTS then select
PRE-AUTH LIST.
2. If prompted,swipe your POS Admin Card to print unmasked
card numbers or simply press OK to print masked card
numbers.
The PRE-AUTH LIST menu appears.
3. Select OPEN or CLOSED (i.e. completed) Pre-Auth transactions
or BOTH types.
The PRINT DATE OR BATCH? prompt appears.
4. To print the report by date, press F1.
To print the report by batch, press F3.
5. Press OK to print the current date or batch OR
Key in a date or batch number and press OK to select a
specific date or batch.
6. The terminal prints the Pre-Auth List and returns to the
READY screen.
You must process a Close Batch transaction in order to have the
funds from your POS transactions deposited to your business
account.
You will need to perform three tasks:
A. Process a Print Stored Transactions by batch (see below):
At step 4, press F3 to print the current batch. At step 6,
press F1 to print only the Terminal Batch Totals.
B. Process a Close Batch (see below).
C. Confirm that the Terminal Batch Totals (printed in step A.)
matches the Current Batch Totals report (printed in step B.).
If they do not match, call Moneris the next business day for
reconciliation assistance.
Print Stored Transactions [60]
1. Press the Admin key then select REPORTS then select TRANS LIST.
2. Swipe the POS Admin Card to print unmasked card numbers or
press OK to print masked card numbers.
3. If prompted, key in a Clerk ID and press OK to print totals
for that Clerk ID OR
simply press OK to print totals for all Clerk IDs
The PRINT DATE OR BATCH? prompt appears.
4. To print the report by date, press F1.
To print the report by batch, press F3.
5. Press OK to print the current date or batch OR
Key in a date or batch number and press OK to select a specific
date or batch.
The PRINT TOTALS ONLY? prompt appears.
6. To print only the Terminal Batch Totals report, press F1.
To print a list of transactions and the Terminal Batch Totals
report, press F3.
Note: This report includes the Cashback total.
7. The terminal displays PRINTING while the report prints then
returns to the READY screen.
Close Batch [99]
1. Press the Admin key then select REPORTS then select
CLOSE BATCH.
2. If prompted,swipe the POS Admin Card or press OK.
3. If prompted, key in the Clerk ID and press OK.
The terminal displays CLOSE BATCH then the Current Batch Total
report begins printing.When the report stops printing, the
CLOSE BATCH? prompt appears.
4. Press F1 (YES) to close the batch and have funds deposited to your
account.
5. The terminal displays CLOSE BATCH while the report finishes
printing then returns to the READY screen.
