2 iPP320 Getting Started Guide for the POSPAD Application
1.1 Required setup components
1. Confirm that you received the following hardware from Moneris:
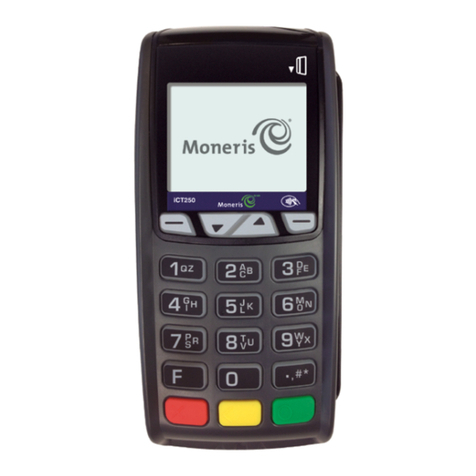
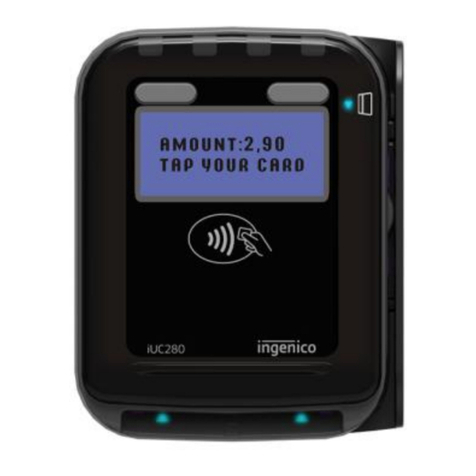
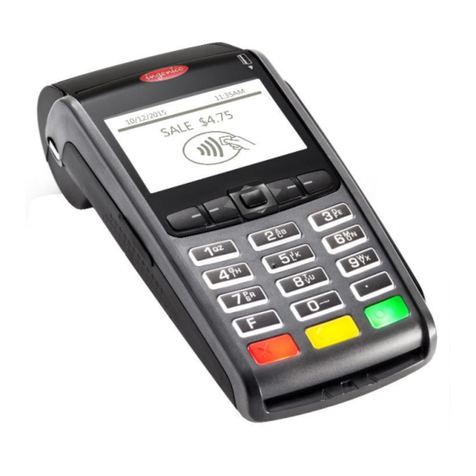
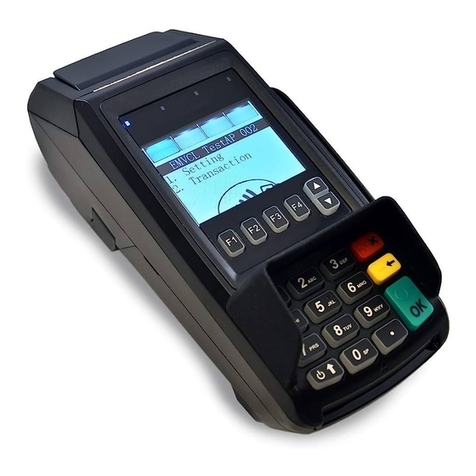
Moneris iCT250 terminal.
Power supply cable (2-piece cable).
POS Administrative card(s).
2. Confirm that you received the following terminal-to-host communication cables:
Ethernet cable.
Dial cable (for use if you will support dial backup at your location).
3. Confirm that you received the following terminal-to-ECR communication cables:
RS232 serial cable.
USB cable.
Ethernet cable.
4. Review the Moneris IP Readiness Checklist (available at moneris.com/checklist) to ensure that
your Ethernet service is ready to support your terminal and electronic cash register (ECR). But
note:
If there are firewall restrictions on traffic from your local area network (LAN) to the Internet,
you must update your firewall configuration to allow messages from the IP-enabled terminal
to pass through your gateway. However, do not use the ipg1/2/3.moneris.com address (this
is the Moneris Production Host URL/Moneris Production Host name) as referenced in the IP
Readiness Checklist (page 3 of that document). Instead, you must use the ipgt1.moneris.com
address, which is the Moneris Test Host URL/Moneris Test Host name.
5. Ensure that you have the following information:
Your 13-digit Moneris test merchant ID.
Your settlement type: system close (Moneris automatically closes your batch at the end of
each day) or merchant Close (you are responsible for closing your batch at the end of each
day).
Your terminal-to-host communication type: Ethernet/IP (with/without dial backup) or
dial.
Your terminal-to-ECR communication type: RS232 serial or USB or Ethernet.
Your optional features: e.g., gift cards, loyalty cards, Ernex Terminal ID.
6. Confirm that you received the required cable(s) for connecting the terminal to the ECR. Your
requirements depend on the connection type you will support:
for RS232 serial connection to ECR:
for USB connection to ECR:
for Ethernet connection to ECR:
a. If you plan to use the USB cable to connect the terminal to the ECR, install the
appropriate Moneris device driver on the ECR to which the terminal will be
connected.
Note: Download the iCT250 USB driver from this address:
https://esqa.moneris.com/connect/en/download/drivers/index.html.
b. If your terminal will communicate with the ECR via Ethernet networking, your site
must support a static IP configuration.
7. Do one of the following:
If you have all of the required setup components, go back to Read this first: Overview
procedures on page 1 (continue at step 2).
