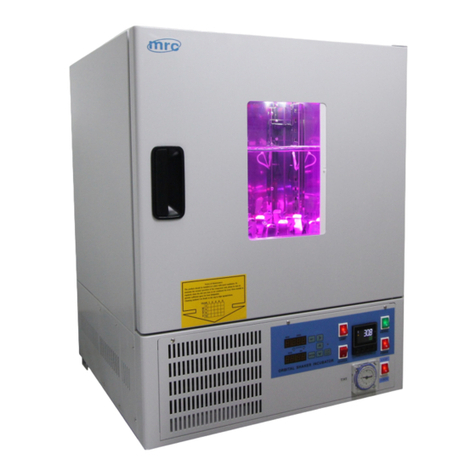
Setting the Temperature (Continuous mode)
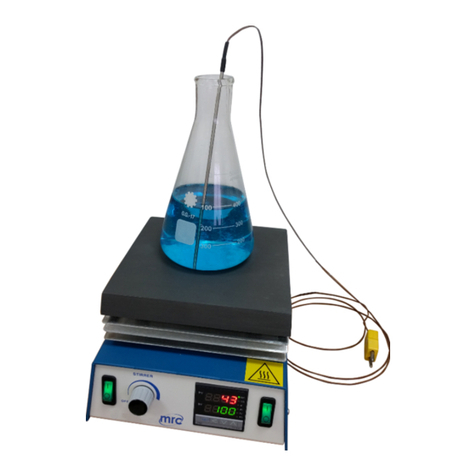
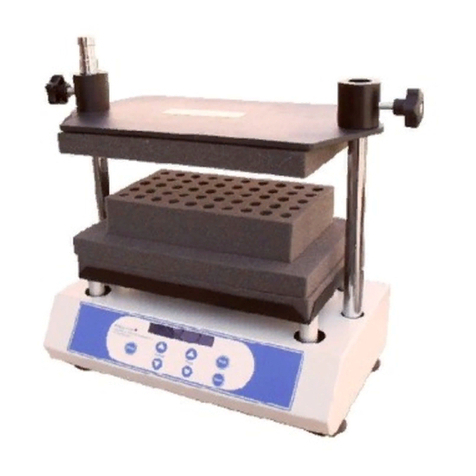
Put the front switch on CONTINUES
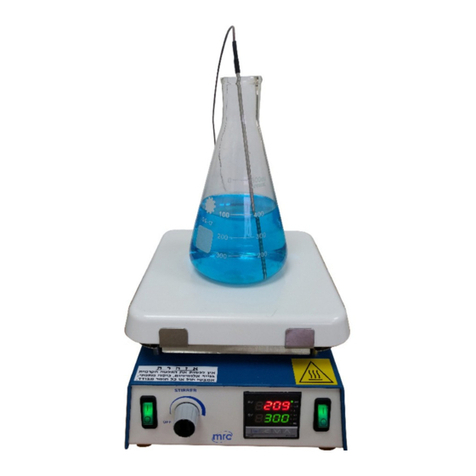
Turn on the temperature controller/power switch. The temperature displays light up
and after a few seconds, the upper display shows the present value (PV) temperature.
The lower display shows the set value (SV) or set temperature.
Press to increase temperature gradually.
Press to decrease temperature gradually.
Setting the Temperature (timer mode)
Put the front switch on TIMER
Turn on the temperature controller/power switch. The temperature displays light up
and after a few seconds, the upper display shows the present value (PV) temperature.
The lower display shows the set value (SV) or set temperature.
Press to increase temperature gradually.
Press to decrease temperature gradually.
Press number ③twice. PV display , SV display 1.0
Press to increase or decrease time gradually. Setting time upon what you
need.
The timer will start from the temperature reach setting.
For example:
1.5 = 90 seconds (1.5 minutes), 1.0 = 60 seconds (1.0 minutes) 0.5 = 30 seconds.
Press number ③once. PV display , and SV display 1.0 →It mean the time
will counting down 1 min after temperature reach to the setpoint.
User Calibration (only if needed)
Each unit is calibrated in the factory before shipment. The user can still modify the
calibration in the field.
There are two parameters: Offset Low (OFTL) and Offset High (OFTH) for
adjustment to correct an error in the process value.
Press and hold the key until the setup Menu page is obtained.
Then, press key to scroll to the parameter .
Press key several times to scroll to the parameter OFTL to calibration low
value. Send your low signal to the sensor input of the controller, then press and
release the key. If the process value (the upper display) is different from the input
signal, the user can use and to change the OFTL value (the lower display)
until the process value is equal to the value the user needs. Press and hold the key


