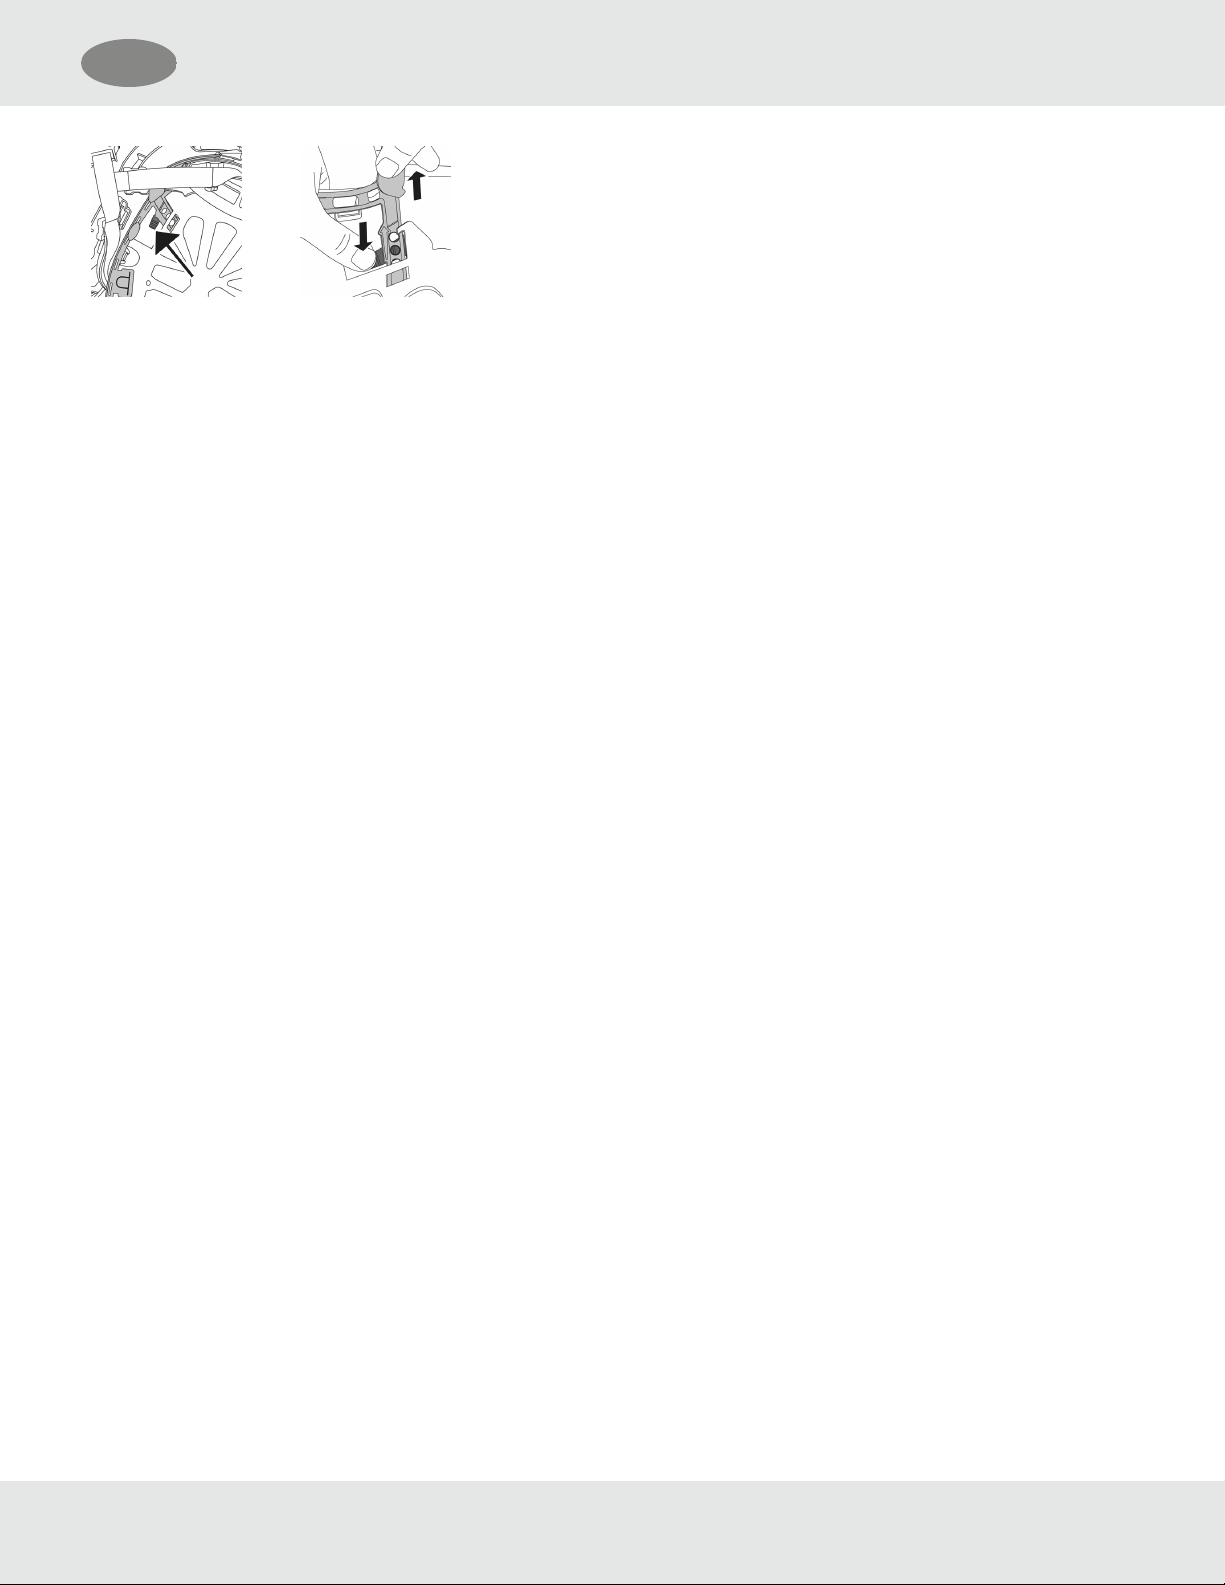
1 Dangers, Warnings and Cautions
WARNING!
Technical rescue is an extremely dangerous activity. All personnel who have or will have the responsibility for using or
maintaining this helmet must follow the instructions in this manual carefully. This helmet will perform as designed only if it
is used and maintained according to the instructions. Otherwise, the helmet could fail to perform as designed, and
personnel who rely on it for their safety can sustain serious personal injury or death.
This helmet does NOT provide protection from all burns, injuries, diseases, conditions, or hazards. Do not perform
Technical rescue activities without the proper training and equipment.
Use extreme caution for all operations.
Use MSA Cairns®XR2 Technical Rescue Helmets within the guidelines of NFPA 1500, Standard on Fire Department
Occupational Safety and Health Program (current edition); CFR Title 29, Part 1910, Subpart I, Personal Protective
Equipment and NFPA 1951, Standard on Protective Ensembles for Technical Rescue Incidents (current edition), as
applicable.
This helmet is NOT intended to provide protection during structural fire fighting. Do not use the helmet for structural
firefighting.
This technical rescue helmet provides LIMITED protection to the head when worn during technical rescue incidents, as
designated. Avoid exposure to flashovers, collapses, falls, and other conditions that may exceed the protective capacity
of the technical rescue helmet.
If this technical rescue helmet is exposed to heat, you may be BURNED with NO warning and NO sign of damage to the
technical rescue helmet.
The optional ANSI Z87 visor/face shields provide LIMITED protection to the area they cover. The visor provides
LIMITED protection to the area covered.
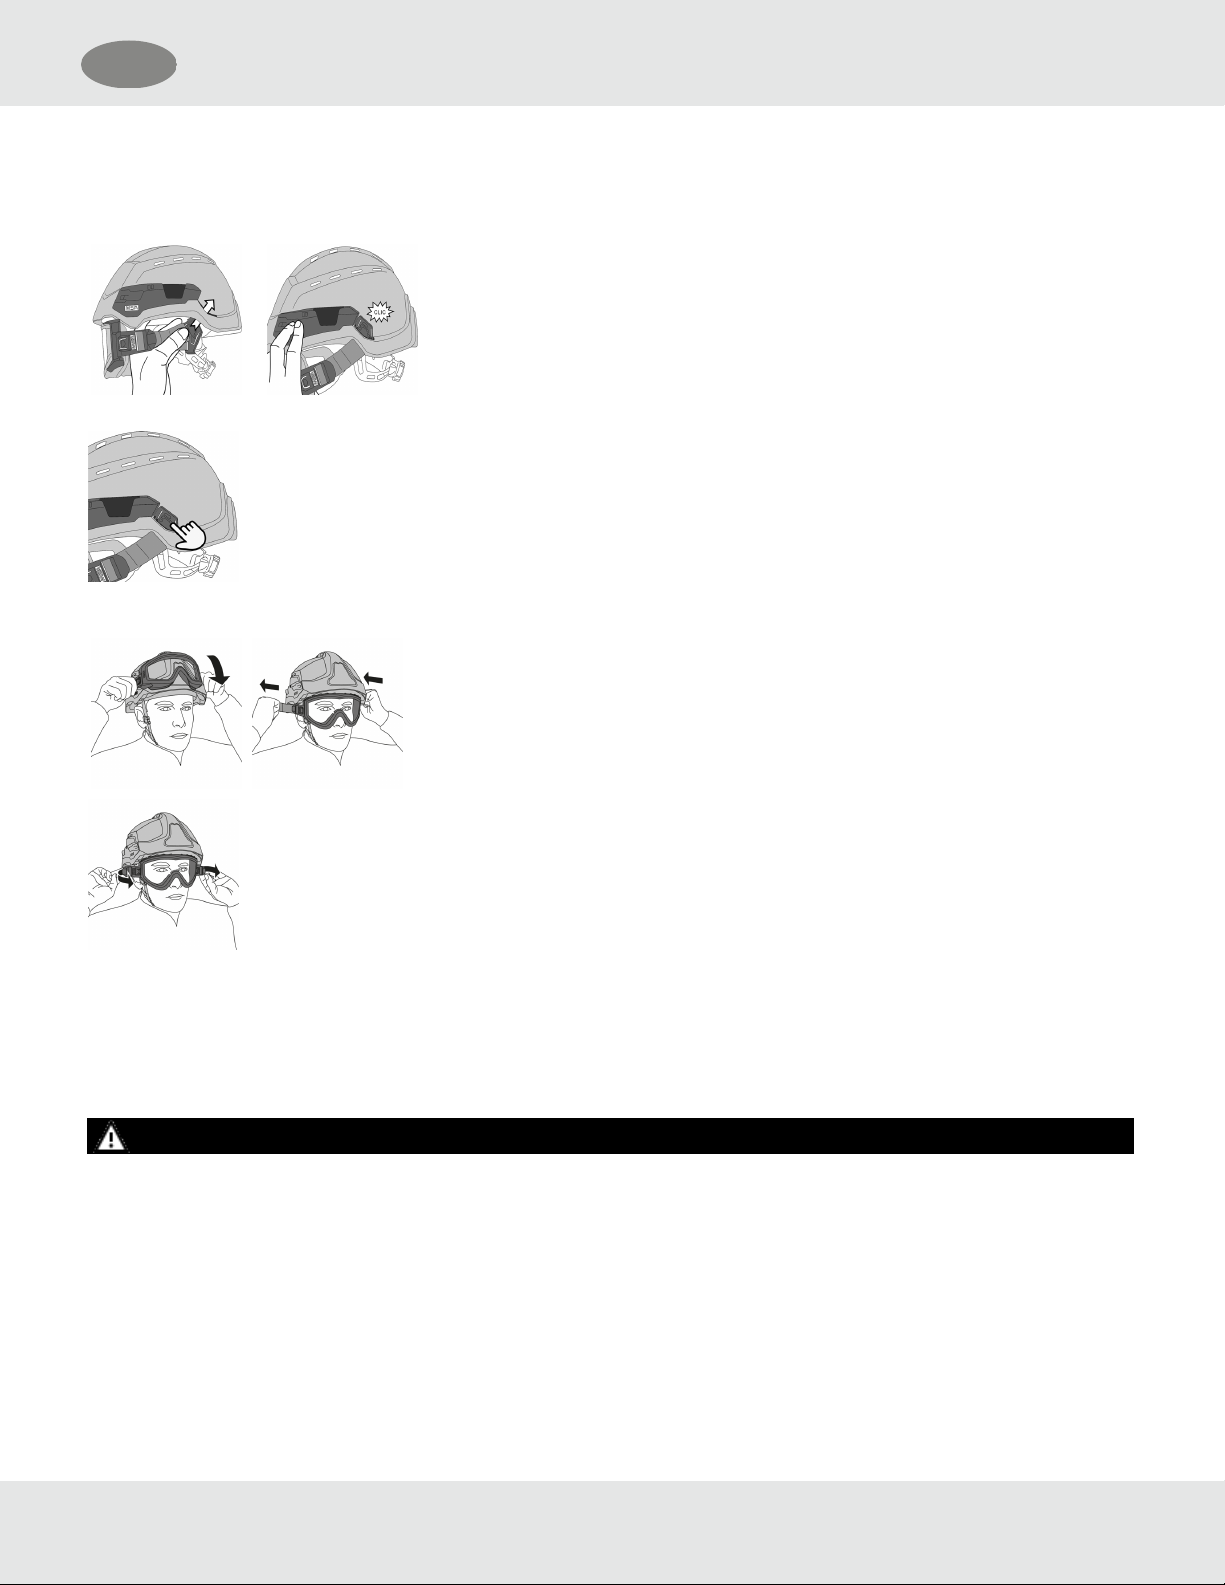
To provide maximum protection and reduce the risk of injury, adjust the helmet with all components in position to fit on
the head properly and fasten the chinstrap securely.
Do not use the helmet as a vehicular or sports helmet.
Follow the procedures in Section 5.2.1 Routine Inspection to inspect the helmet after EACH use. Replace any part of
the helmet that shows signs of wear or damage.
All plastics can degrade over time. Inspect routinely and replace damaged plastic components immediately.
Use only components and accessories that are included with the original helmet or approved by MSA. Using
unauthorized components or accessories can adversely affect helmet performance.
Do not alter, paint, or attach any item that is not recommended by MSA to the helmet.
Do not use abrasive cleaners or solvents to clean the helmet.
Use only helmet markings (front identification shields, retro reflective trim) and helmet accessories (integrated lighting
modules, communications headsets, etc.) that are supplied and/or approved by MSA.
Failure to follow these warnings can result in serious personal injury or death.
4
US 1 Dangers, Warnings and Cautions