Ness M1 Technial Document How to enrol a Proximity Fob into the M1
Page 2
Enrolling the Prox tag into the Proximity Reader
ENROLLING PROX CARDS AND FOBS
Prox cards/fobs are enrolled into a User Code location using the same procedures used to
add/change User Code PINs.
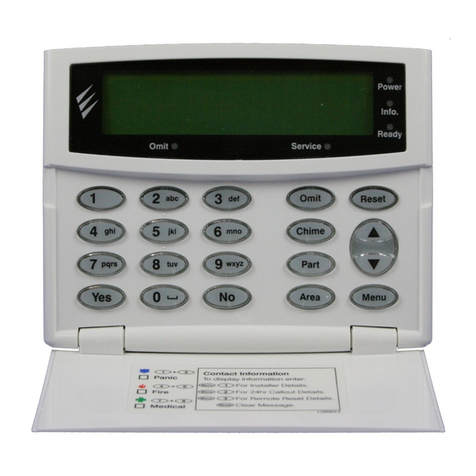
1. Press the ELK key, then press the 6 key (or scroll up) to display 6 - Change User Codes.
2. Press the RIGHT arrow key to select this menu. (A Master user code (PIN) must be en-
tered to gain access to this menu.)
3. Enter the three digit number of the desired User Code location (e.g. 005 for user slot 5),
or use the UP or DOWN arrow keys to scroll through the codes until you get the code
slot you wish to enroll the proximity tag into.
4. Then select CHG by pressing the RIGHT arrow key.
5. The keypad will display any existing 4 or 6 digit code that is programmed for this user
along with any programmed name. (If no code is programmed into that user location
then the code will be 0000.)
6. Present a new (not previously enrolled) Prox Tag / 4 button key to the reader. If accept-
ed the Keypad will beep 3 times and display the card/fob 12 digit ID.
7. If the card/fob is rejected, a low error tone and Code Not Authorized, Redo will display.
The most common cause for reject is the Fob has already been enrolled (duplicate codes
are not allowed)
8. Once a Fob is enrolled in a user code location, its capabilities are set by the User Code
Options found in Menu 02 of the M1 Installer Level Programming. This technical note
will now use ELKRP to receive the proximity Fob code and provide an example for Arm /
Disarming using the Fob and access control to activate an output using this Fob at a
reader.
9. If you are using a Single door access module (101-246) and not a keypad connected to
the keypad, then once the Fob has been learnt into the system you can remove the
reader from the keypad and now use the Fob on the reader connected to the single door
access module.


