manuals.online logo
Brands
  1. Home
  2. •
  3. Brands
  4. •
  5. Paradox
  6. •
  7. Keypad
  8. •
  9. Paradox Spectra 1689 User manual

Paradox Spectra 1689 User manual

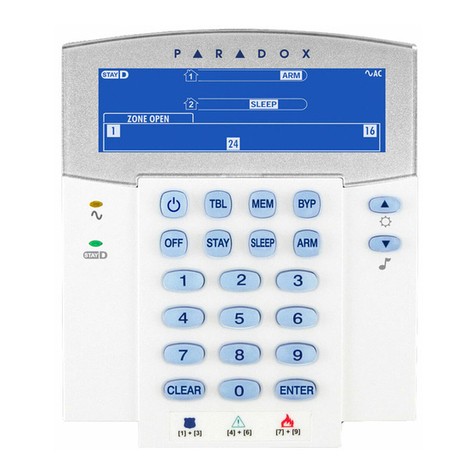
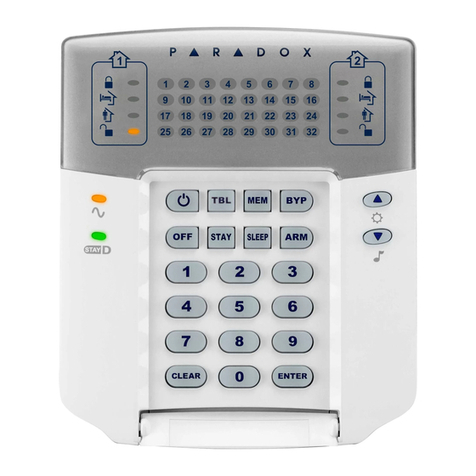
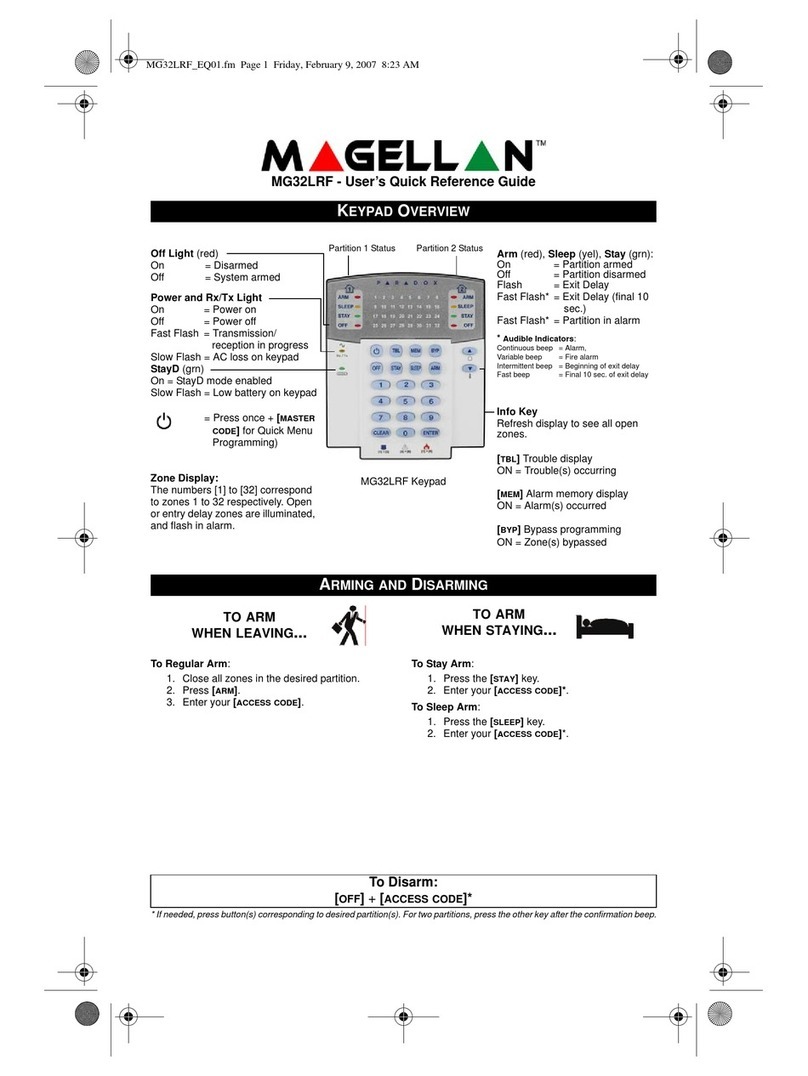
User Quick Reference Guide
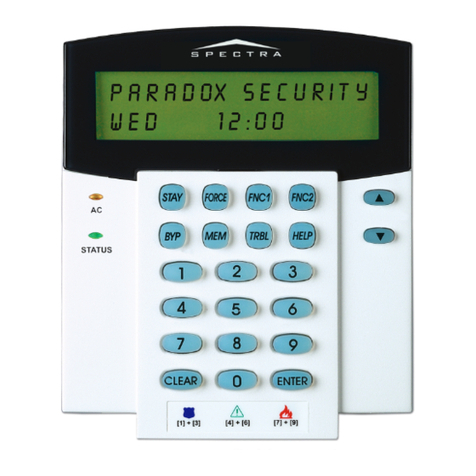
1689 LED Keypad / 1641BL LCD Keypad
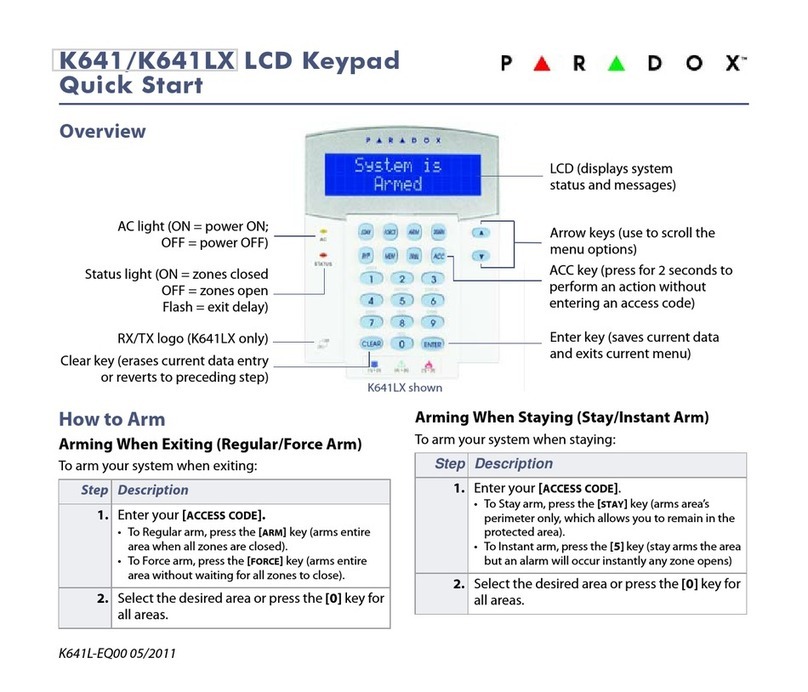
KEYPAD OVERVIEW
To arm
when leaving... To arm
when staying...
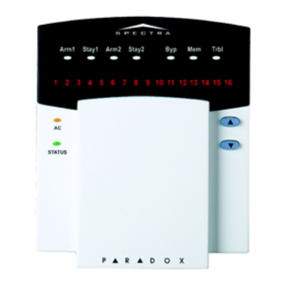
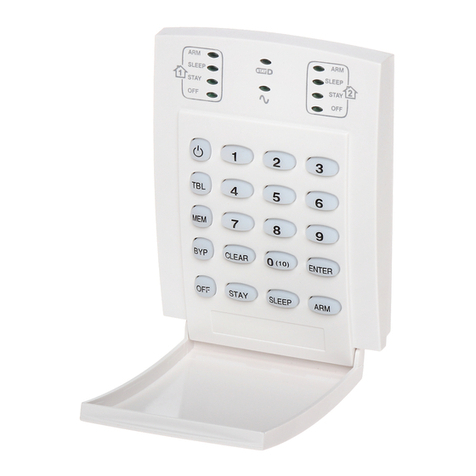
1689 LED Keypad
PRINTED IN CANADA - 01/06
www.paradox.ca
Security Company:
Stay Lights
(for Stay & Instant arming)
ON = area 1 or 2 armed
OFF = area 1 or 2 disarmed
FLASH = area 1 or 2 in alarm
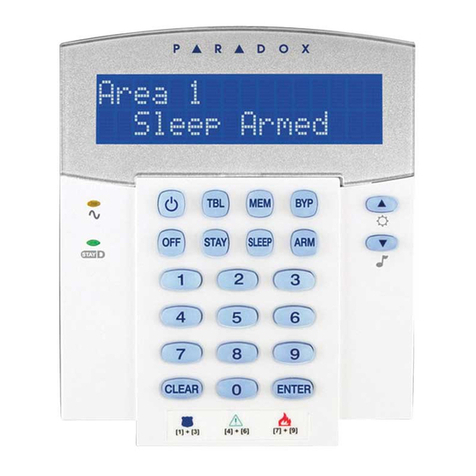
1641BL LCD Keypad
Zone Display
The numbers represent zones 1
to 16. When illuminated, the
zones are open or breached.
FNC1 Key
Your system may have one or
more home-automation options.
One of these options may be
triggered directly from the
keypad. Press and hold [FNC1] for
3 seconds to activate:
___________________________
(i.e. reset smoke detector,
activate lights, etc.)
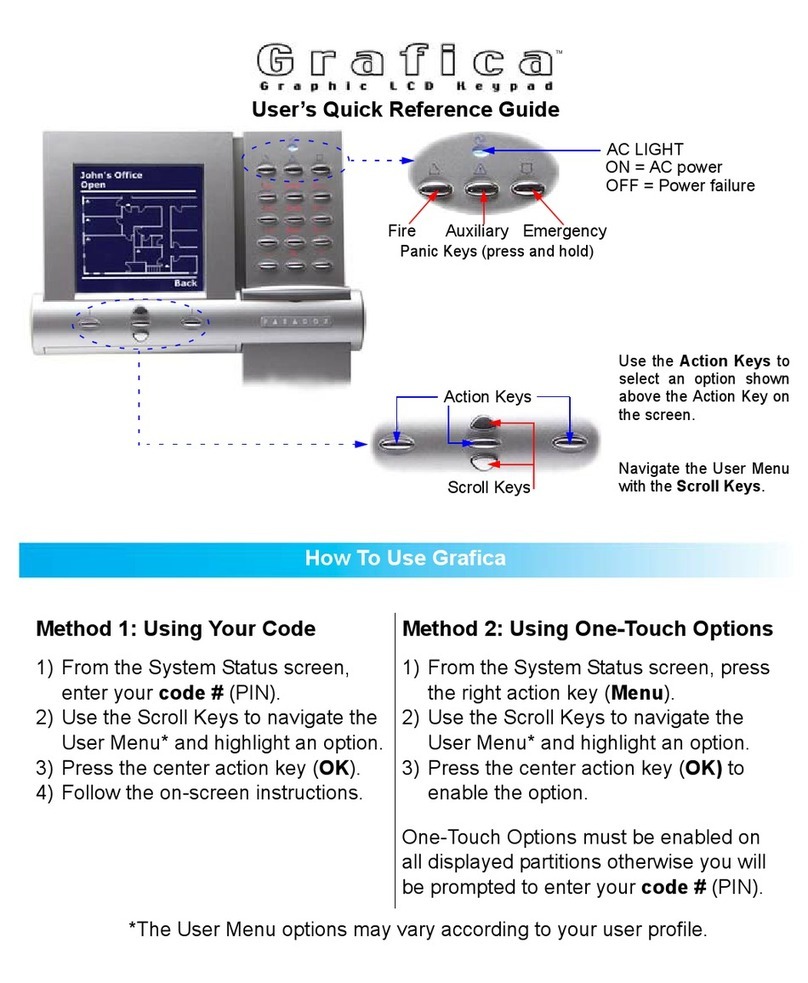
Arrow Keys
Use the arrow keys to scroll
menu or choices.
Arm Lights
(for Regular & Force arming)
ON = area 1 or 2 armed
OFF = area 1 or 2 disarmed
FLASH = area 1 or 2 in alarm
AC Light
ON = AC power
OFF = power failure
Status Light
Green
ON = zones closed
OFF = zone(s) open
FLASH = exit delay
Red (1641BL only)
ON = system armed
FLASH = stay armed
FAST FLASH = alarm
Made a mistake?
Press [CLEAR]to delete an entry
or revert to last step.
ARMING AND DISARMING
Regular Arm:
Arm entire area when all zones are
closed.
Enter your [ACCESS CODE]*.
(or press and hold [ENTER]for 3
seconds)†.
Force Arm:
Arm area without waiting for all zones to
close.
Press [FORCE]and then enter your
[ACCESS CODE]*.
(or press and hold [FORCE]for 3
seconds)†.
Stay Arm:
Arm area’s perimeter, which allows you to
remain in the protected area.
Press [STAY]* and then enter your [ACCESS
CODE]*.
(or press and hold [STAY]for 3 seconds)†.
Instant Arm:
Area is stay armed, but an alarm occurs
instantly if any armed zones are
breached.
Stay arm and then press and hold [STAY]
for 3 seconds during the Exit Delay.
Disarming:
Enter your [ACCESS CODE]*.
* If needed, press the key(s) corresponding to the desired area(s). For two areas, press the other
key after the confirmation beep.
†The One-Touch Arming feature must be enabled by your installer.
1689_41-EQ01
LCD Screen
Messages on the LCD screen
will guide you through the
operations.
1689_41-EQ01.qxd 1/31/2006 10:07 AM Page 1
ALARM MEMORY DISPLAY
PANIC ALARMS
To send a silent or audible alarm to your
monitoring station, press and hold one of
the key combinations listed below for 3
seconds.
Panic Alarm Type Key Combination
Police Press [1] and [3]
Medical Press [4] and [6]
Fire Press [7] and [9]
To view the alarms that occurred during
the last armed period:
1. Press [MEM].
2. 1689: The light(s) corresponding to the
breached zone(s) will illuminate.
1641BL: Use [S] and [T]to view the
breached zone(s).
3. Press [CLEAR]to exit.
TROUBLE DISPLAY
When a trouble condition occurs...
1689: the TRBL light flashes.
1641BL: the message “System Trouble
[TRBL] to view” appears on the
screen.
1. Press [TRBL].
2. 1689: Numbers corresponding to
troubles will illuminate.
1641BL: Use [S] and [T]to view the
trouble(s).
Please consult the Trouble List in the
user manual or contact your installer
for repairs.
3. Press [CLEAR]to exit.
KEYPAD SETTINGS(1641BL ONLY)
You can customize the keypad settings to
suit your needs.
1. Press and hold [6] for 3 seconds.
2. Choose one of the following. Press:
[1] Backlight: keypad’s light (7 is
brightest).
[2] Contrast: character intensity (7 is
lightest).
[3] Scroll Speed: time between
messages (7 is slowest).
3. Press [S] and [T]to modify.
4. Press [ENTER] to save.
5. Return to step 2 or press [CLEAR]to
exit.
BYPASS PROGRAMMING
Bypassed zones are not armed when the
area is armed.
1. Press [BYP]and then enter your
[ACCESS CODE]*.
(or press and hold [BYP]for 3
seconds)**.
2. Enter the zone number.
Or scroll the list and then press [BYP]
when the desired zone appears on the
screen (1641BL only).
OR
Press [BYP]to activate Bypass Recall
(bypasses the zones that were
bypassed during the last armed
period).
3. Press [ENTER]to exit.
CHIME PROGRAMMING
The keypad beeps when a chime zone
opens.
1. Press and hold [9] for 3 seconds.
2. Enter the 2-digit zone number.
Or scroll the list and then press [FNC1]
when the desired zone appears on the
screen (1641BL only).
3. Press [ENTER](1689) / [CLEAR]
(1641BL) to exit.
CLOCK PROGRAMMING
1689: Set the system clock.
1. Press [ENTER].
2. Enter the [SYSTEM MASTER CODE].
3. Enter [100].
4. Enter the time using the 24h clock (i.e.
6:15 p.m. = 18:15).
5. Press [CLEAR]to exit.
1641BL:Set the system clock and day.
1. Press [ENTER].
2. Enter the [SYSTEM MASTER CODE].
3. Enter [100].
4. Enter the time.
a. If the keypad is set to follow the 24h
clock (i.e. 18:15), proceed
to step 6.
b. If the keypad is set to follow the 12h
clock (i.e. 6:15 p.m.), proceed to step
5.
5. After entering the time, press [1] to set
the time in a.m. or [2] to set the time in
p.m..
6. Press [S] and [T]to select the day of
the week.
7. Press [ENTER]to exit.
* If needed, press the key(s) corresponding to the desired area(s). For two areas, press the other
key after the confirmation beep.
**The One-Touch Bypass Programming feature must be enabled by your installer.
1689_41-EQ01.qxd 1/31/2006 10:07 AM Page 2
User Quick Reference Guide
1689 LED Keypad / 1641BL LCD Keypad
KEYPAD OVERVIEW
To arm
when leaving... To arm
when staying...
1689 LED Keypad
PRINTED IN CANADA - 01/06
www.paradox.ca
Security Company:
Stay Lights
(for Stay & Instant arming)
ON = area 1 or 2 armed
OFF = area 1 or 2 disarmed
FLASH = area 1 or 2 in alarm
1641BL LCD Keypad
Zone Display
The numbers represent zones 1
to 16. When illuminated, the
zones are open or breached.
FNC1 Key
Your system may have one or
more home-automation options.
One of these options may be
triggered directly from the
keypad. Press and hold [FNC1] for
3 seconds to activate:
___________________________
(i.e. reset smoke detector,
activate lights, etc.)
Arrow Keys
Use the arrow keys to scroll
menu or choices.
Arm Lights
(for Regular & Force arming)
ON = area 1 or 2 armed
OFF = area 1 or 2 disarmed
FLASH = area 1 or 2 in alarm
AC Light
ON = AC power
OFF = power failure
Status Light
Green
ON = zones closed
OFF = zone(s) open
FLASH = exit delay
Red (1641BL only)
ON = system armed
FLASH = stay armed
FAST FLASH = alarm
Made a mistake?
Press [CLEAR]to delete an entry
or revert to last step.
ARMING AND DISARMING
Regular Arm:
Arm entire area when all zones are
closed.
Enter your [ACCESS CODE]*.
(or press and hold [ENTER]for 3
seconds)†.
Force Arm:
Arm area without waiting for all zones to
close.
Press [FORCE]and then enter your
[ACCESS CODE]*.
(or press and hold [FORCE]for 3
seconds)†.
Stay Arm:
Arm area’s perimeter, which allows you to
remain in the protected area.
Press [STAY]* and then enter your [ACCESS
CODE]*.
(or press and hold [STAY]for 3 seconds)†.
Instant Arm:
Area is stay armed, but an alarm occurs
instantly if any armed zones are
breached.
Stay arm and then press and hold [STAY]
for 3 seconds during the Exit Delay.
Disarming:
Enter your [ACCESS CODE]*.
* If needed, press the key(s) corresponding to the desired area(s). For two areas, press the other
key after the confirmation beep.
†The One-Touch Arming feature must be enabled by your installer.
1689_41-EQ01
LCD Screen
Messages on the LCD screen
will guide you through the
operations.
1689_41-EQ01.qxd 1/31/2006 10:07 AM Page 1

Other manuals for Spectra 1689

3

This manual suits for next models

1

Other Paradox Keypad manuals

Paradox Spectra 1641BL User manual

Paradox

Paradox Spectra 1641BL User manual

Paradox REM3 User manual

Paradox

Paradox REM3 User manual

Paradox IMPERIAL V32 User manual

Paradox

Paradox IMPERIAL V32 User manual

Paradox K641+ User manual

Paradox

Paradox K641+ User manual

Paradox Grafica User manual

Paradox

Paradox Grafica User manual

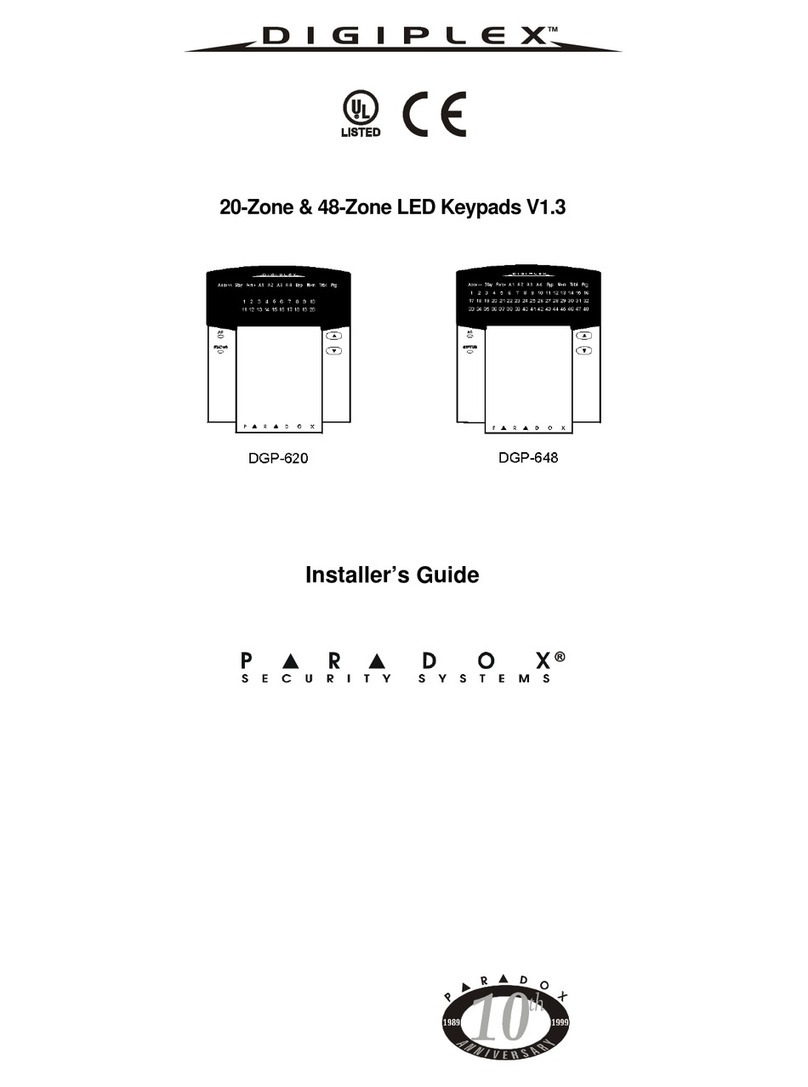
Paradox Digiplex DGP-620 User manual

Paradox

Paradox Digiplex DGP-620 User manual

Paradox Digiplex User manual

Paradox

Paradox Digiplex User manual

Paradox Digiplex DGP2-648 Assembly instructions

Paradox

Paradox Digiplex DGP2-648 Assembly instructions

Paradox K641 User manual

Paradox

Paradox K641 User manual

Paradox K32+ User manual

Paradox

Paradox K32+ User manual

Paradox K32LCD+ User manual

Paradox

Paradox K32LCD+ User manual

Paradox K32LCD Troubleshooting guide

Paradox

Paradox K32LCD Troubleshooting guide

Paradox DigiplexNE DGP2-641 User manual

Paradox

Paradox DigiplexNE DGP2-641 User manual

Paradox K32+ User manual

Paradox

Paradox K32+ User manual

Paradox TM50 Touch User manual

Paradox

Paradox TM50 Touch User manual

Paradox Crimewatch TM50 User manual

Paradox

Paradox Crimewatch TM50 User manual

Paradox MAGELLAN K10V/H User manual

Paradox

Paradox MAGELLAN K10V/H User manual

Paradox Esprit 639 User manual

Paradox

Paradox Esprit 639 User manual

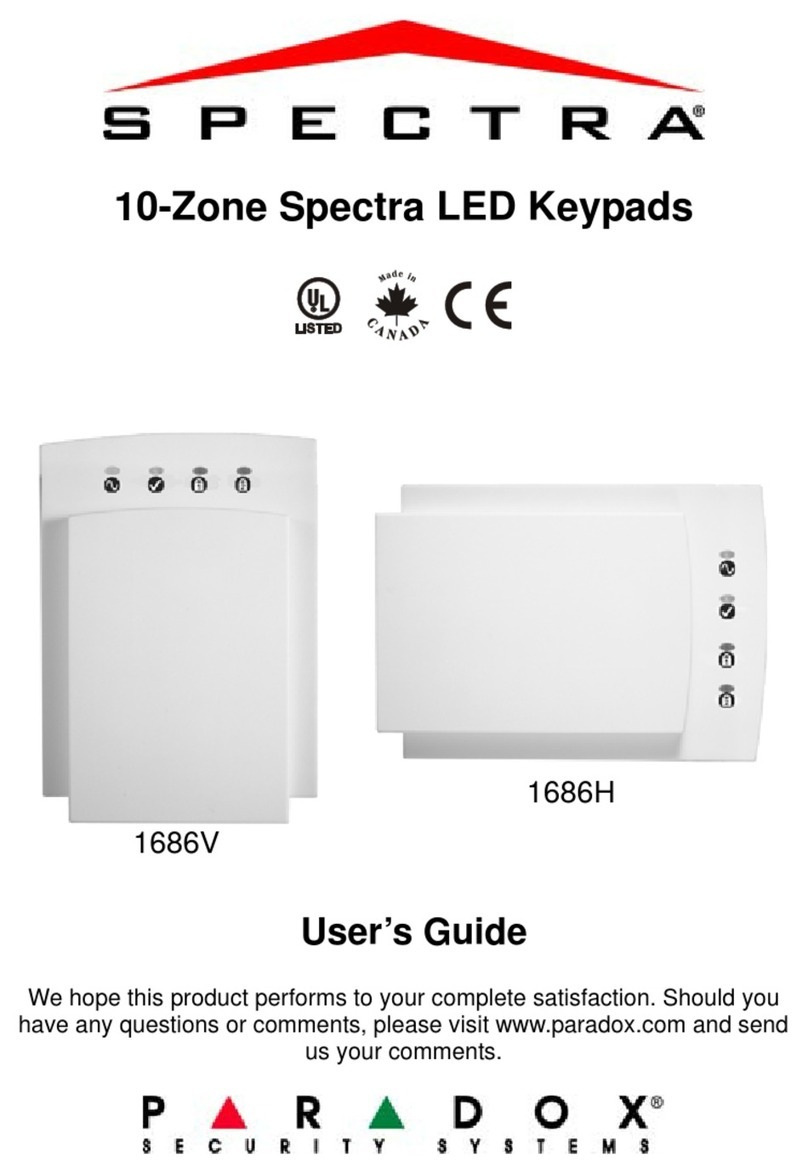
Paradox 1686V User manual

Paradox

Paradox 1686V User manual

Paradox Esprit 636 User manual

Paradox

Paradox Esprit 636 User manual

Paradox Digiplex DGP-641 User manual

Paradox

Paradox Digiplex DGP-641 User manual

Paradox Esprit+ 642 User manual

Paradox

Paradox Esprit+ 642 User manual

Paradox K641+ User manual

Paradox

Paradox K641+ User manual

Paradox Digiplex DGP2-648 User manual

Paradox

Paradox Digiplex DGP2-648 User manual

Popular Keypad manuals by other brands

SunVote M52Li-2.4G user manual

SunVote

SunVote M52Li-2.4G user manual

Mottura XDIGIT 99.779 quick start guide

Mottura

Mottura XDIGIT 99.779 quick start guide

Smanos WK7000 user manual

Smanos

Smanos WK7000 user manual

Intelligent Home DT-AKP user manual

Intelligent Home

Intelligent Home DT-AKP user manual

Bewator K12 Technical manual

Bewator

Bewator K12 Technical manual

Bond Sidekick user manual

Bond

Bond Sidekick user manual

ACT 5 DIGITAL KEYPAD Installation notes

ACT

ACT 5 DIGITAL KEYPAD Installation notes

Comelit IPKYBA02A manual

Comelit

Comelit IPKYBA02A manual

Topre REALFORCE 103UB quick start guide

Topre

Topre REALFORCE 103UB quick start guide

ACT ACT PRO 1030 manual

ACT

ACT ACT PRO 1030 manual

Aritech CS-175 Series user guide

Aritech

Aritech CS-175 Series user guide

Lenze AC Tech MC SERIES installation instructions

Lenze AC Tech

Lenze AC Tech MC SERIES installation instructions

ENFORCER SK-1131-SPQ installation manual

ENFORCER

ENFORCER SK-1131-SPQ installation manual

DELTA DORE CLT 8000 TYXAL+ installation guide

DELTA DORE

DELTA DORE CLT 8000 TYXAL+ installation guide

Motostar TACTSTAR manual

Motostar

Motostar TACTSTAR manual

Interlogix NX-4V2 user manual

Interlogix

Interlogix NX-4V2 user manual

Pyronix ATLAS 8 installation instructions

Pyronix

Pyronix ATLAS 8 installation instructions

Leeson SM Series instructions

Leeson

Leeson SM Series instructions

manuals.online logo
manuals.online logoBrands
  • About & Mission
  • Contact us
  • Privacy Policy
  • Terms and Conditions

Copyright 2025 Manuals.Online. All Rights Reserved.