manuals.online logo
Brands
  1. Home
  2. •
  3. Brands
  4. •
  5. Paramount Fitness
  6. •
  7. Patio Heater
  8. •
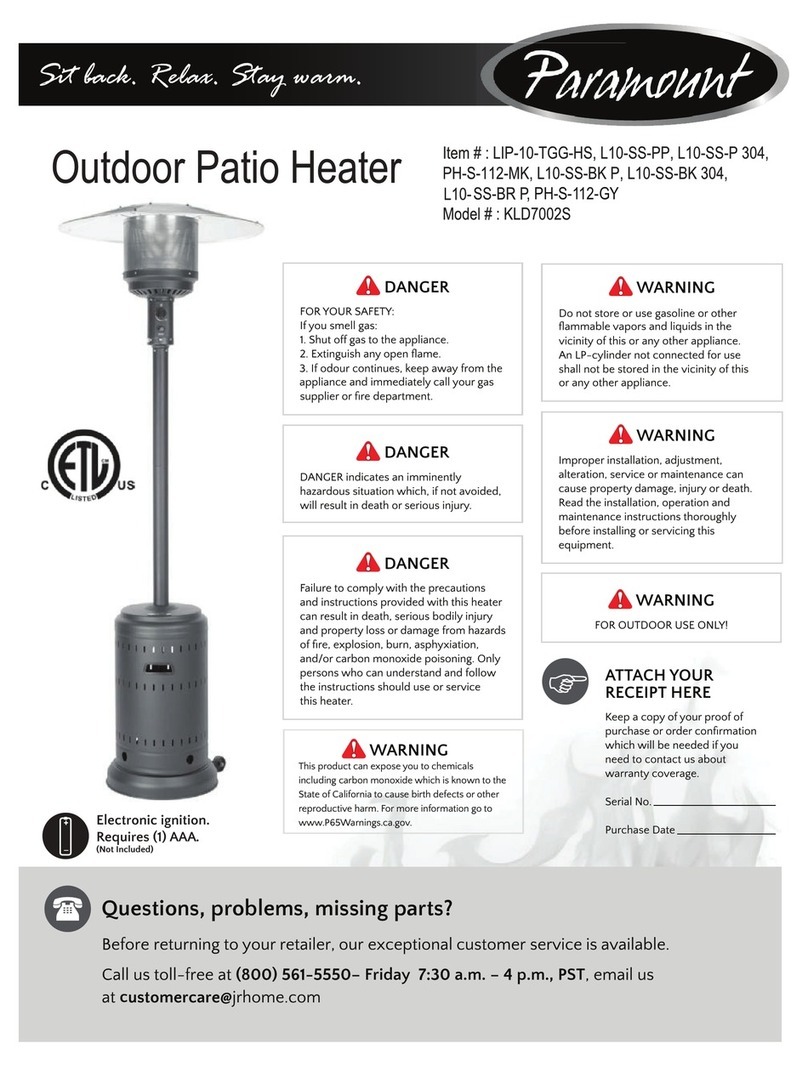
  9. Paramount Fitness KLD7002SSBN User manual

Paramount Fitness KLD7002SSBN User manual

DANGER
FOR YOUR SAFETY: If you smell gas:
1. Shut off gas to the appliance.
If odor continues, keep away from the
appliance and immediately call your gas
DANGER
DANGER indicates an imminently hazardous
situation which, if not avoided, will result in
death or serious injury.
DANGER
Failure to comply with the precautions and
instructions provided with this heater can
result in death, serious bodily injury and
property loss or damage from hazards
and/or carbon
monoxide poisoning. Only persons who can
understand and follow the instructions should
use or service this heater.
WARNING
Do not store or use gasoline or other
vapors and vicinity of this or any
other appliance. An LP cylinder shall not be
stored in the vicinity of this or any other
appliance.
WARNING
Improper installation, adjustment, alteration,
service or maintenance can cause property
damage, injury or death. Read the installation,
operation and maintenance instructions
thoroughly before installing or servicing this
equipment.
WARNING
FOR OUTDOOR USE ONLY!
r
ATTACH YOUR RECEIPT
Keep a copy of your proof of
purchase or order
which will be if you need
to contact us about warranty
coverage.
Serial No.
Purchase Date
WARNING
ATTENTION
patio heater model is a
strongly recommended
that
you it with sand or and attach it
securely to of the heater. windy
conditions, store the heater in a protected area or
otherwise secure it. can
moderate to high wind.
due to weather or acts of is not covered
under warranty.
Model : KLD7002SSBN
Item # :PH-100012
Questions, problems, missing parts?
(8 ) – Friday a.m. – p.m., ST
c @
BEFORE YOU BEGIN
TABLE OF CONTENTS
Before You Begin Page 2
Safety Information Page 3
Package Contents Page 4
Hardware Contents Page 4
Assembly Page 5-
Operating Instructions Page -1
Care and Maintenance Page 1
Troubleshooting Page 1
Warranty Information Page 1
BEFORE YOU BEGIN
(8 ) Monday – Friday
a.m. – p.m., ST, c
DANGER
EXPLOSION—FIRE HAZARD
Keep solid combustibles, such as building
materials, paper, or cardboard asafe
distance away from the heater as
recommended by the instructions.
openings into the combustion chamber.
Never use the heater in spaces which
do or may contain volatile or airborne
combustibles, or products such as
gasoline, solvents, paint thinner, dust
particles, or unknown chemicals.
During operation, this appliance can be a
source of ignition. Keep heater area clear
and free from combustible materials,
gasoline, paint thinner, cleaning solvents
Do not use heater in areas with high dust
content. Minimum heater clearances from
combustible materials:
.
Never store near highheat,
open
ignition sources or where
temperatures exceed 120 F (49 C).
vapors are heavier than air
and can accumulate in low places. If you
smell gas, leave the area immediately.
Never insta l or remove a
lights, or other ignition
sources or while heater is hot to the touch.
This heater is red hot during use and can
from
top and 2 feet (24 ) from sides.
and
vapors well away from heater.
If heater is to be stored indoors,
disconnect
storage.
WARNING
BURN HAZARD
Never leave heater unattended when hot
or in use.
Keep out of reach of children.
CAUTION
SERVICE SAFETY
sure valveoutlet is clean.
During set up, check all connections and
Useas a heating appliance only. Never
alter in any way to use with any device.
WARNING
Certain materials or items, when stored
under the heater, will be subject to radiant
heat and could be seriously damaged.
DANGER
CARBONMONOXIDE HAZARD
Thisheater is a combustion appliance.
All combustion appliances produce carbon
monoxide (CO) during the combustion
process. This product is designed to
produce extremely minute, non-hazardous
amounts of CO if used and maintained
in accordance with all warnings and
or out of the heater.
Carbon Monoxide (CO) poisoning produces
dizziness, fatigue, and possibly death.
You can’t see and you can’t smell it. It is
an invisible killer. If these symptoms are
present during operation of this product,
get fresh air immediately!
For outdoor use only.
Never use inside house or other unventilated
or enclosed areas.
Thisheater consumes air (oxygen). Donot
use in unventilated or enclosed areas to
avoid endangering your life.
WARNING:
FOR OUTDOOR USE ONLY
CARBON MONOXIDE HAZARD
This appliance can produce carbon monoxide
which has no odor. Using it in an enclosed
space can kill you. Never use this appliance
in an enclosed space such as a camper, tent
or home.
indicates an imminently
hazardous situation which, if not avoided,
will death or serious injury.
CAUTION
CAUTION indicates an imminently
hazardous situation which, if not avoided,
may result in minor or moderate personal
injury, or property damage.
WARNING
WARNING
WARNING indicates an imminently
hazardous situation which, if not avoided,
result in death or serious injury.
Lorem ipsum
(4pcs pre-assembled
in head)
M6 screw
Qty: 12
Qty: 3
ASSEMBLY
1anchor the G
secure the base.
2securing the one options the
Fdown . Align the holes in the
with the holes in the and
into the holes, then hand-tighten.
Slide the Hand .
w/ Lock Washer
PREPARATION
Before beginning assembly of this appliance, make sure all parts are present. Compare all parts with package contents
list and hardware contents as listed on page 4 of this manual. If any part is missing or damaged, do not attempt to
assemble this product. Contact ustomer Service for replacement parts.
ESTIMATED ASSEMBLY TIME: 60 minutes
Tools Required for Assembly (NOT included):
• Phillips screwdriver w/medium blade
•
• Leak test solution
and
or
12.5-13mm diameter )
4 into the holes. )
Slide the . )
Secure the to the using 4
. )
4 - M8x100 Expandable Bolts
4 - M8 Nut/Lock Washer/Washer
Set the in the desired location. Insert through
hole in and using a rubber mallet, tap the into
the soil.
Repeat with the other 3 to secure the to the
ground. )
4 - Anchoring Pins
KK
Reflector Stud
Qty : 3
(Step 6)
ASSEMBLY
3
4
ASSEMBLY
ASSEMBLY
ASSEMBLY
ASSEMBLY
ide
Hardware Used: Washer
Wing Nut
OPERATING INSTRUCTIONS
adjustment of gas. Storage of an appliance indoors is permissible only if the
is disconnected and removed from the appliance. A must be
stored outdoors in a well-ventilated area out of the reach of children. A
disconnected must have dust caps tightly installed and must not
be stored in a building, garage, or any other enclosed area. The minimum
a heater for automatic operation rating less than full input rating.
The pressure regulator and hose assembly with the appliance must be
.
The installation must conform with local codes, or in the absence of local codes,
with national fuel gas code, ANSI Z223.1/NFPA54, natural gas and propane
Installation Code, CSA B149.1, or propane storage and handling code, B149.2
A may be hazardous and should be checked by your local
supplier. Never use a with a damaged valve connection. The
must be constructed
Department of Transportation
(DOT) or the standard for cylinders, spheres and tubes for transportation of
dangerous goods and commission, CAN/CSA-B339.
for the appliance.
cylinder
under or near this appliance.
valve outlet whenever
the is not in use.
Only install
of dust cap on the
valve. Other types of caps or
plugs may result in leakage of
.
Make 2-3 oz. of leak test solution
detergent and three parts water).
Apply several drops of solution
where hose attaches to regulator.
Apply several drops of solution
where regulator connects to
.
Make sure all patio heater valves are OFF.
Turn valve ON.
IF BUBBLES APPEAR AT ANY CONNECTION, THERE IS A LEAK.
Turn valve OFF.
If leak is detected at hose/regulator connection, tighten connection and
perform another leak test. If bubbles continue to appear, call our customer
service at (866) 985-7877, 9 a.m. – p.m., EST.
If leak is detected at regulator/ valve connection, disconnect,
reconnect, and perform another leak test. If you continue to see bubbles
after several attempts, valve is defective.
IF NO BUBBLES APPEAR AT ANY CONNECTION, THE CONNECTIONS ARE SECURE.
Note: Whenever gas connections are loosened or removed, you must
perform a complete leak test.
Caution: Do not attempt to
operate this appliance until you
have read and understand all
Safety Information in this manual
and all assembly is complete and
leak tests have been performed.
WARNING
Perform all leak tests outdoors.
NEVER leak test whensmoking
Do not use heateruntil all connections
have been leak tested and show no signs
of leakage.
Your heater was designed and
approved for OUTDOOR use
only. Do NOT use it inside a
building, garage, or any other
enclosed area.
Make sure surrounding areas are
free of combustible materials,
Ensure that there is no
obstruction to air ventilation. Be
sure all gas connections are tight
and there are no leaks.
Be sure the
cover is clear of debris. Be
sure any component removed
during assembly or servicing is
replaced and fastened prior
to starting.
1. Heater should be thoroughly
inspected before each use, and
at least annually. If re-lighting a
hot heater, always wait at least
5 minutes.
2. Inspect the hose assembly for
evidence of excessive abrasion,
cuts, or wear. Suspected areas
should be leak tested. If the
hose leaks, it must be replaced
prior to operation. Only use the
replacement hose assembly
WARNING:
FOR OUTDOOR USE ONLY
CARBON MONOXIDE HAZARD
This appliance canproduce carbon monoxide
which has no odor. Using it in an enclosed
space can kill you. Never use this appliance
in an enclosed space such as a camper, tent
or home.
OPERATING INSTRUCTIONS
WARNING
FOR YOUR SAFETY
Heater will be hot after use. Handle with
extreme care.
For a safe and heating experience, perform this check
before each use:
I amfamiliar with entire owner’s manual and understand all
precautions noted.
All components are properly assembled, intact and operable.
No alterations have been made.
All gas connectionsare secure and do not leak.
Wind velocity is below 10 mph.
Heater is for useoutdoors (outside any enclosure).
Heater is away from windows,air intake openings, sprinklers and
other water sources.
Heater is at least 36 on topand at least 24 on sides from
combustible materials.
Heater is on a hard and level surface.
All burner passages are clear.
All air circulation passages are clear.
Clothingor other protective material should not be hung from the
heater, or placed on or near the heater.
Any guard or other protective device removed for servicing the heater
must be replaced prior to operating the heater.
Theheater should be inspected before each use and at least annually
surface
temperatures and should stay away to avoid burns or clothingignition.
area of the heater.
imperative
that control compartment burner andcirculating air passageways of the
heater be kept clean and free of debris and/or spider or insect nests.
OPERATING INSTRUCTIONS
WARNING
FOR YOUR SAFETY
Be careful when attempting to manually
ignite this heater. Holding in the control
knob for more than 10 seconds before
upon ignition.
LIGHTING:
NOTE: For initial start or after
, hold the control
knob in for 2 minutes to purge air from all gas
lines before proceeding.
NOTE:
1. Turn the control knob to the “OFF” position.
2. Fully open the valve.
and turn the control knob
knob
clockwise towards
knob counter-clockwise towards
.
To turn the appliance OFF, depress the control
knob and turn clockwise to the OFF position.
Wait at least 5 minutes before attempting to
re-light the heater.
WHEN HEATER IS ON:
Emitter screen will become bright
red due to intense heat. The color is
more visible at night. Burner will
display tongues of blue and yellow
produce thick black smoke,
indicating an obstruction of
yellow
tops. If excessive
and consult the
“Troubleshooting” section of this
manual.
RE-LIGHTING:
1. urn control knob to
OFF.
2. Wait at least 5 minutes to allow
gas to dissipate before re-
lighting.
3. Repeat the “Lighting” steps listed
above.
If you experience any ignition problems, please consult the “Troubleshooting”
section of this manual.
Caution: Avoid inhaling fumes emitted the heater’s first use. moke and
odor from the burning of oils used in the manufacturing will appear. Both smoke
and odor will dissipate after approximately 30 minutes. The heater should NOT
produce thick black smoke.
NOTE:
1. Turn control knob clockwise to OFF while depressing the knob.
(Normally, burner will make a slight popping noise when extinguished).
2. Turn valve to OFF and disconnect regulator when heater is
not in use.
NOTE: After use, some discoloration of the emitter screen is normal.
AFTER OPERATION:
1. Gas control knob is in OFF
position.
2. Gas supply valve is OFF.
3. Disconnect gas line.
4. Heater is stored upright in a
secure location.
OPERATING INSTRUCTIONS
WARNING
FOR YOUR SAFETY
Do NOT touch or move heater for at least
45 minutes afteruse.
To enjoy years of outstanding performance from your heater, make sure you
perform the following maintenance activities on a regular basis:
KEEP EXTERIOR SURFACES CLEAN.
cleaning agents.
2. While cleaning your unit, be sure to keep the area around the burner and
control compartment dry at all times. Do not submerge the control valve
assembly. If the gas control is submerged in water, do NOT use it. It must
be replaced.
air passageways clean. Signs of possible blockage include:
condition can damage heater and render it unsafe for use. Clean
burner holes by using a heavy-duty pipe cleaner. Compressed air
may help clear away smaller particles.
screen with warm soapy water if any carbon deposits develop.
Note: In a salt-air environment (such as near an ocean), corrosion
occurs more quickly than normal. Frequently check for corroded areas and
repair them promptly.
TIP FOR STAINLESS STEEL MODELS:
Use high-quality automobile wax to help maintain the appearance of your
heater. Apply to exterior surfaces from the post down.
DO NOT apply to emitter screen or .
STORAGE:
Between uses:
sheltered from direct contact with
inclement weather (such as rain,
sleet, hail, snow, dust and debris).
protect
exterior surfaces and to help
prevent build-up in air passages.
SERVICE:
should repair gas passages and
associated components.
Caution: Always allow heater to
cool before attempting service.
CARE AND MAINTENANCE
PROBLEM CAUSE CORRECTIVE ACTION
Main burner will
not light
Gas valve may be off Turn gas valve ON
Air in supply system
Purge air from lines pen gas lines and depress control knob
for 2-3 minutes.
Loose connection
Igniter fails Use stick lighter to manually light
Gas pressure low with valve open full Replace regulator
New cylinder or 1st ignition Purge air from lines
Replace hose/regulator assembly
Gas hose is kinked Check and straighten or replace
Burner unit
Clean components as needed
Thick black smoke Blockage in burner assembly—thoroughly clean burner
Replace regulatorGas pressure low with valve open full
TROUBLESHOOTING
Questions, problems, missing parts?
(8 ) Monday – Friday a.m. – p.m., ST
c @
IMPORTANT
For questions, concerns or problems with our product please
email our customer service department:
[email protected]
DATED PROOF OF PURCHASE REQUIRED FOR WARRANTY SERVICE
WARRANTY
This product is inspected, tested and carefully packaged to minimize
the chance of damage during shipment. If a part (excluding light
bulbs, glass and fuses*) within one year from the date of purchase
proves to be defective in material or fabrication under normal use,
the part will be repaired or replaced. The Company’s obligation under
the warranty is to replace or repair defective parts at our discretion.
Any expenses or damage resulting from the installation, removal or
transportation of the product will be the responsibility of the owner
and are not covered by this warranty. The owner assumes all other
risks arising from the use or misuse of the product. The warranty will
be void if the product damage or failure is deemed by the Company
to be caused by accident, alteration, misuse, abuse, incorrect
installation or removal, or connection to an incorrect power source
by the owner. The Company neither assumes, nor authorizes any
person or entity to assume for it any obligation or liability associated
with its products. Light bulbs and fuses are not covered under this
warranty. If you have any questions regarding the warranty or
service, please contact us at [email protected].
Customer Service :
JR Home Products
Unit 306 - 19100 Airport Way, Pitt Meadows, BC V3Y 0E2
Toll Free : 1-800-561-5550
E-mail : [email protected]
Warranty Registration Information Form / Formulaire d’enregistrement de la garantie
Registration can be completed online at
www.jrhome.com or by mailing this form.
Name / Nom :
Street / Adresse :
City / Ville :
Province / Province :
Postal Code / Code postal :
Daytime Phone # / No téléphone jour :
Evening Phone # / No téléphone soir :
E-Mail Address / Courriel :
Product/Produit :
Place of Purchase / Lieu de l’achat :
Date of Purchase / Date de l’achat :
Model # / No de modèle :
Serial # / Numéro de série :
You MUST register your product to receive
warranty service.
For warranty service, contact J&R Home
Products at the address, phone numbers listed
below within 30 days of purchase. Be sure to
have your sales receipt and original date of
purchase. All warranty service will be
coordinated by
J&R Home Products service center.
Vous DEVEZ enregistrer votre produit pour vous
prévaloir de la garantie.
Afin de faire valoir la garantie, communiquez
avec J&R Home Products à l’adresse et aux
numéros indiqués ci-dessous dans les 30 jours
suivant la date d’achat. Ayez en main votre reçu
et la date d’achat. Toutes les demandes liées
aux garanties seront traitées par le centre de
service de J&R Home Products.
Please mail to / Veuillez poster le tout à : Parts & Service Department, J&R Home Products Ltd. Unit 306 - 19100 Airport Way, Pitt Meadows, BC V3Y 0E2
You MUST register your product within 30 days of
purchase to receive warranty service.
Si vous éprouvez si vous avez des questions ou des
préoccupations, prière de faire parvenir un courriel à notre service à la clientèle
[email protected]
UNE PREUVE D’ACHAT DATÉE EST REQUISE POUR SE PRÉVALOIR DE LA GARANTIE.
AVERTISSEMENT
soigneusement
des verres,
s
demeurent
service,
contacter le service à la clientèle à : [email protected].
Service à la clientèle:
JR Home Products
Unit 306 - 19100 Airport Way, Pitt Meadows BC V3Y 0E2 Numéro
sans frais: 1-800-561-5550
Courriel: [email protected]
Vous DEVEZ enregistrer votre produit dans les 30 jours suivant l'achat
pour bénéficier du service de garantie.
L’enregistrement sera complet une fois que vous aurez postéce
formulaire ou que vous serez inscrit en ligne.
120920

This manual suits for next models

1

Other Paramount Fitness Patio Heater manuals

Paramount Fitness KLD7003S User manual

Paramount Fitness

Paramount Fitness KLD7003S User manual

Paramount Fitness KLD7002S User manual

Paramount Fitness

Paramount Fitness KLD7002S User manual

Paramount Fitness LIP-09A-TGG User manual

Paramount Fitness

Paramount Fitness LIP-09A-TGG User manual

Paramount Fitness KLD7002S User manual

Paramount Fitness

Paramount Fitness KLD7002S User manual

Paramount Fitness HPS-C-PC User manual

Paramount Fitness

Paramount Fitness HPS-C-PC User manual

Paramount Fitness MS-1500WOIRPH User manual

Paramount Fitness

Paramount Fitness MS-1500WOIRPH User manual

Paramount Fitness YBT-VH01 User manual

Paramount Fitness

Paramount Fitness YBT-VH01 User manual

Paramount Fitness LIP 10 A TGG User manual

Paramount Fitness

Paramount Fitness LIP 10 A TGG User manual

Paramount Fitness PH-S-127 User manual

Paramount Fitness

Paramount Fitness PH-S-127 User manual

Paramount Fitness KLD7001S User manual

Paramount Fitness

Paramount Fitness KLD7001S User manual

Paramount Fitness PH-T-107-SS User manual
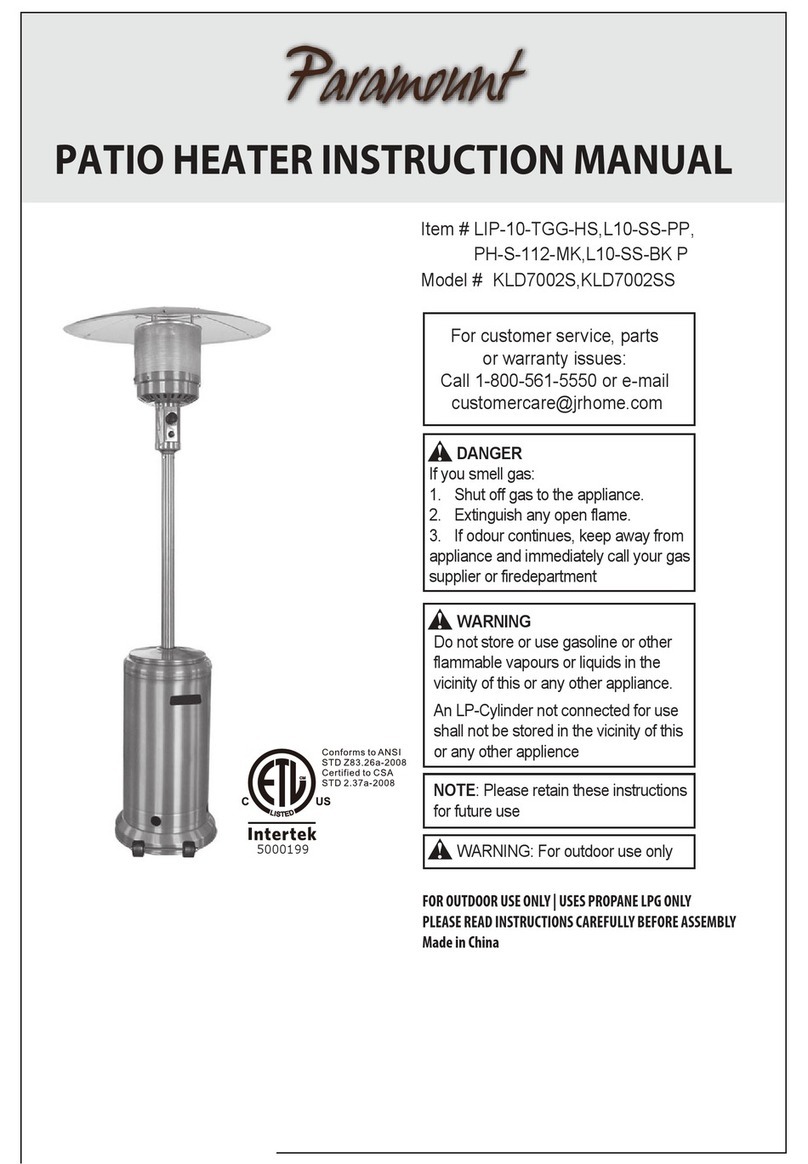
Paramount Fitness

Paramount Fitness PH-T-107-SS User manual

Paramount Fitness KLD7002S User manual

Paramount Fitness

Paramount Fitness KLD7002S User manual

Paramount Fitness PH08-SS 40C User manual

Paramount Fitness

Paramount Fitness PH08-SS 40C User manual

Paramount Fitness L10-SS-P User manual

Paramount Fitness

Paramount Fitness L10-SS-P User manual

Paramount Fitness PH-S-112-GY User manual
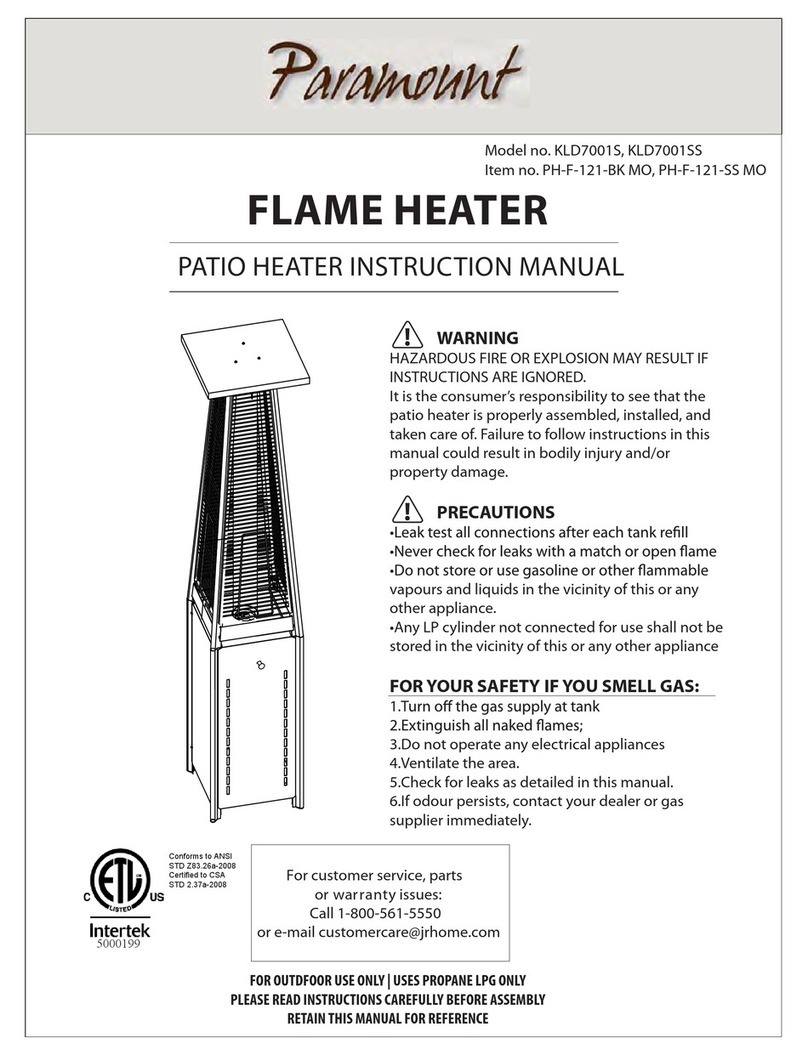
Paramount Fitness

Paramount Fitness PH-S-112-GY User manual

Paramount Fitness 63049 User manual

Paramount Fitness

Paramount Fitness 63049 User manual
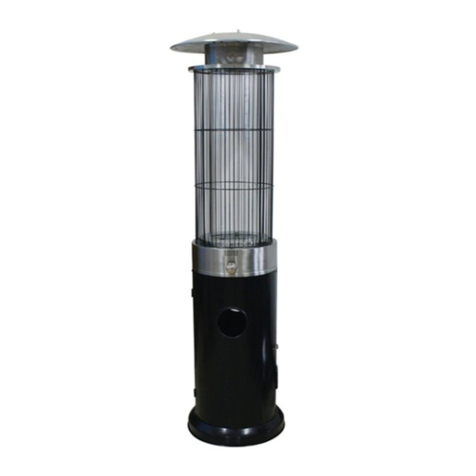
Paramount Fitness LIP-10A-TGG User manual

Paramount Fitness

Paramount Fitness LIP-10A-TGG User manual

Popular Patio Heater manuals by other brands

Costway NP10518FR-BK user manual

Costway

Costway NP10518FR-BK user manual

FORO RH13000 manual

FORO

FORO RH13000 manual

Edelweiss LFS802 instruction manual

Edelweiss

Edelweiss LFS802 instruction manual

Hortus Golden tube ZHQ1580-S instructions

Hortus

Hortus Golden tube ZHQ1580-S instructions

Dimplex OPH20 manual

Dimplex

Dimplex OPH20 manual

Outfit 48589 instruction manual

Outfit

Outfit 48589 instruction manual

Qlima PEF 5018 operating manual

Qlima

Qlima PEF 5018 operating manual

Blue Sky Outdoor Living WBFB29-MD owner's manual

Blue Sky Outdoor Living

Blue Sky Outdoor Living WBFB29-MD owner's manual

AEI PATIO COMFORT NPC 05 Assembly instructions

AEI

AEI PATIO COMFORT NPC 05 Assembly instructions

Hortus 211-318 instructions

Hortus

Hortus 211-318 instructions

Sunred RSH16 manual

Sunred

Sunred RSH16 manual

Inferno SRPH67 manual

Inferno

Inferno SRPH67 manual

Blue Sky Outdoor Living PFP2416-C owner's manual

Blue Sky Outdoor Living

Blue Sky Outdoor Living PFP2416-C owner's manual

Sygonix 1342392 operating instructions

Sygonix

Sygonix 1342392 operating instructions

CAMBRIDGE CUW012-BLK user manual

CAMBRIDGE

CAMBRIDGE CUW012-BLK user manual

HEAT1 ECO high-line 2 x 1500W instructions

HEAT1

HEAT1 ECO high-line 2 x 1500W instructions

EWT CLIMA 800 S instructions

EWT

EWT CLIMA 800 S instructions

Pro-Elec PEL01218 manual

Pro-Elec

Pro-Elec PEL01218 manual

manuals.online logo
manuals.online logoBrands
  • About & Mission
  • Contact us
  • Privacy Policy
  • Terms and Conditions

Copyright 2025 Manuals.Online. All Rights Reserved.