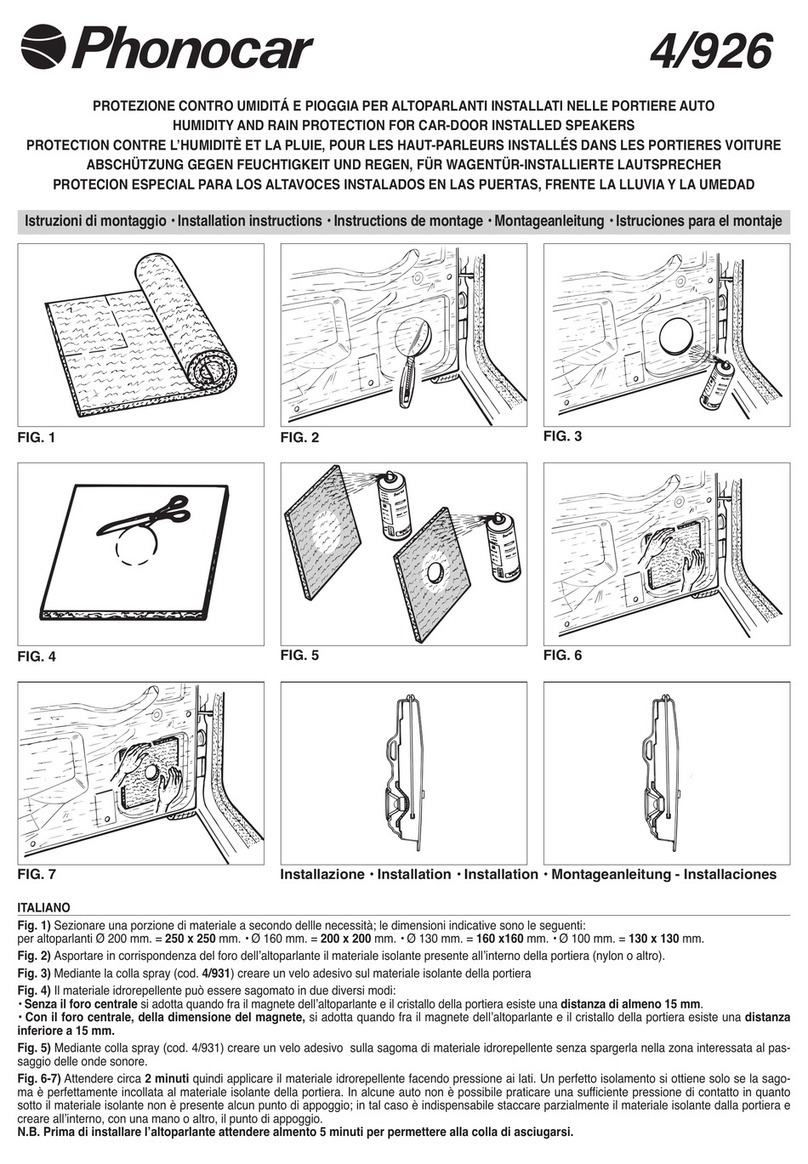
• Rimuovere autoradio e i convogliatori d’aria originali.
• Remove the original radio and air-vent cover.
• Tagliare come da foto le bocchette di prese d’aria senza rimuovere le guarnizioni.
• Without removing it, cut the front of the air-vent duct as shown. It is recommended
to offer the cage to the opening to check the measurement before the nal cut.
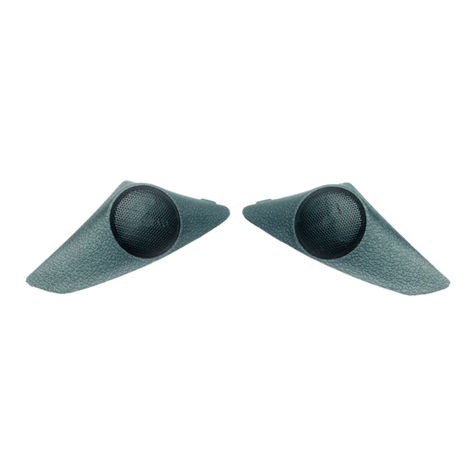
• Inserire le due paratie destra e sinistra (A) nei condotti tagliati facendo appoggiare
le sedi ad “U”. Posizionare la spugna (B) centralmente, come da foto.
• Insert the paddles (A) into the cut ducts, using the “U” section to guide the correct
position. Remove backing paper and the stick the foam block (B) in central position
as shown.
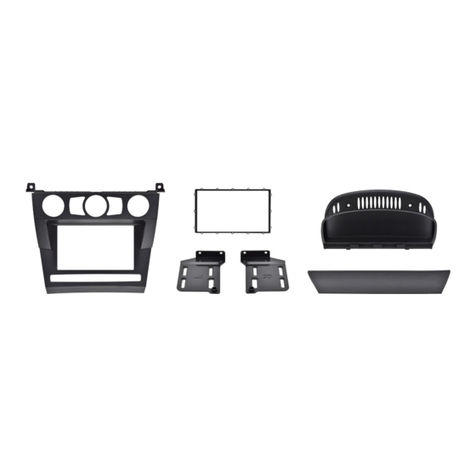
• Montare e ssare la gabbia metallica (C) avendo cura di posizionarla correttamente
facendola appoggiare sulla spugna.
• Locate the cage (C) in position, ensuring correct alignment to the foam block and
screw, as shown.
• Applicare le molle (D) sull’unità Radio / DVD / Navigatore come da foto.
• Apply the springs (D) to the Radio / DVD Navigation unit using the mounting
hardware (D) as necessary.
• Inserire il navigatore nella gabbia metallica no all’ancoraggio dello stesso.
• Insert the Radio / DVD / Navigation unit into the cage until the springs click and
engage fully.
• Con un cacciavite o similare spingere le due paratie (A) in appoggio sull’unità
Radio DVD / Navigatore.
• Using a screwdriver, or similar, push the paddles (A) against the sides of the Radio
DVD / Navigation unit to ensure correct airow from the ventilation ducts.
• Applicare con cura la mascherina (E) premendola prima sulla parte superiore e
poi su quella inferiore.
• Carefully apply the Housing / Panel (E). First locate the top clips and then the
lower section.
35 mm 35 mm
Originale / Original
Dopo / After
C
A
B
LEFT
D
A
E
Mascherina
Housing / Panel
D
Molle di ssaggio
Side springs
C
Gabbia metallica
Metal cage
B
Spugna adesiva
Foam
A
Paratie ventilazione
Paddles for air vent
1 5
2 6
3 7
4 8
