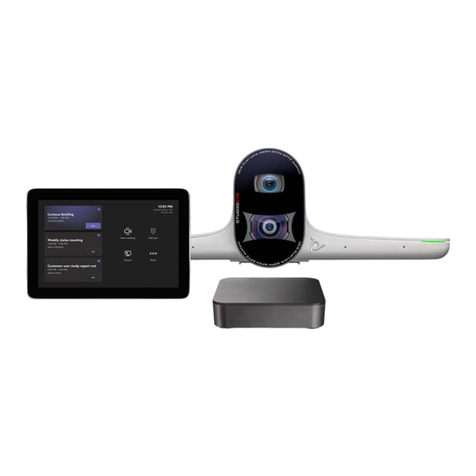
1. (Oponal) Mount the Conferencing PC using the mounng kit. Refer to the
Poly G Series PC Mounng Kit Setup Sheet.
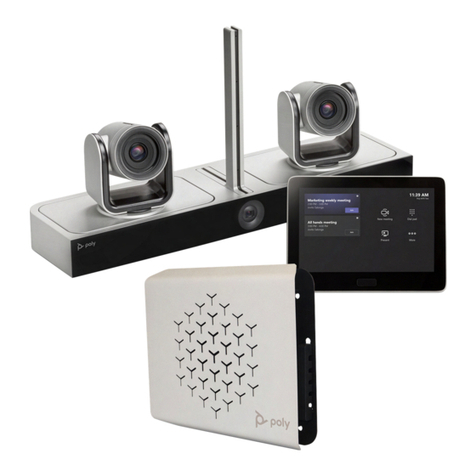
2. Remove the boom panel from the Poly GC8: loosen the screw with a
Phillips #1 screwdriver, turn the GC8 faceup, press the rubber circles on
each side, and slide the panel o.
3. Remove the cable guard from the Poly GC8 using a flathead screwdriver.
4. Using the supplied USB-A to USB-C cable, connect the Conferencing PC
(USB-A) to the Poly GC8 (USB-C). See the cabling diagram on page 3.
5. (Optional) Connect an additional PC/laptop for content sharing to the Poly
GC8 (using an HDMI/HDMI Mini cable).
6. Replace the cable guard in the Poly GC8 and replace the bottom panel and
tighten the screw.
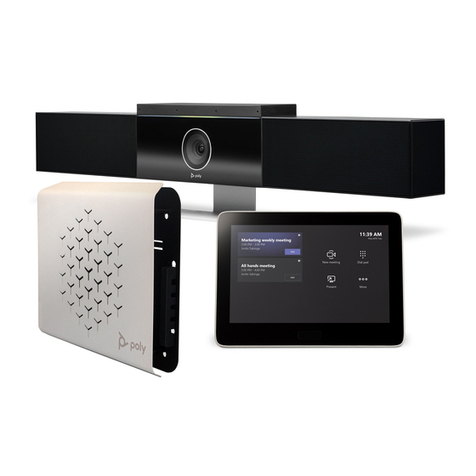
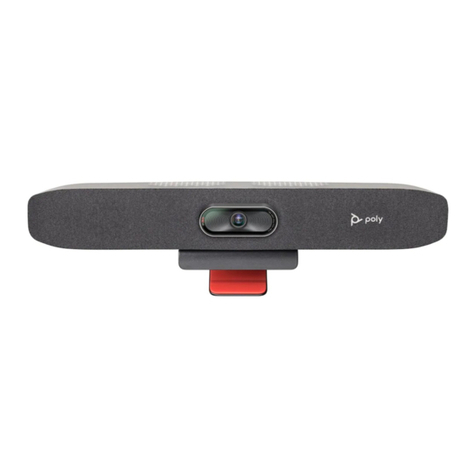
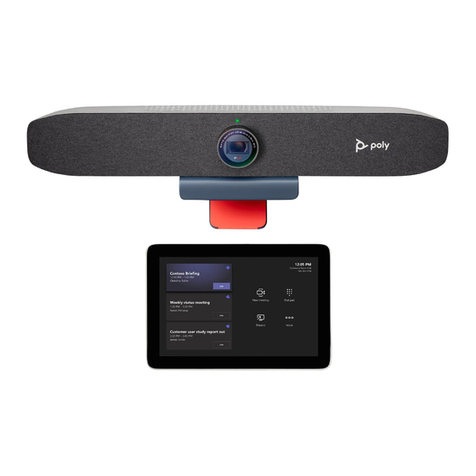
7. Connect the Poly Studio and monitor (using an HDMI cable) to the
Conferencing PC.
NOTE: In some situations, with 4K monitors, the meeting room controls
screen may appear on the front of room monitor and not on the Poly GC8
controller. When this happens, the Poly GC8 displays a blank screen. Poly
recommends connecting a 1080P limited EDID Emulator to the HDMI out
port of the Poly Microsoft Teams Rooms conferencing PC and connecting
the HDMI cable from the emulator to your monitor. For additional
installation and configuration guidance, refer to the manufacturer’s
instructions.
8. (Oponal) Connect a second monitor to the Conferencing PC.
9. Connect the Conferencing PC to Ethernet.
10. Connect the keyboard and mouse to the Conferencing PC.
11. Plug in and power on the Poly GC8 and then plug in and power on the other
components.
The Conferencing PC may reboot more than once. Do not shut down the
Conferencing PC during this process.
12. Complete the Windows Out-of-Box Setup using your keyboard and mouse.
See Inial setup for Microso Teams Rooms.
a. Choose your region.
b. Choose your keyboard layout.
c. Add a second keyboard. Select Skip.
The Conferencing PC reboots and then loads Microso Teams Rooms.
13. Complete the Microso Teams Rooms Out-of-Box Setup.
a. Accept the Microso Soware License Terms.
b. Enter your Microso Teams Rooms account informaon. See Congure
accounts for Microso Teams Rooms.
c. Select the appropriate Supported Meeting Mode based on the preferred
default applicaon.
•Skype for Business (default) and Microso Teams
•Skype for Business and Microso Teams (default)
•Skype for Business only
d. Enable Modern Authentication.
e. Complete Exchange sign-in if your mailbox has an alternate SMTP
address.
f. Click Finish.
The system restarts.
The Conferencing PC may reboot more than once. Do not shut down the
Conferencing PC during this process. When complete, the Microso Teams
Rooms Setup screen appears on the GC8.


