Poly G200 Service manual

ADMINISTRATOR GUIDE 1.3.1 | January 2021 | 3725-32911-004A
Poly G200
Getting Help
For more information about installing, configuring, and
administering Poly/Polycom products or services, go to
Polycom Support.
Plantronics, Inc. (Poly — formerly Plantronics and Polycom)
345 Encinal Street
Santa Cruz, California
95060
© 2021 Plantronics, Inc. All rights reserved. Poly, the propeller
design, and the Poly logo are trademarks of Plantronics, Inc.
All other trademarks are the property of their respective
owners.

Contents
Before You Begin................................................................................................4
Audience, Purpose, and Required Skills.............................................................................4
Related Poly and Partner Resources..................................................................................4
Getting Started with Poly G200.........................................................................5
G200 Overview................................................................................................................... 5
Dual Monitors Feature..............................................................................................5
Powering On and Off...........................................................................................................6
Navigating the System........................................................................................................ 6
Access the System Web Interface............................................................................6
Change the Password.............................................................................................. 6
Setting Up the System....................................................................................... 8
System Panel Views............................................................................................................8
Poly G200 LED Indicators...................................................................................................9
EagleEye Mini Camera LED Indicators.............................................................................10
EagleEye Cube USB Camera LED Indicators.................................................................. 10
Basic Poly Studio LED Indicators......................................................................................11
Run the Setup Wizard....................................................................................................... 11
General System Settings................................................................................. 13
Define the Device Name................................................................................................... 13
Deployment Modes........................................................................................................... 13
Configure Deployment Mode..................................................................................14
Set the Date and Time...................................................................................................... 14
Customizing the Interface............................................................................... 15
Change the System Web Interface Language.................................................................. 15
Change the Local Interface Language.............................................................................. 15
Change the Home Screen Background Image................................................................. 15
Provisioning the System................................................................................. 17
Locate the MAC address...................................................................................................17
Create a Provisioning Profile.............................................................................................18
Automatically Configure a Provisioning Service................................................................18
Manually Configure a Provisioning Service.......................................................................18
1

Provision the Deployment Mode....................................................................................... 19
Enable LDAP Support....................................................................................................... 19
Disable the Provisioning Service.......................................................................................20
Configuring Network Settings.........................................................................21
Configure VLAN Settings.................................................................................................. 21
Configure IPv4 Settings.................................................................................................... 22
Configure IPv6 Settings.................................................................................................... 23
Configure SVC Call Settings............................................................................................. 24
Configure H.323 Settings.................................................................................................. 25
Configure SIP Settings......................................................................................................26
Securing the System........................................................................................28
Set the Encryption Mode...................................................................................................28
Configure the Firewall/NAT............................................................................................... 28
Port Usage........................................................................................................................ 29
Managing Certificates...................................................................................... 31
Certificate Validation..........................................................................................................31
Create a Certificate Signing Request................................................................................32
Install a Certificate.............................................................................................................33
Configuring Audio Settings.............................................................................34
Select the Audio Input....................................................................................................... 34
Enable Polycom NoiseBlock............................................................................................. 34
Configuring Video Settings............................................................................. 35
High-Definition Video Conferencing.................................................................................. 35
Maximizing HDTV Video Display............................................................................35
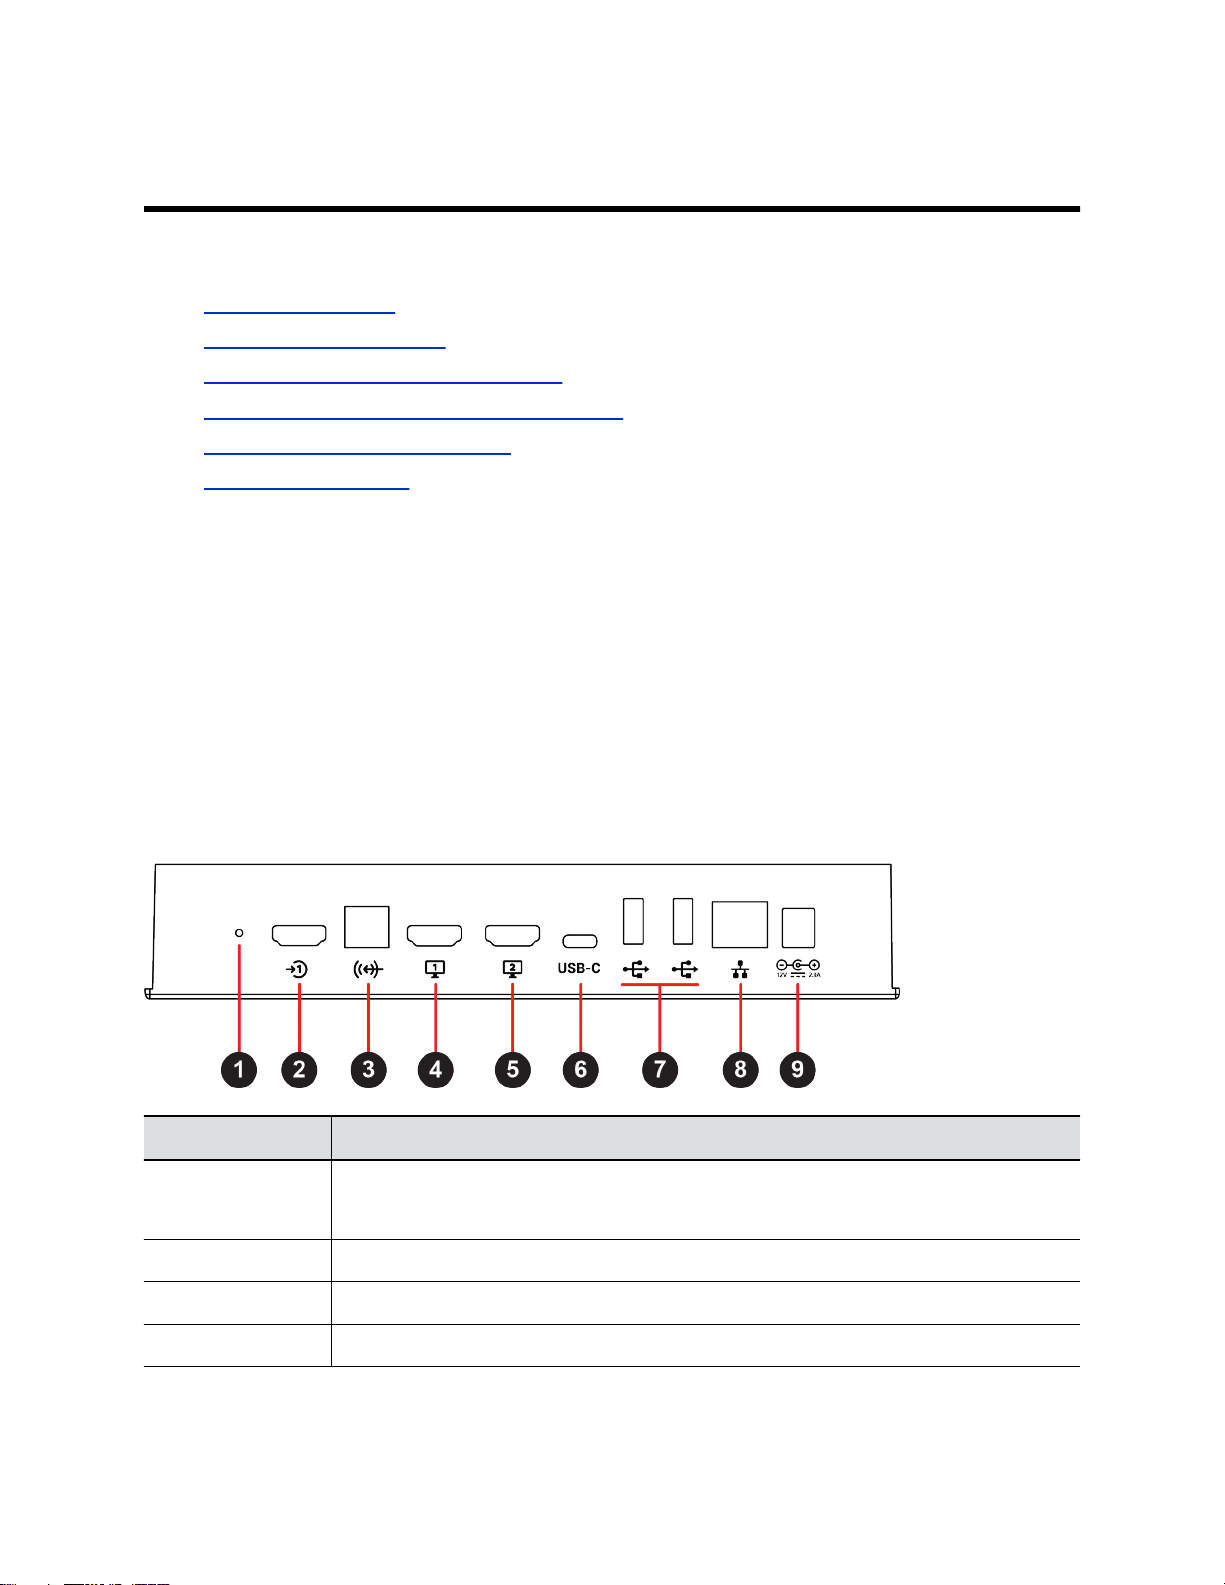
G200 System HDMI Interfaces...............................................................................35
Using Sleep Settings to Prevent Monitor Burn-In..............................................................36
Configure Your USB Camera............................................................................................ 36
Use HDMI Input as the Camera Source............................................................................38
Avoid Video Flicker............................................................................................................38
Configuring Call Settings................................................................................ 39
Set the AVC Call Rate.......................................................................................................39
SVC Call Rates................................................................................................................. 39
Set the Auto Answer Mode............................................................................................... 40
Contents
2

Automatically Show HDMI Content................................................................................... 40
Setting Up a Directory......................................................................................41
Import Directory Contacts................................................................................................. 41
Export Directory Contacts................................................................................................. 41
System Maintenance........................................................................................42
Find Your System IP Address........................................................................................... 42
Updating the System Software..........................................................................................42
Software Key Codes...............................................................................................42
Update Software from a USB Flash Drive..............................................................43
Update Software from the System Web Interface.................................................. 43
Update Software Using the Provisioning Service...................................................44
Activate a License............................................................................................................. 44
Importing and Exporting System Settings......................................................................... 44
Restart Your System......................................................................................................... 45
Reset Your G200 System..................................................................................................45
Factory Restore Your System........................................................................................... 46
Pair the Bluetooth Remote Control................................................................................... 46
Troubleshooting............................................................................................... 47
Logs.................................................................................................................................. 47
Enable or Disable Logs.......................................................................................... 47
Download Logs.......................................................................................................47
Viewing System Alerts.......................................................................................................48
View Call Statistics............................................................................................................48
System Health Check........................................................................................................48
Test Your Audio and Video................................................................................................ 48
Contact Technical Support................................................................................................ 49
Contents
3

Before You Begin
Topics:
•Audience, Purpose, and Required Skills
•Related Poly and Partner Resources
The Poly G200 Administrator Guide is for administrators who configure, customize, manage, and
troubleshoot Poly G200 systems.
Audience, Purpose, and Required Skills
This guide is written for a technical audience.
You must be familiar with the following concepts before beginning:
• Current telecommunications practices, protocols, and principles
• Telecommunication basics, video teleconferencing, and voice or data equipment
• Open SIP networks and VoIP endpoint environments
Related Poly and Partner Resources
See the following sites for information related to this product.
• The Poly Online Support Center is the entry point to online product, service, and solution support
information including Video Tutorials, Documents & Software, Knowledge Base, Community
Discussions, Poly University, and additional services.
• The Polycom Document Library provides support documentation for active products, services, and
solutions. The documentation displays in responsive HTML5 format so that you can easily access
and view installation, configuration, or administration content from any online device.
• The Poly Community provides access to the latest developer and support information. Create an
account to access Poly support personnel and participate in developer and support forums. You can
find the latest information on hardware, software, and partner solutions topics, share ideas, and
solve problems with your colleagues.
• The Poly Partners are industry leaders who natively integrate the Poly standards-based
RealPresence Platform with their customers’ current UC infrastructures, making it easy for you to
communicate face-to-face with the applications and devices you use every day.
• The Poly Services help your business succeed and get the most out of your investment through the
benefits of collaboration.
4

Getting Started with Poly G200
Topics:
•G200 Overview
•Powering On and Off
•Navigating the System
Poly G200 is an enterprise-grade video conferencing solution for huddle rooms and smaller spaces. G200
systems offer an intuitive user interface with rich collaboration features.
G200 Overview
Poly G200 delivers cost-effective collaboration for smaller organizations that are ready to move up from
consumer-grade alternatives. G200 provides natural video conferencing interaction using robust video
communication technology.
For technical specifications and detailed descriptions of features available for G200, see the product
documentation available at Poly Online Support Center.
The Poly G200 bundle has three versions:
• Poly G200 with a Polycom EagleEye Mini USB camera and a Poly Studio expansion microphone
that supports both AVC and SVC modes.
• Poly G200 with a Poly EagleEye Cube USB camera that supports both AVC and SVC modes.
• Poly G200 with a Poly EagleEye Cube USB camera that supports only SVC mode.
You can connect a Poly Studio USB video bar or USB headset to the Poly G200 system as a peripheral.
Dual Monitors Feature
You can connect your G200 system to two monitors if your system is licensed to use dual monitors.
Poly G200 supports different content displays on each monitor in different system states, as described in
the following table.
System State Primary Monitor Secondary Monitor
Standby Home screen Background picture
Out of a call with content Content Content
In a call Far end camera view Local camera view
In a call with content Camera views of both local and far
end
Content
Related Links
Activate a License on page 44
5

Powering On and Off
The Poly G200 doesn’t have a power button. When you plug in the power cord, the device turns on.
Navigating the System
You can use the system web interface to complete the setup process and manage your G200 system.
The local interface has a subset of the administration settings that are available in the system web
interface.
Note: If you enable a provisioning service, any settings provisioned in the system might display as read-
only settings in the system web interface.
Related Links
Provisioning the System on page 17
Access the System Web Interface
You can perform most of the calling and configuration tasks on the G200 system web interface that you
perform on the system’s local interface.
The initial setup process requires you to set a password to enter the system web interface.
Procedure
1. Open a web browser and enter the system IP address.
2. Enter the Username (default is admin), the Password, and select Log In.
Change the Password
You can change the G200 system admin password from the system web interface.
Poly recommends that only administrators access the Poly G200 system configuration. Therefore, Poly
provides only one credential for the system web interface.
Procedure
1. Go to Admin Settings > Password.
2. Configure the following settings and select Submit.
Setting Description
Old Password Specifies the existing password for the administrator account used when
logging in through the system web interface. When creating a password for the
first time, leave this setting blank.
New Password Specifies a new password.
The password is case sensitive and must be less than 40 characters without
spaces.
Getting Started with Poly G200
6

Setting Description
Confirm Password Confirms the new password.
Getting Started with Poly G200
7

Setting Up the System
Topics:
•System Panel Views
•Poly G200 LED Indicators
•EagleEye Mini Camera LED Indicators
•EagleEye Cube USB Camera LED Indicators
•Basic Poly Studio LED Indicators
•Run the Setup Wizard
See the Poly G200 Setup Sheet for detailed instructions on setting up the system.
When you attach a Polycom EagleEye Mini USB camera or a Poly EagleEye Cube USB camera, the
G200 system automatically detects the camera’s software version and prompts you to upgrade if the
camera uses an incompatible software version.
When you attach a Poly Studio USB video bar that uses an outdated software version, the system
displays a prompt to update the device. Refer to the Poly Studio User Guide for information on updating
the software.
System Panel Views
The Poly G200 system supports up to two monitors and multiple USB devices.
Figure 1: Poly G200 back panel ports
Ref. Number Description
1 Factory restore
You can also use it for reseting the system and pairing with the remote control.
2 HDMI input for sharing content (for example, from a laptop) or supported camera
3 Audio input for Poly Studio expansion microphone
4 HDMI output for the primary monitor
8

Ref. Number Description
5 HDMI output for the secondary monitor
6 USB Type-C port for future use
7 USB ports used for the following options:
• USB input for USB cameras
• System upgrade via USB flash drive
8 LAN connection
9 Power
Related Links
Reset Your G200 System on page 45
Poly G200 LED Indicators
Poly G200 uses LED indicators to show basic system status.
LED Color System Status
Blue • Initializing
• Awake
Blinking blue • Incoming call
• Remote control pairing
• Booting up
Amber Asleep
Blinking amber Shutting down
Green In a call
Red • Network disconnected
• Provisioning failed
• SIP not registered
• H.323 not registered
Setting Up the System
9

EagleEye Mini Camera LED Indicators
The EagleEye Mini camera uses LED indicators to show basic device status.
Camera LED Indicators
LED Color Device Status
Amber No active video output
Green Active video output
Alternating amber and
green
Software update
EagleEye Cube USB Camera LED Indicators
The following table describes the LED indicators and associated system behaviors on the EagleEye Cube
USB camera. The LED indicators are located along the top of the camera above the aperture.
LED Indicator List
Mode LED Color LED Timing # of LEDs
Attention (Error preventing normal
operation)
Red Blinking 5 - All
Camera boot initialization process in
progress
White Chasing 5 - Alternating
Device firmware update in progress Amber Pulsing 5 - All
Privacy cover open, camera is active, active
video output, tracking is off
Green Solid 1 - Center
Privacy cover open, camera is active, active
video output, tracking is on
Green Solid 1 – Depends on
Participants
Privacy mode (Shutter is closed) Red Solid 1 - Center
Privacy cover open, camera is asleep, no
active video output (Standby)
Amber Solid 1 - Center
Privacy cover open, camera is idle, no
video output
White Solid 1 - Center
Setting Up the System
10

Basic Poly Studio LED Indicators
The Poly Studio device provides an LED bar above the camera to help you understand its behaviors.
Basic Poly Studio LED Indicators and Status
Indicator Position Status
Chasing white All while alternating Boot initialization in progress
Blinking blue Two in the middle Bluetooth in discovery
Solid blue for three seconds Two in the middle Bluetooth paired
Solid amber Two in the middle Standing by
The privacy cover is open, and the
camera is in sleep mode with no
active video output
Blinking green or white All Incoming call
Solid green or amber Two in the middle Outgoing call
Solid green or white One or two (when in the middle),
indicating the tracked speaker or
the direction of the camera
Working
The lights are green with supported
applications in the following cases:
• Tracking people in group
framing and speaker tracking
mode
• Indicating the direction of the
camera that you customize in
pan-tilt-zoom (PTZ) mode
Solid white for three seconds Two in the middle Saving a preset
Solid red All Muted microphone
Blinking red Two in the middle On hold
Run the Setup Wizard
When you power on your G200 system for the first time or reset it, the setup wizard starts and leads you
through the minimum configuration steps.
The setup wizard is also known as the out-of-box (OOB) wizard. It's available during the initial setup, after
the system reset with system settings deleted, or after a factory restore.
Procedure
1. Power on the G200 system by plugging in the power cable.
Setting Up the System
11

2. Follow the onscreen instructions and use the remote control to navigate the screens and enter
information.
You can use the number pad on the remote control to enter text.
After you run the setup wizard, view or change the admin configuration by going to the system web
interface.
Related Links
Reset Your G200 System on page 45
Updating the System Software on page 42
Setting Up the System
12

General System Settings
Topics:
•Define the Device Name
•Deployment Modes
•Set the Date and Time
You can define the G200 system name, configure the system deployment mode, and set the date and
time for your system.
Note: Depending on your deployment, you can configure your system's sleep settings to align with
certain devices in System Settings > General > System Sleeps When Device Is Idle.
Define the Device Name
The device name appears on the screen of the far-end site when you make a call.
Note: You can’t configure the device name when you provision the G200 system.
In SVC mode, you can also define the name at Server Settings > Call Server > Device Name.
Procedure
1. In the system web interface, go to System Settings > General.
2. In the Device Name field, enter the name for your system and select Submit.
Related Links
Configure SVC Call Settings on page 24
Deployment Modes
G200 supports two deployment modes.
• In AVC mode, G200 is a standard H.323/SIP-based video endpoint. It works with the Polycom
RealPresence Clariti solution, standalone Polycom RealPresence Collaboration Servers (RMX), or
any compliant third-party video endpoints or MCUs.
• In SVC mode, G200 is a proprietary video endpoint that adapts H.264 SVC encoding and decoding.
It provides better error resilience and more cost-effectiveness with a high-quality video and audio
experience. The SVC-enabled G200 system is a locked system that works only with the Poly
RealPresence Clariti Ensemble solution.
For more information on the products that work with the different modes, see the Poly G200 Release
Notes .
Related Links
Configure SVC Call Settings on page 24
13

Configure Deployment Mode
You can manually configure the deployment mode from the system user interface.
You can't configure the deployment mode when the G200 system is in a call, sharing content, or
upgrading the camera.
Procedure
1. In the system web interface, go to System Settings > Deployment Mode.
2. Choose the mode from the drop-down list and select Submit.
Note: The system automatically reboots to apply the change.
Related Links
Configure SVC Call Settings on page 24
Set the Date and Time
You can set the date and time of the G200 system in the system web interface.
Make sure that the Provisioning Mode setting is not set to Auto.
Procedure
1. In the system web interface, go to System Settings > Date and Time.
2. Configure the following settings and select Submit.
Setting Description
Time Zone Specifies the time difference between GMT and your location.
Time Server Specifies if you want to automatically or manually configure the system to use
a time server.
Date Format Specifies how the date displays.
Time Format Specifies how the time displays.
General System Settings
14

Customizing the Interface
Topics:
•Change the System Web Interface Language
•Change the Local Interface Language
•Change the Home Screen Background Image
You can change the language or background of the G200 interface.
Change the System Web Interface Language
You can change the language to localize the system web interface.
Procedure
1. Select Language at the top-right corner.
2. Choose the language from the drop-down menu.
Change the Local Interface Language
You can change the language to localize the system’s local interface.
The local interface refers to the user interface on the monitor screen, which you can change from either
the system web interface or the local interface itself.
You can find the same setting in the local interface at Settings > General > System Language.
Procedure
1. In the system web interface, go to System Settings > General > System Language.
2. Choose the language you want to set.
3. Select Submit.
Change the Home Screen Background Image
The G200 system local interface displays a background image that you can customize. You can upload
your own image to replace the background image or reset it to the default.
Your image must be smaller than 10 MB with a pixel size of 1920 × 1080 (width by height). The image
must be in .jpg, .jpeg, .bmp, or .png format.
Procedure
1. In the system web interface, go to Admin Settings > Upload Background.
2. Select Choose File to search for and select the image you want to upload.
3. Select Upload.
15

The image uploads to the system Home screen. If you use dual monitors, both screens use the
new picture as backgrounds.
4. Select Reset to retrieve the default background image.
Customizing the Interface
16

Provisioning the System
Topics:
•Locate the MAC address
•Create a Provisioning Profile
•Automatically Configure a Provisioning Service
•Manually Configure a Provisioning Service
•Provision the Deployment Mode
•Enable LDAP Support
•Disable the Provisioning Service
You can manage G200 systems in dynamic management mode.
In dynamic management mode, the following might be true:
• The Server Address, User Name, and Password fields are populated on the Provisioning
screen.
• Configuration settings that are provisioned, or that are dependent on provisioned values, are hidden
on the G200 system.
• A provisioning service system administrator can upload a provisioned bundle from an already
configured G200 system. When G200 systems request provisioning, the system downloads the
provisioned bundle and any automatic settings. A G200 system user with administrative rights can
change the settings on the G200 system after the provisioned bundle is applied. If you later
download a new provisioned bundle from the provisioning service, the new bundle overwrites the
manual settings.
• If the system has previously registered successfully with a provisioning service but fails to detect
the service when it restarts or checks for updates, an alert appears on the Status screen. The
G200 system doesn't store the GK/SIP register related information if the provisioning service
connection is lost before reboot.
Related Links
Navigating the System on page 6
Locate the MAC address
Before you begin provisioning, you need to know the MAC address for the G200 system you want to
provision.
Procedure
1. In the system web interface, go to Device Status.
2. Write down or otherwise save the MAC address, without the colons.
For example, if the MAC address is 00:e0:db:30:e7, use 00e0db30e7 to provision the G200
system.
17

Create a Provisioning Profile
To provision the G200 system, you must create a G200 provisioning profile on the provisioning server.
Procedure
1. Get the provisioning template file from Poly Online Support Center. The file name is
G200_Provisioning_Template.cfg.
2. Rename the provisioning template file using the MAC address of the G200 system:
<macaddress>_profile.cfg.
3. Depending on your deployment’s security settings, go to ftp://<ipaddress>/<filepath> or
ftps://<ipaddress>/<filepath>.
4. Copy the <macaddress>_profile.cfg file to the provisioning server.
Automatically Configure a Provisioning Service
When the G200 system powers on, the system can automatically detect a provisioning service by reading
the address of the provisioning server through DHCP.
Depending on your deployment’s security settings, configure DHCP to return the provisioning server
addresses as ftp://<user>:<password>@<ipaddress>/<filepath> or ftps://
user:<password>@<ipaddress>/<filepath>.
Procedure
1. In the system web interface, go to Server Settings > Provisioning.
2. Select Auto from the drop-down list.
3. From the DHCP Server Option drop-down menu, choose one of the following:
•Default: The default value is 66.
•Custom: Enter a custom DHCP value. The system uses this value to read the provisioning
server address through DHCP.
G200 supports the following four Custom values: 66, 67, 150, and 160.
Manually Configure a Provisioning Service
You can configure the G200 system provisioning settings on the system web interface.
If you enable automatic provisioning but the system doesn’t successfully register with the provisioning
service, you might need to change the User Name, Password, or Server Address used for registration.
For example, users might be required to periodically reset passwords they use to log in to the network
from a computer. If your system also uses this network password as the provisioning service password,
you must update it on the Poly G200 system.
To avoid unintentionally locking a user out of network access, G200 systems don’t automatically retry
registration until you update the settings and manually register on the Provisioning page.
Procedure
1. In the system web interface, go to Server Settings > Provisioning.
Provisioning the System
18

2. Select Manual from the Provisioning Mode drop-down list.
3. Configure the following settings and select Submit.
Note: You can register multiple Poly G200 systems to a single user.
Setting Description
Protocol Type Specifies the type of provisioning server.
Server Address Specifies the address of the system running the provisioning service. Enter
<ipaddress>/<filepath> for FTP or FTPS, or enter the IP address for
RealPresence Resource Manager.
User Name Specifies the endpoint's user name for registering to the provisioning service.
The user name cannot contain "@" and ":".
Password Specifies the password that registers the system to the provisioning service.
The password cannot contain "@" and ":".
Provision the Deployment Mode
You can provision the deployment mode of your G200 system through the system’s provisioning profile.
Three parameters determine which deployment mode the system uses. When you enable more than one
parameters, the parameter priority applies in the following order:
•enableH323
•enableSIP
•enableSVC
Procedure
1. Open your system’s provisioning profile.
2. Based on the deployment mode you want to use, enable the following parameters:
• AVC mode (enable either parameter):
◦enableH323
◦enableSIP
• SVC mode:
◦enableSVC
Related Links
Update Software Using the Provisioning Service on page 44
Enable LDAP Support
You can provision G200 1.3.x to enable LDAP features in AVC mode.
The current LDAP features include:
Provisioning the System
19
Other manuals for G200
1
Table of contents
Other Poly Conference System manuals

Poly
Poly G7500 Service manual

Poly
Poly G7500 Operating instructions

Poly
Poly G40-T Manual

Poly
Poly Studio X Series User manual

Poly
Poly TC10 Assembly instructions

Poly
Poly Large Room Kit Manual

Poly
Poly G10-T Manual

Poly
Poly Polycom RealPresence Group Series User manual

Poly
Poly G7500 User manual

Poly
Poly Studio R30 User manual