manuals.online logo
Brands
  1. Home
  2. •
  3. Brands
  4. •
  5. Polycom
  6. •
  7. IP Phone
  8. •
  9. Polycom VVX 201 Specification sheet

Polycom VVX 201 Specification sheet

Telstra VVX201 Phone Feature Guide | April 2016 Page 1
Telstra VVX201 Phone Feature Guide
If you are required to initially configure your IP
phone you will be advised of the Username and
Password. This information only needs to be
entered once via the QSetup soft key.
Press the QSetup soft key
Select the Server User field
Enter the Server User credentials (obtain
this information from Telstra.
This number will be your phone number)
Select the Server Password field
Select the Mode soft key and tap 123 (to
select numbers)
Enter the Server password (obtain this
information from Telstra)
Press Save Config to Save the Config
You will now need to manually reboot the phone
Press the Home button
Select Settings
Select Basic, using the navigation button
scroll down
Select Restart Phone
Select the Yes soft key (to confirm)
Note 1: Restarting the phone may take a few
minutes
Note 2: If your phone has been preconfigured
the QSetup soft key will not be visible
Note 3: This is only required for phones that are
on DMS (Device Management System)
platform.
To view the Home view main menu, press
To return to the Line View, press
To select a menu item, press the Home
button, scroll through the icons and select
the relevant option ie Settings or Directories
by pressing the Select button in the middle
of the Navigation button.
The VVX101 is a black and white screen
device.
To move through the pages press the right or
left arrow buttons on the Navigation button.
Call –Select Call to display Dialler
enter a number to place a call
Telstra VVX201 Phone Feature Guide | April 2016 Page 2
Telstra VVX201 Phone Feature Guide
Redial–Select Rdl to redial the last dialled
number
Messages –Select Msgs to access your
Voicemail Messages
Directories –Select Dirs to view all the
contacts in your Contact Directory, Recent calls
and Favorites
Forward - Select Fwd to enable/disable your
call forward always, no answer or busy settings.
DND - Select DND to enable/disable Do Not
Disturb. Calls cannot be received when
enabled.
Settings –Select Settings to access features
and settings to customise your phone features
To return to the Previous Screen select the
Back soft key.
The VVX101 has four soft key buttons at
the bottom of the phone. The context
sensitive tabs appearing on the screen
relate to the relevant soft key.
During a call, press the to adjust the
call volume
While the phone is idle, to adjust the Ringer
volume, press the volume buttons.
Line View is a default display.
Line View displays all your phone lines,
your favourites and soft key tabs.
If your phone is idle you can;
Press Call to access the Dialer
If your phone has calls, the phone line
indicates the number of calls you have, and
if they are active or held
Held call view
Active Call View
This view displays the name and number of
the person you are talking with and the
duration of the call
From Active view you can, Hold, End a
Call, Transfer or select the More soft key
for additional options
Lift the handset and enter the required
number by using the phone keypad.
Enter a number
Press the Speaker button
Or
Telstra VVX201 Phone Feature Guide | April 2016 Page 3
Telstra VVX201 Phone Feature Guide
With the handset on-hook, press the Call
soft key, enter the phone number by using
the phone keypad
Lift the handset Or
Press the Ans soft key
Or
Press the green flashing line button
If you share a line with another phone,
when the phone line is receiving a call,
press the relevant line button to answer the
call. If you answer the call and place it on
hold, anyone who shares your line can
resume the held call.
Hang up the handset OR
Press the End soft key
If the Call Waiting feature has been turned
on, while engaged in a call:
Call Waiting tone indicates another call to
your line.
Press the Ans soft key to switch to and
answer the incoming call.
The initial call is automatically placed on
hold.
By using the Navigation button scroll to
highlight the held call.
Press the Res soft key to resume your
conversation.
You cannot receive additional calls while
both lines are engaged.
Press the Hold soft key
To return to the call
To resume the call, press the Res soft key
To make another call while the original
caller is on hold
Press the Call soft key, enter the required
number
If multiple calls are on hold, using the
Navigation button to scroll to the call on
hold then press the Res soft key
To join all three parties onto an impromptu
conference call
With 2 calls in progress (1 call on hold and
1 call active)
Press the More soft key and then the Join
soft key
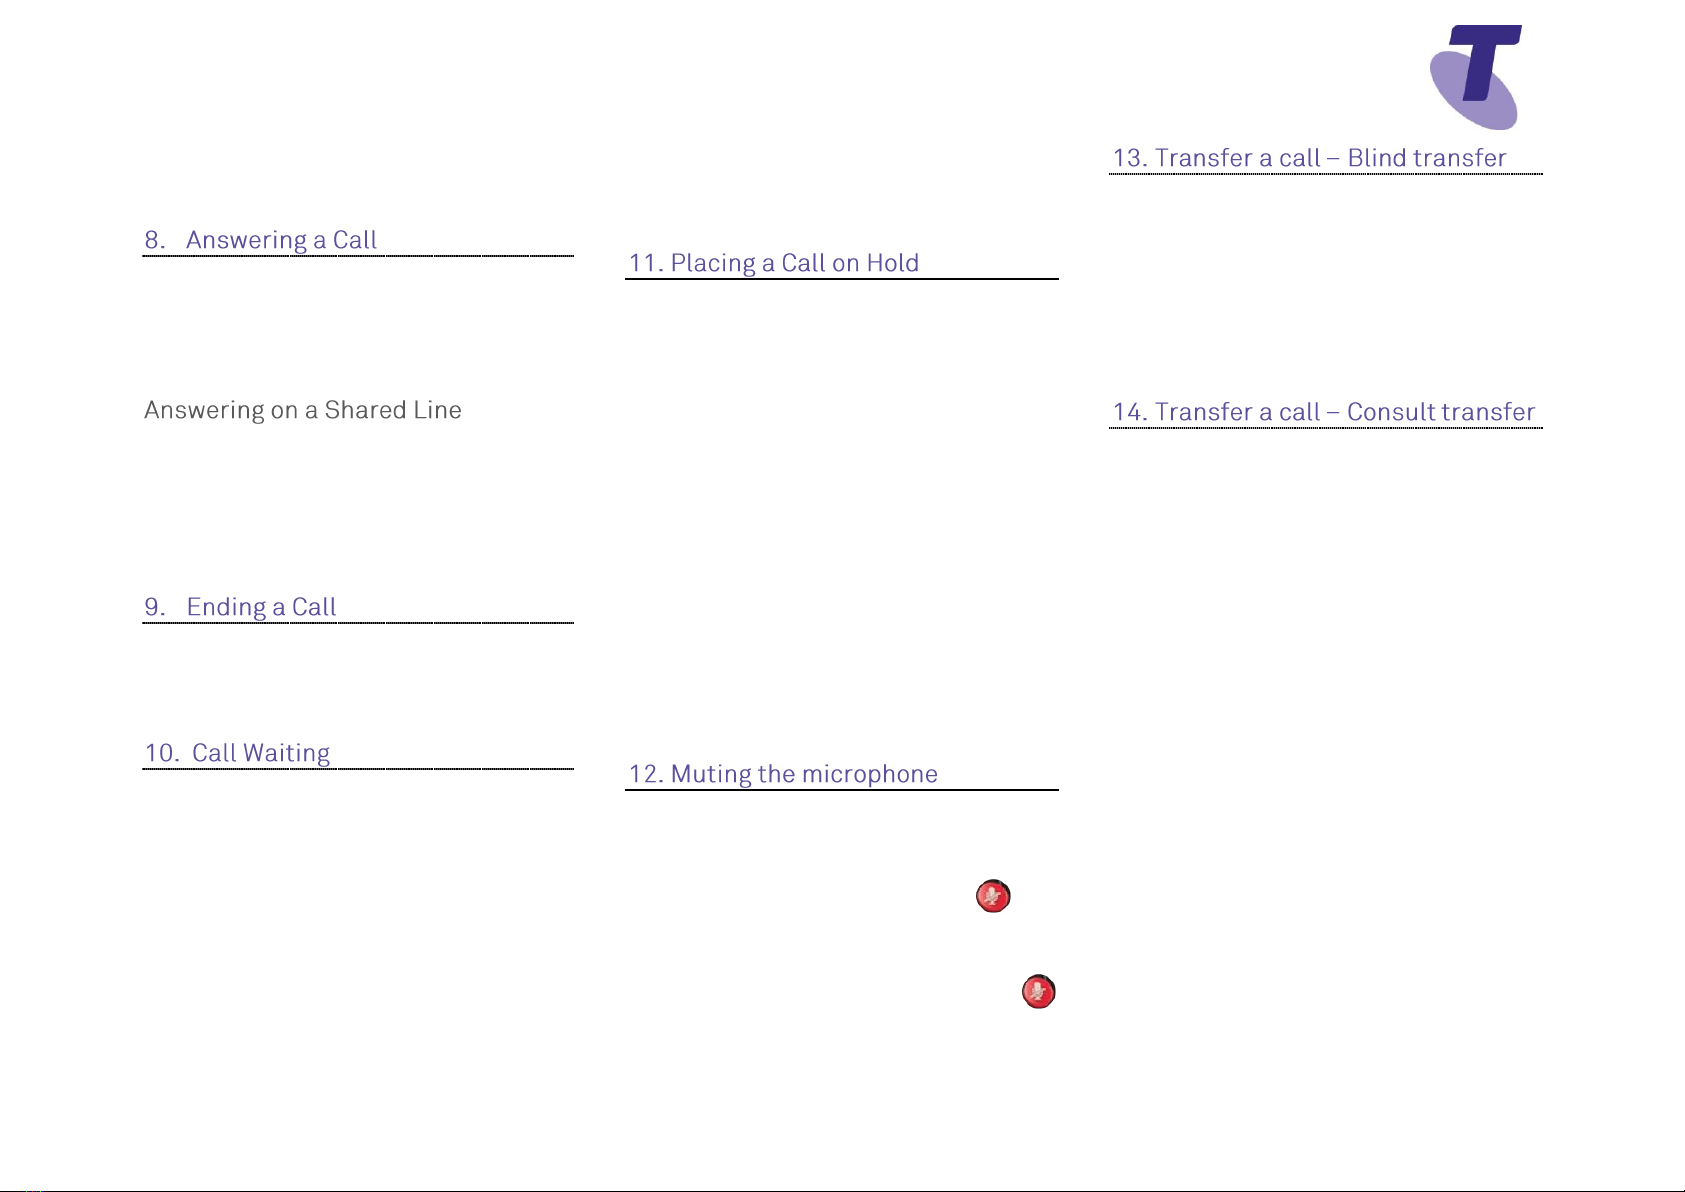
While Mute is activated, the microphone is
muted, you can hear all other parties,
however they cannot hear you.
During a call press the mute button
(‘Microphone Muted ’ –will display on
screen, briefly)
To turn off mute, press the mute button
again
(‘Microphone Unmuted ’ –will display on
screen, briefly)
Blind Transfer enables you to transfer a call
to another party without announcing the call
prior to transfer.
During a Call press the Tsfr soft key
Enter the transfer destination number, then
hang up, or press Tsfr again
Your call will be transferred automatically
Consult Transfer enables you to transfer a
call to another party with consultation.
During a Call press the Tsfr soft key
Enter the transfer destination number
When the party answers, announce the call
Press the Tsfr soft key again to complete
the transfer.
If the party refuses the call (prior to
completing the transfer)
Press the Cncl soft key to be returned to the
original caller.
Telstra VVX201 Phone Feature Guide | April 2016 Page 4
Telstra VVX201 Phone Feature Guide
There are 3 Call forward options which can
be set from your handset using either soft
keys or Feature Access Codes; Call
Forward Always, Call Forward No Answer,
Call Forward Busy.
To forward all your calls to another number.
Press the Fwd soft key
Select Always
Enter the required number to forward your
calls to
Press the Enbl soft key to enable
An arrow is displayed on the phone
screen next to your phone number and a
message is displayed at the top right hand
corner of the screen advising you of the
number you have forwarded your calls to
Press the Fwd soft key
Select Always
Press Dsbl to disable
To forward your calls to another number if
not answered after a specified number of
rings
Press the Fwd soft key
Scroll to No Answer and select
In the Contact Field, enter the required
number to which to forward your calls
Using the downward arrow on the
Navigation button scroll to the Forward After
Rings field and enter the required number of
rings (20 rings is the maximum)
Press the Enbl soft key to enable
Press the Fwd soft key
Select No Answer
Press the Dsbl soft key to disable
To forward your calls to another number if
you are engaged on a call
Press the Fwd soft key
Scroll down and select Busy
Enter the required number to which to
forward your calls
Press the Enbl soft key to enable
Press the Fwd soft key
Select Busy
Press the Dsbl soft key to disable
Call Forwarding is not available on Shared
Lines
When you enable Do Not Disturb (DND),
you prevent your phone from ringing. All
incoming calls are sent directly to voicemail
(if activated) otherwise busy tone is heard
From Line View:
Press the Do Not Disturb soft key (DND)
The DND icon displays on screen
when enabled.
To disable the DND function:
Press Do Not Disturb soft key (DND)
The icon changes on the screen to
display that Do Not Disturb is disabled.
OR
From Home View:
From the Home screen using navigation
arrows scroll across and select the Do Not
Disturb icon (DND)
The DND icon displays on screen
when enabled.
To disable the DND function
Select the Do Not Disturb icon (DND)
The icon changes on the screen to
display that Do Not Disturb is disabled.

To disable, the DND function:
Select DND icon from the Home screen
Telstra VVX201 Phone Feature Guide | April 2016 Page 5
Telstra VVX201 Phone Feature Guide
The icon changes on the screen to display
that Do Not Disturb is disabled.
While engaged in one call:
Press the More soft key and select the Conf
soft key
Enter the required number or extension of
the second party
When the call connects:
Press the More soft key and select the Conf
soft key
All parties are connected in a three-way
call.
To end the conference
Press the End soft key
Note: If either of the other two parties hang up,
your call with the remaining party stays intact. If
you hang up, the other two parties will be
disconnected
Note: There can be a maximum of 3 parties on
a conference call, unless you have the
Executive service pack which has the N-Way
feature which enables a total of 8 parties on a
Conference call.
Press the Home button, scroll across and
Select the Dirs icon
Select Contact Directory
Press the Add soft key
Enter first name, scroll down and enter last
name.
Scroll down to the contact field and enter
the number
Press the Save soft key
Pressing the Home button will take you
back to the home main screen.
From Home View
Scroll across and select the Dirs icon
Select Contact Directory.
Scroll to the required contact
Press Info soft key
Press the Edit soft key.
Make the required changes and press the
Save Soft Key.
From Home view
Scroll across and select Dirs
Select the Contact Directory
Select the Contact
Press the Del soft key to delete
The screen will display the message “Are you
sure you want to delete the contact?” Press the
Yes or No soft key.
Pressing the Home button takes you back to the
main home screen
Your phone maintains lists of Missed, Received
and Placed calls. Each list can hold up to 100
entries
Missed Calls
Received Calls
Placed Calls
Telstra VVX201 Phone Feature Guide | April 2016 Page 6
Telstra VVX201 Phone Feature Guide
From Home View
Press the Home button, scroll across and
select Dir, scroll down and select Recent
Calls. All calls are displayed.
From Line View
Press the Down arrow to access Missed
Call List
Press the Right arrow to access the Placed
Call List
Press the Left arrow to access the Received
Call List
Press the Up arrow to access the Favorites
Call List
From Line View
Press the required arrow and Press the
More soft key
Press the Clear soft key.
A menu will display listing all Calls, Missed
Calls, Received Calls, Placed Calls,
Displayed. Scroll onto the required option
and press the Select soft key
From Home View
Scroll across and select Dir
Select Recent Calls or an alternative list
Select Contact (you want to add to
favorites)
Press Info
Press More
Press Fav
The following message will appear “Add to
Favorites with an index of XX”
Select Yes.
To change your ring type:
From Home View
Scroll across and Select Settings icon
Select Basic
Scroll down and select Ring Type
Scroll to select the Ring type option
Press the Play soft key to listen to the tune
Press the Sel soft key to select the ring type
Press the Home button to return to the
Home view screen
You can connect an Analogue headset to
your phone. All calls received will be
answered through the headset. When the
headset is activated, Mute and Volume will
take effect on the headset device.
You set up your phone so that all incoming
and outgoing calls use your headset. At any
time you can switch to handset or speaker
mode From the Home Screen
Scroll across and Select the Settings icon
Select Basic
Select Preferences
Scroll down and select Headset...
Select Headset memory...
Scroll down and select Enabled
Press the Home button to return to the
home screen
From the Home view select the Messages
icon and select Message Centre...
Enter a passcode, when prompted; after
your initial login you will need to change
your passcode.
It is essential your passcode be changed
for security reasons. It is important to keep
your new passcode private.
Record your name when prompted
Press the hash key (#)
Follow the prompts to save the recording, or
re-record your name
Press the Messages button, or dial
the Voice Portal extension.
Telstra VVX201 Phone Feature Guide | April 2016 Page 7
Telstra VVX201 Phone Feature Guide
Enter your passcode followed by the hash
key (#).
Press the Messages button or dial
the Voice Portal extension.
Press the star key (*) during the greeting.
Enter your mailbox ID (your extension).
Enter your passcode followed by the hash
key (#).
Press 1
Press 1 again
Dial the Voice Portal phone number.
Enter your mailbox ID (your extension)
followed by the hash key (#).
Enter your passcode followed by the hash
key (#).
1... Access your Voice Mailbox
2... Change your CommPilot Express
profile†
3... Go to the Greetings Menu
4... Change your Call Forwarding options
8... Change your passcode
9... Exit the Voice Portal
#... Repeat this menu
†... Only available if assigned.
Press the Messages button
Enter your passcode and press #
Press 3 to access your Greetings menu
Press 2 to change your Mailbox Busy
greeting
Record your Name
2... Change your conference Greeting
*... Go back to previous menu
#... Repeat menu
Tap the Messages icon
Enter your passcode and press #
Press 1 to access your voice mailbox
Press 3 to change your Mailbox No
Answer greeting
1... Record new No Answer Greeting
2... Play current Greeting
3... Revert to system default Greeting
*... Return to Voice Messaging main menu
#... Repeat menu
Your phone may indicate you have
Voicemail messages by the following:
A message counter in the Home View
A message icon in the status bar
If you have more than one message, the
icon will display a counter indicating the
number of messages
A message icon also scrolls under the Date
and Time display
Press the Message Button (this will
direct you to your voicemail, where you will
follow the prompts to retrieve your
messages
OR From Home View select the
Message icon
Select Message Centre (this will direct you
to your voicemail, where you will follow the
prompts to retrieve your messages
Telstra VVX201 Phone Feature Guide | April 2016 Page 8
Telstra VVX201 Phone Feature Guide
1... Listen to your messages
2... Change your mailbox Busy greeting
3... Change your mailbox No Answer
greeting
5... Compose and send a new message
7... Delete all messages
8... Modify the message deposit settings for
your mailbox
*... Go to the CommPilot Voice Portal
#... Repeat this menu
New messages flagged as urgent are
played first.
The message envelope for each message
is played first (time and date, sender if
known), followed by the message itself.
Use your keypad as follows to browse your
messages (you can interrupt the message
or envelope to perform any function):
1
2

3
4

5

6

7
ERASE
8
CALL
BACK
9
MORE
OPTIONS
*
BACK TO
MAILBOX
0
#
#... Save this message
7... Erase this message
2... Repeat this message
4... Return to previous message
5... Play the message envelope
6... Go to the next message
8... Call back the caller
9... Hear additional options
*... Go back to the previous menu

Other manuals for VVX 201

20

Other Polycom IP Phone manuals

Polycom SoundPoint IP 600 User manual

Polycom

Polycom SoundPoint IP 600 User manual

Polycom VVX410 User manual

Polycom

Polycom VVX410 User manual

Polycom VVX410 User manual

Polycom

Polycom VVX410 User manual

Polycom SoundPoint IP 560 User manual

Polycom

Polycom SoundPoint IP 560 User manual

Polycom SoundPoint IP 550 User manual

Polycom

Polycom SoundPoint IP 550 User manual

Polycom SoundPoint MAXCS 7.5 User manual

Polycom

Polycom SoundPoint MAXCS 7.5 User manual

Polycom VVX 500 series Instruction manual

Polycom

Polycom VVX 500 series Instruction manual

Polycom SP501 User manual

Polycom

Polycom SP501 User manual

Polycom SoundPoint IP 331 User manual

Polycom

Polycom SoundPoint IP 331 User manual

Polycom SoundPoint IP 500 User manual

Polycom

Polycom SoundPoint IP 500 User manual

Polycom VVX 400 User manual

Polycom

Polycom VVX 400 User manual

Polycom SoundPoint IP 670 User manual

Polycom

Polycom SoundPoint IP 670 User manual

Polycom CX600 User manual

Polycom

Polycom CX600 User manual

Polycom VVX-250 Series Instruction manual

Polycom

Polycom VVX-250 Series Instruction manual

Polycom 400 Series User manual

Polycom

Polycom 400 Series User manual

Polycom SoundPoint IP 300 Instruction Manual

Polycom

Polycom SoundPoint IP 300 Instruction Manual

Polycom VVX 310 Instruction manual

Polycom

Polycom VVX 310 Instruction manual

Polycom agilephone agilis VVX-1500 User manual

Polycom

Polycom agilephone agilis VVX-1500 User manual

Polycom VVX 311 User manual

Polycom

Polycom VVX 311 User manual

Polycom Integra VVX 500 User manual

Polycom

Polycom Integra VVX 500 User manual

Polycom Polycom VVX 600 User manual

Polycom

Polycom Polycom VVX 600 User manual

Polycom SoundPoint IP 550 User manual

Polycom

Polycom SoundPoint IP 550 User manual

Polycom SoundStation IP 5000 User manual

Polycom

Polycom SoundStation IP 5000 User manual

Polycom VVX 601 Series User manual

Polycom

Polycom VVX 601 Series User manual

Popular IP Phone manuals by other brands

VoiSmart VEP-2100 quick reference

VoiSmart

VoiSmart VEP-2100 quick reference

Toshiba DKT3210-SD - Digital Phone - Charcoal user manual

Toshiba

Toshiba DKT3210-SD - Digital Phone - Charcoal user manual

Snom 320 manual

Snom

Snom 320 manual

Nortel 1230 Quick reference card

Nortel

Nortel 1230 Quick reference card

AT&T 8403 quick reference

AT&T

AT&T 8403 quick reference

Grandstream Networks GXV-3000 user manual

Grandstream Networks

Grandstream Networks GXV-3000 user manual

Alcatel-Lucent OpenTouch 8018 user manual

Alcatel-Lucent

Alcatel-Lucent OpenTouch 8018 user manual

Matrix Sparsh VP110 user guide

Matrix

Matrix Sparsh VP110 user guide

Mitel Mitel 5330 Quick reference guide

Mitel

Mitel Mitel 5330 Quick reference guide

Yealink Yealink SIP-T42G user guide

Yealink

Yealink Yealink SIP-T42G user guide

Crexendo CX275 quick start guide

Crexendo

Crexendo CX275 quick start guide

Mitel MiVoice 5312 user guide

Mitel

Mitel MiVoice 5312 user guide

Yealink Yealink SIP-T20P quick start guide

Yealink

Yealink Yealink SIP-T20P quick start guide

Telekonnectors Galaxy 1000 PLUS Quick installation guide

Telekonnectors

Telekonnectors Galaxy 1000 PLUS Quick installation guide

Cisco 8941 user guide

Cisco

Cisco 8941 user guide

ESENE Say Hi ES6 Series user manual

ESENE

ESENE Say Hi ES6 Series user manual

Telset 5312 quick reference

Telset

Telset 5312 quick reference

Cisco Unified 7905G quick reference

Cisco

Cisco Unified 7905G quick reference

manuals.online logo
manuals.online logoBrands
  • About & Mission
  • Contact us
  • Privacy Policy
  • Terms and Conditions

Copyright 2025 Manuals.Online. All Rights Reserved.