Page #2
STEP #5: Attach Wire Front Door Overhang
Attach Front Door Overhang, as shown in Illustration #9, again using a
cloth and pliers to secure into position. With the proper placement, the Front
Door Overhang will rest on the Porch Roof naturally.
Illustration #9
STEP #6: Assemble Corner Turret
Hold the 2 halves of the Turret Assembly in your hand, so that the shingles of the
roof join in the proper position. Slide the LARGER Chrome Ring up from the bot-
tom of the assembly, and snap it into place just below the roof line. Then do the
same with the SMALLER RING, snapping it into it’s groove at the bottom of the
assembly.
To attach to cage press the pie cut (V shaped) portion of the Turret into the top right
corner of the cage body, position the plastic hook over the SMALL horizontal guide
wire on front panel, and slide down into position. The top hook will naturally latch
the 2nd roof wire, and the Turret will be straight & secure See Illustration #10-11.
Illustration #10-11 (View from Inside Cage)
The bottom plastic clip secures over the short horizon-
tal wire. This also positions the top clip onto the roof.
This is done by placing the turret into position, and
then securing DOWNWARD.
STEP #7: Attach Large Feeder Cup Windows
Attach Windows/Feeder Cup Doors by snapping them into the (2) wire
openings on the Front & Left side of the cage. When the feeding cups are in
place, and the windows are in the closed position, the window will create a
snug & secure fit for the cup, and be able to slide up/down freely. See Illus-
tration #12.
Illustration #12
STEP #8: Attach Front Door
Attach front door by inserting the bottom of the door slightly into the cage, at
an angle, and resting the 2 guide wires inside the cage. At this point the door
will be resting comfortably in the Open position. Close door by raising the
“drawbridge” door unit and hooking the top wires.
STEP #9: Attach Front Stairs to Metal Drawer
Attach Front Stairs to holes in steel pull-out drawer using screws.
STEP #10: Insert Grill Flooring, Accessory Windows & Perches
Slide the Wire Grill Floor into position, so that it rests on the grill slide chan-
nels in the metal base unit, and the handle is on the right side of the cage.
Attach end caps to perches and install. Snap the Decorative Window Frames
in desired positions, according to personal taste.
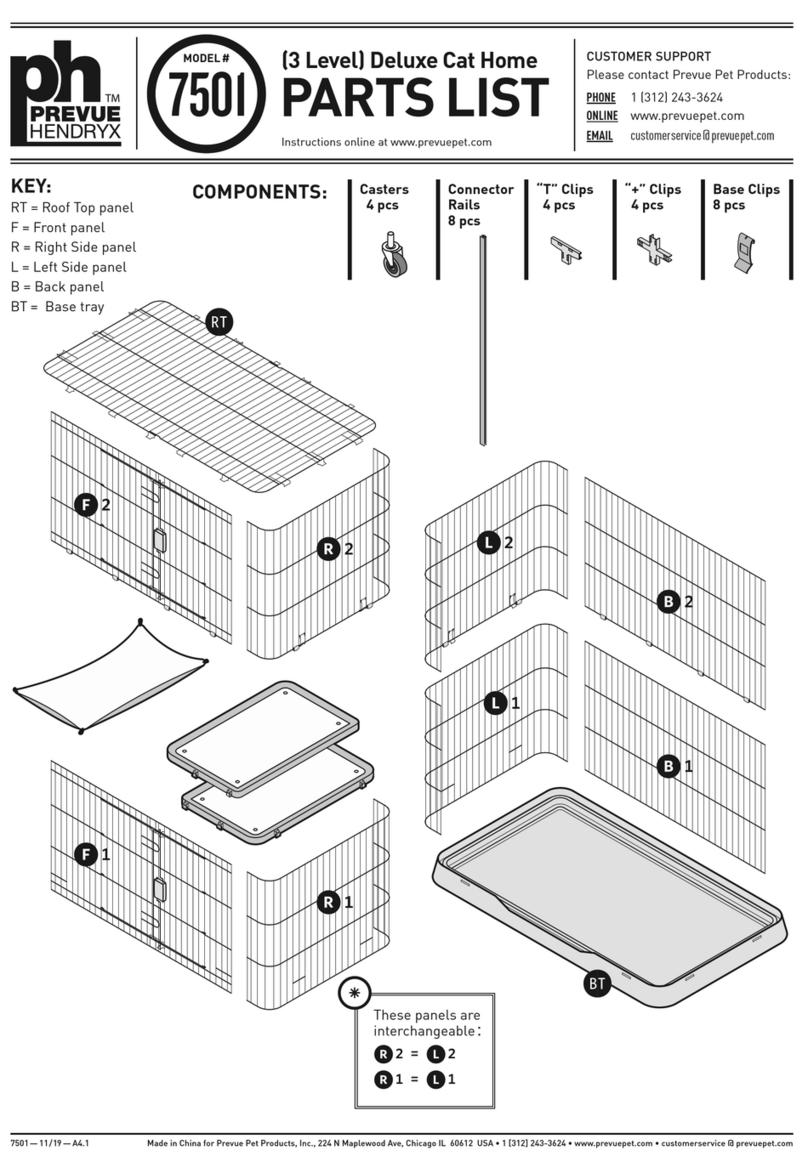
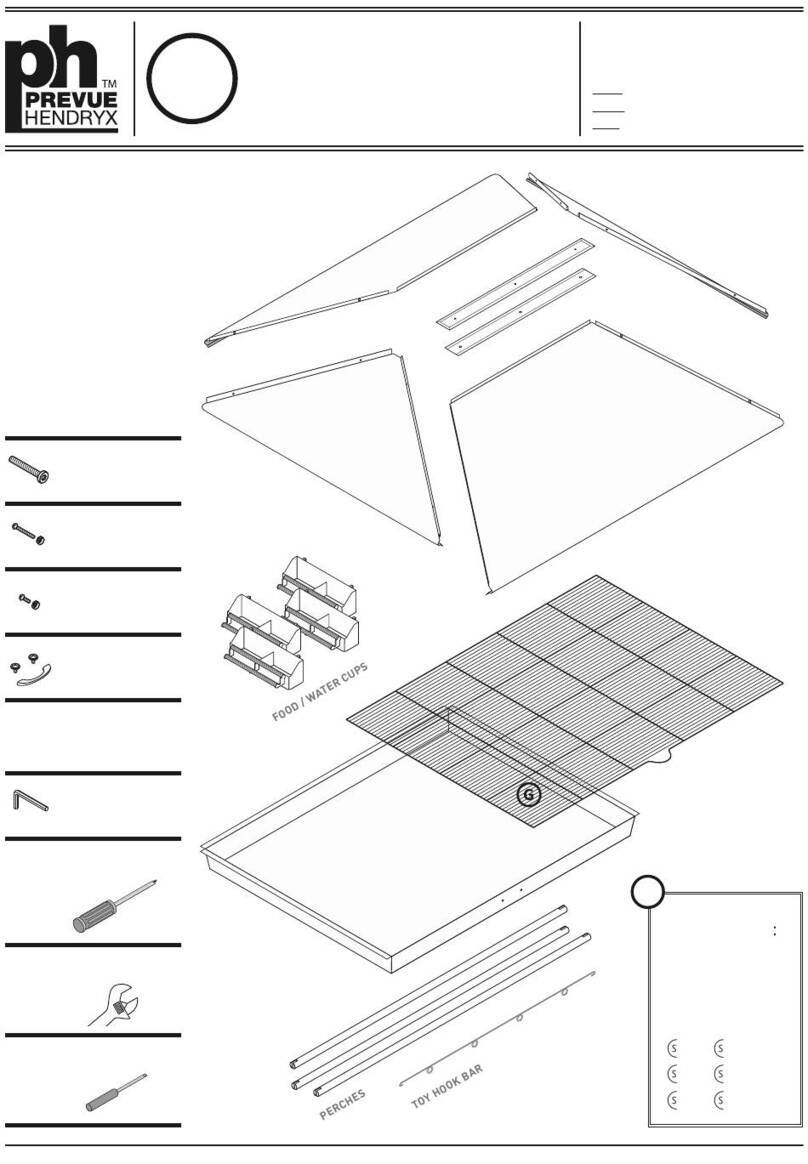
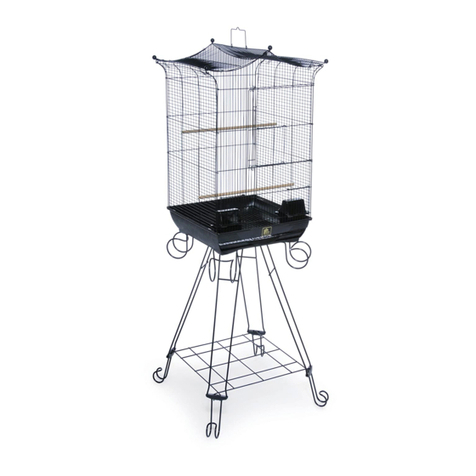
Parts Included:
1 Ea Steel Base Unit with Pull Out Tray
1 Ea Staircase (+ 2 Screws)
1 Ea Wire Grill Flooring
1 Ea Wire Home Body
1 Ea Wire Home Roof
1 Ea Turret Assembly (2 Halves)
1 Ea Chimney (+ 2 Screws)
1 Ea Front Door
2 Ea Chrome Rings (Large & Small)
2 Ea Feeding Cup Windows
2 Ea Perches with End Caps
2 Ea Feeding Cups
3 Ea Accessory Window Frames
1 Ea Wire Porch Railing
1 Ea Wire Porch Roof
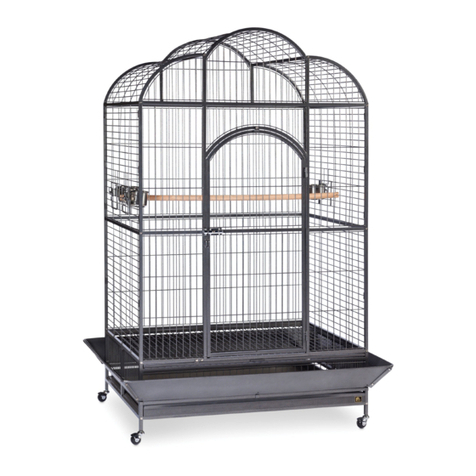
1 Ea Wire Front Door Overhang Completed Cage Assembly
