R&G Racing
Unit 1, Shelley’s Lane, East Worldham, Alton, Hampshire, GU34 3AQ
Tel:
+44
(0)1420
89007
Fax:
+44
(0)1420
87301
www.rg-racing.com Email: [email protected]
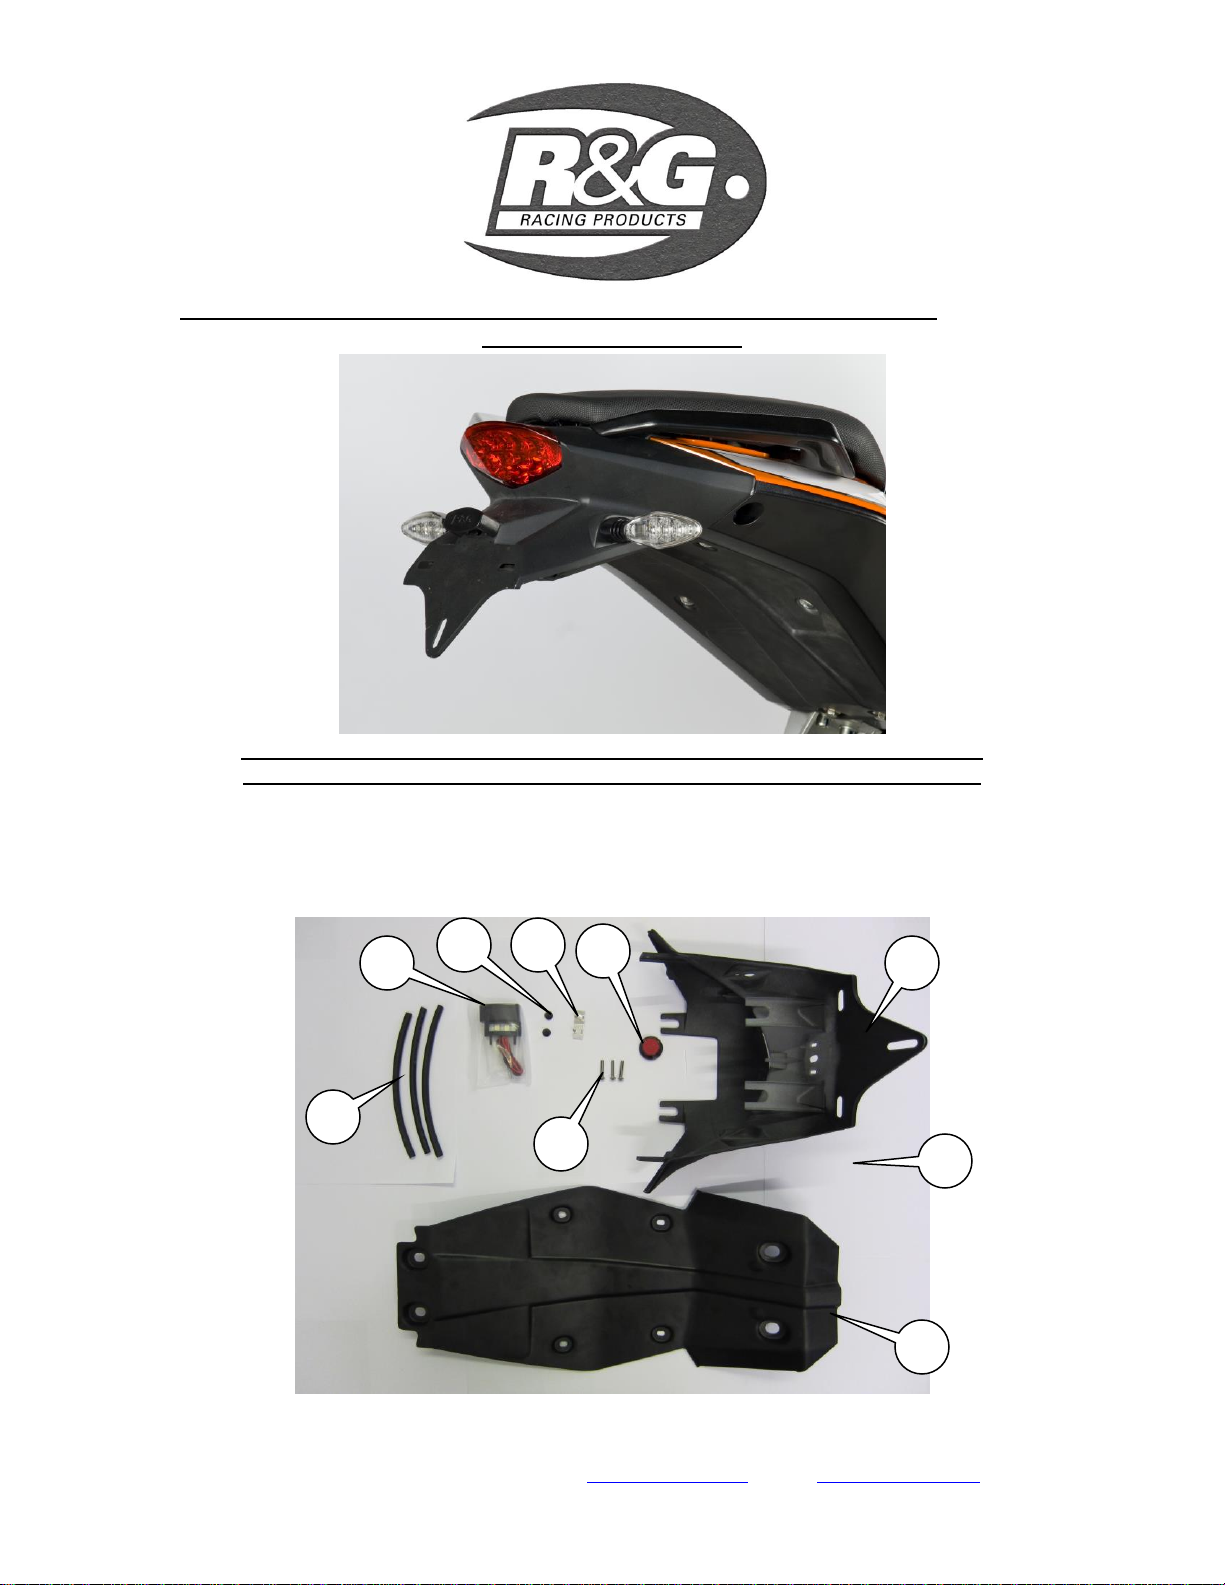
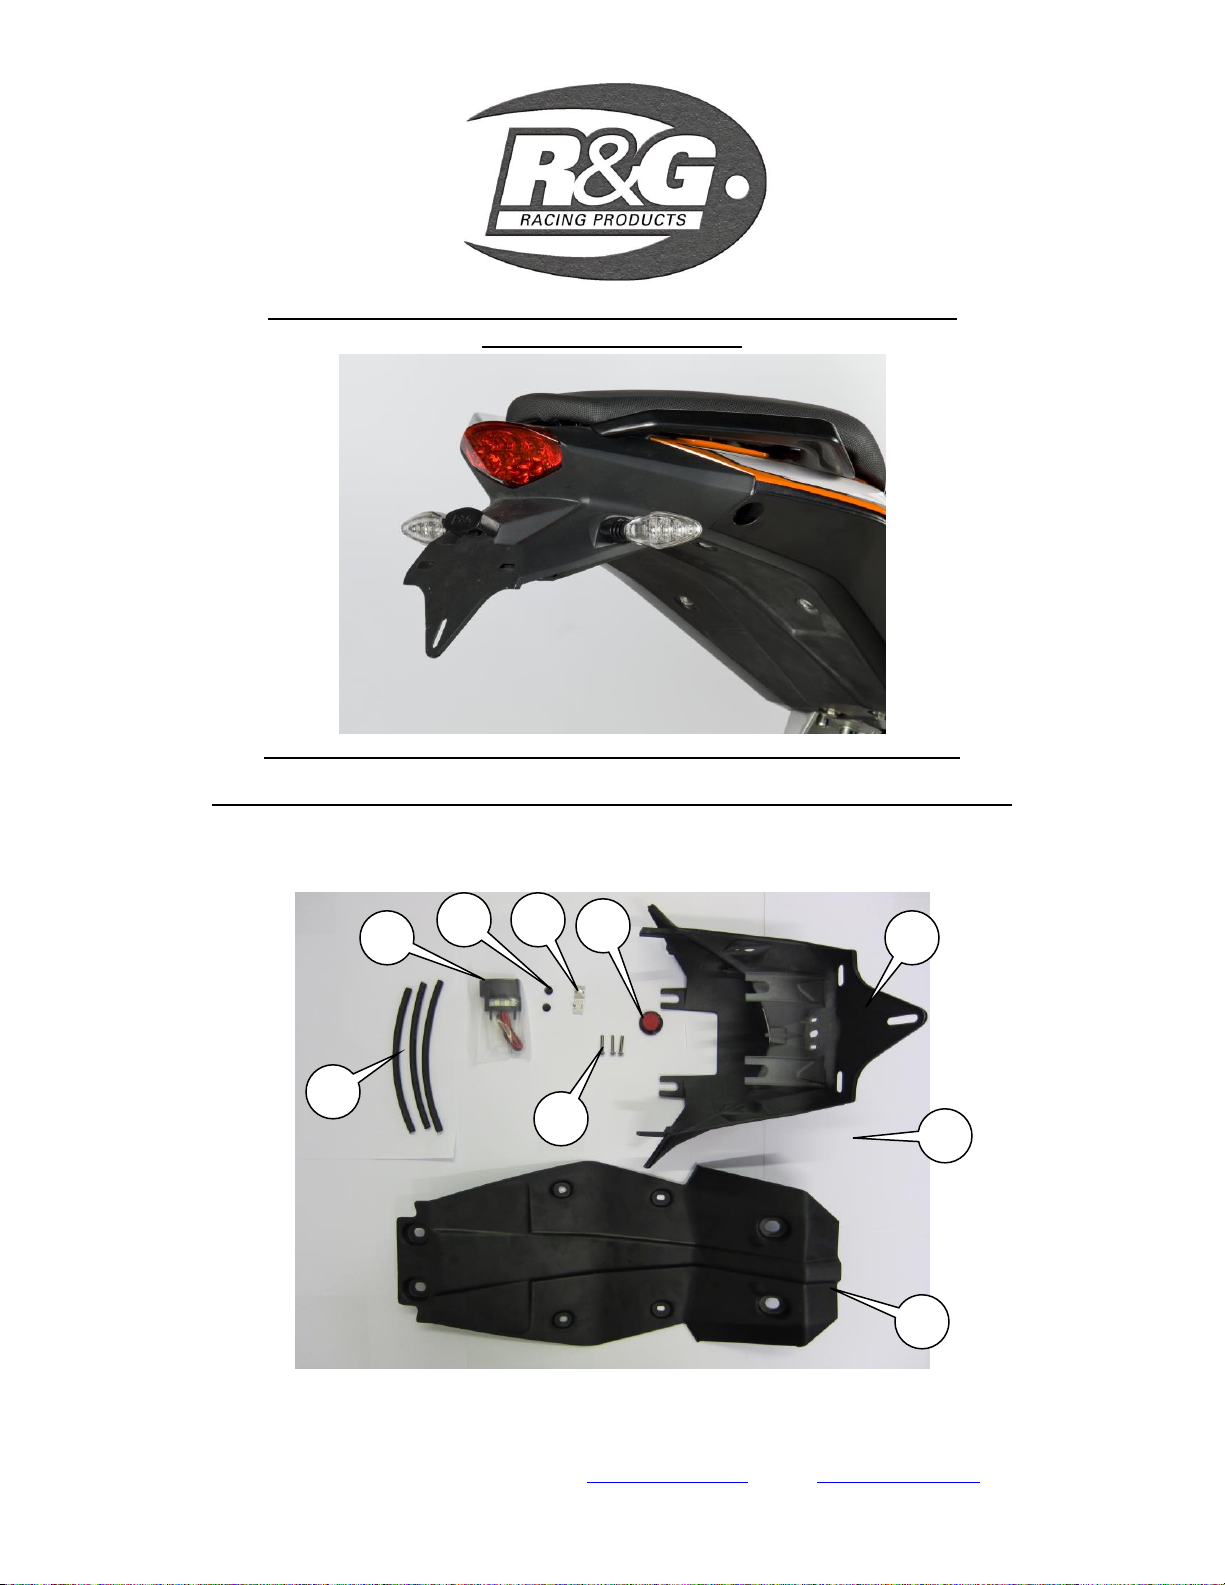
FITTING INSTRUCTIONS
REMOVE PILLION SEAT USING KEY (SEE PICTURE 1).
UNDO AND REMOVE THE EIGHT BOLTS AND FOUR SCREWS/WASHERS
HOLDING THE ORIGINAL UNDER-TRAY IN PLACE AS SHOWN IN PICTURES 2, 3
AND 4.
REMOVE THE ORIGINAL UNDER-TRAY.
DISCONNECT THE ELECTRICAL PLUG SOCKETS FOR LICENCE PLATE
ILLUMINATOR, INDICATORS AND REAR LIGHT (AS SHOWN IN PICTURE 5).
REMOVE THE FOUR BOLTS HOLDING THE REAR LIGHT SURROUND SHOWN IN
PICTURES 6, 7 AND 8.
REMOVE THE REAR LIGHT AND REAR LIGHT SURROUND.
UNDO AND REMOVE THE THREE BOLTS HOLDING THE REAR LIGHT IN
POSITION AND REMOVE THE REAR LIGHT. THIS WILL NO LONGER BE
REQUIRED AND A NEW LIGHT (ITEM 12) HAS BEEN SUPPLIED IN THE KIT.
FIT NEW LICENCE PLATE ILLUMINATOR TO NEW LICENCE PLATE BRACKET
(SEE PICTURE 12). WE SUGGEST CUTTING AND REUSING ORIGINAL PLUG
SOCKET (AS SHOWN IN PICTURES 5 AND 13). PROTECT THE WIRES USING THE
SMALLER HEAT SHRINK FROM KIT.
THE ORIGINAL BROWN WIRE ------NEW RED WIRE.
THE ORIGINAL BLACK/YELLOW WIRE (EARTH) ------NEW BLACK WIRE.
PLEASE NOTE YOU WILL NEED TO GLUE THE LIGHT SHROUD TO THE LED
LICENCE PLATE ILLUMINATOR BEFORE FITTING USING SUPER GLUE (SEE
TOP PICTURE).
REMOVE THE TWO CLIP NUTS AS SHOWN IN PICTURE 11 AND PLACE ON THE
CORRESPONDING POSITIONS ON THE NEW LICENCE PLATE BRACKET.
FIT INDICATORS (TURN SIGNALS) OF YOUR CHOICE TO NEW LICENCE PLATE
BRACKET. IF FITTING MINI’S, R&G PRODUCT CODE RG370 (IF USING THESE NO
RESISTORS ARE REQUIRED) THERE ARE GOMMETS SUPPLIED TO BLANK OFF
UNUSED HOLE IN LICENCE PLATE BRACKET.
PLEASE NOTE: GREY PLUG SOCKET=RIGHT HAND INDICATOR (TURN SIGNAL).
: GREEN PLUG SOCKET=LEFT HAND INDICATOR (TURN SIGNAL).
FIT THE NEW REAR LIGHT (ITEM 12) TO THE NEW LICENCE PLATE BRACKET
USING THE THREE M4 BOLTS FROM KIT AND THREE OF THE WASHERS
REMOVED FROM THE UNDER-TRAY SECURING BOLTS.
OFFER THE NEW LICENCE PLATE BRACKET INTO POSITION AND SECURE AS
ORIGINAL USING THE FOUR ORIGINAL BOLTS (FEED THE WIRING THROUGH
THE HOLE IN THE REAR SUB-FRAME AS ORIGINAL).
RECCONNECT ALL WIRING PLUG SOCKETS AS ORIGINAL (IT IS A GOOD IDEA
TO CHECK THE OPERATION OF ALL LIGHTS AT THIS STAGE).
OFFER THE NEW UNDER-TRAY INTO POSITION AND SECURE USING THE
ORIGINAL BOLTS EXCEPT THE TWO MOST FORWARD/LOWEST MOUNTING
HOLES (AS SHOWN IN PICTURE 2). ON THESE HOLES PLACE ONE OF THE M10
WASHERS OVER EACH LOCATING SPIGOT, THEN USE THE TWO M6x16mm LONG
BUTTON HEAD BOLTS AND WASHERS FROM KIT TO SECURE.
REFIT LICENCE PLATE (IT MAY REQUIRE DRILLING).
IMPORTANT: IF FITTING A FULL-SIZE LICENCE PLATE AND PLACING IT
FAR DOWN ON THE LICENCE PLATE HANGER, THERE IS A SMALL CHANCE