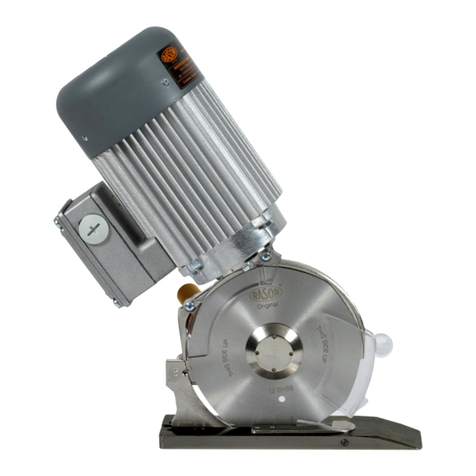
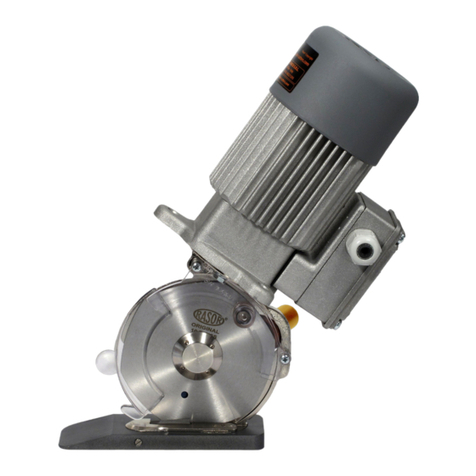
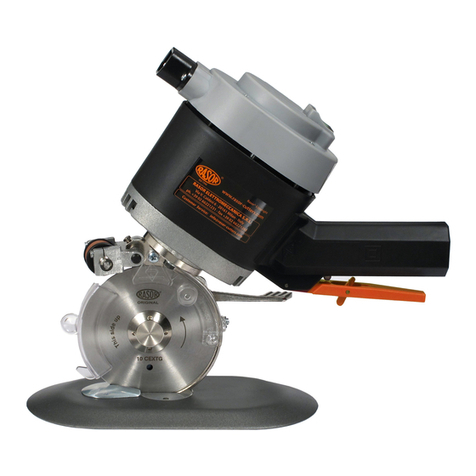
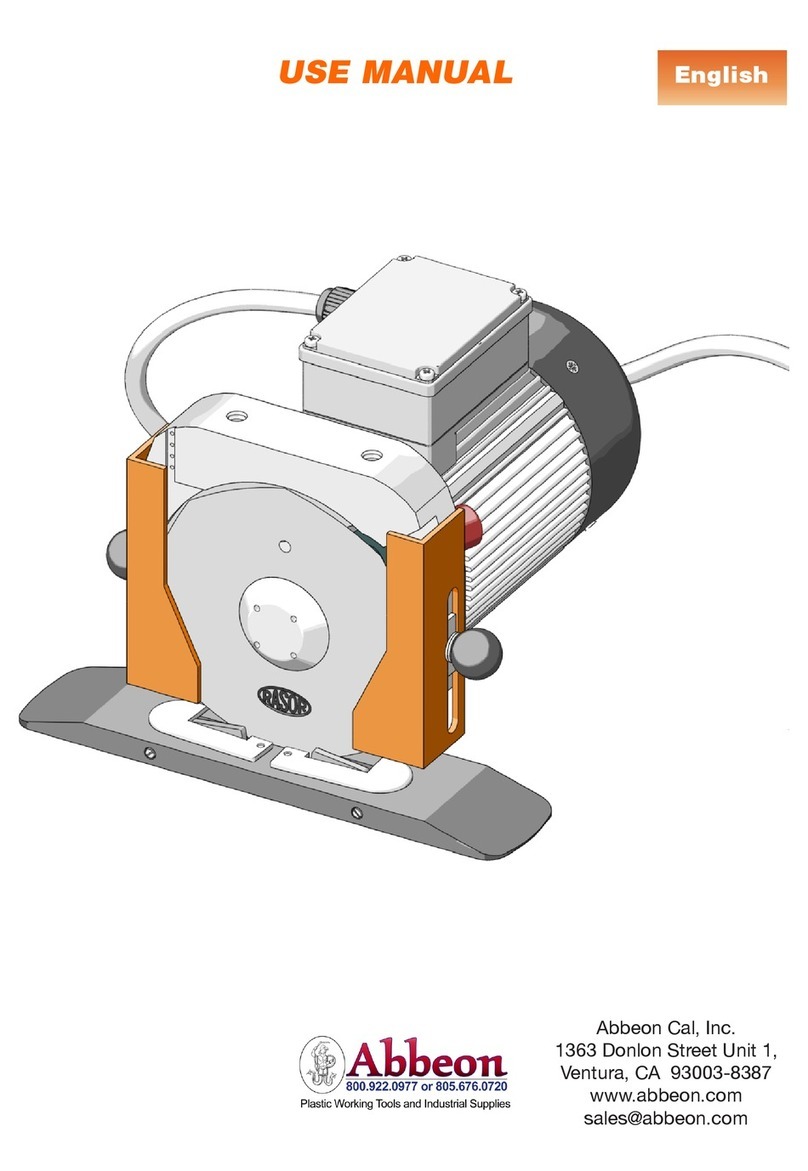
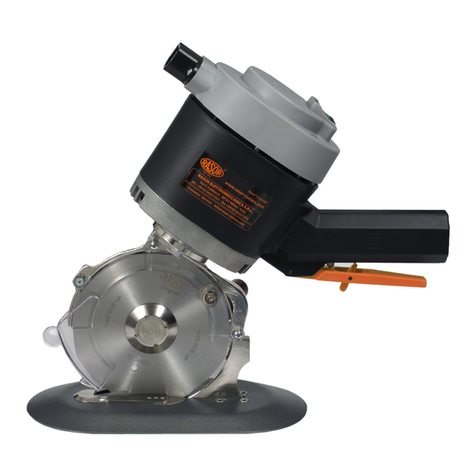
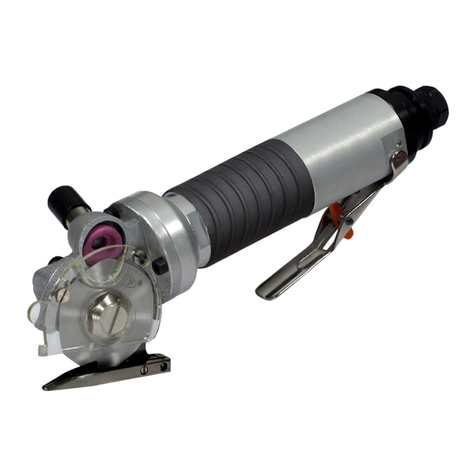
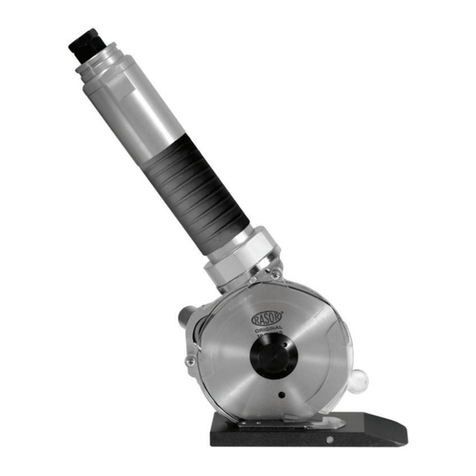
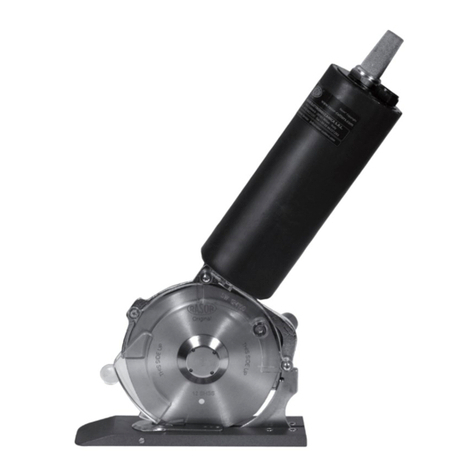
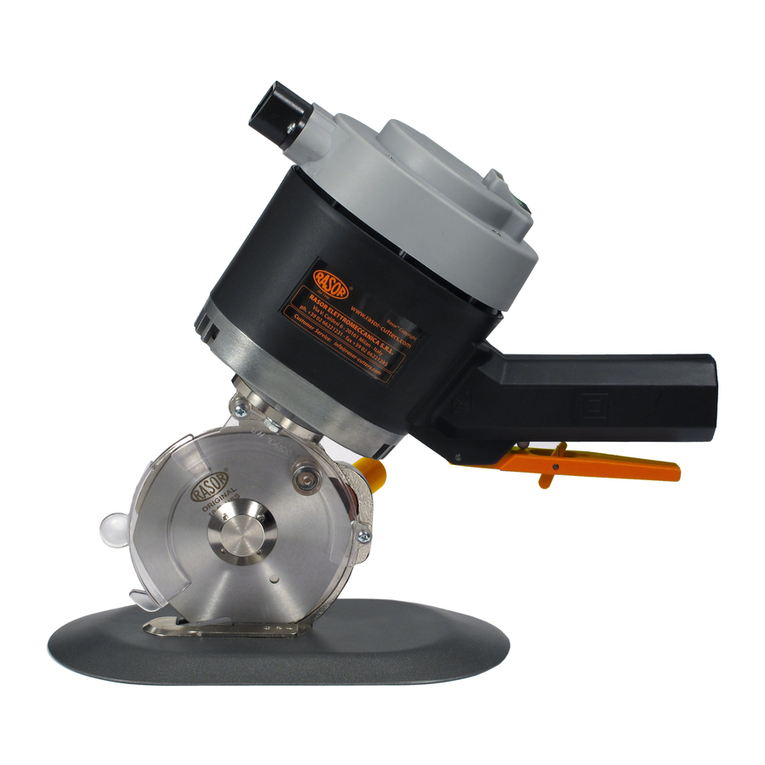
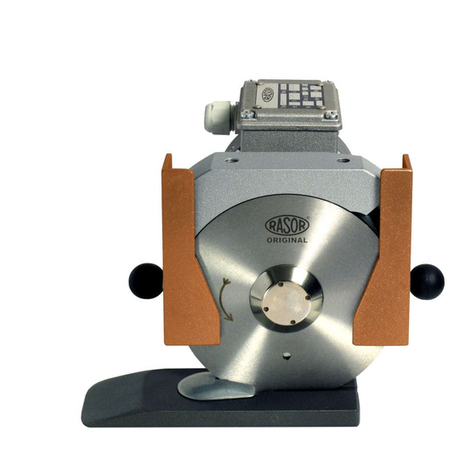
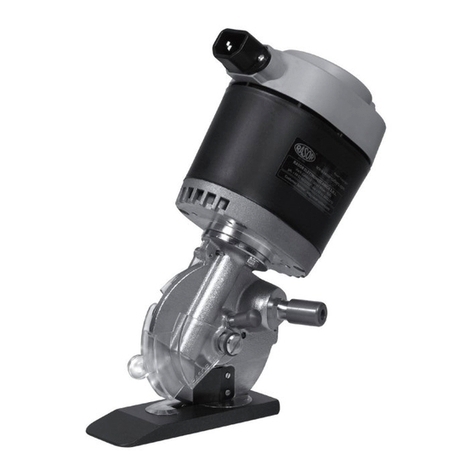
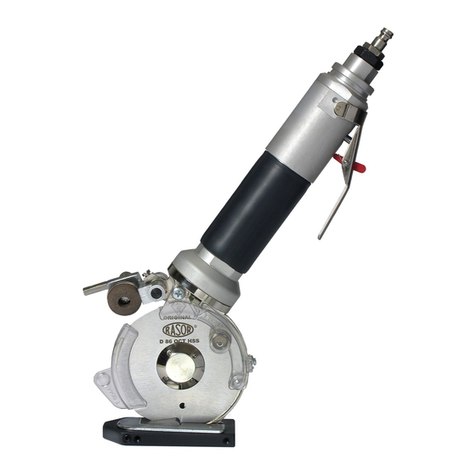
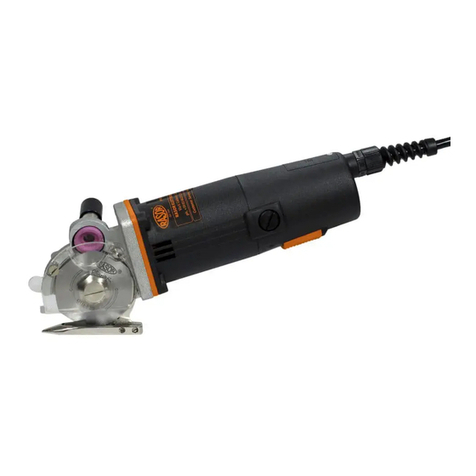
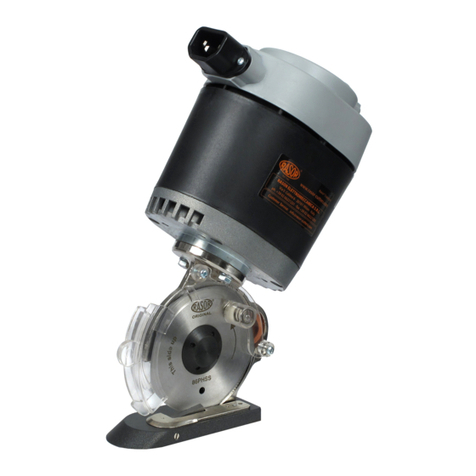
RASOR GRT86 Quick setup guide

USE MANUAL English
CUTTING UNIT
MOD. GRT86
ED.1-01/10
Enfocus Software - Customer Support

COMPANY
ACKNOWLEDGMENT
Dear Customer,
thank you for choosing a Rasor®Elettromeccanica S.r.l. product.
Rasor®has been a reference point in the field of cutting systems in the textile, clothing,
furniture, tailoring, sport, chemical, automotive, nautical and insulating material sectors for
years. Its production has been always synonymous with reliability attested by many of
satisfied customers.
Rasor®quality system supervises all the company activities in order to provide the Customer
with a service that meets its needs and expectations in terms of product quality, delivery
reliability and stock of finished products.
All the parts of the devices have been planned and produced to guarantee an optimum
performance. In order to keep the high quality level and the long reliabilty of the Rasor®
products, it is recommended to use only original spare parts and to contact the head
office for any maintenance work.
Rasor®Elettromeccanica S.r.l. was established in Milan in 1946 by the two promoting partners
Spinelli and Ciminaghi. For more than sixty years it has been producing automatic cutting
systems, cutting units for textile applications and electric and pneumatic cutters.
Initially considered as a point of reference for cutting systems in the
textile applications, the Rasor®products are nowadays widely used in
other fields: chemical, automotive, nautical and sport sectors and in
furniture manufacturing.
Rasor®can rely on the professional continuity of three generations,
thanks to the precious support of the promoting partner, to his passion, dedication and
great experience of seventy years.
The main characteristic of Rasor®is that each working phase, starting from the manufacturing
of the product up to its packing and delivery is carried out in Rasor®premises by qualified
operators who have professionaly grown up following the spirit of the company and of its
founders. This ensures the high quality which Rasor® has always considered as essential
since the beginning of its activity.
Following the innovative spirit mentioned above, our company is constantly focused on the
improvement of the product quality, on the study and development of new materials and
technologies.
Enfocus Software - Customer Support
EN
18

1. GENERAL SAFETY RULES
This manual is an integral part of cutting unit GRT86 and must be carefully
read before using it since it gives important indications with regards to its safe
installation, use and maintenance. Keep it with care.
Before using cutting unit GRT86, read carefully the following general safety
rules.
• PACKAGING.
After taking off the packaging make sure that the cutting unit is intact. In
case of doubt do not use it and contact an authorized service centre. Do not
leave pieces of packaging (plastic bags, foam polystyrene, boxes, etc.) within
the reach of children or disabled persons since they are potential sources of
danger.
• AVOID DANGEROUS ENVIRONMENTS.
Prevent the cutting unit GRT86 components from coming in contact with
damp or wet surfaces.
• KEEP CHILDREN AWAY.
Unauthorized persons, in particular children, must be kept away from the
working area.
•FEEDCABLE.
Prevent the feed cable from coming in contact with hot objects, pointed
surfaces or sharp edges. Never pull the feed cable of the machine. It must
never be replaced by the user. If necessary contact professionally qualified
staff.
• KEEP THE WORKING AREA ALWAYS IN ORDER.
The workplace must always be kept in order and well lightened; liquids or oil
traces must not be present.
• ALWAYS USE CUTTING UNITS GRT86 PROPERLY.
Use the cutting units only to carry out the works they have been designed
for; do not use them improperly.
• OBSERVE THE USE OF THE TOOLS.
Do not cut excessively thick materials and always check blade conditions.
• AVOID ACCIDENTAL STARTINGS.
Before connecting cutting unit GRT86, make sure that everything is installed
properly.
• CLOTHING.
Do not use large clothes or accessories that might get stuck in the moving
parts.
• GOGGLES AND PROTECTIVE METAL MESH GLOVES.
Always use goggles, protective metal mesh gloves approved by Rasor®during
use and maintenance operations (according to UNI EN 388:2004 standard).
•SPAREPARTS.
During maintenance and replacement operations use only original spare parts.
Blade maintenance must be only performed by Rasor®technicians.
• INSTALLATION.
Any installation that is not in conformity with these
specifications could jeopardize your safety and cancels the
warranty.
Enfocus Software - Customer Support
EN
19


2. TRANSPORT AND PACKING
The cutting unit is delivered in a cardboard box, inside which there are various options. The
code of the ordered product and its serial number are indicated outside the package (see
picture 1). The following accessories are contained in a bag inside the package:
1) Poligonal blade;
2) Butterfly wrench for blade nut disassembly;
3) Drift for blade disassembly.
3. PLATE DATA
The manufacturer's identification and CE STANDARD 2006/42/CE conformity plate (see picture
below) is located on the front part of the cutting unit.
The plate must not be removed at all, even if the machine is resold. Always refer to
the serial number written on the plate itself when contacting the manufacturer.
Several safety warnings are printed on a card which is applied to the cutting unit feeding
cable; such warnings must be strictly followed by everyone dealing with the machine. The
company is not to be held responsible for damage to property or accidents to
people which might occur if the above-mentioned warnings are not observed. In
such a case, the operator is the only person responsible.
READ THE
INSTRUCTION
MANUAL
DO NOT
REMOVE
THE
SAFETY
DEVICES
HIGH
VOLTAGE
SHEARING
RISK
USE
METAL
GLOVES
USE
GOGGLES
1
Serial number
Year of production
Model
Electric data
2
2
1
3
Enfocus Software - Customer Support
EN
21

4. PRODUCT DESCRIPTION
The fixture described in this manual is a small cutting unit model GRT86 which can be
assembled on automatic machines (e.g. spreaders, computerized cutting) by means of
proper holes located in the motor support.
GRT86 can operate continuously and it can cut at various heights by means of multiple
installation.
By cutting with the blade and the counterblade always in contact and thanks to the steel
upper quality of the blade supplied, GRT86 guarantees the clean separation without frayings
of the two borders of the cut material. The three-phase motor with extremely compact
dimensions and extreme reliability with 86 mm diameter blades, guarantees cuts with
thickness up to 2.5 cm. A sharpener assembled on the cutting unit head allows whetting
the blade at any moment without disassembling it. After carrying out this operation, it is
possible to start cutting again. A high power motor, perfectly balanced, with a high number
of revolutions and totally free of maintenance, reduces the vibrations to the minimum, thus
making the cutting unit complies with Italian Legislative Decree No. 187 dated 19/8/2005,
which adopts European Directive No. 2002/44/CE concerning the risks deriving from
mechanical vibrations.The mechanical parts are made of high resistance steel, bronze and aluminium
and require lubrication after several working hours.
1
2
3
4
5
6
7
8
9
10
11
12
13
14
1 Connector block 8 Nylon base
2 Motor cover 9 Poligonal blade
3 Cable gland 10 Spring locking the thread
4 Motor frame 11 Greaser
5 Sharpening lever 12 Fixed back protection
6 Grinding wheel adjustment 13 Hard metal counterblade
7 Movable front protection 14 Motor metal lower with assembly
holes
Device components
Enfocus Software - Customer Support
EN
22

7. FIELD OF APPLICATION
6. NOISE LEVEL
NOTE
It is advisable for cutting unit GRT86 owners to verify the compliance with the standard
concerning safety of workers: Italian legislative decree N.277 ITEM IV (DATED 15-08-91).
The use of ear protecting devices is compulsory.
The maximum acoustic pressure level emitted by cutting unit GRT86 is about 60 dB (A).
Noise tests have been carried out in compliance with Standard ISO 11202 (1995). The
device noise levels, measured at different distances (without any sound wave filtering system),
vary in the extent of few db (A).
Cutting unit GRT86 has been designed, manufactured and assembled to cut any kind of
fabrics or materials, with the exception of metal, plastic or wood, by means of rotary poligonal
blades. This equipment must not work:
- in areas prone to explosions;
- in presence of fine dust or corrosive gases;
- on wet or damp materials;
- to cut plastic, metal and wooden materials.
It is forbidden to use cutting unit GRT86 for purposes different from
the above-mentioned ones.
5. TECHNICAL FEATURES
The technical data are only indicative and they can be changed without notice.
Cutting unit GRT86 has the dimensions indicated aside.
5 side blade Ø 86 mm in HSS steel
8 side blade Ø 86 mm in HSS steel
5 side blade Ø 86 mm, in H.S.S. steel
covered with Teflon®
8 side blade Ø 86 mm in HSS steel
covered with T .I.N.
8 side blade Ø 86 mm, in H.S.S. steel
covered with Teflon®
8 side blade Ø 86 mm in integral hard
metal
86THSSTF
86TMD
86THSSTN
Features of the available blades
86PHSS
86THSS
86PHSSTF
blade center
Weight 2,300 kg
(without cable)
phases
86 mm with hard metal counterblade
550 rev./min
about 25 mm
Three-phase-Asynchronous, 50 W
(
IP65-CL F
)
0.30 A
2650 g
3600 g
1.5 m
LUX 200
< 2.5 m/s2
0 ~ 55°C
10 ~ 95% without condensate
Working temperature
Working humidity
Weight (with package)
Electric cable length
Minimum luminosity for working
operations
Vibration at the start up
Cutting working depth
Motor power
Weight (with feeding cable)
GRT86 cutting unit features
Blade diameter
Blade speed
Max. absorption
Enfocus Software - Customer Support
EN
23

8. USE WARNINGS
We recommend following the indications below in order to always work in safety conditions.
•All the operations must be carried out complying strictly with the safety rules of the
country where the device is to be installed.
•It is STRICTLY FORBIDDEN to smoke during the installation or adjustment operations of
the cutting unit.
•The Customer undertakes to comply with and make his staff observe all the rules and
regulations in force concerning safety, prevention of accidents and health in the work
place. Therefore, the Customer assumes the responsibility to strictly follow all the rules and
regulations in force, as well as the special provisions in force in sport and public installations
the Customer declares to know after receiving all the relative necessary information.
•The cutting unit works also without its safety protective device. This protective
device must NEVER be removed.
•Always check the resistance of the material to be cut and the kind of blade which is being used.
•The Customer shall equip his own personnel with all the individual safety protections for
the execution of the works, as well as with the ones which might be prescribed by the
Manufacturer due to specific danger conditions of the plant or of the area where the
personnel must work.
•Do not make any adjustment while the blade is working or while the electric plug is
connected.
•Always pay attention to the electric cable position to prevent it from being cut or damaged
by the blade.
•It is allowed to assemble cutting unit GRT86 on machines O.E.M. on condition that their
original structure is not modified. Otherwise, the intervention must be certified by Rasor®.
Firstly make sure that the lines are able to feed the cutting unit correcltly, in
compliance with the safety rules (for the feature required see par. 5).
We suggest installing a magnetothermic safety device before the cutting unit and
check that the ground circuit is effective. Before working on the feeding cable pull
the plug out. Check that electric connections and protections correspond to the
driving force and the plate data values (voltage and current), required by the
different electric circuits. By referring to the EC 11-27/1 standard all the works
carried out by means of electric current must be performed by a staff, who has
been provided with all the devices required by the above-mentioned standard. For
the works carried out under voltage, it is necessary that the
employer certifies the suitability, against formative processes.
The cutting unit GRT86 is supplied with electric cable connected to
the connector block located beside the motor. The user must connect
the cutting unit to the mains (the cable complies with the CEI 20-22
III Standard). Never change the length of the cable supplied. If it is
necessary, use a longer cable and replace the one supplied. To
connect the new cable open the cover “A” by unscrewing the 4
cross-slotted screws “B” (see picture 3). The minimum section of
the connecting cables must be determined by the operator in charge
of the installation.We recommend to use safety cables and socket
IMQ approved. Check the connection by enabling the cutting unit
and verify the rotation direction. The cutting unit is provided with
earthing (yellow-green cable). Possible faulty earthing connections may
WARNING
3
9. ELECTRIC CONNECTION
B
B
A
Enfocus Software - Customer Support
EN
24
10. RESIDUAL RISKS
11. INSTALLATION AND USE
Even though the cutting unit is safe, operators must pay attention to preserve their and
other people’s safety.
At the end of the working operations, the motor could be very hot.
The cutting blade can work even when the protective device is disassembled.
To install and use the cutting unit manually, proceed as follows:
1) Fix the cutting unit on level squares or angles by means of four 5MA screws, by inserting
them in the four holes located in the motor lower cover (see pictures 4 and 5).
NOTE
The cutting unit can be installed in any position/angle: vertically, laterally and it can be turned
upside down. It is not compulsory for the Teflon base to touch the machine table.
2) Lay the material to be cut;
3) Connect the cutting unit to the electric feeding;
3) Put the material on the cutting foot;
4) Adjust the front mobile protection according to the thickness of the material to be cut (see
picture 6);
5) Carry out the cutting operation.
NOTE
Cutting unit GRT86 can work in a fixed position (the material has to be moved) or it can
move forward while the material is kept in the same position. Make sure the material to be
cut is properly stretched, preventing it from curling.
4
WARNING
Never use the two bolts which fix the motor to the cutting part to fasten cutting
unit GRT86. This operation may cause the motor shaft to break. In this case,
warranty is not valid.
5
cause unsafe working conditions. Possible damages are not at RASOR®s.r.l. charge.
The electric feeding must be supplied by a line protected against overcurrent by means of
the automatic switch (magnetothermal) or delayed fuses with a suitable dimensions. The
current of the safety devices must be as low as possible considering the max. absorption of
the machine (see identification plate).
6
WARNING
The operator must arrange a disconnetting switch on the supply line in order to switch off
the machine, if necessary.
Enfocus Software - Customer Support
EN
25

12. BLADE SHARPENING AND SHARPENER ADJUSTMENT
The blade sharpening is carried out with the cutting
unit on, by lowering the proper lever “1” (see picture
7), until the cutting edge of the rotating blade is reached
and the external edge is sharpened.
Repeat this procedure 3-4 times, for 3-4 seconds.
To carry out a good sharpening, lower the lever
progressively “1” (see picture 7) by avoiding abrupt
movements and an extreme pressure on the lever itself,
in order to protect the emery wheel from wear or
damage. The sharpening procedure must be carried out
carefully in particular when a worn blade is replaced with
a new one. In this case, an extreme pressure on the
sharpening lever may damage the cutting profile of the
new blade, compromising its correct use. Therefore,
we suggest adjusting the emery wheel as follows, after
assembling a new blade on the cutting unit:
•Disconnect the device from the power supply;
•Manually lower the sharpener so that the emery comes into contact with the cutting
blade profile (see picture 7);
•By means of a screwdriver, loosen the screw “2” (see picture 8);
•Manually rotate the threaded bush “3” (see picture 8) bringing the emery and the blade
closer;
•Tighten the screw “2” (see picture 8) and sharpen the blade as previously described.
7
2
3
13. LUBRICATION
Every 3-4 working days it is necessary to lubricate the
pair of gears. To carry out this operation, remove the
protective plug “A” located on the motor support of the
cutting unit and fill it with lubricating grease Rasor. Screw
plug “A” again a few turns. Screw plug “A” a few turns
every 2-3 working days (see picture 9).
The blade must never be dirty with grease or oil.
9
WARNING A
1
8
Enfocus Software - Customer Support
EN
26

If the blade is no more able to cut (even after repeating the
sharpening operation several times) it is necessary to replace
it. To carry out this operation, use butterfly wrench “1” and
drift “3” locking the blade (shown in picture 10).
To replace the blade, proceed as follows:
1) Use some protective gloves in compliance with Italian
Legislative Decree 242 dated 19 March 1996 (use of
personal protection devices);
2) Remove the fixed rear safety protection “A” (see
picture 11) by unscrewing the cross-slotted
screw “C” and the cross-slotted screw “D” by
means of the proper screwdriver (not supplied
by the manufacturer) and by extracting washer
“E” as shown in picture 12.
Remove the mobile front safety protection “B” (see
picture 11) by unscrewing pin “F” and removing
washer “G” as shown in picture 12.
3) Insert drift “3” (see picture 10) into hole “H”, so as to
lock the blade (the hole on the blade must correspond
to the one on the structure).
4) Use butterfly wrench “1” to unscrew nut “L” and
remove blade “M” (see picture 13).
5) Replace the worn blade with the new one “2”, being
careful to center the blade on the gear, in the correct
position; we remind you to assemble it so that the side
with the writing Rasor can be seen by the operator.
6) Assemble all the components again and carry out the
sharpening.
14. BLADE REPLACEMENT
2
1
10
11
BA
12
C
D
E
F
G
H
M
1
L
13
3
Enfocus Software - Customer Support
EN
27

16. SPARE PARTS / EXPLODED VIEW
15. TROUBLE SHOOTING
SOLUTION
Check the distance between the blade and the counterblade
Check the kind of fabric
Sharpen the blade
Check the fabric thickness
Check the compatibility between blade and fabric
Make sure that the motor turns correctly
Reduce the feeding speed
Check the counterblade integrity
Carry out the lubrication
Disassemble the blade and remove the material residues
Check the wear of the pair of gears
Check the electric connections on the O.E.M. unit
Check the electric connections
Check the feeding cable
The cutting unit starts slowly, works
intermittently or it does not start
PROBLEM
The cutting unit is noisy
The fabric is not cut or it gets stuck between the
blade and the counterblade
CODE DESCRIPTION CODE DESCRIPTION
86PHSS PENTAGONAL BLADE Ø 86 mm, H.S.S.
STEEL GRT8618 MOTOR BEARING mm 10x30x9
GMT8600 COMPLETE MOTOR GTR86, 3-PH 380 V
50 Hz GRT8619 COMPENSATION RING
GMT8660 COMPLETE MOTOR GTR86, 3-PH 380 V
60 Hz GRT86M24 COMPLETE MOTOR FRAME
GMT8660/480 COMPLETE MOTOR GTR86, 3-PH 480 V
60 Hz S 863601 SHARPENER LEVER
GRT101800 WORM SCREW MOD. 1 5P S 867001 SCREW FASTENING THE
COUNTERBLADE HOLDER
GRT1018CPL COMPLETE PAIR OF GEARS S 8674S NYLON SIMPLE BASE
GRT1059CPL GEAR BEVEL MOD. 1 5P S 8674SCPL NYLON COMPLETE BASE
GRT10M18 MOTOR COVER GRT10 - 86 S 8676S SPRING WITH DOWEL
GRT10M19 MOTOR FAN GRT10 - 86 S 867800 PLATFORM SECTOR
GRT10M21 UPPER MOTOR FLANGE S 868300 SHARPENER PIN
GRT10M26 LOWER MOTOR FLANGE S 868400 SIMPLE SHARPENER UNIT
GRT10M97 COMPLETE TERMINAL BOX SUPPORT S 8684CPL COMPLETE SHARPENER UNIT
GRT27 FLAME-RETARDANT FEEDING CABLE S 868600 EMERY WITH PIN AND PLATE
GRT8613 COMPLETE ROTOR S 868700 SHARPENER PIN SPRING
GRT8614 MOTOR FRAME SCREW S 868701 SHARPENER PIN WASHER
GRT8615 SPACER S 868800 THREADED BUSH
GRT8616 DOWEL FASTENING THE FAN S 869000 COMPLETE EMERY
GRT8617 MOTOR BEARING mm 6x19x6 SW104102 OILER RING
CODE DESCRIPTION CODE DESCRIPTION
SW104103 OILER RING SPRING T 105600 ADJUSTING WASHER
SW1070S BASE/SECTOR FIXING SCREW T 105700 RING BEARING FIXING RING NUT
SW108000 COUNTERBLADE HOLDER T 105800 GEAR RING BEARING
SW108100 WIDIA COUNTERBLADE T 106000 GEAR RING FIXING LEFT SCREW
SW108200 COUNTERBLADE FIXING SCREW T 106100 SUBBLADE RING
T 101801 ELASTIC PIN T 106300 BLADE FIXING RING NUT
T 103400 SHARPENER SPRING T 107500 BLADE ASSEMBLING/DISASSEMBLING
WRENCH
T 103600 SHARPENER SCREW 3MA x 14 T 107600 DRIFT LOCKING THE BLADE
T 104000 SEGER RING T 107900 LUBRIFICATING GREASE
T 104200 2,6MA SCREW FOR THE REAR GUARD
FIXING T 864100 REAR PROTECTION GUARD
T 104201 WASHER T 8641CPL REAR PROTECTION SET
T 104300 4MA SCREW FOR THE REAR GUARD
FIXING T 864400 FRONT PROTECTION GUARD
T 104700 GREASER CAP T 8644CPL FRONT PROTECTION SET
T 104800 GREASER T 864500 SCREW FASTENING FRONT GUARD
T 105000 FIXING SCREW OF THE PLATE
LOCKING THE THREAD T 864600 WASHER
T 105100 SHARPENER PIN FIXING SCREW T 864900 PLATE LOCKING THE THREAD
T 105200 MOTOR SUPPORT FIXING BOLT T 865400 ANTI-FRICTION BUSH
T 105300 WASHER T 8655CPL COMPLET MOTOR SUPPORT
Enfocus Software - Customer Support
EN
28


WARRANTY
Rasor®Elettromeccanica S.r.l. cutting unit has a 12 month warranty from the date indicated
on the last page of this manual, except in case of different written agreements.
The warranty covers all manufacturing and material defects. Replacement and repair operations
are covered only if carried out by our company and at our workshop.
The material to be repaired must be sent CARRIAGE FREE.
Once the machine has been repaired, it will be sent CARRIAGE FORWARD to the customer.
The warranty covers neither technicians' intervention on site nor the machine disassembly
from the installation place.
If for practical reasons, one of our technicians is sent to the premises, the customer will be
charged the costs plus the travelling expenses.
The warranty does not include:
failure caused by wrong use or assembly,
failure caused by external agents,
failure caused by lack of maintenance or neglicence;
blades and parts subject to wear.
WARRANTY FORFEITURE:
In case of arrearage or other breaches of contract,
Whenever changes or repairs are carried out on our cutting units without our prior
authorization,
Whenever the serial number is tampered with or cancelled,
Whenever the damage is caused by improper use, bad treatment, bumps, falls and
other causes not due to normal working conditions,
Whenever the unit seems tampered with, dismantled or previously repaired by
unauthorized staff,
In case the cutting units are used for purposes that are different from the ones
described in this manual.
All repair operations carried out under warranty do not interrupt its duration.
All disputes will be settled in the court of justice of Milan (Italy).
We thank you in advance for the attention you will pay to this manual and we invite you to
inform us of any change you deem necessary to improve it and make it more complete.
Enfocus Software - Customer Support


Enfocus Software - Customer Support
Table of contents
Other RASOR Cutter manuals

RASOR
RASOR GRT10L Mounting instructions

RASOR
RASOR SW100S Mounting instructions

RASOR
RASOR SW12M Mounting instructions

RASOR
RASOR FP861V User manual

RASOR
RASOR GRT12SM Mounting instructions

RASOR
RASOR D 86PS User manual

RASOR
RASOR FP100L User manual

RASOR
RASOR D86P2 Mounting instructions

RASOR
RASOR D86PS2 Mounting instructions

RASOR
RASOR DD120ML User manual

RASOR
RASOR GRT12 User manual

RASOR
RASOR FP861/A1 Mounting instructions

RASOR
RASOR SW12SM Mounting instructions

RASOR
RASOR DD120R User manual

RASOR
RASOR DD120 User manual

RASOR
RASOR FP120SM User manual

RASOR
RASOR GRT10 User manual

RASOR
RASOR SW12SSM User manual

RASOR
RASOR FORZA Operation instructions

RASOR
RASOR SW100 Mounting instructions