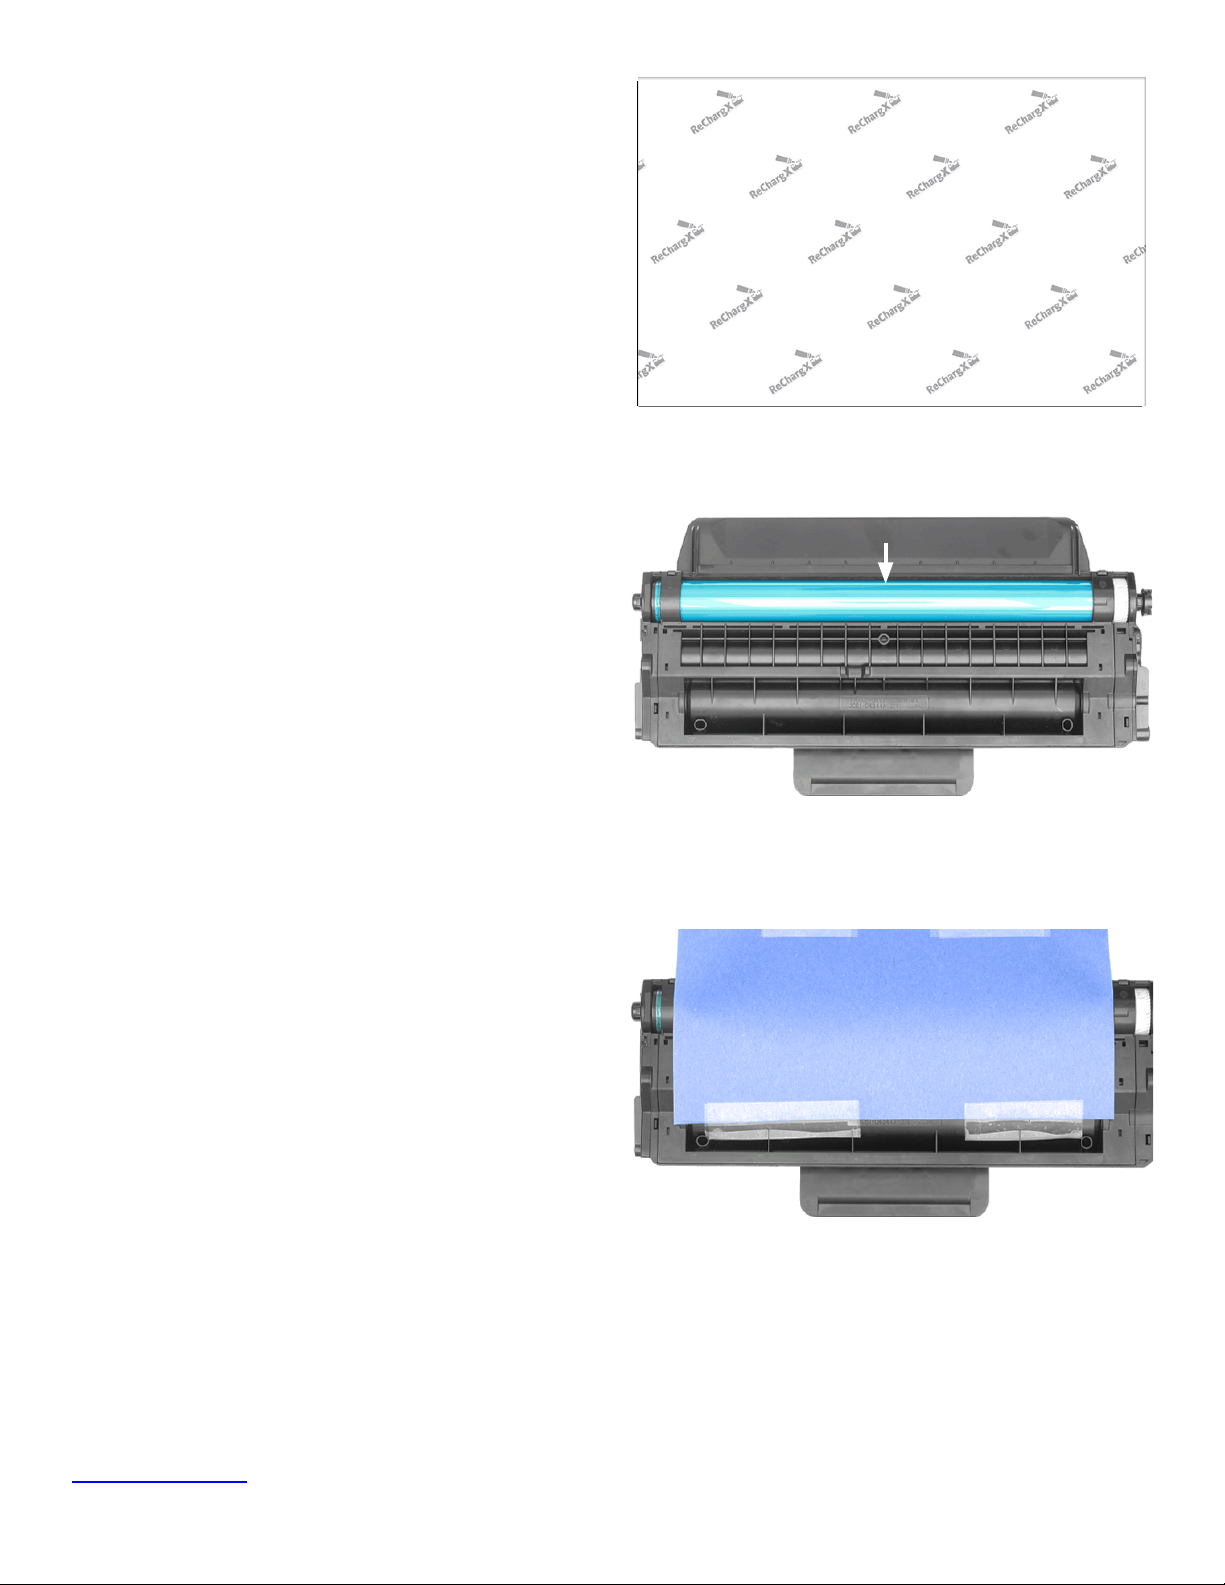
TonerRellKits.com ReChargX™RX292
8am - 8pm ET Mon - Fri © 1995-2014 ReChargX, EmptyX, TonerRellKits, TonerRellKits.com, the TonerRellKits logo, the V1.01 - 2014.06.24
800.527.3712 or 352.343.7533 ReChargX and EmptyX logos are trademarks owned by TonerRellkits.com, LLC. All rights reserved. Page 5 of 12
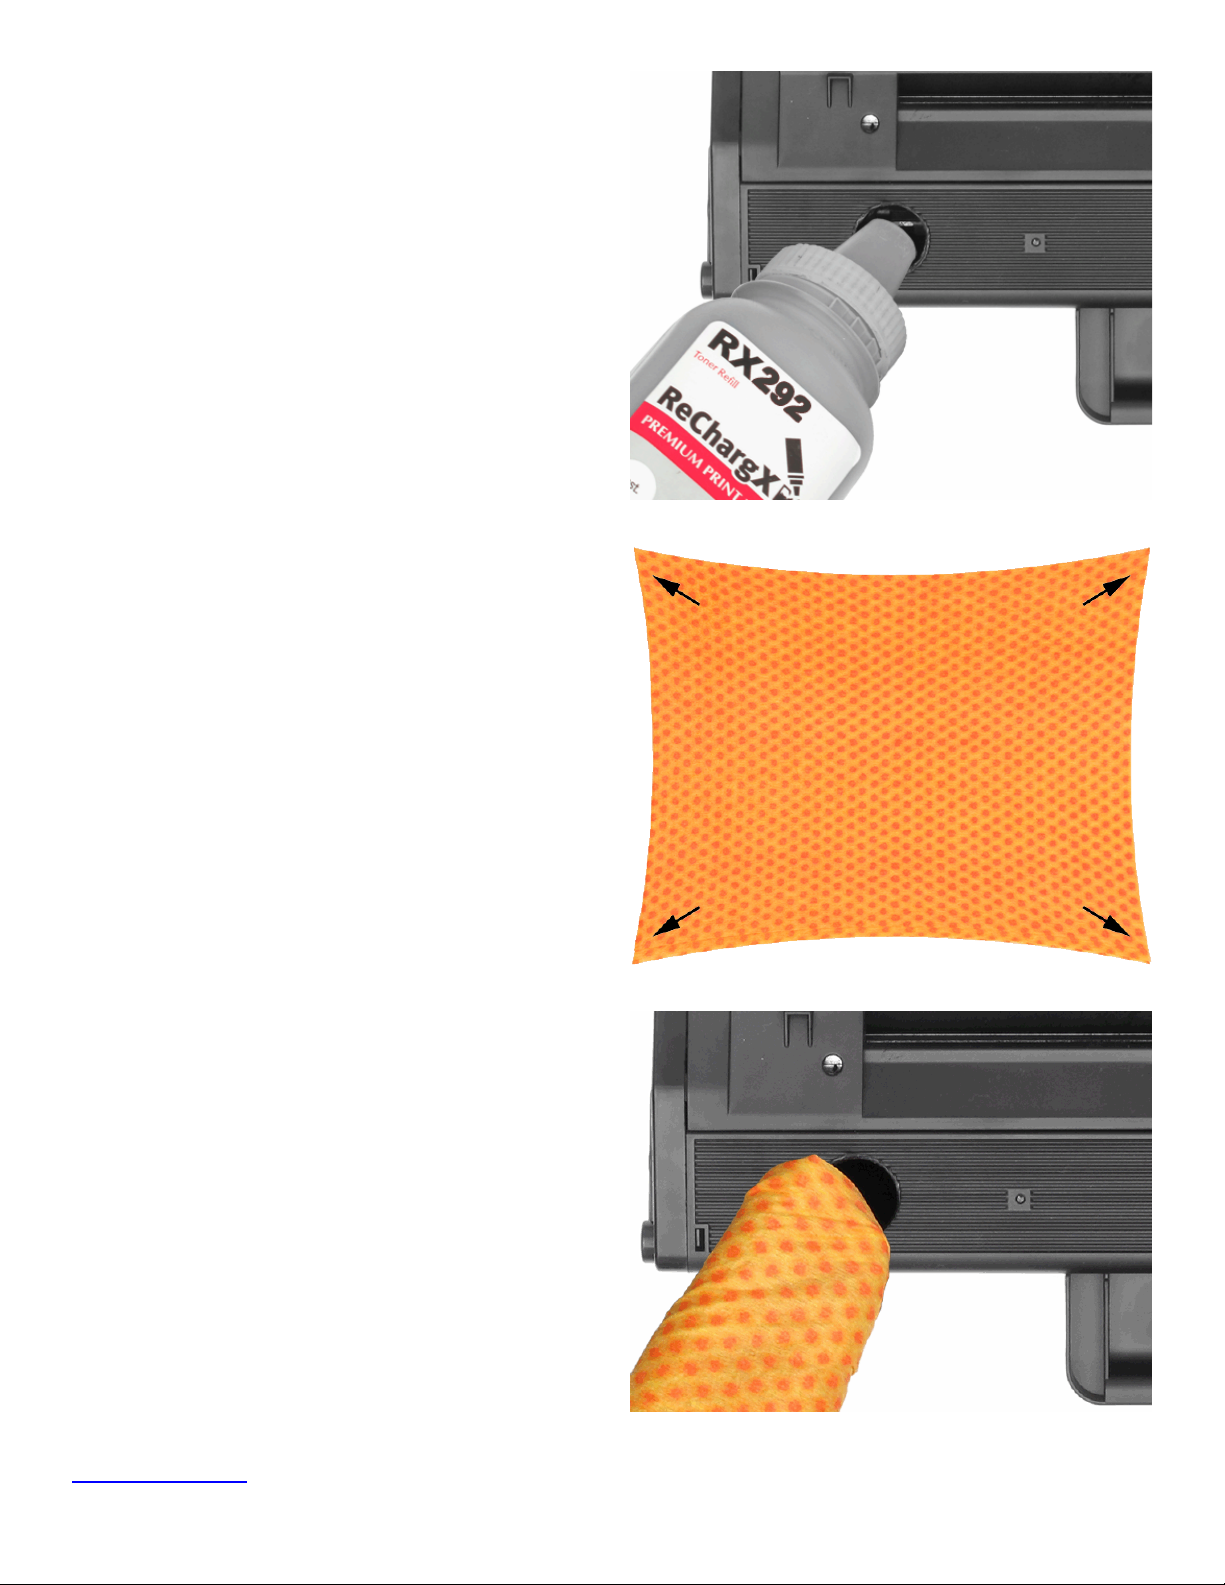
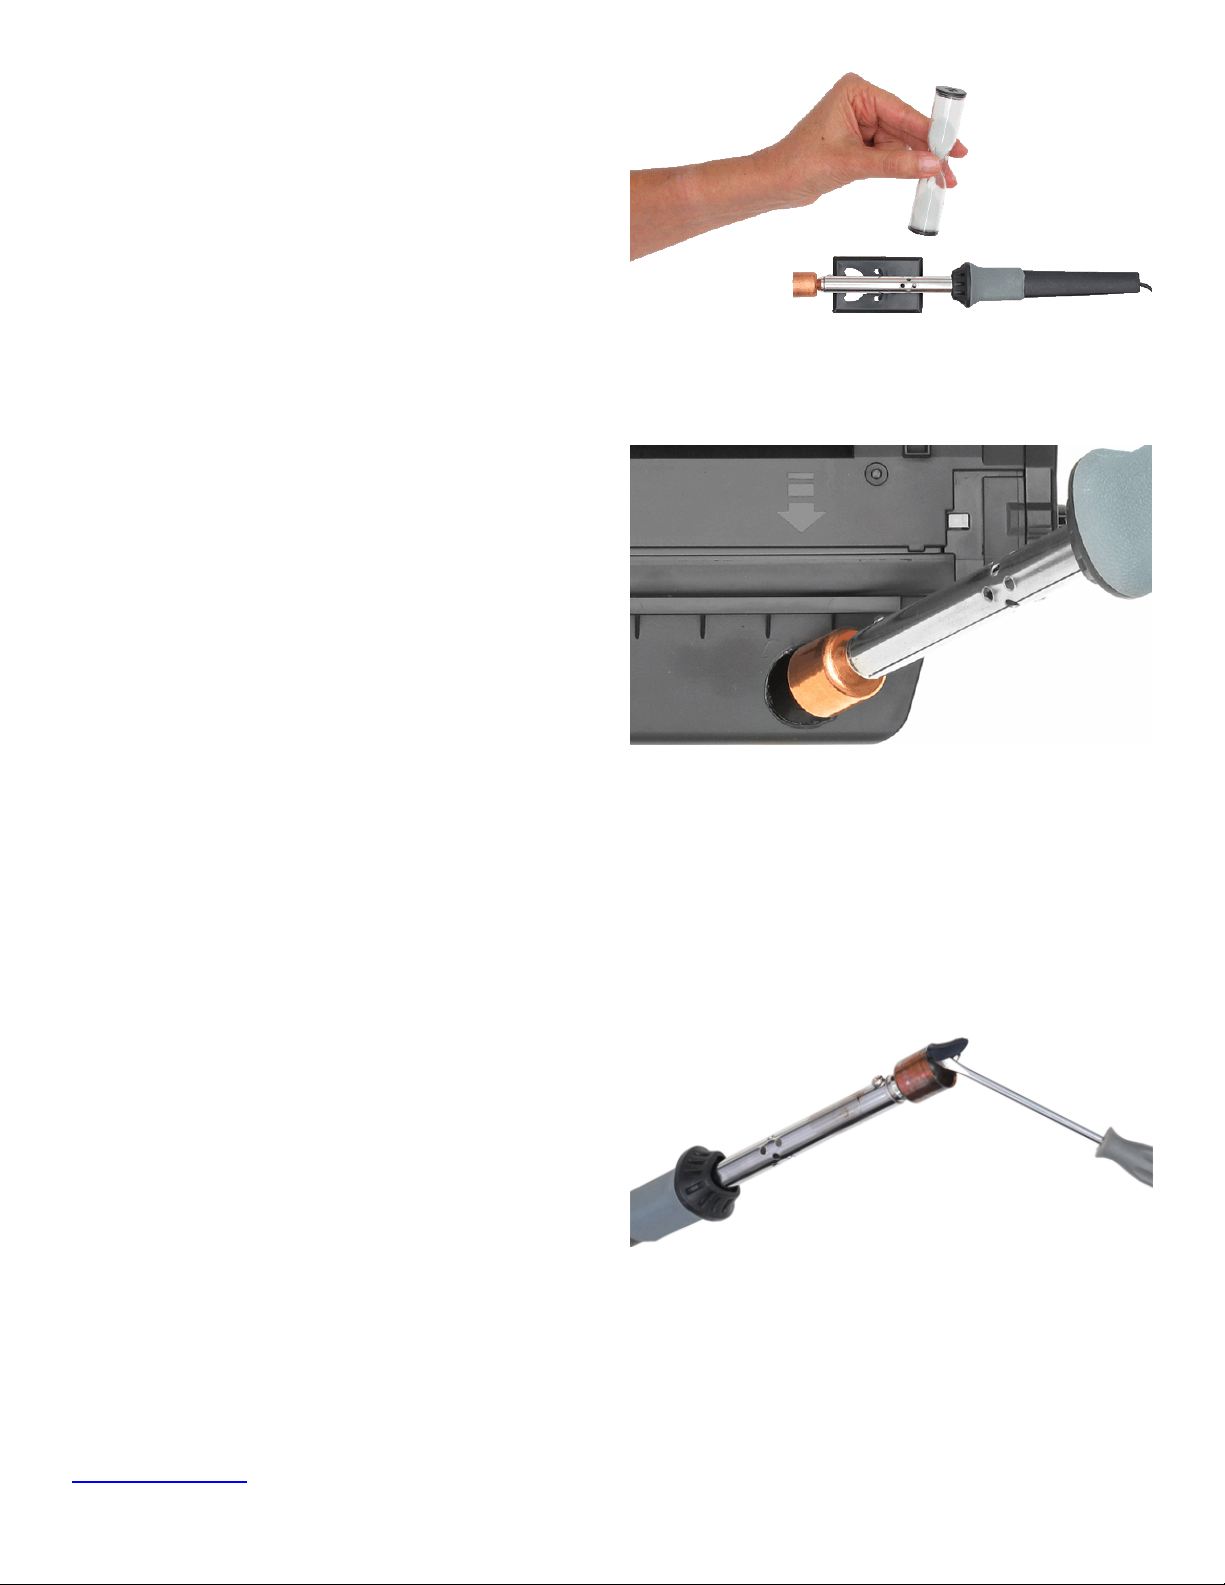
For the easiest, quickest and most mess-free relling,
tilt the end of the cartridge up with the toner hopper
hole at a 45 degree angle and slowly angle the
dispenser spout on the bottle of toner to meet up
with the hole (gure 9-1). Tilting the bottle up a little
more will start the toner owing into the toner hopper.
Pour the toner slowly. RESIST ALL TEMPTATION
TO SQUEEZE THE BOTTLE to increase the ow
of toner. The likelihood of toner escaping under
pressure greatly increases when the bottle is
squeezed while lling the cartridge. If the toner
stops owing, return the bottle to the upright
position and restart the lling process.
Fill the cartridge until the hopper appears to be full.
Any toner remaining in the bottle can be used at a
later date after you have completed a signicant
amount of printing.
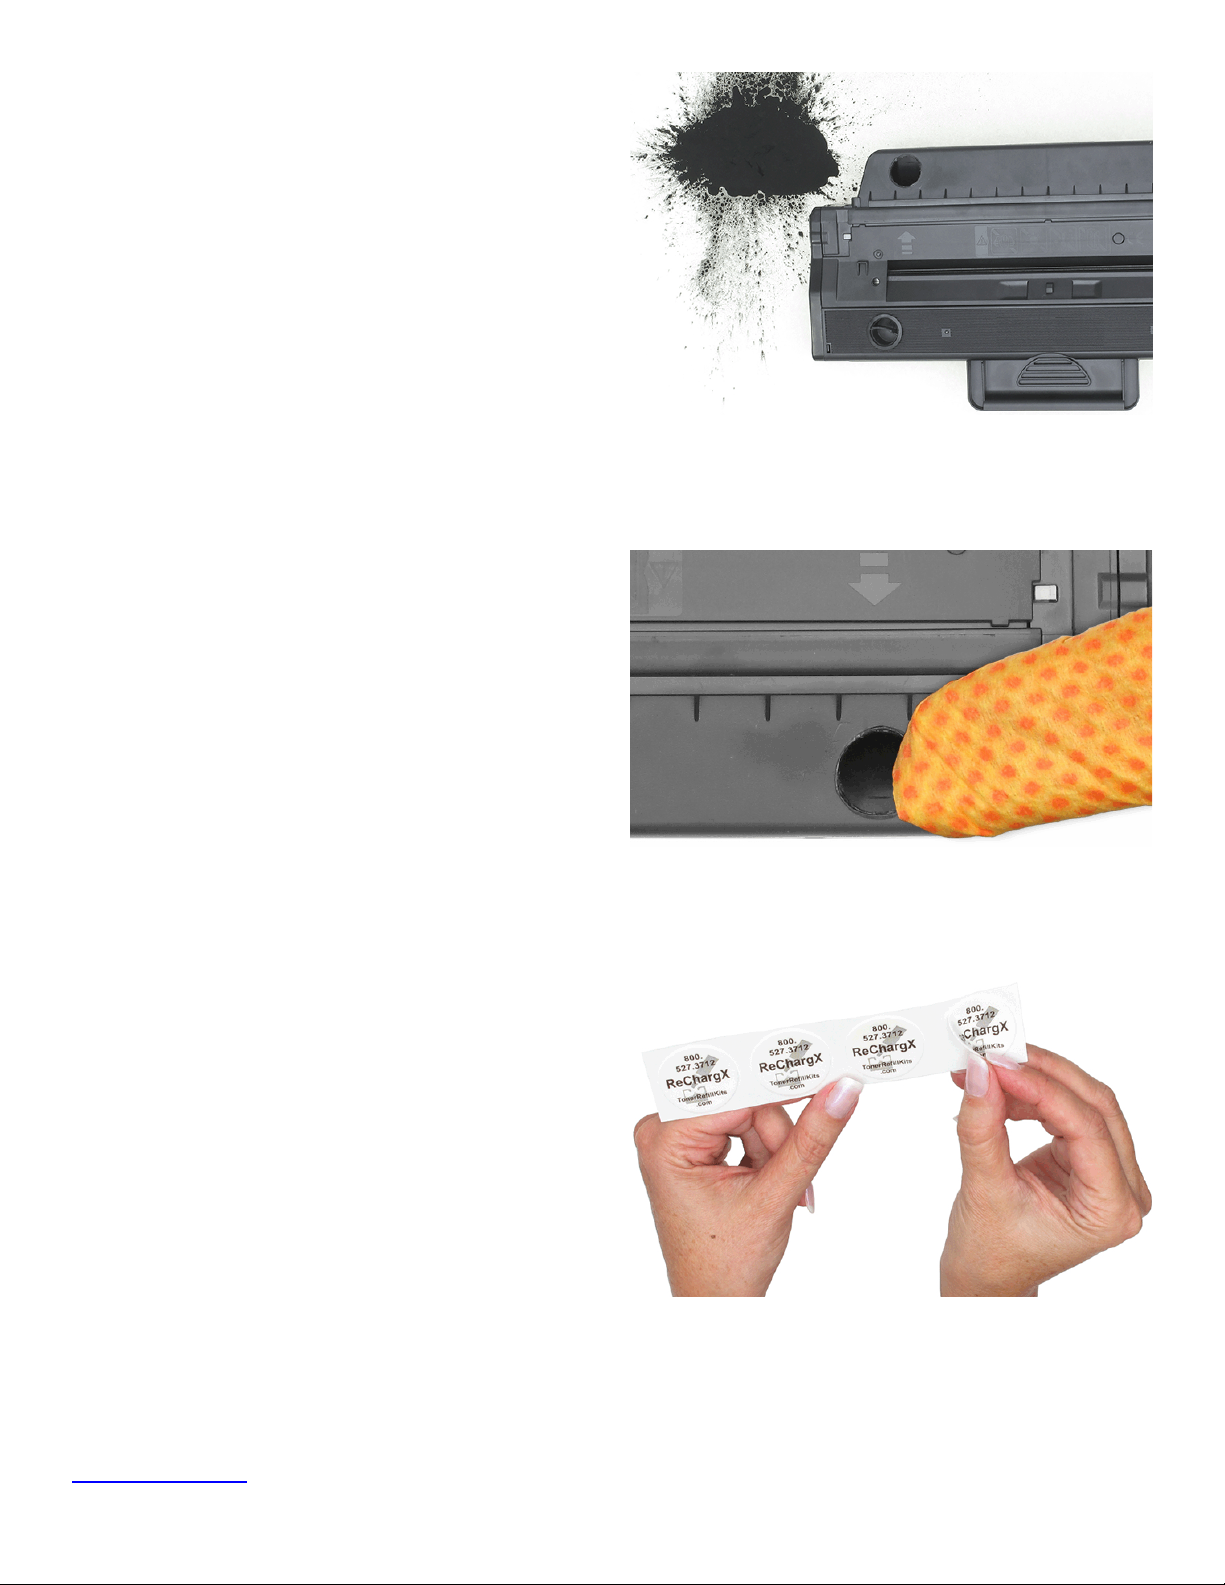
Step 10: Activate the toner grabber cloth
Take the orange toner grabber cloth from the
ReChargX™ RX292 premium print toner rell kit and
stretch it along both dimensions; the cloth will stretch
considerably in one dimension and not the other
(gure 10-1). Stretching the toner grabber cloth
activates the toner retaining substance embedded
within the cloth which gives it the ability to pick up
and retain toner.
Note: Only use the toner grabber cloth on the exterior
of the cartridge. Do not use the cloth to clean any of
the internal components or the drum as the toner
grabber will leave a residue on those critical image
production components which will affect the quality of
the print output.
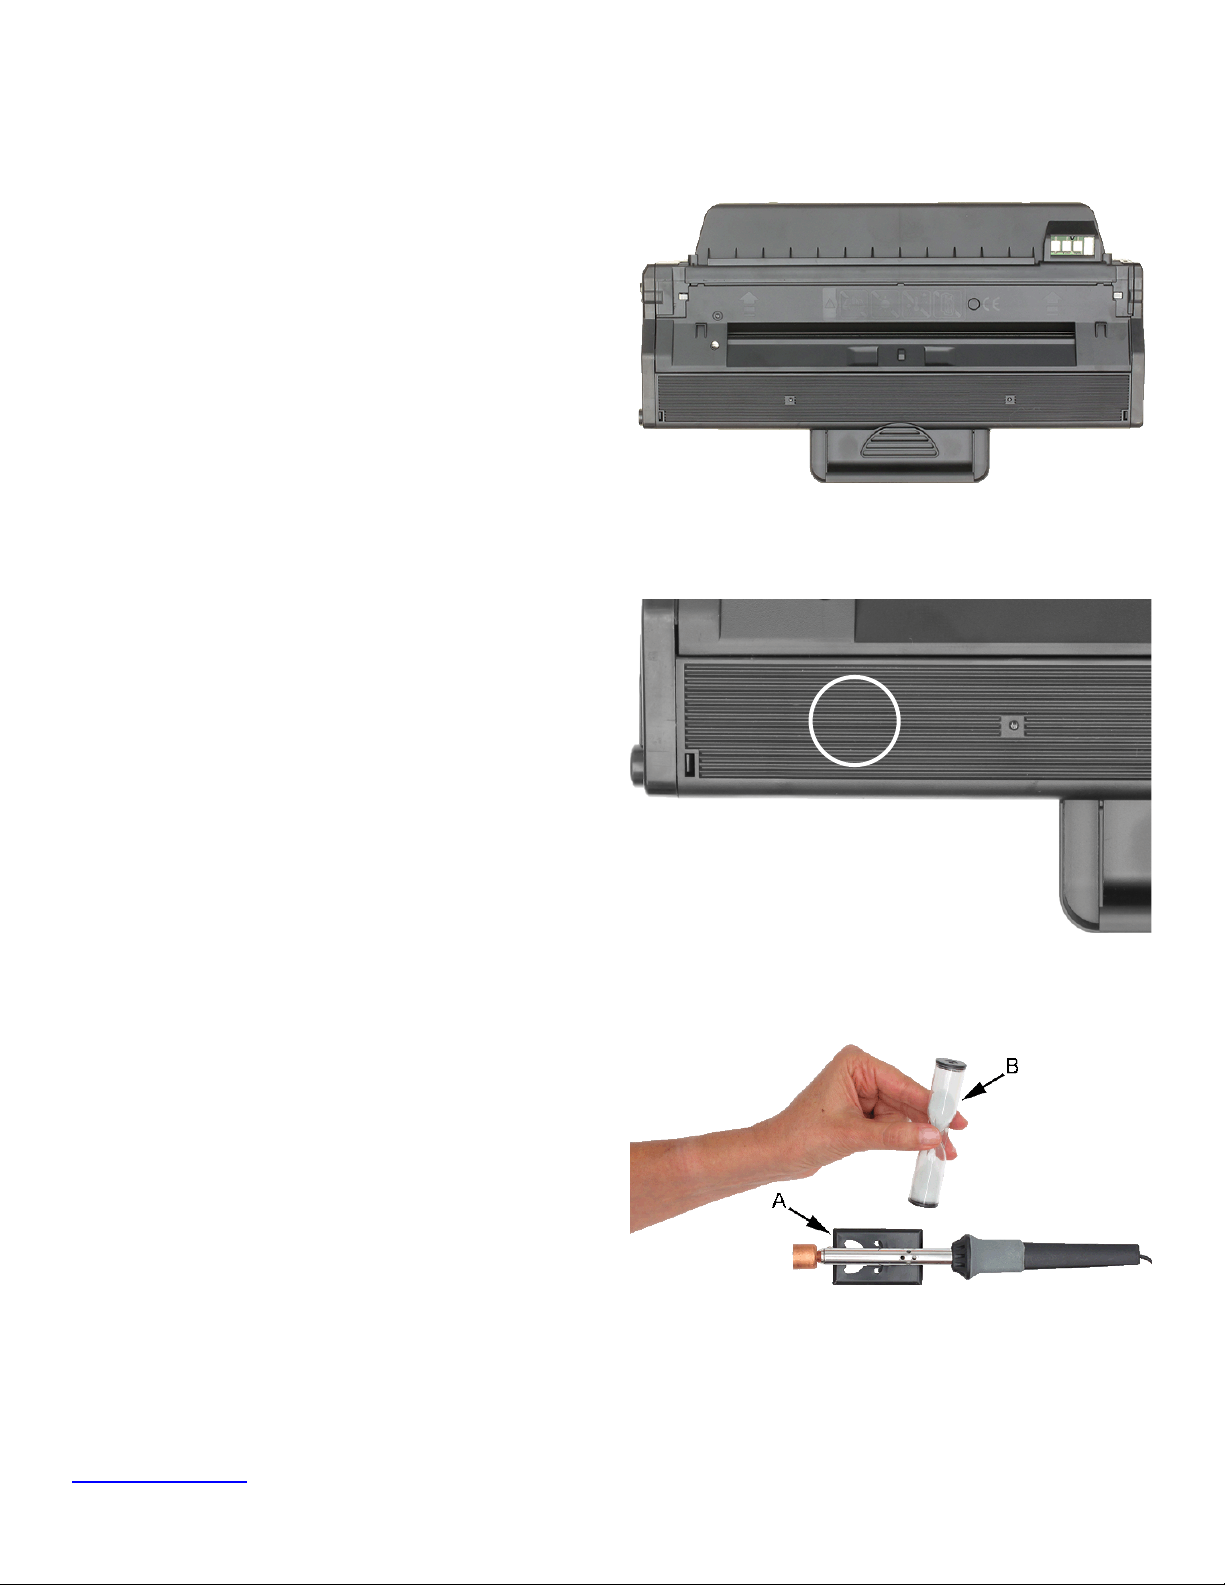
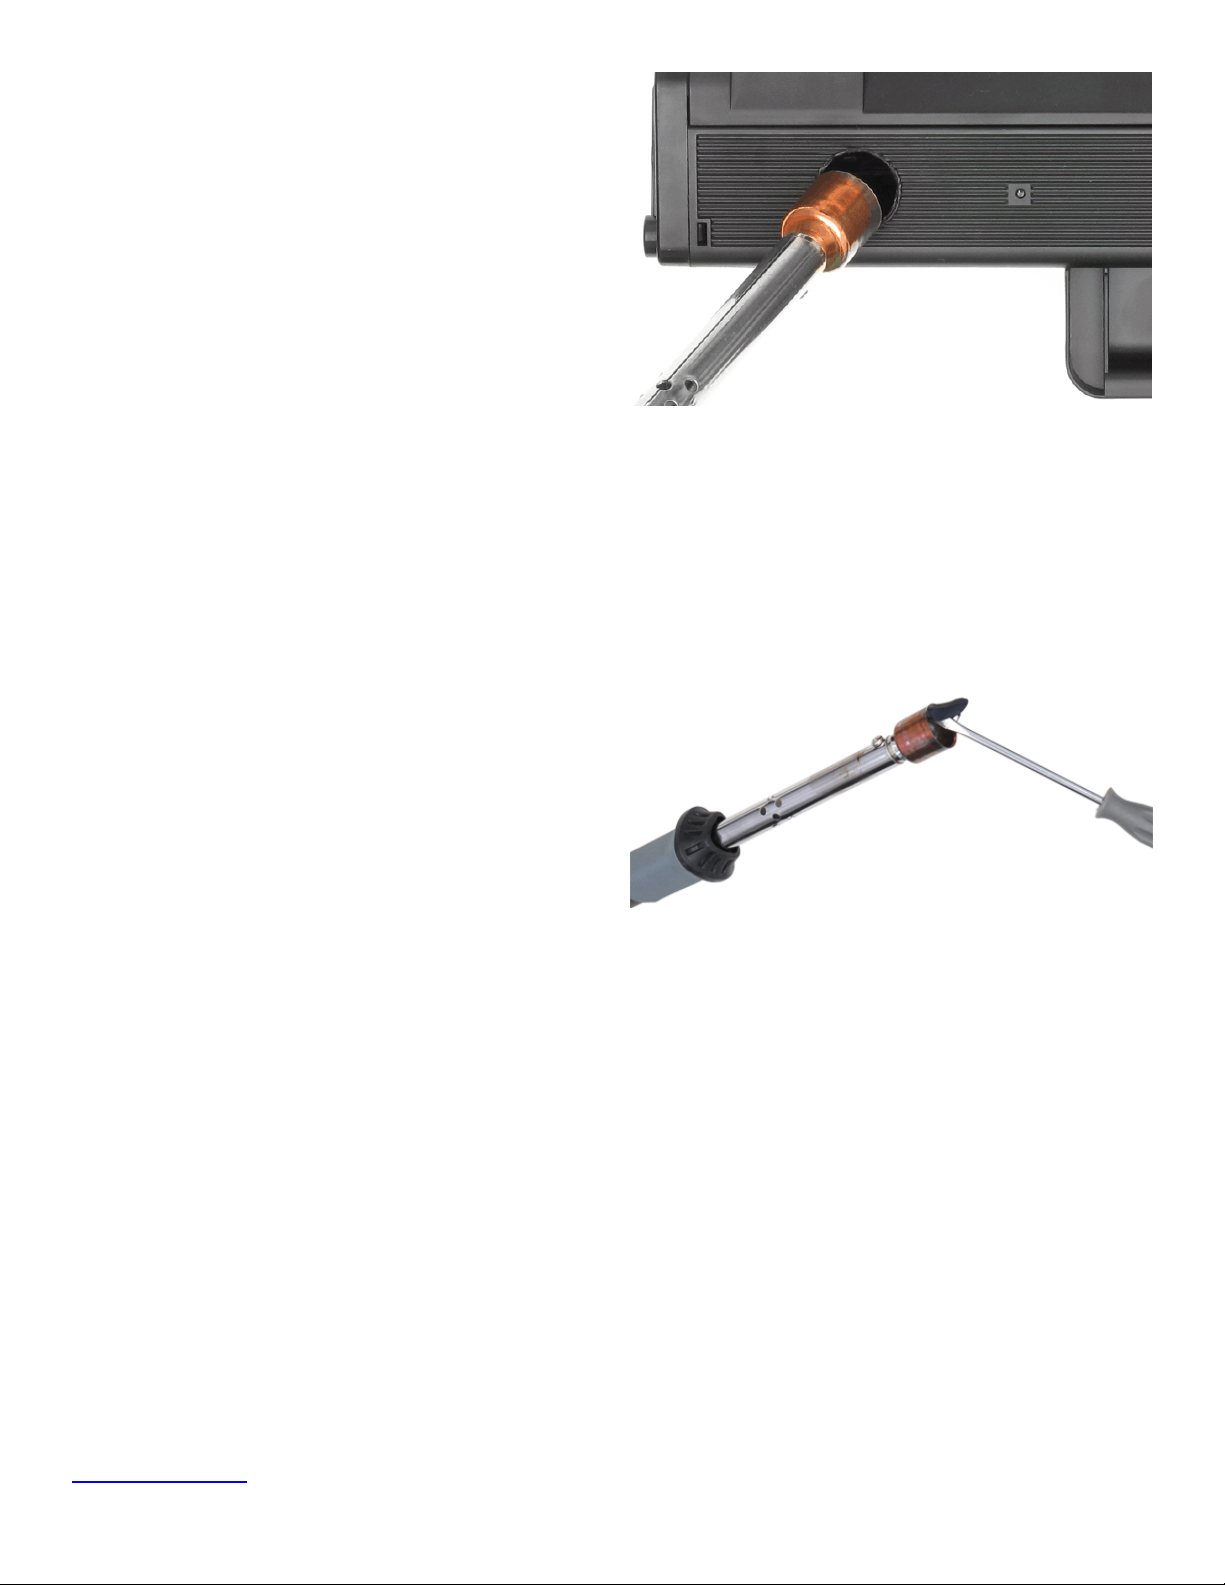
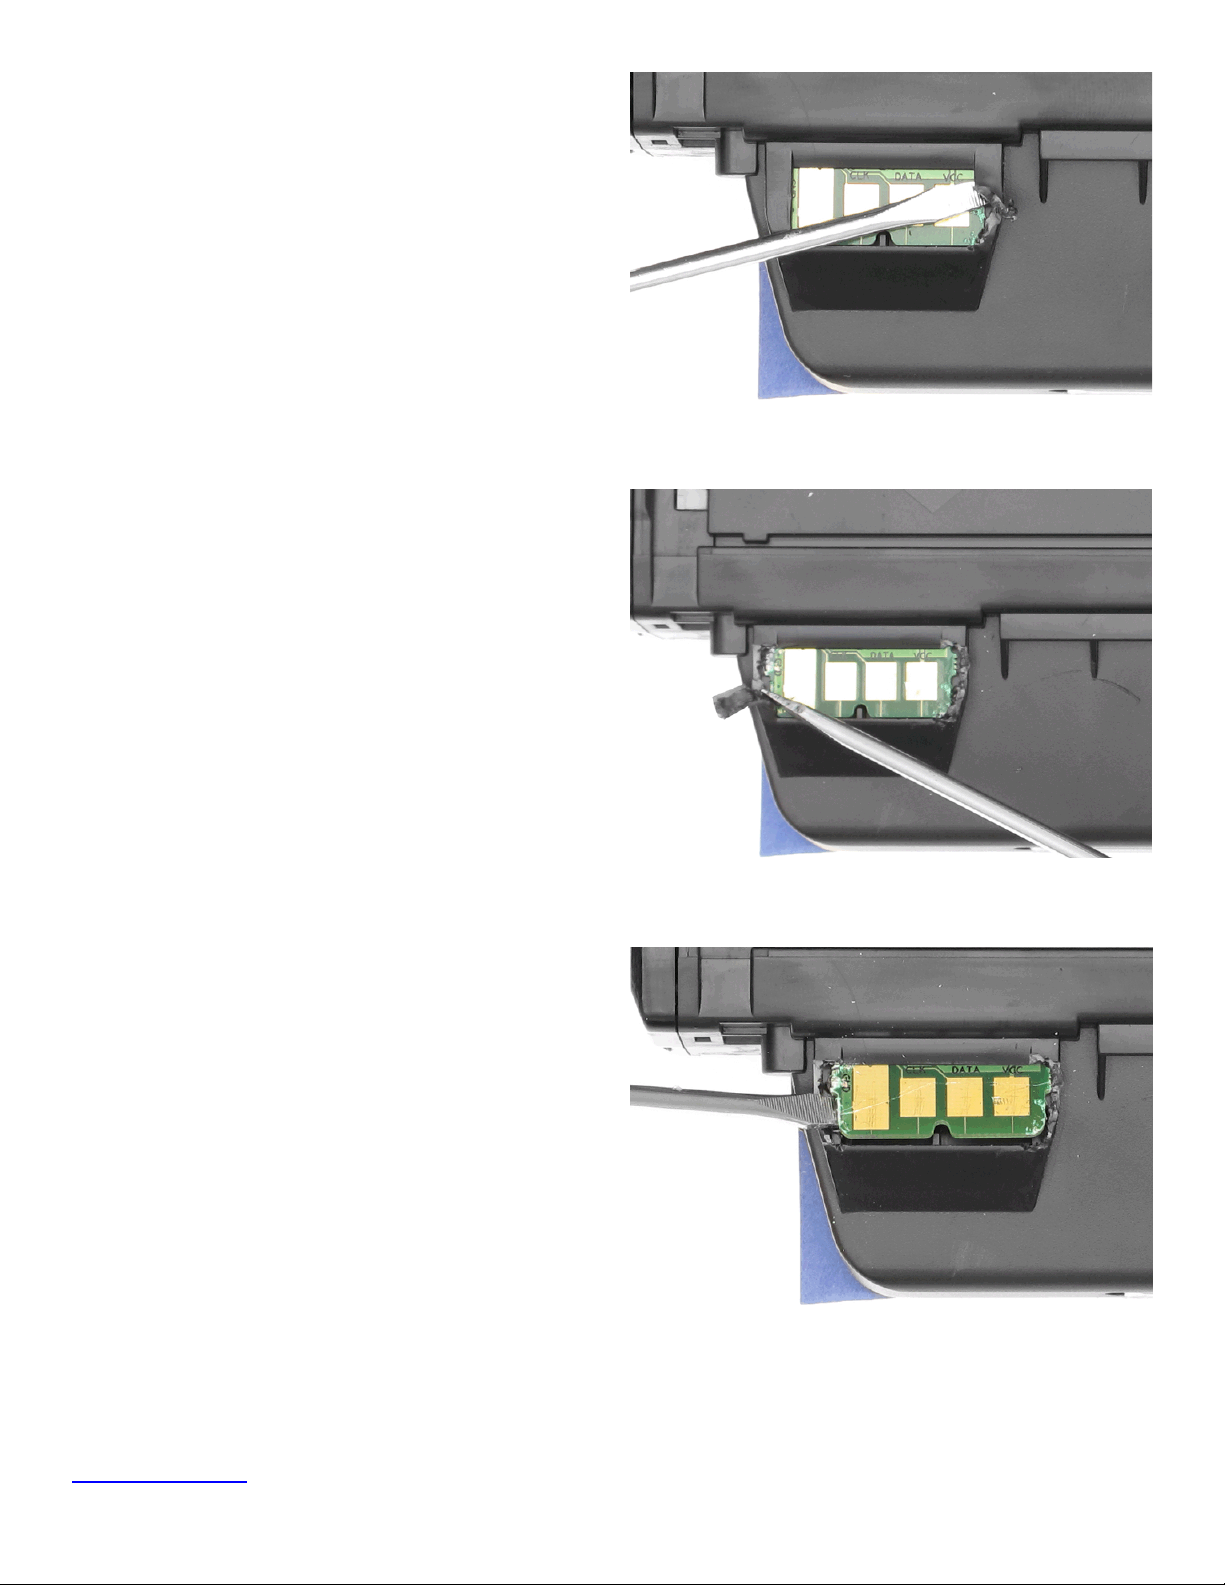
Step 11: Clean the area around the toner hopper
Before sealing the toner hopper hole with the plug,
the area around the toner hopper opening must be
cleaned. Using the toner grabber cloth, rmly wipe
around the area of the toner hopper hole (gure
11-1). You may also want to use the cloth to clean
any toner left on the toner bottle dispenser spout and
your immediate work space.
Figure 9-1: Adding toner to the toner hopper
Figure 10-1: Stretching the toner grabber cloth
Figure 11-1: Cleaning the area around the toner hopper opening