Reiner 880 User manual

Operating Instructions
880
Electronic stamp
with flexible imprint selection
Version 2.3

2
©2011 Ernst Reiner GmbH & Co. KG
All rights reserved. Translations, reprints, or any other form
of reproduction of this manual, even in part and regardless of form,
require prior written permission.
These operating instructions are subject to change without prior notice.
These operating instructions have been compiled with the
utmost care and diligence, however we cannot assume
any form of liability for errors or omissions or for damage
resulting from them.

3
Safety instructions
•Reiner 880 complies with the relevant safety regulations for
information technology equipment, including electric office machinery
•Unauthorised opening of the machine and improper repairs
can cause considerable danger (fire hazard)
To avoid the danger of crushing, do not insert your finger
between the baseplate and the print carriage.
•Transport the machine only in its original package or other suitable
package that provides protection against shock and impact
•If the machine is taken from a cold environment into a warm room,
dew may form on it. Wait until the machine has warmed up to room
temperature and is absolutely dry before starting to use it
•Make sure that the local mains voltage corresponds
to the voltage stated on the mains unit
•Reiner 880 performs the radio noise limits of class A.
In a living area may occure radio interferences. In this case
from the user can be required to carry out adequate funds
•Ensure that the locally-installed mains socket with protective earth,
which you use for the machine, is readily accessible at all times
•The machine has no ON / OFF switch; to disconnect it from the
mains you must disconnect the mains unit from the mains socket
•Arrange the connection leads so that they do not create
a hazard (danger of tripping) and cannot be damaged
•
Take care that no objects (e.g. necklaces, paper clips, or liquids)
fall into the machine - danger of electric shock and short circuit
•In an emergency, e.g. in the event of damage to the machine
casing, control elements or the mains lead, or if an object or liquid
falls into the machine, disconnect the mains unit from the mains
socket and inform your sales agent or our Service Department.

Table of contents
Safety instructions ....................................................................................
Delivery includes the following: ...............................................................
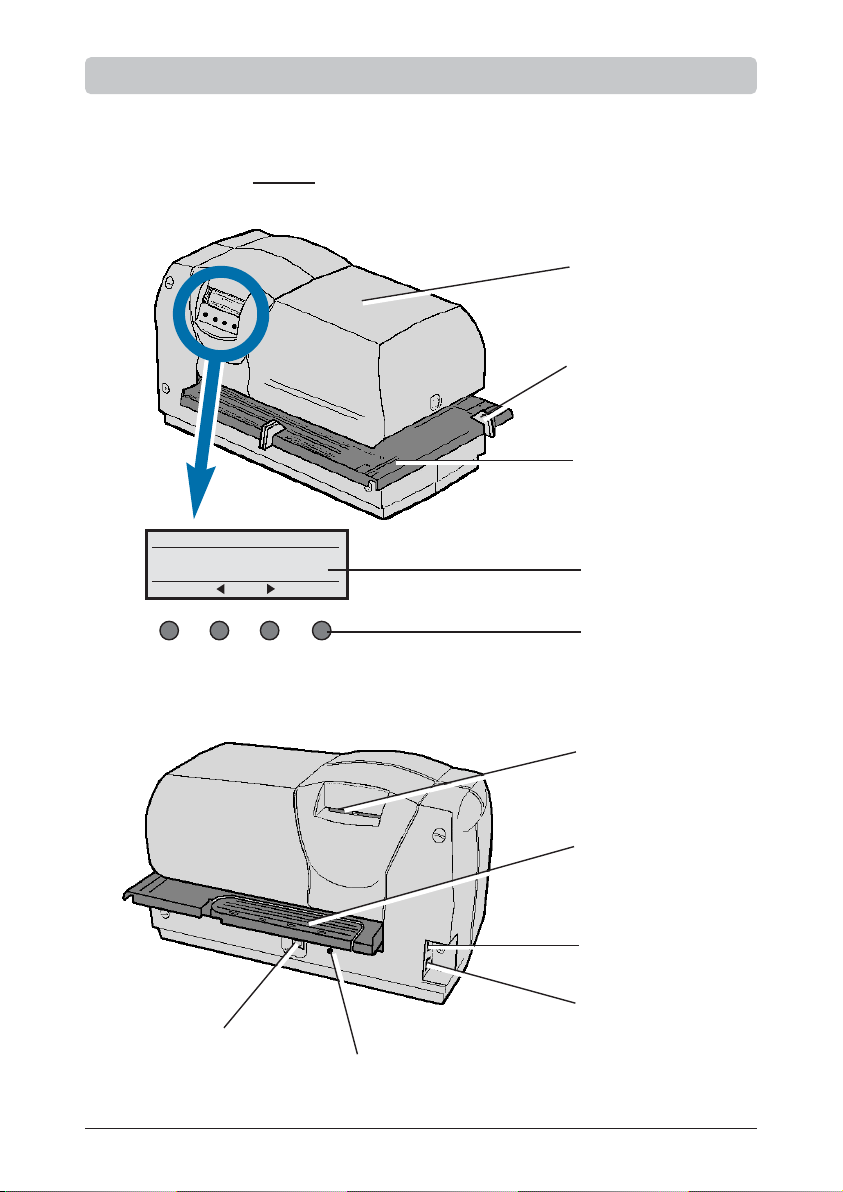
Control elements .......................................................................................
Commissioning .......................................................................................
Removing the cover ................................................................................
Removing the transport brace ...............................................................
Tensioning the ink ribbon ........................................................................
Inserting the ink-ribbon cassette .............................................................
Fitting the batteries ...............................................................................
Replacing the cover ..............................................................................
Setting the paper stops .........................................................................
Mounting paper stop on the folding rail .................................................
Fitting and setting the depth-stop contact .............................................
Fitting the paper holder .........................................................................
Connecting the power supply ................................................................
Printing .......................................................................................................
Insert a print medium ................................................................................
Precautions with the stamping ................................................................
User level / Desktop ..................................................................................
Description of the favourite list ................................................................
Menu overview ...........................................................................................
Description of the key functions in the menu .......................................
Menu item Imprint ....................................................................................
Changing the imprint ..............................................................................
Inverted ON / OFF ...............................................................................
Changing centring ..................................................................................
Stored imprints no. 00 - 06 ......................................................................
no. 07 - 15 .....................................................................
no. 16 - 23 .....................................................................
no. 24 - 31 .....................................................................
no. 32 - 40 .....................................................................
3
6
7
8
8
8
8
9
9
9
10
10
11
12
13
14
15
16
17
18
19
20
21
21
21
21
22
23
24
25
26

Menu item Date / Clock time ..................................................................
functional diagram ...............................................................................
Menu item Numberer / Fixed number ....................................................
Descriptions of the Numberer .................................................................
Start value, Minimum valuet, Maximum value, Mode .........................
Repetition factor, Pre zeros ON / OFF ................................................
Switch over of Numberer manually ......................................................
functional diagram 1 .............................................................................
functional diagram 2 .............................................................................
Menu item Pre-Text / Chipcard text with functional diagram ................
Stored Pre - texts ..................................................................................
Menu item Language with functional diagram ..........................................
Menu item Settings ..................................................................................
functional diagram .................................................................................
Chipcard functions .................................................................................
Key function, Operator identification on the chip card .........................
Individual imprint on the chipcard .........................................................
Changing the ink-ribbon cassette ............................................................
Replacement of the printing plate ...........................................................
Safety lock of the printing plate ...............................................................
USB interface ............................................................................................
Cleaning jobs at the machine ...................................................................
User’s hints and error codes ...................................................................
Reset ..........................................................................................................
Technical data ............................................................................................
Certifications .............................................................................................
27
28
29
30
30
31
32
33
34
35
36
37
38
39
41
42
42
43
44
45
47
48
49
51
52
53

6
= Mains cable
= Power supply
= 2 Batteries Type AAA
= Depth-stop contact
= Ink ribbon cassette
= Trip switch accessory set (Order No. 887 380 - 000)
comprising:
2 Rails
1 Reset pin
1 Paper holder, short
1 Paper holder, medium
1 Paper holder, long
Delivery includes the following :
12 3 4 5
6
1
2
3
4
5
6

7
Control elements
Display
Buttons
Casing, front part
Paper stop
Document table
with triggering
Chipcard reader
Folding rail
USB connection
Connection socket
for mains unit
Connection socket for
stop contact Opening for reset button
Chipcard
IMPRINT 01
RECVD
15. 12. 11 10:52
OFF MENU

8
Commissioning
remove the cover
grasp the front part
of the casing with both
hands and press down
on the centre of it with
both thumbs to
unlatch it
to remove the front
part of the casing
pull it towards to you
remove the transport securing
remove the safety carton
upwards
tension the ink ribbon
turn the knurled wheel about
one turn in anti - clockwise
direction
press
pull

9
insert the ink - ribbon cassette
hold the ink-ribbon
cassette by the knurled
wheel, place it askew
on the guide and push it
in direction of the arrow
to the stop
insert the batteries
•The batteries (Type AAA)
are required for the
date and time memory
•batteries should not be
disposed in the domestic
waste. Make sure about
the handling of
consumed batteries
insert the batteries into the battery
compartment. Take care to the polarity
of the batteries and ensure to deposit it
in the correct directions
replace the cover
put the cover
in position and push it
in the direction of the
arrow until it engages
i
Note

10
settings of the paper stops
the purpose of the
red paper stops
is the accurate
positioning of
documents for printing.
They can be freely -
positioned on the
document table.
attach the paper stop
to the folding rail
a paper stop can also be
fitted to the folding rail.
In this case, it serves
to position the imprint
vertically.
The imprint is
triggered by the
document table.
unlock the folding rail
on the rear side of the
document table and
turn it in the direction
of the arrow
take a paper stop from
the document table,
attach it to the folding rail
and adjust it in the
desired position
i
Note
i
Note

11
fitting and setting of the trip switch
Using the depth-stop
contact, printing is triggered
when a piece of paper is
pushed in.
(see 'Menu item Settings’
on pages 38 and 39)
unlock the folding rail
on the rear side of
the document table and
turn it in the direction
of the arrow
(see figure 1)
plug in the plug of the
trip switch into
the socket
(see figure 2)
fix the trip switch to the
folding rail by pushing
its fastener into an opening
of the folding rail and
turning it 90° to lock it
(see figure 3)
i
Note
1
2
3

12
fitting of a paper holder
Fitting of the paper holder
to the depth-stop contact
makes it easier to feed
paper into the machine.
There are three different
lengths of paper holders
(short, medium and long)
in selection.
The best length depends
on the distance from the
depth-stop contact to the
casing. The distance
from the paper holder
to the casing should be
as small as possible
to make it easier
to guide documents.
select the desired
paper holder from the
Depth - stop contact
accessory set
(see page 6)
fit the paper holder
to the mounting on the
depth - stop contact
and lock it in place
i
Note

13
The power supply socket
is located at the rear
of the machine
Follow the directions of
sequence of connection!
Do not plug in the power
supply in live wire!
plug in the plug of the
power supply at the lower
round socket
of the machine
plug in the equipment
plug of the mains cable
into the power supply
plug in the mains cable
into a convenient mains
socket
The machine is now
ready for use.
The display will show
a pre-selected imprint.
plug in the power supply
i
Note
!
Warning

14
There are three different
ways of triggering
printing.
The mode required must
be selected using the
menu (see page 38
'Menu item Settings'
/ Trigger)
triggering only by the
document table :
insert the print medium
to the required position
(for example to a stop)
press down the
document table
triggering only by the
depth-stop contact :
insert the print medium
until the printout is
automatically triggered
triggering either by
the document table
or by the depth - stop
contact
Printing
1
2
3
1
2
3
1
2
3
i
Note

15
The different ways of
introducing print media
enable an imprint to
be positioned almost
anywhere on a form.
Print medium
inserted from
the front
Print medium
inserted from
the side
Print medium
inserted from
the rear
Insert a print medium
i
Note

16
Pay attention to the following
precautions:
Don’t stamp at staples !
Stamping at staples may cause
damages at the printing plate
or at the 9 - pin dot matrix print
head. By this means that
the imprint may be incomplete.
Don’t stamp at paper clips !
Stamping at staples may cause
damages at the printing plate
or at the 9 - pin dot matrix print
head. By this means that
the imprint may be incomplete.
Don’t stamp at perforation !
By stamping at perforations
the imprint at paper may be
incomplete.
Precautions with the stamping
123456
15.12.11 08:45
123456
15.12.11 08:45

17
User level / Desktop
Ready to print
[ OFF ] = switch off the device
(keep the key pressed
for min. 3 seconds
after that occurs the
standby mode)
[ ON ] = switch on the device
[ MENU ] = select menu
[ ] [ ] = chooses the previous or
the following function
is displayed
FAVORITE 1 - 5 (Description see next side)
CLOCK TIME is displayed
DATE is displayed
COUNTER is displayed (see p. 40,
‘Settings / Counter’)
NUMBERER
[ SWITCH ] = manual switch over
of the Numberer
SUPPORT = Homepage in Internet
or service purposes, update and
REINER Click&Stamp
[ OK ] = activates an online
connection
IMPRINT 38 R:01-01
RECVD 000000
15.12.11 14:32
OFF MENU
CLOCK TIME
14 : 32
OFF MENU
DATE 15.
12
.
11
OFF MENU
NUMBERER
00011075
SWITCH
MENU
SUPPORT
www.reiner.de
OFF MENUE
Online ?
OFF OK
FAVORITE 1 IMPRINT 38 R:01-01
RECVD 000000
15.12.11 14:32
OFF OK
COUNTER
10932
OFF MENUE

18
Description of the favorite list
•The favourite list contains five imprints
•The lastly activated imprint will be stored automatically
in the favorite list as FAVORITE 1 . By this,
the previous FAVORITE 5 is signed over.
•The content of the favorite list is changable.
Example: Any imprint can be assigned to different
Pre - texts.
•Key functions:
[ ] [ ] = Selection of the previous
or following favorite
[ OK ] = Selected favorite will be
activated as actual imprint
Pre - textImprint no.
Favourite (1 ... 5)
i
Note

19
Menu selection: Press [ MENU ]
button, the display
will show ‘Imprint’
• Change imprint (pages 21)
• Inverted ON / OFF (page 21)
• Change centring (page 21)
• Setting time (pages 27, 28)
• Setting date (pages 27, 28)
• Setting hour divisions (page 27)
• Setting summer time (page 27)
•
Numbering, setting zero (page 33)
•
Numbering, setting start value (p. 33)
• Setting repetition factor (page 34)
• Leading zeros ON / OFF (page 34)
•
Setting a fixed number (page 34)
• Changing pre-text (page 35)
• Changing chipcard text (page 35)
• Changing menu language (page 37)
• Changing stamping language
(
page
37)
• Activating chipcard (page 39)
• Setting of the trigger mode (p. 39)
• Password menu (page 39)
• Indication of battery (page 39)
• Counter (page 38, 40)
Display of
• Model (Type number, serial number)
•
Software version (Bootware version,
Firmware version)
Menu item is password-protected
SELECT
Imprint
Menu overview
SELECT
SELECT
Date / Clock time
Numberer /
Fixed number
Pre-Text /
Chipcard - Text
Settings
IMPRINT 38 R: 01/01
_ _ _ _ _ 000000
15. 12. 11 14:36
OFF MENU
Language
Model / Version
SELECT
Testfunctions
SELECT
SELECT
SELECT
SELECT

20
Description of the key functions in the menu
[ SELECT ] • selection of a displayed menu item
•selection of a displayed status
after selection the actually set status
will be displayed flashing
[ ] or [ ] • displays the previous or following
menu item
•increment or decrement setting
of the displayed status
•increment or decrement setting
of the displayed value
[ OK ] • confirmation and storage
of the set status
•confirmation and storage
of the set value
[ RETURN ] • return to the previous menu item
Eventually press [ RETURN ] repeatedly
to quit the menu or to quit the setting.
The actually imprint will be displayed
and 880 is ready to operate.
MENU 1
I m p r i n t
RETURN SELECT
IMPRINT 38 R: 01/01
_ _ _ _ _ 000000
15. 12. 11 14:36
OFF MENU
Other manuals for 880
1
Table of contents
Other Reiner Office Equipment manuals

Reiner
Reiner jetStamp graphic 970 User manual

Reiner
Reiner D28 User manual

Reiner
Reiner B6 User manual

Reiner
Reiner B6 User manual

Reiner
Reiner DN41A User manual

Reiner
Reiner K1 User manual

Reiner
Reiner jetStamp graphic 970 User manual

Reiner
Reiner D53V User manual

Reiner
Reiner N53a User manual

Reiner
Reiner C User manual
Popular Office Equipment manuals by other brands

Steelcase
Steelcase Avenir PAB-4 Joining Panel manual

Spectrum
Spectrum Safe Screen Assembly instructions

OCEE DESIGN
OCEE DESIGN Den Seat SASS-0079 A Assembly instructions

Classic Exhibits
Classic Exhibits VK-1504 manual

Teknion
Teknion LEDGER PLUS Installation guides

Steelcase
Steelcase Pathways Privacy Screen Infill Installation/Replacement Instructions