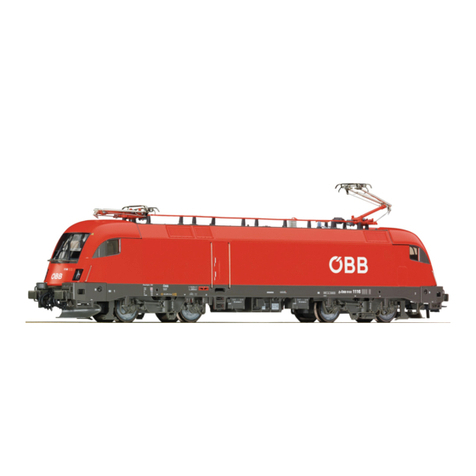
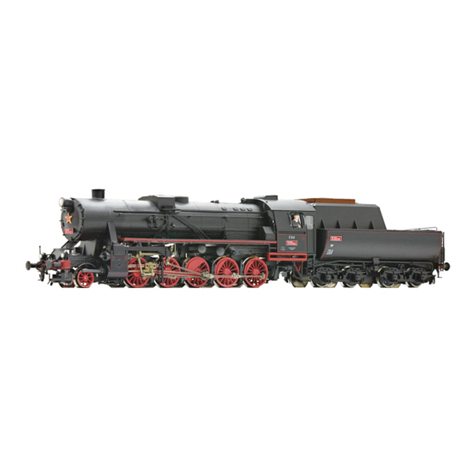
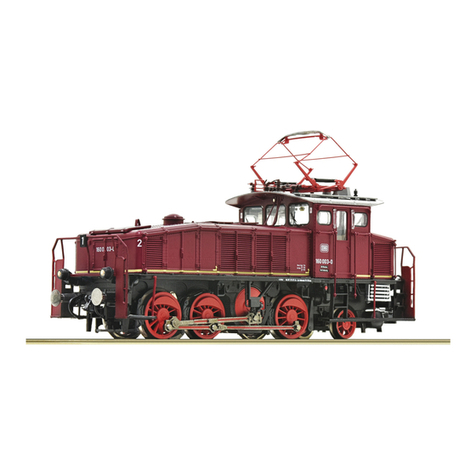
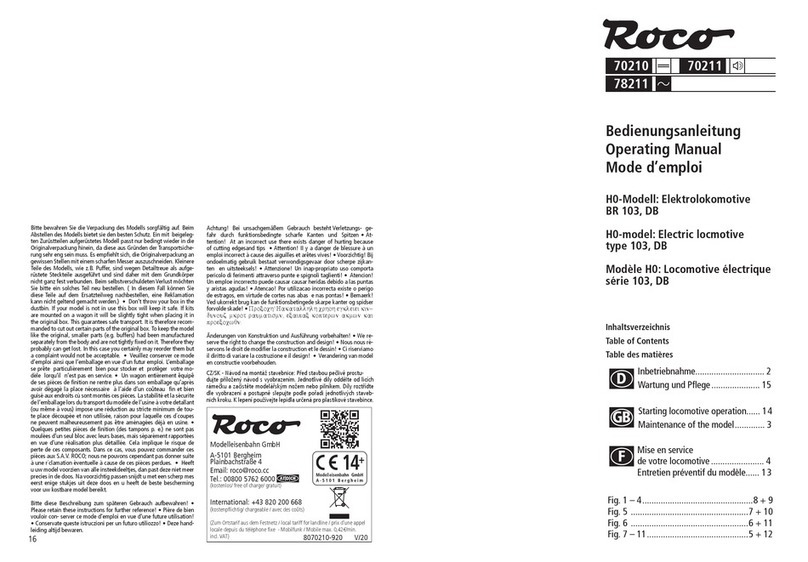
roco 63130 User manual

Bedienungsanleitung
Operating Manual
Mode d'emploi
HO-Modell:
Dieseltriebzug
VT
12.5,
DB
HO-model:
Diesel train
VT
12.5, DB
Modele HO: Rame automotrice
diese1
VT
12.5, DB
Inhaltsverzeichnis
Table of Contents
Table des matieres
...........................
Inbetriebnahme
2
Wartung und Pflege
.................
15
.........
Starting locomotiveoperation
4
Maintenance of the model
............
13
Mise en sewice
de
votre locomotive
.......................
14
Entretienpreventifdu modele
.........
3
Fig.
1
-
5
....................................
8
+
9
Fig.5-6
..................
....
..............
0+7
Fig.7-10
..........................................
+11
..........................................
Fig.ll -13 2+5

B
Inbetriebnahmelhrer Lokomotive
Auspacken des Modells: Die Lokomotive bine
vorsichtig mittels der Folie aus der Packung her-
ausziehen (Fig.
1).
siehe Fig.
2+3.
Betriebsbedinaunaen: Es empfiehlt sich, den
Triebzug
30
Minuten vorwärts und
30
Minuten
rückwärts ohne Belastung einlaufen zu lassen,
damit Ihr Modelleinen optimalen Rundlauf und
beste Zugkraft bekommt.Der kleinste befahrba-
re Radius für dieses Modell ist
R3
des Roco-
Gleissystems
(R3
=
419.6
mm).
Der einwandfreieLauf IhresTriebzugesist nur auf
sauberen Schienen gewährleistet. Hierzu empfeh-
len wir den
ROCO-Schienenreinigungswagen
Art
Nr.
46400
und bei etwas stärkerer Ver-
schmutzung den
ROCO-Schienen-Reinigungs-
gummi
AR.
Nr.
10002.
Aufrüstun~Im beigelegten Zurüstbeutel finden
Sie auch kleinevorbildgetreue Steckteile für eine
eweiterte Aufrüstung lhrer Lokomotive (Fig.5
),
die Sie bine vorsichtig montieren. Achtung!
Kleben nur mit ausdrücklichem Hinweis.
Mehrzuabetrieb: Zuerst das Lokgehäuse abneh-
men (Fig.6). Brückensteckeraus der Schnittstelle
entfernen (sorgsam aufbewahren). Zulem den
Stecker des Steuerbausteineslagerichtigeinsetzen
(Fig.
7
).
Ausfiihruna für Wechselstrom: siehe Fig.
13
+
(l-XX).

I
Entretienpreventif du modele
Pour garantir un fonctionnement impeccable de
votre modele au fil de lonaues annks veuillez
assurer i6gulierement(environ tous les 30 heures
d'exploitation) ceftains travaux d'entretien:
1,Nenoyage-des lamesde contact aux roues:
LM
lames de contaci risquent de s'encrasser rapi-
demenr sur des voi~spo~ssiere~ses.Ve.ilezenle-
ver la poussiereauxendroits marques
a
la fig. 10
2.
Graissaae: N'appliquez qu'une tout petite
goutte aux endroits indiquespar le plan de grais-
saqe (fiq.
9)
apres avoir demonte la caisse de la
ocomohe
I
c~co.verc edu caner (1'9.6
19,.
ho-s
vo..s recommandonsle araisseur
A
huile
ROCO
ref. 10906. Pour graisser les engrenages (roues
dentees, vis sans fin
-
fig.
7)
nous vous conseillons
la graisse speciale Roco ref.
10905
pour engre-
nages en matieressynthetiques. Lorsquevous uti-
lisez cette graisse il faut eviter d'huiler ces com-
posants.
0
Cassemblage
3.
tchanae des bandaaes d'adherence:
Delogez ensuite les essieux ban-
dagees et enlevez.
a
I'aide d'une aiguille ou d'un
tourne-vis fin les bandages d'adherence (fig.12
).
Lors du montagedes nouveauxbandages veuillez
veiller
a
ce que les bandages ne soient pas tor-
dues.
4.
Remplacement des balais du moteur: De-
montez la caisse (voir fig.6). Demontezensuite le
moteur et echangez le balais (fig. 1
I).
0
L'assemblage
L'assemblage: Lors de I'assemblage veuillez
veiller
a
la position correcte des lames de
contact.
Bon voyagel
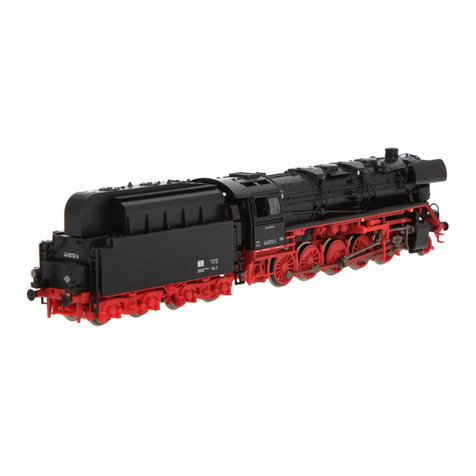
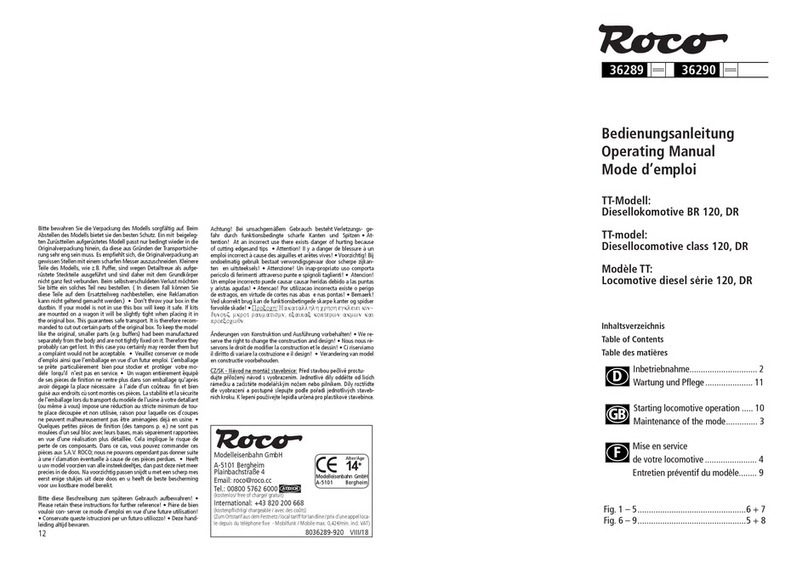
Starting locomotive operation
Unwrao model: Take out
loco
cauüously foil
(fig.
1).
Power car
-
assemblv: see fig.
2+3
Ooerating instructions: Before use is advisable
to let the loco go around about
30
minutes for-
wards and
30
minutesbackwardswithout load, to
obtain an optimal circuit and best tractive power.
The smallest radiusthis model should run is R3 of
the
ROCO
track System
(R3
=
419.6
mm).
Your locomotivewill run smoothly on cleantracks
only. For this purpose we recommend using item
no. 46400, Roco track cleaningvan. or item no.
10002, Roco track cleaning rubber, for re-
movingheavy dirt.
Fittingr:
In the enclosed accessory bag you will
find smal! kits to be fitted on your locomotive.
Please mount them cautiously.
Attention! Use glueonly if indicated(fig.5).
-in digital mode: First remove loco oody
(1
a
6,
ihen remove the iumoer from the intrda-
cer~inall~put the plug oithe chip into the inter-
face as shown infig.
7.
A.C.
ooeration: see fig.
13
+
(
I
-
XX
).


C
0
.-
W
W
E
W
3
z
.'
3
&e
C
W
-
Fa
gn
+
3%
=,"
"C
2-
YW
W,"
0
n
"
.-
3


Ficl.
1
I
Fig.
2
Fig.
2
Fig.
3
Triebwagen
-
Zuwrnrnensielhg
I
Po-
car
.
srsmbly
/
Automohice
-
cmnpositian
Fig.
3
Fig.
4
I
Fig.
5
Doppeltraktion
I
double traction
I
traciiondouble

Maintenance of the model
To enjoy your locomotive for a long time,
it
is
necessary to se~iceit regularly (i.e. after
it
has
been in operationfor approximately
30
hours).
1.
Cleanino ofwheel contacts: Wheel contacis
easily get dirty on tracks which are not entirely
clean. Use a small brush to rernove dirt from
spots marked infig.10.
2.
Lubrication: Apply tiny oil drops to spots
marked in fiq.9
.
Prior to lubrication dismantle
locomotive
i
gear tover (f1g.G
9)
We retommend
usinq item no.
10906.
Roco oiler.
For
iubrication
the gear-parts (e.g. cog-wheels, worm) we would
recommend our Roco special grease (item No.
10905).
Attention: Please do not oil these parts
when using our grease.
0
Assembly
3.
Chanae of tracion tvre:
Take out wheel set and remove traction
tyre using a pin or a fine screwdriver.When pres-
sing on the new traction tyre please avoid twi-
sting
it
(fig.12).
4.
Carbon Brush Chanain~First remove loco
body (fig.6). and then the motor (fig. 11).
0
Assembly
Assemblv: During assembly please take care of
correct position of contacis.
Off
you go!

I
Mise en Service de votre locomotive
Deballaae du modek: Veuillez sortir lalocomo- kattelages: Le sachet joint comprrnd entre
t
$6
ue bon emba lage avec prbutionet
2
I'aide aunesacs pctitespiecesde finition conlormes
a
la
du film transoarent (voir
fio.
11.
realite et
a
raooorter avec orecaution oar le
<.
rnodeliste (fig.
jj,
si dkire. ~itention:~'kilisez
Automotrice
-
comoosition: voir fig.
2+3.
de la collequ'aux endroitr expressementindiques
aiix
rlec<in<i
..
.
.
...
...
.
Conditions.de.rqdag- Afin d'assurer les meil-
leur~conditions dt?marche hanquille et de trac- Exoioitation en telecommnde multi-trains:
tion puisante
6
vonr modele nous vous conseil- Veu lez demonter u'dboru Id
CJ~%P
lfiq.
6
I
Fn-
Ions"n rodage
du
modele de
30
minutes environ levez ensuite la fiche de shuntage de l'inietface
(2
en marche avant et d'autres
30
minutes en mar- consewer!) et enfichez finalement la fiche du
che aniere Pendant cette periode la marche doit module de t6lecommandeaux prises de I'interfa-
sefaire nhaut le oiedr. Le ravon minimaladmissi- ce. Veillez
a
la
oosition correcte de la fiche (voir
bledu modele pr&ent est fiie
i
419.6
mm. soit le fig.7).
rayan R3 des voies
ROCO.
Version en courant alternatif: voir fig.
13
+
Une marche impeccable de votre modele n'est
(
I
.
xx
).
realisable que sur des voies vraiment propres.
A
ces fins nous vous recommandons notre wagon-
nettoyeur ROCO ref.
46400
ou
-
en cas d'un
encrassement plus considerable de la voie
-
notre
gomme de neitoyage ROCO ref.
10002.

I
Wartung und Pflege des Modells
Damit IhnenIhr Modell lange Freude bereitet sind
regelmäßig
(ca.
alle
30
Betriebsstunden) gewisse
Servicearbeiten zweckmäßig:
1.
Rein-der Radstrornkontakte' Rad-
~omkontdkrekonnen auf unsa.oerrn Sch rnrn
leicht verschmutzen. Bitte entfernen Sie vor-
sichtig mit vin~mkleinenPinw den Schrnman
den n lig
10
grkrnnzeicnneten
Stp
Ien
2.
=rung: Versehen Sie die im Schm erpian
inFia
9
aenennzeichnetenStellenmit nur kleinen
ÖltrÖpfen. Dazu zuerstdas Lokgehäuse bzw. den
Getriebedeckel abnehmen (Fig. 6 bzw.
9
).
Wir
empfehlen den ROCO-Öler
Art.
Nr.
10906.
Zur
Schmierung der Getriebeteile (Zahnräder,
Schnecke) empfehlen wir das ROCO-Spezialfett
10905.
Im Falle der Schmierung diese Teile bitte
nicht ölen.
O
Zusammenbau
3.
Haftreifenwechsel: RadsaQ herausnehmen
und den Haftreifen mit einer Nadel oder mit
einemfeinen Schraubendreherabziehen (Fiq.
12).
ReimAuiziehcn dcs nexnHaitreifensbttt~daraui
achten. nass deser
s
ch nicht verdreht
4.
Kohlebürstenwechsel: Lokgehause abneh-
men (Fig. 6). Danachwird der Motor ausgebaui
unddie Kohlebürsten ausgewechselt (Fig.
11
).
0
Zusammenbau
Zusammenbau: Bitte achten Sie beim Zusam-
menbauauf die richtigeLage der Kontakte.
Wir wünschengute Fahrt!

Ersatzteile zum Nachbestellen Order nos for various spare parts
Les referencesdes pieces de rechange Pezzi di ricambio Onderdelen
Achtung! Bei unrathgernäßern Gebrauch besteht
Verletzungr- gefahr durch funküonrbedingte wharfe Kanten
und Spitzen
i
Attention! At
an
incorrert urethweexiss
danger
of
huning
beraure
ofcuningedgerand
ti-
.
Attention! I1
y
a
danger deblerrure
i
un
ernploi
inmrren
a
caure
der aiguiller
et
ar6teter viver!
.
VoodrMig! Bij
ondoeimatiggebruik hrtaatverwandigsge~ardwr
sherpe
zijkanten en uitrteekrelr!
.
Attenzione!
Un
inap-pmpriata
ur0
carnpona periiolodiferirnenti anraverio punte
e
rpignoli
taglienti!
.
Atendon!
Un
ernploe
inrorrerta
puede
caurar
caurar
heridar debido
a
las puntai
y
aiirtar agudar!
-
Atencao!
Por
utilizacao tncorrecta exirte
o
periga de estragar,
em
vinude
de ioner
nar
abar
e
nar
pontar!
.
Bemaeik!
Ved "korrekt
biugkan de funktionrbetingederkarpe kanter agrpidrer
forvolde rkade!
.I
Ipu<"~@
Hrrnarahhqhq
~pqoq
eyrheiei
rivöiivoui
uxoor
oiruuariouv.
~EainaE
ronrsriov
851
11
40500
Änderunoen
von
Konrtruktim undAurführuna vorbehalten!
.
CUSK
-
Ndvad
na
montdt itavebnice:Piedrtavbou petiive prartu-
dultepiiioien?ndvod
r
vyabiazenim.lednotlivedyoddelte od lirirh
ramfku
a
zafist6temodeldirk~m
nofem
nebo pinikem Di!y roriiidte
dle vyobraieni
a
portupnerlepujtepodle poiadijednotlivYrh
rtavebnich kroku.
K
lepeni pouiiveite lepidaurfend pro plaitik~
rtavebini-e.
89743
40360
ModelleisenbahnGmbH
ER""
Kohlebüßten
Carbon brushes
Balais
de
charbon
Beleuchtungssatz
Lighting
Set
Kit
d'eclairage
interieur
A-5101 Bergheim
Plainbachstraße
4
Tel.: +43 (015 7626
8063130-920 111/11
This manual suits for next models
2
Table of contents
Languages:
Other roco Toy manuals
Popular Toy manuals by other brands

Premier Kites
Premier Kites Mesh French Rear Top Assembly instructions

Vollmer
Vollmer 47530 Mounting instruction

SPYCODE
SPYCODE Operation Escape Room manual

Fisher-Price
Fisher-Price 75547 Owner's manual with assembly instructions

marklin
marklin ER 20 MRCE manual

Lionel
Lionel O-27 Santa Fe FT Passenger set How to use

RJX Hobby
RJX Hobby X-TREME 50 Assembly instructions

Eduard
Eduard Yak-38 interior Assembly instructions

POOPSIE
POOPSIE Rainbow Surprise manual

Hasbro
Hasbro Spiderman 3 New Goblin Spider Slayer 69129 instruction manual

HobbyZone
HobbyZone HobbyZone instruction manual

Mega Bloks
Mega Bloks Block Buddies My Pirat Ship instructions