manuals.online logo
Brands
  1. Home
  2. •
  3. Brands
  4. •
  5. Sauder
  6. •
  7. Indoor Furnishing
  8. •
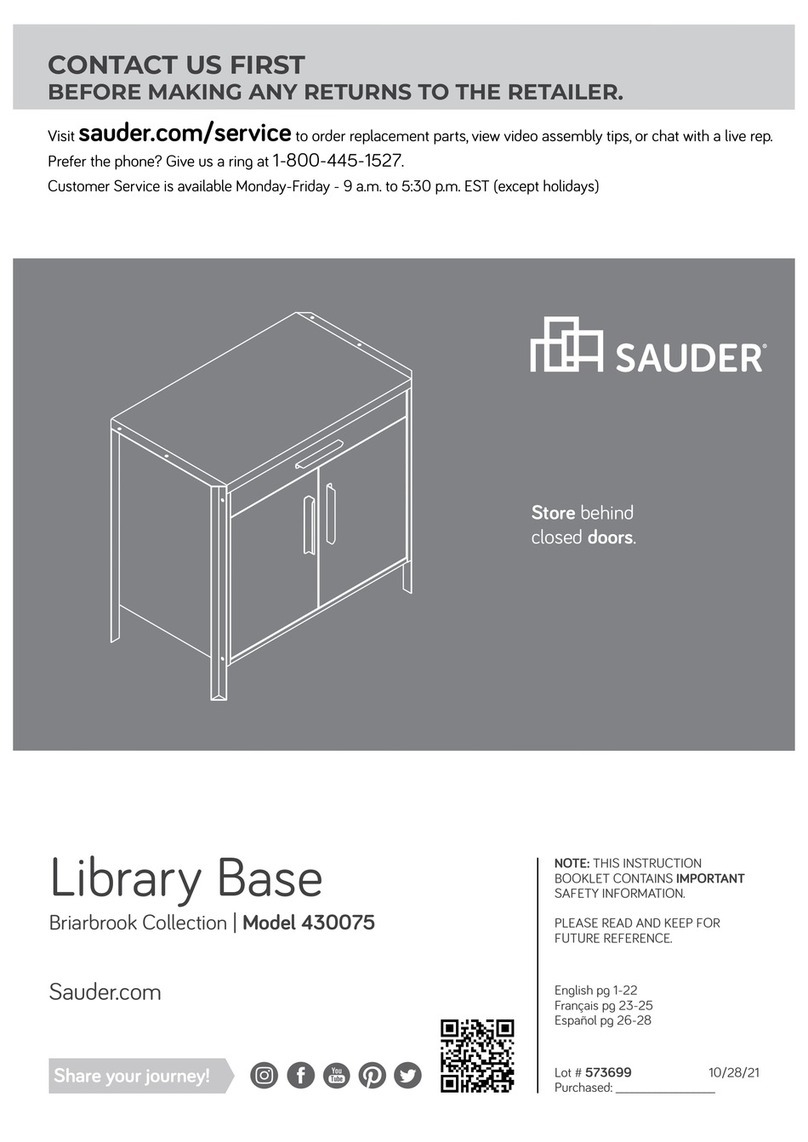
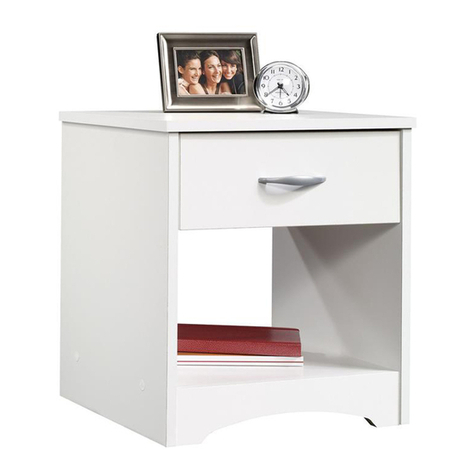
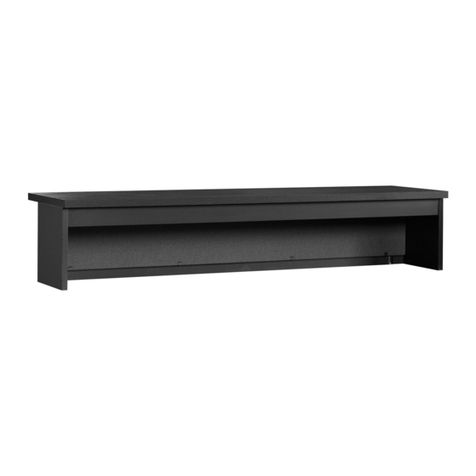
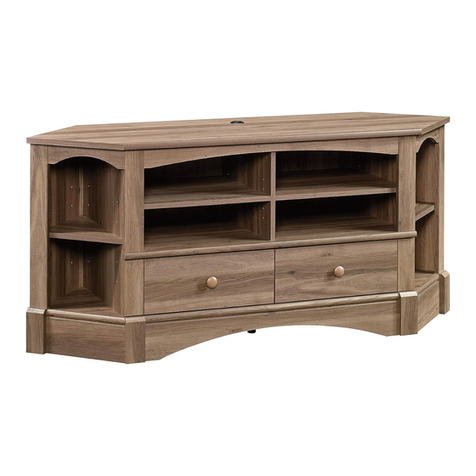
  9. Sauder 414443 User manual

Sauder 414443 User manual

NOTE: THIS INSTRUCTION
BOOKLET CONTAINS IMPORTANT
SAFETY INFORMATION.
PLEASE READ AND KEEP FOR
FUTURE REFERENCE.
English pg 1-22
Français pg 23-25
Español pg 26-28
Lot # 361493 04/03/14
Purchased: __________________
Be sure to give us a ring before
making any returns. 1-800-523-3987
Sofa Table
Carson Forge Collection | Model 414443
Need help? Visit Sauder.com to view video assembly tips or chat with a live rep.
Prefer the phone? Call 1-800-523-3987.
Share your journey!
sauder.com
Gets on your couch’s
good side.
Table of Contents Assembly Tools Required
2-3
4
5-22
23-25
26-28
29-30
31
Part Identification
Hardware Identification
Assembly Steps
Français
Español
Safety
Warranty
Hammer
Not actual size
No. 2 Phillips Screwdriver
Tip Shown Actual Size
Skip the power trip.
This time.
414443 www.sauder.com/servicesPage 2
Part Identification
åWhile not all parts are labeled, some of the parts will have a label or an inked letter on the edge
to help distinguish similar parts from each other. Use this part identification to help identify similar parts.
A RIGHT END (1)
B LEFT END (1)
C UPRIGHT (1)
D TOP (1)
D75 DRAWER BACK (2)
D83 RIGHT DRAWER SIDE (2)
D84 LEFT DRAWER SIDE (2)
D721 DRAWER BOTTOM (2)
E SHELF (1)
F MODESTY PANEL (1)
G BACK (1)
H BRACE (1)
I RIGHT REAR LEG (1)
J LEFT REAR LEG (1)
K RIGHT FRONT LEG (1)
L LEFT FRONT LEG (1)
M BACK SKIRT (1)
N SIDE SKIRT (2)
O RIGHT DRAWER FRONT (1)
P LEFT DRAWER FRONT (1)
Part Identification Now you know
our ABCs.
414443www.sauder.com/services Page 3
A
B
C
D
E
F
G
H
I
J
K
L
M
N
P
N
D721
D83
D84
D75
O
D721
D83
D84
D75
Hardware Identification
åScrews are shown actual size. You may receive extra hardware with your unit.
414443 www.sauder.com/servicesPage 4
FOOT - 4
10E
TLEFT DRAWER
SLIDE - 2
8E CORNER ACCENT - 2
BLACK 1-7/8" FLAT HEAD SCREW - 1
2S
SILVER 5/8" MACHINE SCREW - 6
15S
GOLD 5/16" FLAT HEAD SCREW - 16
3S
HIDDEN CAM - 32
1F
CAM SCREW - 14
8F
CAM DOWEL - 18
2F WOOD DOWEL - 10
15F
GLUE - 1
54M CAM COVER - 2
12P
TACK GLIDE - 4
12E
BROWN 9/16" LARGE HEAD SCREW - 17
40S
SLIDE CAM - 4
10A
METAL FRAME - 1
25M METAL BAR - 2
26M
PULL - 2
53K
RIGHT DRAWER
SLIDE - 2
S
LEFT CABINET
RAIL - 2
R
RIGHT CABINET
RAIL - 2
Q
30S BLACK 1-9/16" FLAT HEAD SCREW - 8
Step 1 Look for this icon. It means a
video assembly tip is available at
www.sauder.com/services/tips
å Assemble your unit on a carpeted floor or on the empty
carton to avoid scratching your unit or the floor.
å Push thirty-two HIDDEN CAMS (1F) into the ENDS (A and B),
UPRIGHT (C), SHELF (E), BACK (G), BRACE (H), and SIDE
SKIRTS (N). Then, insert the metal end of eighteen CAM
DOWELS (2F) into the HIDDEN CAMS in the ENDS, UPRIGHT,
SHELF, BACK, and BRACE.
414443www.sauder.com/services Page 5
H
A
B
C
G
N
N
E
Arrow
1F
2F
Arrow
1F
(18 used)
(32 used)
Insert the metal end of the CAM
DOWEL into the HIDDEN CAM.
Arrow
Do not tighten the HIDDEN CAMS in this step.
Arrow
Do not insert CAM
DOWELS into these
HIDDEN CAMS.
Do not insert
CAM DOWELS
into these edges.
Hole
Step 2
å Turn fourteen CAM SCREWS (8F) into the LEGS (I, J, K, and L).
å NOTE: Be sure to use the exact holes shown.
414443 www.sauder.com/servicesPage 6
K
L
J
I
8F
8F
8F
Remember:
Righty tighty.
Lefty loosey.
(14 used)
å Fasten a CORNER ACCENT (8E) to each FRONT LEG (K and L).
Use two SILVER 5/8" MACHINE SCREWS (15S).
Step 3
414443www.sauder.com/services Page 7
8E
8E
K
L
Angled edge
Angled edge
SILVER 5/8" MACHINE SCREW
(2 used in this step)
15S
Step 4
å First, fill the hole in the side of each LEG (I, J, K, and L) 1/4 to 1/2 full with
GLUE (54M). Then, insert four WOOD DOWELS (15F) into the holes. Wipe
away the excess GLUE.
å Now, fill the holes in the SIDE SKIRTS (N) 1/4 to 1/2 full with GLUE (54M).
å Fasten the LEGS (I, J, K, and L) to the ENDS (A and B) and SIDE SKIRTS (N).
Tighten twelve HIDDEN CAMS.
å NOTE: Be sure the WOOD DOWELS (15F) in the LEGS (I, J, K, and L) insert
into the holes in the SIDE SKIRTS (N). Wipe away the excess GLUE.
414443 www.sauder.com/servicesPage 8
B
A
N
N
K
I
L
J
15F
15F
Fill the holes 1/4 to 1/2 full with GLUE.
Inspect the parts thoroughly before
assembling. Disassembly of glued
parts is extremely dicult.
Caution
!
54M
Finished edge
Surface with
HIDDEN CAMS
Angled edge
Surface with
HIDDEN CAMS
Finished edge
Edge and surface
with HIDDEN CAMS
12
Angled edge
Angled edge
Edge and surface
with HIDDEN CAMS
å Fasten the CABINET RAILS (Q and R) to the ENDS (A and B)
and both surfaces of the UPRIGHT (C). Use eight GOLD 5/16"
FLAT HEAD SCREWS (3S) through holes #1 and #3.
å NOTE: The CABINET RAILS are marked "CABINET RIGHT"
and "CABINET LEFT" for easy identification.
Step 5
414443www.sauder.com/services Page 9
B
A
K
L
Q
R
1
2
3
3
2
1
C
Q
R
3
2
1
Roller end
Finished edge
Roller end
Roller end
Roller end
Surface with
HIDDEN CAMS
GOLD 5/16" FLAT HEAD SCREW
(8 used in this step)
3S
3
2
1
Step 6
å Wrap the METAL FRAME (25M) around the MODESTY
PANEL (F). Then, fasten the METAL FRAME to the
MODESTY PANEL. Use eight BROWN 9/16" LARGE
HEAD SCREWS (40S).
å Cross the METAL BARS (26M) and line up the center
holes in the BARS. Then, fasten the METAL BARS to the
MODESTY PANEL (F). Use five BROWN 9/16" LARGE
HEAD SCREWS (40S).
414443 www.sauder.com/servicesPage 10
F
Surface with holes
26M
26M
25M
25M
BROWN 9/16" LARGE HEAD SCREW
(13 used in this step)
40S
å Fasten the BACK SKIRT (M) to the SHELF (E). Tighten two
HIDDEN CAMS.
Step 7
414443www.sauder.com/services Page 11
M
E
Surface with
HIDDEN CAMS
Start Tighten
Arrow
Minimum
190 degrees
Caution
Risk of damage or
injury. HIDDEN CAMS
must be completely
tightened. HIDDEN
CAMS that are not
completely tightened
may loosen, and parts
may separate. To
completely tighten:
Arrow
Maximum
210 degrees
Rounded edge
Long unfinished edge
Step 8
å First, fill the hole in the edge of the BACK SKIRT (M) 1/4
to 1/2 full with GLUE (54M). Then, insert a WOOD
DOWEL (15F) into the hole. Wipe away the excess GLUE.
å Now, fill the large hole in the RIGHT REAR LEG (I) 1/4 to
1/2 full with GLUE (54M).
å Fasten the SHELF (E) to the SIDE SKIRT (N). Tighten two
HIDDEN CAMS.
å NOTE: Be sure the WOOD DOWEL (15F) in the BACK
SKIRT (M) inserts into the hole in the RIGHT REAR LEG (I).
Wipe away the excess GLUE.
414443 www.sauder.com/servicesPage 12
M
E
A
N
I
Surface
with
HIDDEN
CAMS
15F
Fill the holes 1/4 to 1/2 full with GLUE.
Inspect the parts thoroughly before
assembling. Disassembly of glued
parts is extremely dicult.
Caution
!
54M
Arrow
Minimum
190 degrees
Maximum
210 degrees
Roller end
å Fasten the BACK (G) to the RIGHT REAR LEG (I). Tighten
one HIDDEN CAM.
å Fasten the BRACE (H) to the RIGHT END (A). Tighten two
HIDDEN CAMS.
Step 9
414443www.sauder.com/services Page 13
A
I
H
G
Arrow
Minimum
190 degrees
Maximum
210 degrees
Surface
with
HIDDEN
CAMS
Edge and surface
with HIDDEN CAMS
Rounded edge
Step 10
å First, fill the hole in the edge of the LEFT REAR LEG (J)
1/4 to 1/2 full with GLUE (54M). Then, insert a WOOD
DOWEL (15F) into the hole. Wipe away the excess GLUE.
å Now, fill the hole in the BACK SKIRT (M) 1/4 to 1/2 full
with GLUE (54M).
å Fasten the LEFT END (B), LEFT REAR LEG (J), and SIDE
SKIRT (N) to the SHELF (E), BACK (G), and BRACE (H).
Tighten five HIDDEN CAMS.
å NOTE: Be sure the WOOD DOWEL (15F) in the LEFT
REAR LEG (J) inserts into the hole in the BACK SKIRT (M).
Wipe away the excess GLUE.
414443 www.sauder.com/servicesPage 14
15F
H
G
B
E
M
N
J
Fill the holes 1/4 to 1/2 full with GLUE.
Inspect the parts thoroughly before
assembling. Disassembly of glued
parts is extremely dicult.
Caution
!
54M
Arrow
Minimum
190 degrees
Maximum
210 degrees
å Carefully lay your unit on its front edges.
å Fasten the MODESTY PANEL (F) to the BACK (G) and
BACK SKIRT (M). Use four BROWN 9/16" LARGE HEAD
SCREWS (40S) through the METAL BARS (26M) and into
the holes in the BACK and BACK SKIRT.
Step 11
414443www.sauder.com/services Page 15
Surface without
METAL BARS
G
M
F
26M
26M
BROWN 9/16" LARGE HEAD SCREW
(4 used in this step)
40S
Step 12
å Push a FOOT (10E) over the bottom edge of
each LEG (I, J, K, and L).
å With a hammer, gently tap a TACK GLIDE (12E)
through the holes of the FEET (10E).
414443 www.sauder.com/servicesPage 16
J
I
K
L
10E
10E
12E
å Carefully stand your unit upright.
å Fasten the UPRIGHT (C) to the BRACE (H). Use a BLACK
1-7/8" FLAT HEAD SCREW (2S).
Step 13
414443www.sauder.com/services Page 17
C
H
Finished edge
Surface with
HIDDEN CAMS
BLACK 1-7/8" FLAT HEAD SCREW
(1 used in this step)
2S
Pro Tip: Lift with your
legs. And, you know,
your arms.
Step 14
å First, fill the four holes in the TOP (D) 1/4 to 1/2 full with GLUE (54M). Then,
insert the WOOD DOWELS (15F) into the holes. Wipe away the excess GLUE.
å Now, fill the four holes in the LEGS (I, J, K, and L) 1/4 to 1/2 full with GLUE (54M).
å Fasten the TOP (D) to the ENDS (A and B), UPRIGHT (C), and BACK (G).
Tighten eight HIDDEN CAMS.
å NOTE: Be sure the WOOD DOWELS (15F) in the TOP (D) insert into the holes in
the LEGS (I, J, K, and L). Wipe away the excess GLUE.
414443 www.sauder.com/servicesPage 18
DD
15F
GC
A
B
K
L
J
I
Fill the holes 1/4 to 1/2 full with GLUE.
Inspect the parts thoroughly before
assembling. Disassembly of glued
parts is extremely dicult.
Caution
!
54M Rounded edge
Rounded edge
Surface
with holes
Step 15
414443www.sauder.com/services Page 19
VIEW THE T-LOCK BOX VIDEO
å Fasten the DRAWER BACK (D75) to the DRAWER SIDES (D83 and D84).
Use four BLACK 1-9/16" FLAT HEAD SCREWS (30S).
å NOTE: Be sure the DRAWER BOTTOM (D721) inserts into the groove in the
DRAWER BACK (D75)
å Repeat this step for the other drawer using the LEFT DRAWER FRONT (P).
12
3
å Insert the DRAWER SIDES (D83 and D84) at an
angle into the slot at each end of the RIGHT
DRAWER FRONT (O).
å Slide the DRAWER BOTTOM (D721) into the grooves
in the DRAWER SIDES (D83 and D84) and RIGHT
DRAWER FRONT (O).
The tabs should insert freely
into the slots. Gently tilt the
DRAWER SIDES side to side
until the tabs slip into the slots.
Groove
Be sure the DRAWER
BOTTOM inserts into the
DRAWER FRONT groove.
D83
D84
D721
D721
D83
D84
D75
D84
OO
Unfinished
surface
With the palm of your
hand, tap the DRAWER
BOTTOM down into
the groove.
D83
Start each screw a few turns before
completely tightening any of them.
BLACK 1-9/16" FLAT HEAD SCREW
(8 used in this step)
30S
Step 16
å Insert a SLIDE CAM (10A) into the DRAWER SIDES (D83 and D84).
å Fasten the DRAWER SLIDES (S and T) to the DRAWER SIDES (D83 and D84).
Use four GOLD 5/16" FLAT HEAD SCREWS (3S) through holes #1 and #3.
å NOTE: The DRAWER SLIDES are marked "DRAWER RIGHT" and "DRAWER
LEFT" for easy identification.
å NOTE: The screw head in the CAM must be visible through the slotted hole in
the SLIDE.
å Fasten a PULL (53K) to the RIGHT DRAWER FRONT (O). Use two SILVER 5/8"
MACHINE SCREWS (15S).
å Repeat this step for the other drawer.
414443 www.sauder.com/servicesPage 20
O
53K
S
T
Screw head - turn CAM to line up holes
in SLIDES with holes in DRAWER SIDES.
10A
10A
D83
D84
32
1
Roller end
Roller end
32
1
SILVER 5/8" MACHINE SCREW
(4 used for the PULLS)
15S
GOLD 5/16" FLAT HEAD SCREW
(8 used in this step)
3S

Other Sauder Indoor Furnishing manuals
Sauder Costa L-Desk 419956 User manual

Sauder

Sauder Costa L-Desk 419956 User manual

Sauder HomePlus 411591 User manual

Sauder

Sauder HomePlus 411591 User manual

Sauder New Grange 420021 User manual

Sauder

Sauder New Grange 420021 User manual

Sauder 402905 User manual

Sauder

Sauder 402905 User manual

Sauder County Line 416977 User manual

Sauder

Sauder County Line 416977 User manual

Sauder Manhattan Gate 429254 User manual

Sauder

Sauder Manhattan Gate 429254 User manual

Sauder Soft Modern 415138 User manual

Sauder

Sauder Soft Modern 415138 User manual

Sauder Via 422624 User manual

Sauder

Sauder Via 422624 User manual

Sauder Nova Loft 423720 User manual

Sauder

Sauder Nova Loft 423720 User manual

Sauder 418735 User manual

Sauder

Sauder 418735 User manual

Sauder Pogo 414435 User manual

Sauder

Sauder Pogo 414435 User manual

Sauder Via 419708 User manual

Sauder

Sauder Via 419708 User manual

Sauder Worksense BERGEN CIRCLE 426298 User manual

Sauder

Sauder Worksense BERGEN CIRCLE 426298 User manual

Sauder Via 419609 User manual

Sauder

Sauder Via 419609 User manual
Sauder Night Stand 423434 User manual

Sauder

Sauder Night Stand 423434 User manual

Sauder Stockbridge 409128 User manual

Sauder

Sauder Stockbridge 409128 User manual

Sauder 414129 User manual

Sauder

Sauder 414129 User manual

Sauder 415978 User manual

Sauder

Sauder 415978 User manual

Sauder Worksense BERGEN CIRCLE 427476 User manual

Sauder

Sauder Worksense BERGEN CIRCLE 427476 User manual

Sauder worksense BERGEN CIRCLE 426290 User manual

Sauder

Sauder worksense BERGEN CIRCLE 426290 User manual

Sauder DESIGNER'S IMAGE 430621 User manual

Sauder

Sauder DESIGNER'S IMAGE 430621 User manual

Sauder Beginnings 414291 User manual

Sauder

Sauder Beginnings 414291 User manual

Sauder 414254 User manual

Sauder

Sauder 414254 User manual

Sauder Shoal Creek 422194 User manual

Sauder

Sauder Shoal Creek 422194 User manual

Popular Indoor Furnishing manuals by other brands

Arrow JUDY 101 owner's manual

Arrow

Arrow JUDY 101 owner's manual

modway Caima MOD-6190 manual

modway

modway Caima MOD-6190 manual

Dahlia YO888 Assembly instructions

Dahlia

Dahlia YO888 Assembly instructions

ANREX VALENCIA 4DG2S Z Instructions for assembly

ANREX

ANREX VALENCIA 4DG2S Z Instructions for assembly

BUT JACK 4894223213707 Assembly instructions

BUT

BUT JACK 4894223213707 Assembly instructions

Safavieh Furniture Landers CNS5710 quick start guide

Safavieh Furniture

Safavieh Furniture Landers CNS5710 quick start guide

Hartmann BELITEC Assembly instructions

Hartmann

Hartmann BELITEC Assembly instructions

HOMCOM 839-013 Assembly instructions

HOMCOM

HOMCOM 839-013 Assembly instructions

Mocka Easton Buffet Assembly instructions

Mocka

Mocka Easton Buffet Assembly instructions

SEI BC401700TX Assembly instructions

SEI

SEI BC401700TX Assembly instructions

DIVERSIFIED WOODCRAFTS X7000 SERIES Assembly instructions

DIVERSIFIED WOODCRAFTS

DIVERSIFIED WOODCRAFTS X7000 SERIES Assembly instructions

Ballard Designs Andrews SL041 manual

Ballard Designs

Ballard Designs Andrews SL041 manual

Great Little Trading Alba L4467 manual

Great Little Trading

Great Little Trading Alba L4467 manual

Alice's Home LOFT ILFBH145 Assembly instructions

Alice's Home

Alice's Home LOFT ILFBH145 Assembly instructions

CASARIA Deuba 8+1 Rattanset Wide Leg Edition Braun... instructions

CASARIA

CASARIA Deuba 8+1 Rattanset Wide Leg Edition Braun... instructions

Alice's Home Mika IMKBUFFET160 manual

Alice's Home

Alice's Home Mika IMKBUFFET160 manual

Furinno 19211 Assembly instruction

Furinno

Furinno 19211 Assembly instruction

SPIELWERK Beetle DBBS002 Assembly instruction

SPIELWERK

SPIELWERK Beetle DBBS002 Assembly instruction

manuals.online logo
manuals.online logoBrands
  • About & Mission
  • Contact us
  • Privacy Policy
  • Terms and Conditions

Copyright 2025 Manuals.Online. All Rights Reserved.