manuals.online logo
Brands
  1. Home
  2. •
  3. Brands
  4. •
  5. Sauder
  6. •
  7. Indoor Furnishing
  8. •
  9. Sauder Via 419609 User manual

Sauder Via 419609 User manual

NOTE: THIS INSTRUCTION
BOOKLET CONTAINS IMPORTANT
SAFETY INFORMATION.
PLEASE READ AND KEEP FOR
FUTURE REFERENCE.
English pg 1-22
Français pg 23-25
Español pg 26-28
Lot # 376519 09/22/15
Purchased: __________________
Be sure to give us a ring before
making any returns. 1-800-523-3987
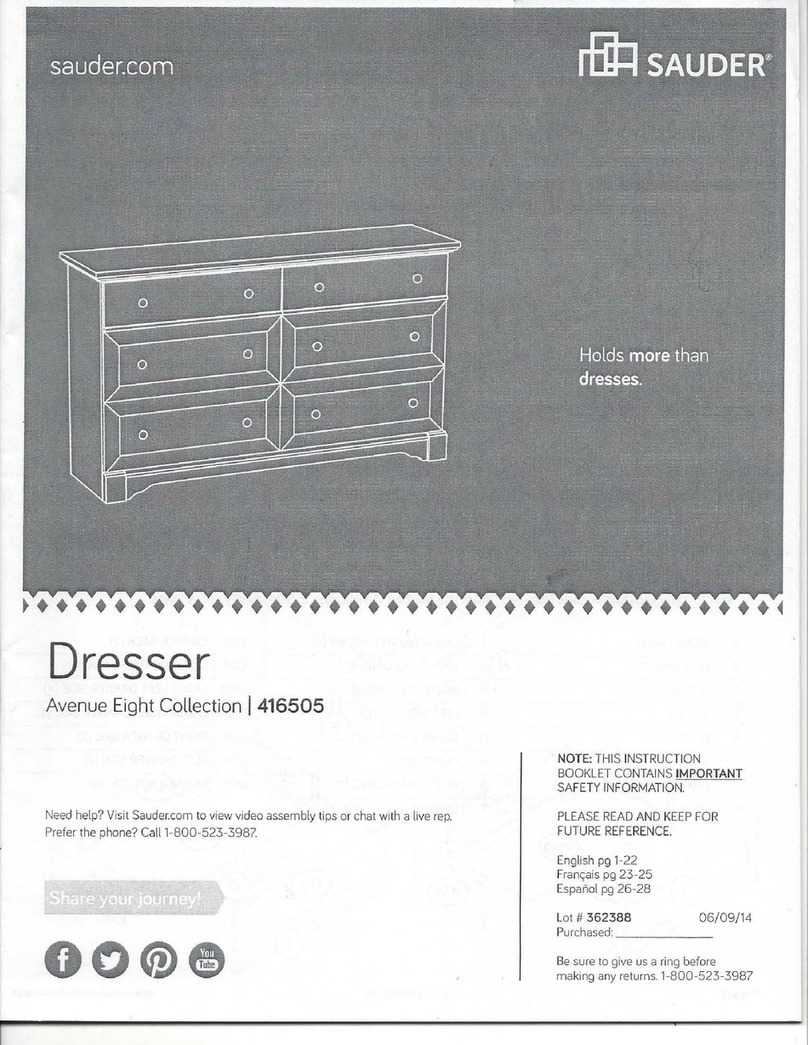
Two Drawer Pedestal
Via Collection | Model 419609
Need help? Visit Sauder.com to view video assembly tips or chat with a live rep.
Prefer the phone? Call 1-800-523-3987.
Share your journey!
sauder.com
Get all organized
and stu.
Table of Contents Assembly Tools Required
3
4
5-22
23-25
26-28
29-30
31
Part Identification
Hardware Identification
Assembly Steps
Français
Español
Safety
Warranty
Hammer
Not actual size
No. 2 Phillips Screwdriver
Tip Shown Actual Size
Skip the power trip.
This time.
419609 www.sauder.com/servicesPage 2
Part Identification
åWhile not all parts are labeled, some of the parts will have a label or an inked letter on the edge
to help distinguish similar parts from each other. Use this part identification to help identify similar parts.
A RIGHT END (1)
B LEFT END (1)
C TOP (1)
D BOTTOM (1)
E BACK (1)
F DRAWER FRONT (1)
G UPPER DRAWER FRONT (1)
H SECURITY SHELF (1)
I BASE (1)
D78 DRAWER BACK (2)
D494 DRAWER RIGHT SIDE (2)
D495 DRAWER LEFT SIDE (2)
D708 DRAWER BOTTOM (2)
Now you know
our ABCs.
419609www.sauder.com/services Page 3
A
B
C
D
E
F
G
H
I
D494
D495
D708
D78
D494
D495
D708
D78
Hardware Identification
åScrews are shown actual size. You may receive extra hardware with your unit.
419609 www.sauder.com/servicesPage 4
(EXTENSION SET SHOWN SEPARATED)
EXTENSION RAIL - 4
JEXTENSION SLIDE - 4
K
FILE ROD - 4
8B
FILE GLIDE - 4
6B
NON-SWIVEL
CASTER - 2
8CN SWIVEL
CASTER - 2
8CS
34G INTERLOCK
MECHANISM - 1
DRAWER
ACTUATOR - 2
62G
BLACK 9/16" PAN HEAD SCREW - 3
51S
METAL
BRACKET - 3
4G
BLACK 9/16" LARGE HEAD SCREW - 22
1S
SUPPORT PIN - 4
4R
BROWN 7/16" LARGE HEAD SCREW - 2
6S
BLACK 7/8" MACHINE SCREW - 4
37S
7F TWIST-LOCK®
FASTENER - 12
3S GOLD 5/16" FLAT HEAD SCREW - 16
METAL PIN - 4
1R
10A SLIDE CAM - 4
BLACK 1/2" FLAT HEAD SCREW - 10
11S
LOCK
BRACKET - 2
5J LOCK COVER - 2
10J
30S BLACK 1-9/16" FLAT HEAD SCREW - 8
PULL - 2
12K TOUCH-UP PEN - 1
10M
LOCK - 2
16J
Step 1 Look for this icon. It means a
video assembly tip is available at
www.sauder.com/services/tips
å Assemble your unit on a carpeted floor or on the
empty carton to avoid scratching your unit or the floor.
å To begin assembly, push a SAUDER TWIST-LOCK®
FASTENER (7F) into the large holes in the ENDS (A
and B), BOTTOM (D), and BACK (E).
419609www.sauder.com/services Page 5
Do not tighten the TWIST-LOCK® FASTENERS in this step.
(12 used)
7F
A
B
D
E
7F
7F
Step 2
419609 www.sauder.com/servicesPage 6
å Separate the EXTENSION SLIDES (K) from the EXTENSION
RAILS (J) as shown in the enlarged diagram below. Be
prepared, the parts are greasy.
å Fasten the EXTENSION RAILS (J) to the ENDS (A and B). Use
eight GOLD 5/16" FLAT HEAD SCREWS (3S).
å NOTE: For each EXTENSION RAIL, turn a SCREW into the
hole shown in the enlarged diagram. Then, slide the inner
cartridge of the EXTENSION RAIL in to find the other hole that
lines up with the hole in the END. Turn a SCREW into this hole.
GOLD 5/16" FLAT HEAD SCREW
(8 used in this step)
3S
Push the black lever in and pull the SLIDE from the RAIL.
B
4
Open end
Open end
Surface with
TWIST-LOCK®
FASTENERS
A
Surface with
TWIST-LOCK®
FASTENERS
JK
J
J
J
J
Edge with
TWIST-LOCK®
FASTENERS
Edge with
TWIST-LOCK®
FASTENERS
This hole
must be here.
This hole
must be here.
å Using your hammer, gently tap four SUPPORT PINS (4R)
into the exact holes shown in the ENDS (A and B).
å Fasten the INTERLOCK MECHANISM (34G) to the
RIGHT END (A). Use three BLACK 9/16" PAN
HEAD SCREWS (51S).
Step 3
419609www.sauder.com/services Page 7
B
A
4R
Edge with
TWIST-LOCK®
FASTENERS
Edge with
TWIST-LOCK®
FASTENERS
34G
BLACK 9/16" PAN HEAD SCREW
(3 used in this step)
51S
This hole
must be here.
This hole
must be here.
Step 4
å Fasten the LEFT END (B) to the BACK (E). Tighten two
TWIST-LOCK® FASTENERS.
419609 www.sauder.com/servicesPage 8
B
E
Edge with
TWIST-LOCK®
FASTENERS
Surface with TWIST-LOCK® FASTENERS
Surface with
TWIST-LOCK®
FASTENERS
How to use the SAUDER TWIST-LOCK®FASTENER
1. Insert the dowel end of the FASTENER into the hole of the
adjoining part.
NOTE: The dowel end of the FASTENER must remain fully
inserted in the hole of the adjoining part while locking
the FASTENER.
2. Tighten the FASTENER with a Phillips screwdriver as tight
as possible.
Dowel end
å Insert four METAL PINS (1R) into the holes in the edges of
the SECURITY SHELF (H).
å Insert the METAL PINS in the straight edge of the
SECURITY SHELF (H) into the holes in the LEFT END (B).
Step 5
419609www.sauder.com/services Page 9
H
B
1R
1R
Notch
This hole must be here.
Unfinished surface
Some assembly
(and snacks) required.
Step 6
å Fasten the BOTTOM (D) to the LEFT END (B). Tighten two
TWIST-LOCK® FASTENERS.
419609 www.sauder.com/servicesPage 10
B
Surface with
TWIST-LOCK®
FASTENERS
D
This hole must be here.
å Fasten the RIGHT END (A) to the BOTTOM (D) and
BACK (E). Tighten four TWIST-LOCK® FASTENERS.
å NOTE: Be sure the METAL PINS in the edge of the
SECURITY SHELF (H) insert into the holes in the
RIGHT END.
Step 7
419609www.sauder.com/services Page 11
H
D
A
E
Edge with
TWIST-LOCK®
FASTENERS
Surface without
TWIST-LOCK®
FASTENERS
Step 8
å Fasten the TOP (C) to the ENDS (A and B). Tighten four
TWIST-LOCK® FASTENERS.
419609 www.sauder.com/servicesPage 12
C
This hole must be here.
B
A
Surface with holes
å Fasten the LOCK BRACKETS (5J) to the TOP (C) and
SECURITY SHELF (H). Use two BROWN 7/16" LARGE
HEAD SCREWS (6S).
Step 9
419609www.sauder.com/services Page 13
C
H
5J
BROWN 7/16" LARGE HEAD SCREW
(2 used in this step)
6S
Step 10
å Fasten the METAL BRACKETS (4G) to the ENDS (A and B)
and BOTTOM (D). Use three BLACK 9/16" LARGE
HEAD SCREWS (1S).
å NOTE: Be sure the edges of the METAL BRACKETS are even
with the edges of the ENDS and BOTTOM.
å Fasten the BASE (I) to the ENDS (A and B) and BOTTOM (D).
Use three BLACK 9/16" LARGE HEAD SCREWS (1S) through
the METAL BRACKETS and into the BASE.
419609 www.sauder.com/servicesPage 14
B
A
I
D
BLACK 9/16" LARGE HEAD SCREW
(6 used in this step)
1S
4G
4G
4G
å Fasten the NON-SWIVEL CASTERS (8CN) to the
BOTTOM (D) exactly as shown. Use eight BLACK 9/16"
LARGE HEAD SCREWS (1S).
å NOTE: The NON-SWIVEL CASTERS will be located closer
to the BASE (I).
å Fasten the SWIVEL CASTERS (8CS) to the BOTTOM (D).
Use eight BLACK 9/16" LARGE HEAD SCREWS (1S).
Step 11
419609www.sauder.com/services Page 15
BLACK 9/16" LARGE HEAD SCREW
(16 used in this step)
1S
8CS
8CN
D
I
Notch
Now might be a
good time to refresh
your drink.
Step 12
419609 www.sauder.com/servicesPage 16
VIEW THE T-LOCK BOX VIDEO
å Fasten the DRAWER BACK (D78) to the DRAWER SIDES (D494
and D495). Use four BLACK 1-9/16" FLAT HEAD SCREWS (30S).
å NOTE: Be sure the DRAWER BOTTOM (D708) inserts into the
groove of the DRAWER BACK (D78).
å Repeat this step for the other drawer.
12
3
å Insert the DRAWER SIDES (D494 and D495) at
an angle into the slot at each end of the UPPER
DRAWER FRONT (G).
å Slide the DRAWER BOTTOM (D708) into the grooves
in the DRAWER SIDES (D494 and D495) and UPPER
DRAWER FRONT (G).
The tabs should insert freely
into the slots. Gently tilt the
DRAWER SIDES side to side
until the tabs slip into the slots.
Groove
30S
Start each screw a few turns before
completely tightening any of them.
BLACK 1-9/16" FLAT HEAD SCREW
(8 used in this step)
Be sure the DRAWER
BOTTOM inserts into the
DRAWER FRONT groove.
D494
D495
D708
D708
D494
D495
D78
D495
GG
Unfinished
surface
With the palm of your
hand, tap the DRAWER
BOTTOM down into
the groove.
D494
Be sure the
DRAWER
BOTTOM
inserts into
the DRAWER
BACK groove.
Step 13
419609www.sauder.com/services Page 17
D495
D494
K
K
å Insert a SLIDE CAM (10A) into the DRAWER SIDES (D494 and D495).
å Fasten the EXTENSION SLIDES (K) to the DRAWER SIDES (D494
and D495). Use four GOLD 5/16" FLAT HEAD SCREWS (3S) through
holes #1 and #4.
å NOTE: Use the exact holes shown.
å NOTE: The screw head in the CAM must be visible through the
slotted hole in the SLIDE.
Open end
Screw head - turn CAM to line up holes in
the SLIDES with holes in DRAWER SIDES
1
2
3
4
1
2
3
4
10A
10A
Open end
GOLD 5/16" FLAT HEAD SCREW
(8 used in this step)
3S
(4 screws per drawer)
Step 14
å Fasten the PULLS (12K) to the DRAWER FRONTS (F and G). Use
four BLACK 7/8" MACHINE SCREWS (37S).
å Fasten the DRAWER ACTUATORS (62G) to the DRAWER RIGHT
SIDES (D494). Use six BLACK 1/2" FLAT HEAD SCREWS (11S).
å NOTE: Use the exact holes shown.
419609 www.sauder.com/servicesPage 18
G
F
BLACK 1/2" FLAT HEAD SCREW
(6 used for the ACTUATORS)
11S
BLACK 7/8" MACHINE SCREW
(4 used for the PULLS)
37S
62G
12K
12K
K
K
D494
D494
Use the holes located above
the EXTENSION SLIDE (K).
Use the holes located below
the EXTENSION SLIDE (K).
å Fasten a LOCK (16J) to the UPPER DRAWER FRONT (G). Use two
BLACK 1/2" FLAT HEAD SCREWS (11S).
å NOTE: Be sure the metal bar on the LOCK is facing the direction shown.
å Push a LOCK COVER (10J) over the key extension on the LOCK.
å Repeat this step for the other drawer.
Step 15
419609www.sauder.com/services Page 19
G
16J
10J
NOTE: For LOCK (16J), the
METAL BAR will bend away
from the KEY EXTENSION.
Metal bar
Key extension
BLACK 1/2" FLAT HEAD SCREW
(4 used in this step)
11S
Step 16
å Push a FILE GLIDE (6B) onto the DRAWER RIGHT SIDE (D494).
å Slide the FILE RODS (8B) into the FILE GLIDE (6B) on the
DRAWER RIGHT SIDE (D494).
å Slide another FILE GLIDE (6B) onto the other end of the FILE
RODS (8B), then press this FILE GLIDE over the DRAWER
LEFT SIDE (D495).
å Repeat this step for the other large drawer.
419609 www.sauder.com/servicesPage 20
G
Insert the FILE RODS into
the holes in the FILE GLIDES
depending on your file sizes.
D494
D495
6B
8B
6B
8B

Other Sauder Indoor Furnishing manuals
Sauder Clifford Place 433364 User manual

Sauder

Sauder Clifford Place 433364 User manual

Sauder 415541 User manual

Sauder

Sauder 415541 User manual

Sauder Beginnings 413037 User manual

Sauder

Sauder Beginnings 413037 User manual

Sauder Barrister Lane 418270 User manual

Sauder

Sauder Barrister Lane 418270 User manual

Sauder Tremont Row 427970 User manual

Sauder

Sauder Tremont Row 427970 User manual

Sauder 412091 User manual

Sauder

Sauder 412091 User manual

Sauder Beginnings 410421 User manual

Sauder

Sauder Beginnings 410421 User manual

Sauder OfficeWorks AFFIRM 426279 User manual

Sauder

Sauder OfficeWorks AFFIRM 426279 User manual

Sauder Corner Entertainment Credenza 403818 User manual

Sauder

Sauder Corner Entertainment Credenza 403818 User manual

Sauder Briarbrook 430072 User manual

Sauder

Sauder Briarbrook 430072 User manual

Sauder Barrister Lane 414108 User manual

Sauder

Sauder Barrister Lane 414108 User manual

Sauder 411615 User manual

Sauder

Sauder 411615 User manual

Sauder Carson Forge Technology Pier 412923 User manual

Sauder

Sauder Carson Forge Technology Pier 412923 User manual

Sauder Boulevard Cafe 422420 User manual

Sauder

Sauder Boulevard Cafe 422420 User manual

Sauder Palladia 422002 User manual

Sauder

Sauder Palladia 422002 User manual

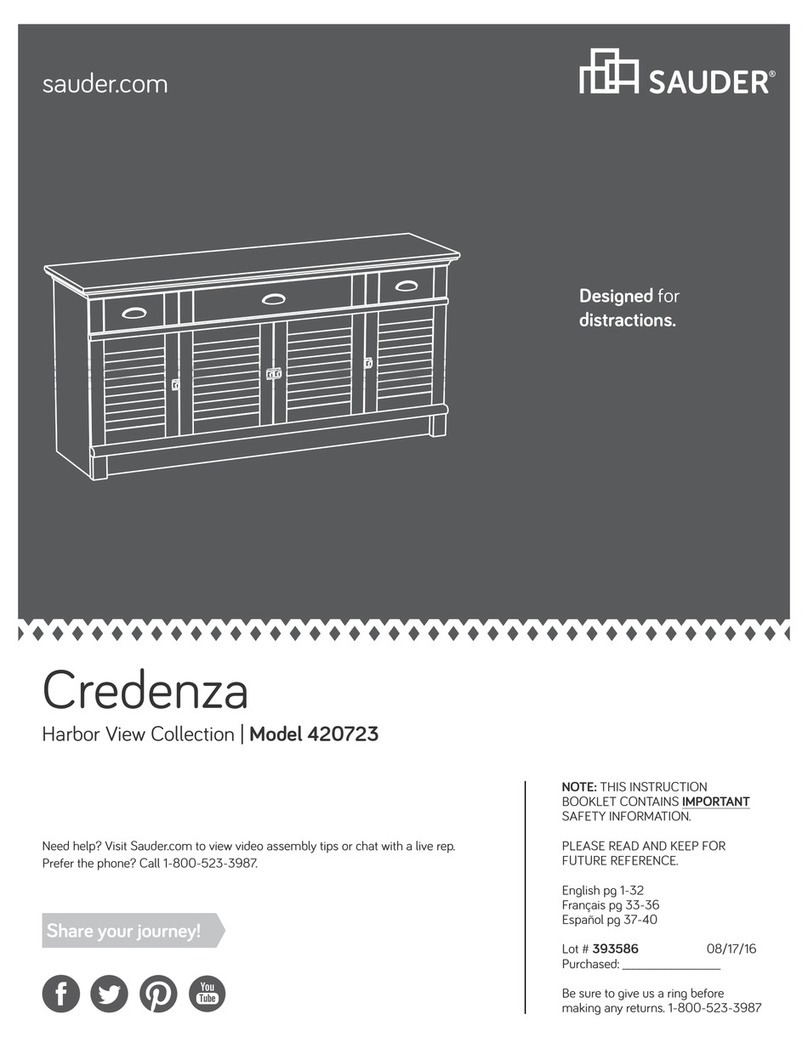
Sauder Credenza 420723 User manual

Sauder

Sauder Credenza 420723 User manual
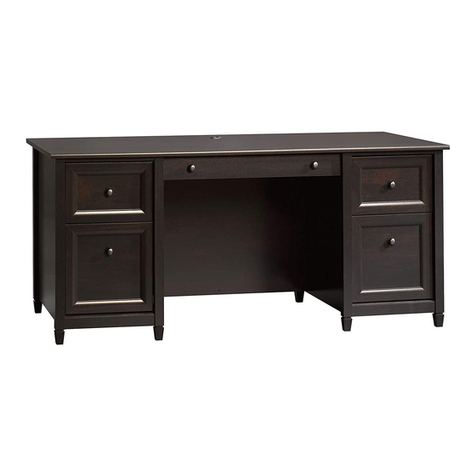
Sauder OFFICE WORKS AFFIRM 427448 User manual

Sauder

Sauder OFFICE WORKS AFFIRM 427448 User manual

Sauder Beginnings 424257 User manual

Sauder

Sauder Beginnings 424257 User manual

Sauder 426930 User manual

Sauder

Sauder 426930 User manual

Sauder Carson Forge 415117 User manual

Sauder

Sauder Carson Forge 415117 User manual

Sauder OfficeWorks AFFIRM 427440 User manual

Sauder

Sauder OfficeWorks AFFIRM 427440 User manual

Sauder worksense PALO ALTO 427795 User manual

Sauder

Sauder worksense PALO ALTO 427795 User manual

Sauder 414443 User manual

Sauder

Sauder 414443 User manual

Sauder 411985 User manual

Sauder

Sauder 411985 User manual

Popular Indoor Furnishing manuals by other brands

Gautier Office U01-SUNDAY 123 Assembly instructions

Gautier Office

Gautier Office U01-SUNDAY 123 Assembly instructions

Ticaa Jasmin 140 Instructions for use

Ticaa

Ticaa Jasmin 140 Instructions for use

overstock 194S8308-AC Assembly instruction

overstock

overstock 194S8308-AC Assembly instruction

Init NT-C1142 Assembly instructions

Init

Init NT-C1142 Assembly instructions

Home affaire Oslo 75157 Assembly instructions

Home affaire

Home affaire Oslo 75157 Assembly instructions

SACAGAWEA DESIGNS VK-1230 Assembly instructions

SACAGAWEA DESIGNS

SACAGAWEA DESIGNS VK-1230 Assembly instructions

Unfinished Furniture of Wilmington BE-20 Assembly instructions

Unfinished Furniture of Wilmington

Unfinished Furniture of Wilmington BE-20 Assembly instructions

Brevi Securella 300 Instructions for use

Brevi

Brevi Securella 300 Instructions for use

Mooreco Height Adjustable Flipper Assembly instructions

Mooreco

Mooreco Height Adjustable Flipper Assembly instructions

Homelegance Marrin 1444-5 Assembly instruction

Homelegance

Homelegance Marrin 1444-5 Assembly instruction

Opera FLO instructions

Opera

Opera FLO instructions

Gateway Office Furniture 5CSSBE2-DG operating manual

Gateway Office Furniture

Gateway Office Furniture 5CSSBE2-DG operating manual

Kimball Alterna Assembly instructions

Kimball

Kimball Alterna Assembly instructions

Costway GP GOPLUS HW66330 user manual

Costway

Costway GP GOPLUS HW66330 user manual

World Market 543575 Assembly instructions

World Market

World Market 543575 Assembly instructions

STRUCTUBE ANJOU Assembly instructions

STRUCTUBE

STRUCTUBE ANJOU Assembly instructions

Ovela THEODORE OVTHEODRKGA user guide

Ovela

Ovela THEODORE OVTHEODRKGA user guide

Star 73-1515 Assembly instructions

Star

Star 73-1515 Assembly instructions

manuals.online logo
manuals.online logoBrands
  • About & Mission
  • Contact us
  • Privacy Policy
  • Terms and Conditions

Copyright 2025 Manuals.Online. All Rights Reserved.