manuals.online logo
Brands
  1. Home
  2. •
  3. Brands
  4. •
  5. Sauder
  6. •
  7. Indoor Furnishing
  8. •
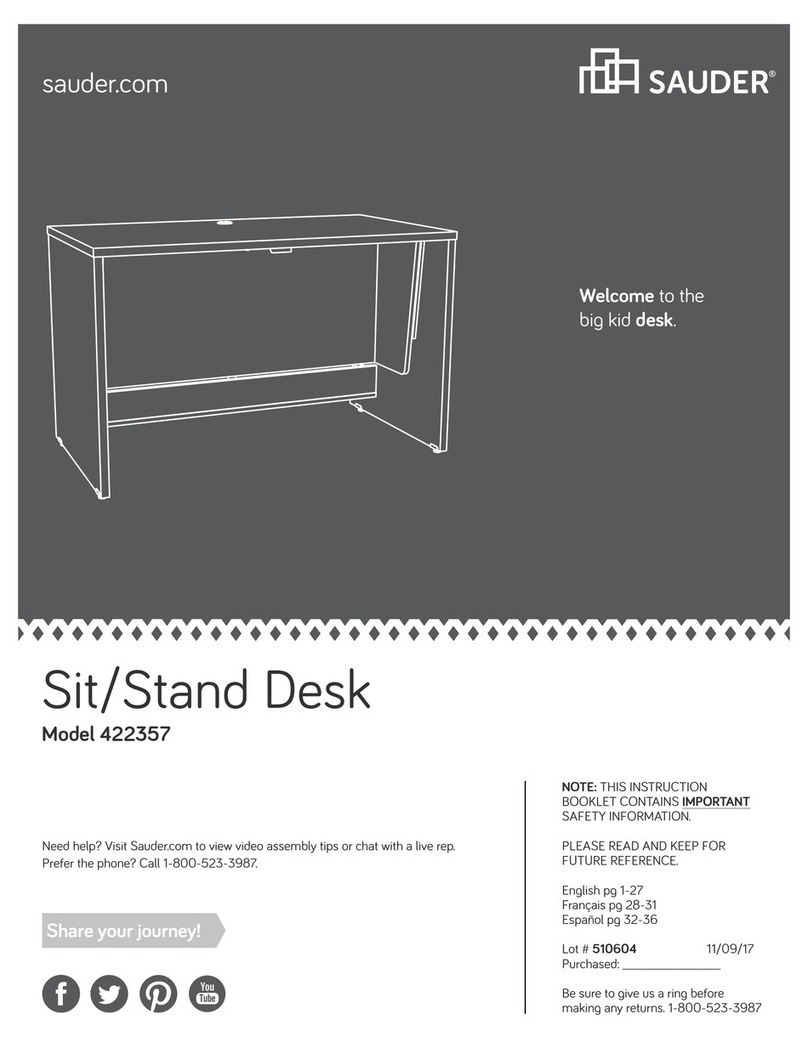
  9. Sauder Adept 418085 User manual

Sauder Adept 418085 User manual

NOTE: THIS INSTRUCTION
BOOKLET CONTAINS IMPORTANT
SAFETY INFORMATION.
PLEASE READ AND KEEP FOR
FUTURE REFERENCE.
English pg 1-22
Français pg 23-25
Español pg 26-28
Lot # 367093 01/09/15
Purchased: __________________
Be sure to give us a ring before
making any returns. 1-800-523-3987
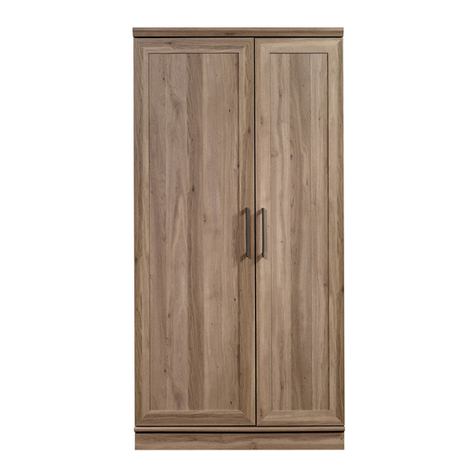
Narrow Storage Cabinet
Adept Storage Collection | 418085
Need help? Visit Sauder.com to view video assembly tips or chat with a live rep.
Prefer the phone? Call 1-800-523-3987.
Share your journey!
sauder.com
You'll love what we
have in storage.
Table of Contents Assembly Tools Required
3
4
5-22
23-25
26-28
29-30
31
Part Identification
Hardware Identification
Assembly Steps
Français
Español
Safety
Warranty
Hammer
Not actual size
No. 2 Phillips Screwdriver
Tip Shown Actual Size
Skip the power trip.
This time.
418085 www.sauder.com/servicesPage 2
Part Identification
åWhile not all parts are labeled, some of the parts will have a label or an inked letter on the edge
to help distinguish similar parts from each other. Use this part identification to help identify similar parts.
A RIGHT END (1)
B LEFT END (1)
C TOP (1)
D HINGE UPRIGHT (1)
E BOTTOM (1)
F BACK (1)
G DOOR (1)
H ADJUSTABLE SHELF (3)
I BASE (1)
J RIGHT LEG (1)
K LEFT LEG (1)
L TOP MOLDING (1)
M DOOR MOLDING (2)
Now you know
our ABCs.
418085www.sauder.com/services Page 3
A
B
C
E
F
G
H
I
J
K
L
M
M
H
H
D
Hardware Identification
åScrews are shown actual size. You may receive extra hardware with your unit.
418085 www.sauder.com/servicesPage 4
SAFETY BRACKET - 1
1G TIE PLATE/
DOOR STOP - 3
3G METAL BRACKET - 4
4G
BLACK 9/16" LARGE HEAD SCREW - 14
1S BLACK 1-7/8" FLAT HEAD SCREW - 3
2S
CAM COVER - 11
33P
SMALL HIDDEN
CAM - 4
29F
METAL PIN - 12
1R
SILVER 5/8" FLAT HEAD SCREW - 6
23S
22H
HINGE SPACER - 3
CAM SCREW - 16
8F
NAIL - 40
1N
HIDDEN CAM - 20
1F CAM DOWEL - 8
2F
SILVER 3/8" MACHINE SCREW - 2
97S
LARGE RUBBER
SLEEVE - 1
58G
RUBBER SLEEVE - 12
2R
14H HINGE - 3
WOOD DOWEL - 4
26F
GLUE - 1
54M
PULL - 1
112K
Step 1 Look for this icon. It means a
video assembly tip is available at
www.sauder.com/services/tips
å Assemble your unit on a carpeted floor or on the empty
carton to avoid scratching your unit or the floor.
å Push four SMALL HIDDEN CAMS (29F) into the holes in
the DOOR (G).
418085www.sauder.com/services Page 5
Arrow
(4 used)
29F
Arrow
The arrow in the HIDDEN
CAM must point toward the
hole in the edge of the board.
Hole
G
Step 2
å Push sixteen HIDDEN CAMS (1F) into the ENDS (A and B),
TOP (C), and BOTTOM (E). Then, insert the metal end of
eight CAM DOWELS (2F) into the HIDDEN CAMS in the
TOP (C) and BOTTOM (E).
å NOTE: Do not insert CAM DOWELS into
the ENDS (A and B).
418085 www.sauder.com/servicesPage 6
Arrow
1F
2F
Do not tighten the HIDDEN CAMS in this step.
Do not insert
CAM DOWELS
into these parts.
Insert the metal end of the CAM
DOWEL into the HIDDEN CAM.
Arrow
(8 used)
C
E
A
B
(16 used)
Arrow
1F
1F
Arrow
å Turn four CAM SCREWS (8F) into the
DOOR MOLDINGS (M).
Step 3
418085www.sauder.com/services Page 7
M
M
8F
Remember:
Righty tighty.
Lefty loosey.
Step 4
å First, fill the holes in the DOOR MOLDINGS (M) 1/4 to 1/2 full
with GLUE (54M). Then, insert four WOOD DOWELS (26F) into
the holes. Wipe away the excess GLUE.
å Now, fill the outer holes in the edges of the DOOR (G) 1/4 to 1/2
full with GLUE.
å Fasten the DOOR MOLDINGS (M) to the DOOR (G). Tighten four
HIDDEN CAMS.
å NOTE: Be sure the WOOD DOWELS in the DOOR MOLDINGS
insert into the holes in the DOOR. Wipe away the excess GLUE.
å NOTE: Be sure all angled edges on the DOOR MOLDINGS (M)
are facing the floor as shown in the enlarged diagram.
418085 www.sauder.com/servicesPage 8
Angled edge
M
M
G
Surface with
HIDDEN CAMS
1
2
Fill the holes 1/4 to 1/2 full with GLUE.
Inspect the parts thoroughly before
assembling. Disassembly of glued
parts is extremely dicult.
Caution
!
54M
26F
26F
å Fasten the LEFT END (B) to the TOP (C) and
BOTTOM (E). Tighten four HIDDEN CAMS.
Step 5
418085www.sauder.com/services Page 9
Start Tighten
Arrow
Minimum
190 degrees
Caution
Risk of damage or
injury. HIDDEN CAMS
must be completely
tightened. HIDDEN
CAMS that are not
completely tightened
may loosen, and parts
may separate. To
completely tighten:
Arrow
Maximum
210 degrees
Finished surface with
HIDDEN CAMS
B
C
Surface with
HIDDEN CAMS
E
Surface with
HIDDEN CAMS
Edge with HIDDEN CAMS
These holes
must be here.
These holes
must be here.
Do not stand the unit upright without the
BACK fastened. The unit may collapse.
Caution
Step 6
å Fasten the RIGHT END (A) to the TOP (C) and
BOTTOM (E). Tighten four HIDDEN CAMS.
418085 www.sauder.com/servicesPage 10
Arrow
Minimum
190 degrees
Maximum
210 degrees
A
C
E
Surface without
HIDDEN CAMS
Edge with HIDDEN CAMS
å Fasten three METAL BRACKETS (4G) to the ENDS (A
and B) and TOP (C). Use three BLACK 9/16" LARGE
HEAD SCREWS (1S).
å NOTE: Be sure the edges of the METAL BRACKETS are
even with the edges of the ENDS and TOP.
å Fasten the TOP MOLDING (L) to the ENDS (A and B) and
TOP (C). Use three BLACK 9/16" LARGE HEAD SCREWS (1S)
through the METAL BRACKETS and into the ENDS and TOP.
Step 7
418085www.sauder.com/services Page 11
A
C
B
BLACK 9/16" LARGE HEAD SCREW
(6 used in this step)
1S
4G
4G
4G
LFlat edge
Step 8
å You have the option for the DOOR to open to the
RIGHT or the LEFT. If you choose the DOOR to open to
the RIGHT, go to Step 10 now. If you choose the DOOR
to open to the LEFT, continue with the next step.
418085 www.sauder.com/servicesPage 12
DOOR opening to the RIGHT
DOOR opening to the LEFT
å Push four HIDDEN CAMS (1F) into the holes in the
HINGE UPRIGHT (D).
å NOTE: Be sure the locator hole is positioned as shown.
å Turn twelve CAM SCREWS (8F) into the LEGS (J and K).
å Fasten a TIE PLATE/DOOR STOP (3G) to the RIGHT
LEG (J). Use a BLACK 9/16" LARGE HEAD SCREW (1S).
å Push a LARGE RUBBER SLEEVE (58G) over the end of
the TIE PLATE/DOOR STOP (3G).
å Continue on to Step 11 now.
Step 9
418085www.sauder.com/services Page 13
D
K
J
8F (12 used)
Arrow
1F
Angled edge
3G
58G
1S
BLACK 9/16" LARGE HEAD SCREW
(1 used for the TIE PLATE)
1S
DOOR opening to the LEFT
Locator hole
Step 10
å Push four HIDDEN CAMS (1F) into the holes in the
HINGE UPRIGHT (D).
å NOTE: Be sure the locator hole is positioned as shown.
å Turn twelve CAM SCREWS (8F) into the LEGS (J and K).
å Fasten a TIE PLATE/DOOR STOP (3G) to the LEFT
LEG (K). Use a BLACK 9/16" LARGE HEAD SCREW (1S).
å Push a LARGE RUBBER SLEEVE (58G) over the end of
the TIE PLATE/DOOR STOP (3G).
418085 www.sauder.com/servicesPage 14
K
J
D
8F (12 used)
Angled edge
Arrow
1F
BLACK 9/16" LARGE HEAD SCREW
(1 used in this step)
1S
58G
3G
DOOR opening to the RIGHT
Locator hole
å Fasten the LEGS (J and K) to the ENDS (A and B). Tighten
eight HIDDEN CAMS.
Step 11
418085www.sauder.com/services Page 15
1
2
K
J
A
B
Angled edge
Step 12
å For the DOOR to open to the LEFT, fasten the HINGE
UPRIGHT (D) to the LEFT LEG (K) as shown in this step.
Tighten four HIDDEN CAMS.
å NOTE: Fasten the HINGE UPRIGHT to the RIGHT LEG (J)
for the DOOR to open to the RIGHT.
å Fasten the HINGE UPRIGHT (D) to the TOP (C)
and BOTTOM (E). Use two BLACK 1-7/8" FLAT
HEAD SCREWS (2S).
418085 www.sauder.com/servicesPage 16
1
2
J
K
D
Surface with HIDDEN CAMS
BLACK 1-7/8" FLAT HEAD SCREW
(2 used in this step)
2S
C
E
å Fasten a METAL BRACKET (4G) to the BOTTOM (E). Use
one BLACK 9/16" LARGE HEAD SCREW (1S).
å NOTE: Be sure the edge of the METAL BRACKET is even
with the edge of the BOTTOM.
å Fasten two TIE PLATE/DOOR STOPS (3G) to the BASE (I).
Use two BLACK 9/16" LARGE HEAD SCREWS (1S).
å Fasten the BASE (I) to the LEGS (J and K) and BOTTOM (E).
Use three BLACK 9/16" LARGE HEAD SCREWS (1S) through
the TIE PLATE/DOOR STOPS and METAL BRACKET and
into the BASE.
Step 13
418085www.sauder.com/services Page 17
3G
BLACK 9/16" LARGE HEAD SCREW
(6 used in this step)
1S
4G
J
K
I
I
E
Flat edge
Surface without
TIE PLATE/
DOOR STOPS
Step 14
418085 www.sauder.com/servicesPage 18
å Carefully turn your unit over onto its front edges. Unfold
the BACK (F) and lay it over your unit.
å Make equal margins along all four edges of the BACK (F).
Push on opposite corners of your unit if needed to make
it "square".
å Fasten the BACK (F) to your unit using the NAILS (1N).
Do not stand the unit upright without the
BACK fastened. The unit may collapse.
Caution
Unfinished
surface
NAIL
(40 used in this step)
1N
F
Step 15
418085www.sauder.com/services Page 19
å Place three HINGE SPACERS (22H) over the large holes
in the DOORS (G).
å Fasten three HINGES (14H) to the DOOR (G). Use six
SILVER 5/8" FLAT HEAD SCREWS (23S).
G
SILVER 5/8" FLAT HEAD SCREW
(6 used in this step)
23S
14H
22H
Step 16
418085 www.sauder.com/servicesPage 20
å Carefully stand your unit upright.
å Before fastening the DOOR to your unit, be sure the
mounting screw is against the stops as shown in the
diagram. If it isn't, loosen the mounting screw to slide it
against the stops. Then tighten the mounting screw.
å Fasten the DOOR (G) to the HINGE UPRIGHT (D) as
shown in the lower diagram. Use the screws in the
HINGES. You should start each SCREW a few turns before
completely tightening any of them.
å Fasten the PULL (53K) to the DOOR (G). Use two SILVER
3/8" MACHINE SCREWS (97S).
å See the next step for DOOR adjustments.
Mounting
screw
Stop
Hinge
Pro Tip: Lift with your
legs. And, you know,
your arms.
SILVER 3/8" MACHINE SCREW
(2 used for the PULL)
97S
53K
G
B
D

Other Sauder Indoor Furnishing manuals
Sauder Barrister Lane 414724 User manual

Sauder

Sauder Barrister Lane 414724 User manual

Sauder Harbor View 414942 User manual

Sauder

Sauder Harbor View 414942 User manual

Sauder 415978 User manual

Sauder

Sauder 415978 User manual

Sauder Lateral File Boulevard Cafe 427345 User manual

Sauder

Sauder Lateral File Boulevard Cafe 427345 User manual

Sauder 535782 User manual

Sauder

Sauder 535782 User manual

Sauder 415547 User manual

Sauder

Sauder 415547 User manual

Sauder 415465 User manual

Sauder

Sauder 415465 User manual

Sauder Corner Entertainment Credenza 403818 User manual

Sauder

Sauder Corner Entertainment Credenza 403818 User manual

Sauder Edge Water Lift-Top Coffee Table 414856 User manual

Sauder

Sauder Edge Water Lift-Top Coffee Table 414856 User manual

Sauder Whitaker Point Hutch 429371 User manual

Sauder

Sauder Whitaker Point Hutch 429371 User manual

Sauder Via 419612 User manual

Sauder

Sauder Via 419612 User manual

Sauder Summit Station 425014 User manual

Sauder

Sauder Summit Station 425014 User manual

Sauder Costa 422983 User manual

Sauder

Sauder Costa 422983 User manual

Sauder Harbor View 423661 User manual

Sauder

Sauder Harbor View 423661 User manual

Sauder Palladia 411835 User manual

Sauder

Sauder Palladia 411835 User manual

Sauder Worksense BERGEN CIRCLE 426288 User manual

Sauder

Sauder Worksense BERGEN CIRCLE 426288 User manual

Sauder WoodTrac 416619 User manual

Sauder

Sauder WoodTrac 416619 User manual

Sauder Heritage Hill 109872 User manual

Sauder

Sauder Heritage Hill 109872 User manual

Sauder 427350 User manual

Sauder

Sauder 427350 User manual

Sauder Hammond 423531 User manual

Sauder

Sauder Hammond 423531 User manual

Sauder OfficeWorks AFFIRM 427428 User manual

Sauder

Sauder OfficeWorks AFFIRM 427428 User manual

Sauder Cannery Bridge 429414 User manual

Sauder

Sauder Cannery Bridge 429414 User manual

Sauder Rollingwood 431439 User manual

Sauder

Sauder Rollingwood 431439 User manual

Sauder Shoal Creek Series User manual

Sauder

Sauder Shoal Creek Series User manual

Popular Indoor Furnishing manuals by other brands

PATIOJOY HW71252 Instruction booklet

PATIOJOY

PATIOJOY HW71252 Instruction booklet

Next LEAMINGTON Assembly instructions

Next

Next LEAMINGTON Assembly instructions

Whittier Wood 623Wa Assembly instructions

Whittier Wood

Whittier Wood 623Wa Assembly instructions

Mayline Sterling Series Assembly instructions

Mayline

Mayline Sterling Series Assembly instructions

Habitat Piera 822317 quick start guide

Habitat

Habitat Piera 822317 quick start guide

Martha Stewart G78104 Assembly and care instructions

Martha Stewart

Martha Stewart G78104 Assembly and care instructions

Monarch Specialties I 2760 Assembly instructions

Monarch Specialties

Monarch Specialties I 2760 Assembly instructions

LAZBOY Sawyer Side Table owner's manual

LAZBOY

LAZBOY Sawyer Side Table owner's manual

TOOMAX WOODY'S XL manual

TOOMAX

TOOMAX WOODY'S XL manual

ExBrite 13MC2432V4LX Installation and operating manual

ExBrite

ExBrite 13MC2432V4LX Installation and operating manual

INK+IVY BEVERLY Assembly instructions

INK+IVY

INK+IVY BEVERLY Assembly instructions

Poliman Moveis Kit Kairos 3760 Assembling instructions

Poliman Moveis

Poliman Moveis Kit Kairos 3760 Assembling instructions

BUSH FURNITURE kathy ireland HOME KI30120 manual

BUSH FURNITURE

BUSH FURNITURE kathy ireland HOME KI30120 manual

Office Star Products Space Seating SpaceGrid 529-3R2V30 operating instructions

Office Star Products

Office Star Products Space Seating SpaceGrid 529-3R2V30 operating instructions

Vivo DESK-V103E instruction manual

Vivo

Vivo DESK-V103E instruction manual

atmosphera ALDIR 192905 manual

atmosphera

atmosphera ALDIR 192905 manual

TOPSKY GT-101 quick start guide

TOPSKY

TOPSKY GT-101 quick start guide

Ercol Rimini quick start guide

Ercol

Ercol Rimini quick start guide

manuals.online logo
manuals.online logoBrands
  • About & Mission
  • Contact us
  • Privacy Policy
  • Terms and Conditions

Copyright 2025 Manuals.Online. All Rights Reserved.