manuals.online logo
Brands
  1. Home
  2. •
  3. Brands
  4. •
  5. SDC
  6. •
  7. Door Lock
  8. •
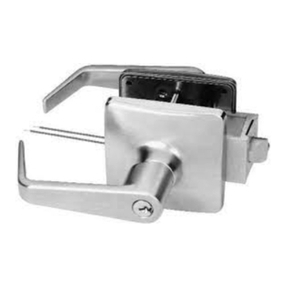
  9. SDC Z7700 Series User manual

SDC Z7700 Series User manual

Other SDC Door Lock manuals
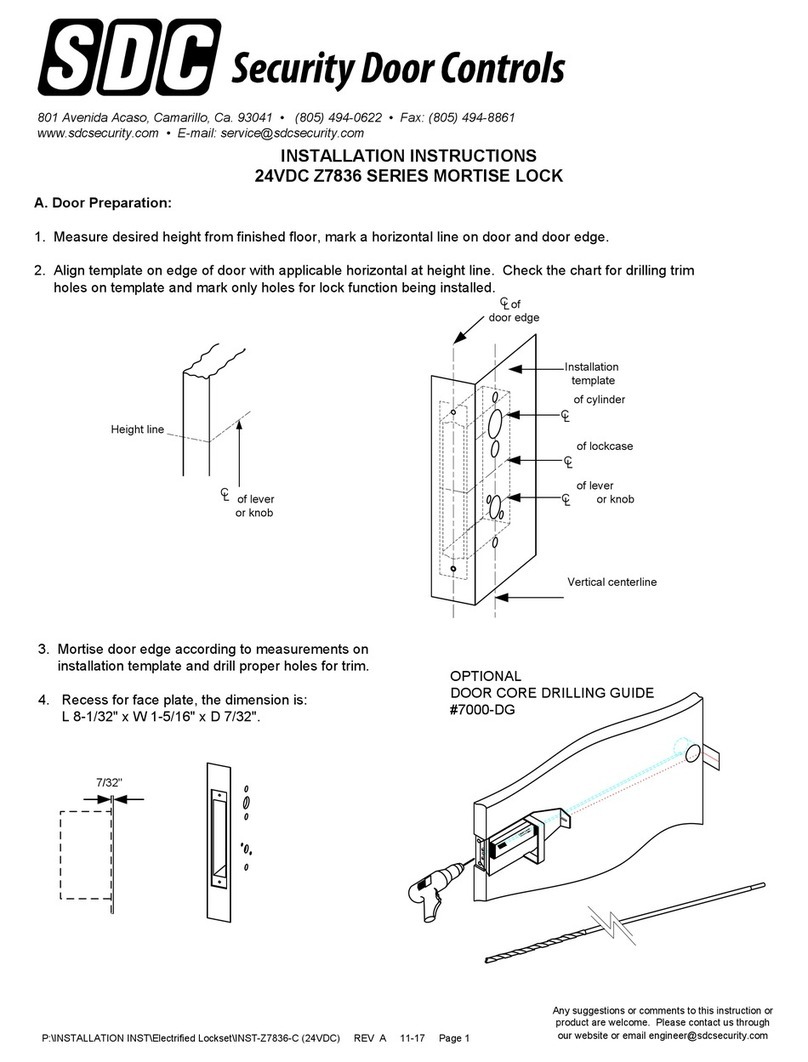
SDC PRO Series User manual

SDC

SDC PRO Series User manual

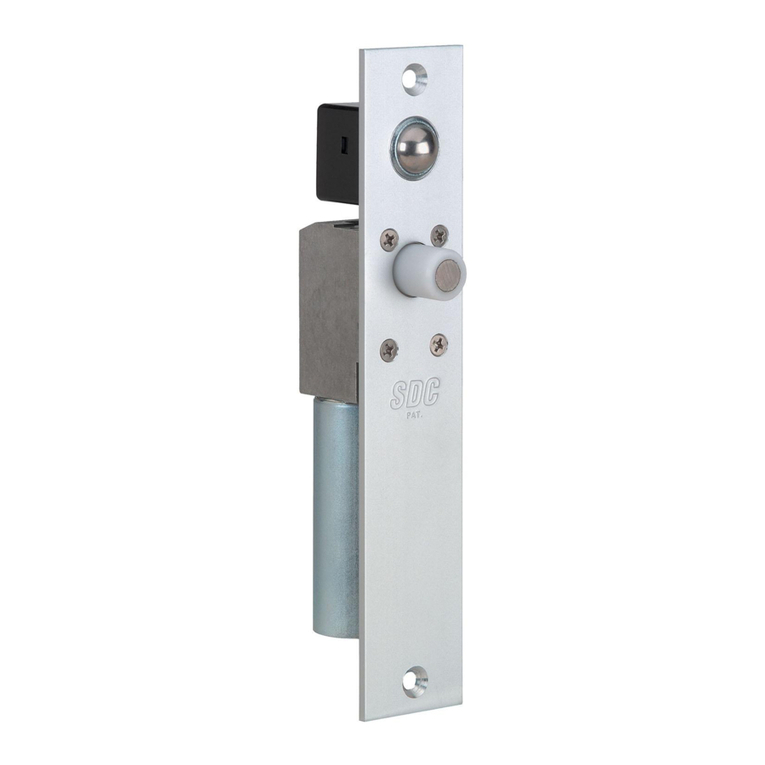
SDC PBD2090A User manual

SDC

SDC PBD2090A User manual

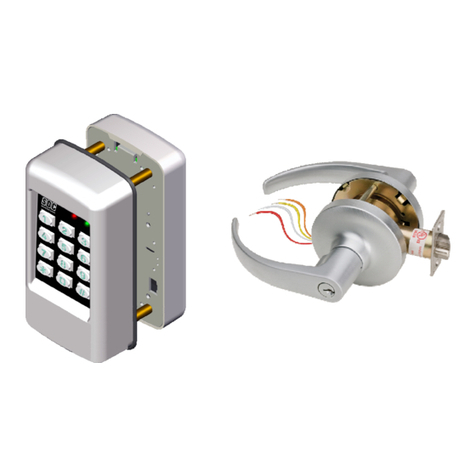
SDC Z7835 User manual

SDC

SDC Z7835 User manual

SDC E75 Series Operating instructions

SDC

SDC E75 Series Operating instructions

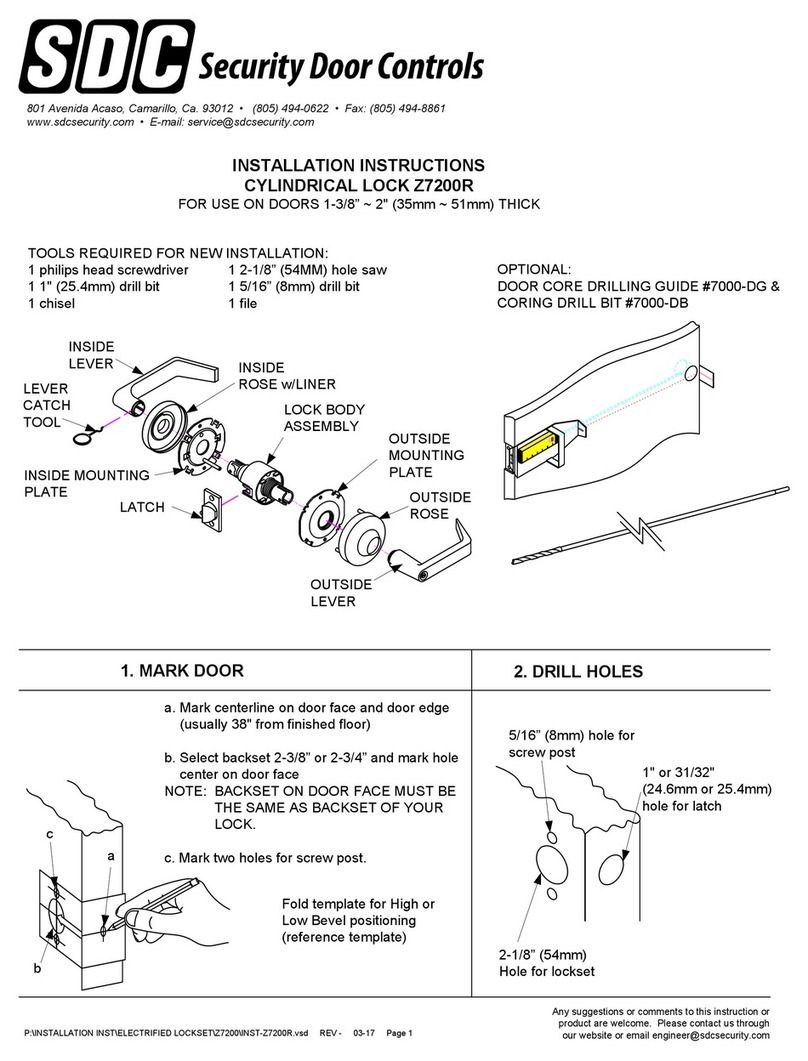
SDC Z7200R User manual

SDC

SDC Z7200R User manual

SDC HiTower R7500 User manual

SDC

SDC HiTower R7500 User manual

SDC FS23M Series User manual

SDC

SDC FS23M Series User manual
SDC E75 Series Operating instructions

SDC

SDC E75 Series Operating instructions

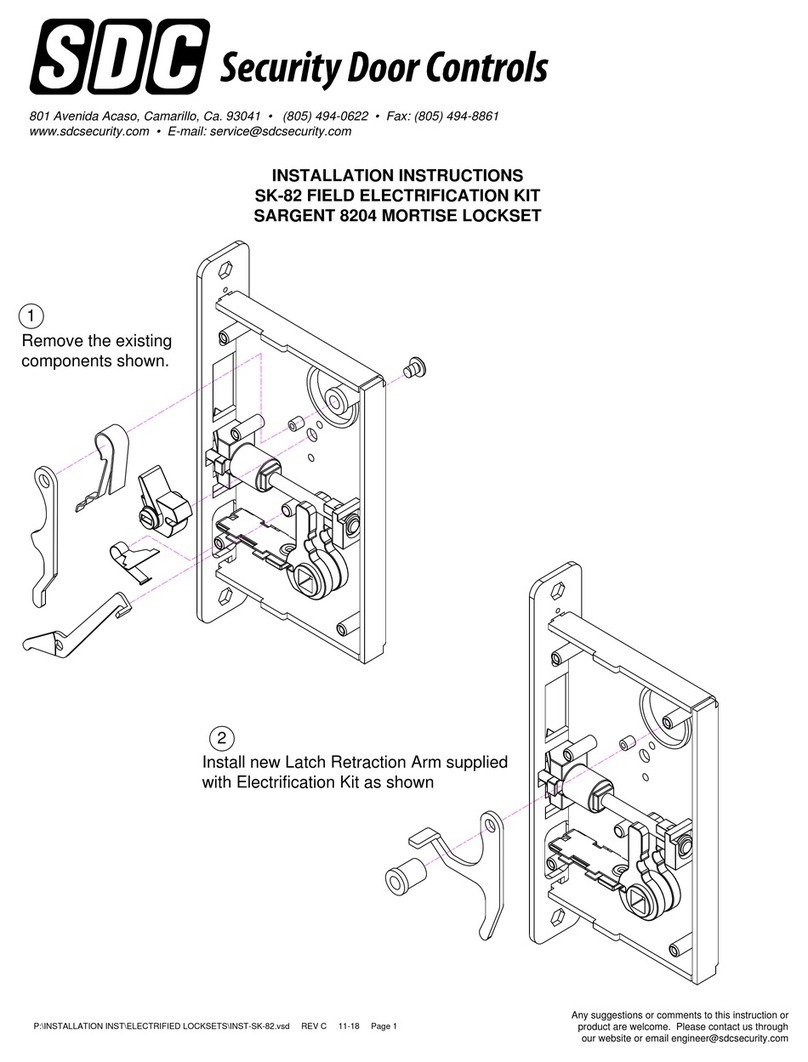
SDC SK-82 User manual

SDC

SDC SK-82 User manual

SDC 1511S Instruction Manual

SDC

SDC 1511S Instruction Manual

SDC TEMPLATE 180 SERIES User manual

SDC

SDC TEMPLATE 180 SERIES User manual

SDC S6100 Series User manual

SDC

SDC S6100 Series User manual

SDC S6200 Series User manual

SDC

SDC S6200 Series User manual

SDC Z7600 Series User manual

SDC

SDC Z7600 Series User manual

SDC Z7870 User manual

SDC

SDC Z7870 User manual

SDC E72K-A CIVIC SERIES Installation manual

SDC

SDC E72K-A CIVIC SERIES Installation manual

SDC EntryCheck E75 Series User manual

SDC

SDC EntryCheck E75 Series User manual

SDC 1190A Series User manual

SDC

SDC 1190A Series User manual

SDC 30-4 User manual

SDC

SDC 30-4 User manual

SDC E72 EntryCheck User manual

SDC

SDC E72 EntryCheck User manual

SDC E70PS Series Owner's manual

SDC

SDC E70PS Series Owner's manual

SDC E72 EntryCheck Troubleshooting guide

SDC

SDC E72 EntryCheck Troubleshooting guide

SDC 30-4-12 User manual

SDC

SDC 30-4-12 User manual

SDC S6300 Series User manual

SDC

SDC S6300 Series User manual

Popular Door Lock manuals by other brands

Dorma MUNDUS PREMIUM US 10 Mounting instruction

Dorma

Dorma MUNDUS PREMIUM US 10 Mounting instruction

Defiant LG600BRA4BGT Instructions for installation

Defiant

Defiant LG600BRA4BGT Instructions for installation

TRU-BOLT M1740024 manual

TRU-BOLT

TRU-BOLT M1740024 manual

Opera ARCA SLIDE installation instructions

Opera

Opera ARCA SLIDE installation instructions

tell CODELOCK CL5500 Series installation instructions

tell

tell CODELOCK CL5500 Series installation instructions

ABH LR6000 installation instructions

ABH

ABH LR6000 installation instructions

Assa Abloy effeff 827A-IP Mounting instructions

Assa Abloy

Assa Abloy effeff 827A-IP Mounting instructions

Iseo MA1A installation guide

Iseo

Iseo MA1A installation guide

ID Lock 150 user manual

ID Lock

ID Lock 150 user manual

Lockly ACCESS TOUCH PRO user manual

Lockly

Lockly ACCESS TOUCH PRO user manual

iLoq G50S user guide

iLoq

iLoq G50S user guide

ilco 452 Installation

ilco

ilco 452 Installation

Samsung shs-h705 user guide

Samsung

Samsung shs-h705 user guide

TRU-BOLT 08102017 user manual

TRU-BOLT

TRU-BOLT 08102017 user manual

CDVI 500-LADJ quick start guide

CDVI

CDVI 500-LADJ quick start guide

Igloohome Deadbolt 2S Metal Grey Installer/user guide

Igloohome

Igloohome Deadbolt 2S Metal Grey Installer/user guide

eSSL FL-300 user manual

eSSL

eSSL FL-300 user manual

Dorma MUNDUS PREMIUM GK 50 Mounting instruction

Dorma

Dorma MUNDUS PREMIUM GK 50 Mounting instruction

manuals.online logo
manuals.online logoBrands
  • About & Mission
  • Contact us
  • Privacy Policy
  • Terms and Conditions

Copyright 2025 Manuals.Online. All Rights Reserved.

P:\INSTALLATION INST\Electrified Lockset\INST-Z7700 REV 09-19 P ge 1
Any suggestions or comments to this instruction or
product re welcome. Ple se cont ct us through
our website or em il engineer@sdcsecurity.com
A. Door Preparation:
1. Me sure desired height from finished floor, m rk horizont l line on door nd door edge.
2. Align templ te on edge of door with pplic ble horizont l t height line. Check the ch rt for drilling trim
holes on templ te nd m rk only holes for lock function being inst lled.
3. Mortise door edge ccording to me surements on
inst ll tion templ te nd drill proper holes for trim.
4. Recess for f ce pl te, the dimension is:
L 8-1/32" x W 1-5/16" x D 7/32".
5. Route wiring through door s required. Reference
wiring section on P ge 4
Height line
of lever
or knob
C
L
7/32"
INSTALLATION INSTRUCTIONS
Z7700 SERIES MOTORIZED RETRACTION x ELECTRIC SOLENOID
MORTISE LOCK SET
of cylinder
of lockc se
of lever
or knob
Vertic l centerline
C
Inst ll tion
templ te
C
L
C
L
C
L
Lof
door edge
801 Avenida Acaso, Camarillo, Ca. 93012 • (805) 494-0622 •
www.sdcsec rity.com • E-mail: service@sdcsec rity.com
NOTCH OPENING FOR MOTOR
ON WOOD DOORS ONLY
*
. Strike Installation: 1. Align strike templ te on j mb.
Be sure to keep 3/8" dist nce
between lock centerline nd
strike centerline. Recess
5/32" for flush fit of strike nd
dust box.
2. Mortise j mb ccording to
me surement of strike templ te.
Then fit strike nd dust box into
fr me nd secure into pl ce with
supplied screws.
4-7/8"
3-17/32"
3/8"
3/8"
1" Holes
1-1/8" Deep
C
L
J mb
Lock C
L
C
L
Strike
3/8"
2X 12-24 WMS
5-5/8"
1-1/4”
(1-3/4” DEEP)
3/8”
2-1/4”
1-1/2”
(1-3/4” DEEP)
1" hole
4-3/4“ DEEP
*
WOOD
DOOR
P:\INSTALLATION INST\Electrified Lockset\INST-Z7700 REV 09-19 P ge 2
2. Connect wires s shown in the lock wiring section on p ge 4.
3. Insert lockc se into mortise cut-out nd f sten screws to door.
Pull out nd turn
1. Ch nge l tchbolt h nding:
If the h nd of the l tchbolt doesn’t
m tch the door h nd, remove the fixing
screw nd pull the l tchbolt out from
lock c se. Turn the l tchbolt 180° to
ch nge the h ndling. Position l tchbolt
b ck, into c se nd re-f sten it.
Instructions for changing lock hand:
C. Install Lockcase
Remove screw
1. Insert spindles s shown
D. Install Spindles
E. Install Lever trim
1. Pl ce the reversible spring c ge onto the ferrules with rrow pointing in
direction of lever rot tion.
2. Inst ll outside trim with mounting posts through door nd position lever
onto the spindle.
3. Inst ll inside spring c ge onto the spindle with the rrow pointing in the
direction of inside lever rot tion.
4. Inst ll inside mounting pl te onto spindle. Tighten with provided screw.
5. C p inside rose over mounting pl te.
Reversible spring c ge
Ferrule
Mounting post
Into Mounting post
P:\INSTALLATION INST\Electrified Lockset\INST-Z7700 REV 09-19 P ge 3
1. Screw cylinder into thre ded hole of lock c se.
2. Tighten the setting screw g inst cylinder(s) by turning clockwise s shown.
3. Inst ll f ce pl te onto lock c se front nd f sten with supplied screws.
F. Install Cylinder and Armor Face Plate
USE THIS CAM.
E. Install Lever trim (continued)
6. Screw inside lever into position nd tighten lever coll r with supplied sp nner wrench.
sp nner wrench.
Sp nner wrench
G. Lock Wiring
Use
f ctory
provided
pigt ils
Power &
Controls
Optional
REX nd/or
L tch St tus
Outputs
FIELD WIRING:
6 COND MINIMUM
18-22AWG
JACKETED CABLE
100' MAX from Power Supply to Lock
Solenoid
Activation
Switch
(Dry, N/O)
PWR LEVER LATCH
+CNO CNO
Extern l Control Bo rd
Motor
Activation
Switch
(Dry, N/O)
Motor Activation Switch: Closing the switch for
minimum of 2 seconds retr cts the l tch.
Rele se switch to rele se l tch.
Solenoid Activation Switch: Closing the switch
will provide power to the solenoid.
If the solenoid is f il-s fe, ctiv ting the switch
will lock the lever.
If the solenoid is f il-secure, ctiv ting the switch
will unlock the lever.
24VDC
Regul ted &
Filtered Power
Supply
(1.5A min)
SDC P/N 631RF
is recommended.
24VDC (Continuous)
GRY
VIO
BRN
YEL
REX N/O
REX/L tch St tus COM
L tch St tus N/O
L tch St tus N/C
Power
Transfer
Device
6 Cond Min
10 Cond w/ Options
Z7700
Series
1A @ 30vdc
P:\INSTALLATION INST\Electrified Lockset\INST-Z7700 REV 09-19 P ge 4
P:\INSTALLATION INST\Electrified Lockset\INST-Z7700 REV 09-19 P ge 5
OPTIONAL
DOOR CORE DRILLING GUIDE
#7000-DG
M ke sure the lock h nd m tches the door h nd, use the following di gr m to determine the h nd of door.
LH
Left H nd
LHRB
Left H nd
Reverse Bevel
INSIDE OF DOOR
OUTSIDE OF DOOR
RH
Right H nd
RHRB
Right H nd
Reverse Bevel
INSIDE OF DOOR
OUTSIDE OF DOOR