Sealey PW5000 User manual

INSTRUCTIONS FOR
PROFESSIONAL PRESSURE WASHER 150BAR
WITH TSS AND NOZZLE SET 230V
MODEL NO: PW5000
Thank you for purchasing a Sealey product. Manufactured to a high standard, this product will, if used according to these instructions,
and properly maintained, give you years of trouble free performance.
IMPORTANT: PLEASE READ THESE INSTRUCTIONS CAREFULLY. NOTE THE SAFE OPERATIONAL REQUIREMENTS, WARNINGS & CAUTIONS. USE
THE PRODUCT CORRECTLY AND WITH CARE FOR THE PURPOSE FOR WHICH IT IS INTENDED. FAILURE TO DO SO MAY CAUSE DAMAGE AND/OR
PERSONAL INJURY AND WILL INVALIDATE THE WARRANTY. KEEP THESE INSTRUCTIONS SAFE FOR FUTURE USE.
1. SAFETY
1.1. ELECTRICAL SAFETY
WARNING! It is the user’s responsibility to check the following:
Check all electrical equipment and appliances to ensure that they are safe before using. Inspect power supply leads, plugs and all
electrical connections for wear and damage. Sealey recommend that an RCD (Residual Current Device) is used with all electrical
products. You may obtain an RCD by contacting your local Sealey stockist.
If the pressure washer is used in the course of business duties, it must be maintained in a safe condition and routinely PAT (Portable
Appliance Test) tested.
Electrical safety information, it is important that the following information is read and understood.
1.1.1. Ensure that the insulation on all cables and on the appliance is safe before connecting it to the power supply.
1.1.2. Regularly inspect power supply cables and plugs for wear or damage and check all connections to ensure that they are secure.
Important: Ensure that the voltage rating on the appliance suits the power supply to be used and that the plug is tted with the correct
fuse - see fuse rating in these instructions.
8DO NOT pull or carry the appliance by the power cable.
8DO NOT pull the plug from the socket by the cable.
8DO NOT use worn or damaged cables, plugs or connectors. Ensure that any faulty item is repaired
or replaced immediately by a qualied electrician.
1.1.3. This product is tted with a BS1363/A 13 Amp 3 pin plug.
If the cable or plug is damaged during use, switch the electricity supply and remove from use.
Ensure that repairs are carried out by a qualied electrician.
Replace a damaged plug with a BS1363/A 13 Amp 3 pin plug. If in doubt contact a qualied electrician.
a) Connect the GREEN/YELLOW earth wire to the earth terminal ‘E’.
b) Connect the BROWN live wire to the live terminal ‘L’.
c) Connect the BLUE neutral wire to the neutral terminal ‘N’.
Ensure that the cable outer sheath extends inside the cable restraint and that the restraint is tight.
Sealey recommend that repairs are carried out by a qualied electrician.
1.2. GENERAL SAFETY
WARNING! Water and electricity are dangerous partners. Be extremely cautious and ALWAYS be aware that this device uses an
electric motor. Always plug into a RCD (See electrical safety above). Unplug from mains before changing accessories or servicing.
WARNING! DO NOT use the washer if any part of the unit, gun, nozzle, detergent tank, hose or cables is damaged. Replace or repair
using genuine parts only. Unauthorised parts may be dangerous and will invalidate your warranty. Always check connections
are correctly secured and not cracked or damaged in any way before using the machine.
8WARNING! Use washer on a flat, level surface, in an upright position. Failure to do so will invalidate your warranty.
NEVER lay the washer down during use.
9Ensure you comply with all local water supply regulations. Power washers may only be connected to mains water supply if a check valve
is installed in the supply hose, or at the tap outlet.
9 The supply hose must be reinforced, and have an internal diameter of 1/2” (13mm). The water supply must be at least equal to the
cleaner capacity. The water temperature must NOT exceed 122°F (60°C). The water supply pressure must NOT exceed 6 bar (90psi).
9999 Always be aware of the hazards that may occur during use. Study all applications and limitations of the washer before use.
9999 Use where air can freely circulate around the washer to avoid the machine overheating.
9Keep the washer in good condition. Use an authorised service agent to service the unit.
9999 Wear adequate protective clothing, goggles and anti-slip rubber soled footwear.
9Position the washer as near to the water supply as possible.
999 WARNING! Ensure all persons and animals keep at a minimum distance of 15mtr from the washer when in use.
999 WARNING! The pressure washer must only be used with clean water. Unfiltered water or corrosive chemicals must not be used as
these will damage the cleaner.
9Ensure the nozzle is aimed correctly at the work surface before switching the machine on.
9 Before activating the trigger, grip the gun firmly to counteract the recoil from the high pressure water jet.
999 WARNING! Avoid sudden bursts of water as these will cause water pressure to drop and put extreme pressure on hoses and
connectors.
9If, during operation, power failure occurs turn the electricity and water off for safety reasons.
PW5000 | Issue:2(L) 11/04/17
Original Language Version
© Jack Sealey Limited
Refer to
instruction
manual
Wear eye
protection
Wear ear
protection
Wear safety
footwear
Wear protective
clothing
Recommended fuse rating
13 Amp

999 WARNING! The high pressure jet will cause loose particles to be propelled at high speed, which may cause serious injury.
999 WARNING! DO NOT operate the machine without a water supply. Dry running can seriously damage the unit.
999 WARNING! DO NOT leave the washer switched on for more than 15 minutes without operating the trigger.
9899 DO NOT obstruct ventilation grilles during operation.
9899 DO NOT use the washer with flammable or toxic liquids or any other product. Use only recommended detergent. Unapproved
detergents may corrode the machine cover and accessories.
9899 DO NOT jam the trigger in the operating position.
9899 DO NOT adjust any internal control valves, as they have been factory set.
9899 DO NOT connect other appliances to the machine inlet or outlet.
9899 DO NOT use hoses and fittings other than those designed for use with this machine.
8DO NOT move the unit by pulling the hoses or electrical cables. Use the handle and transport by means of the wheels.
8DO NOT touch plug with wet hands. To avoid the risk of electrocution keep all connections dry and off the ground.
8DO NOT direct jet against yourself, other persons, animals, electrical equipment or the machine itself.
8DO NOT use washer if you are tired or under the influence of alcohol, drugs or intoxicating medication.
8DO NOT allow children or untrained persons to operate the washer.
999 WARNING! Discharge residual pressure before disconnecting the washer hose. Pressure left in unit may cause injury.
9After use, disconnect washer from electrical mains and water supply and store in a safe, dry, childproof area.
9999 Protect from freezing conditions during winter.
NOTE: Pressure washer shall not be used by children. Children should be supervised to ensure that they do not play with the machine.
The machine can be used by people with reduced physical, sensory or mental capabilities or lack of experience and knowledge if they
have been given supervision or instruction concerning the use of the machine in a safe way and understand the hazards involved.
2. i INTRODUCTION
Professional unit, designed and manufactured in Italy. Ideal for a wide variety of applications including commercial and agricultural use. Fitted
with a powerful 2500W induction motor and brass pump head and ttings with ceramic pistons. Capable of pumping up to 8.3 litres of water per
minute with a maximum pressure of 150bar. The PW5000 features Automatic Total Stop System (TSS) technology which switches the motor
on and off when the lance trigger is operated, prolonging motor life. Fitted with 10mtr hose reel, built-in pressure gauge, adjustable pressure
controls and 3ltr detergent tank. Supplied with 5 interchangeable nozzle attachments. Manufactured with a lightweight, durable aluminium frame
and large heavy-duty wheels.
3. SPECIFICATION
Model No:................................................................ PW5000
Maximum Pressure: ..................................... 150bar(2200psi)
Water ow: ................................................................498ltr/hr
Motor power: ...............................................................2500W
Supply:....................................................................230V-13A
Total stop system: ............................................................ Yes
Hose length:..................................................................10mtr
Weight:........................................................................ 33.2kg
Wash nozzles:.. pencil jet, fan jet, 15°, 25°, 40°, low pressure
Noise power: ..................................................................92dB
Noise pressure:.........................................................83.96dB
4. ASSEMBLY
4.1. Attach handle/reel assembly to the machine base by
sliding the handle tubes over tubular stubs protruding
from base and securing by means of M6 x 40 bolts
(x2) and securing knobs.
4.2. Attach winding handle to the reel by 4mm hex bolt.
WARNING! Ensure that the transit plug tted to the
oil ller is replaced by the vented dipstick supplied.
(See g.1)
4.3. Connecting the water supply.
4.3.1. Use a reinforced hose pipe with an internal diameter of 1/2” and
connect to the mains water supply. Before attaching the hose to
the pressure washer flush the hose through with some clean water
to remove any foreign matter from within the hose.
4.3.2. Connect female quick connection hose fitting to the clear inlet filter
on the front of the machine (fig.2).
4.3.3. Push male leader hose connection (fig.3.1.) into the pump outlet
connector (fig.3.2) and secure by tightening the collar (fig.3.3). Push
the nozzle into the gun as shown in fig.4 (1 and 2) and screw the
threaded male lance connector into the gun, again ensuring that
the connection is tight.
4.4. Connecting to mains electrical supply.
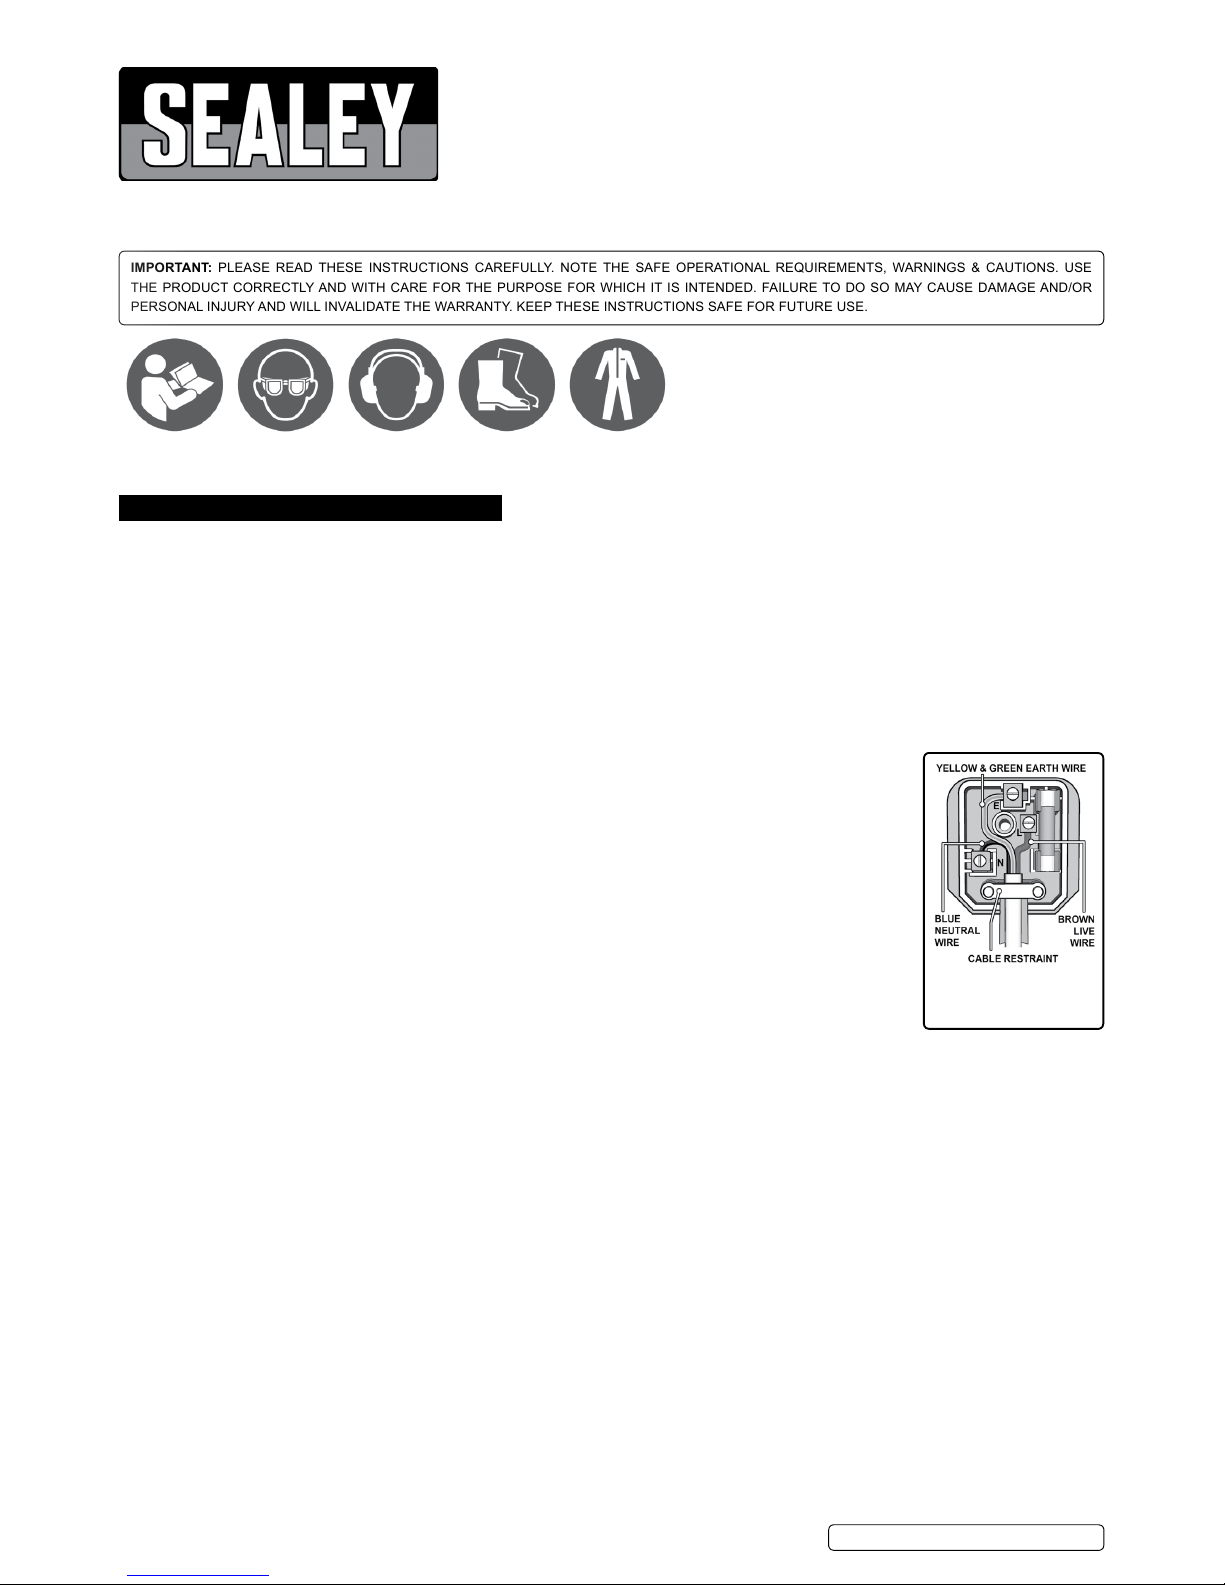
999 WARNING! Ensure the On/Off switch (fig.5) is in the ‘Off’ position.
Using an RCD plugged into a 13A mains socket, DO NOT turn the
power on. DO NOT touch the plug with wet hands
Fig.1
Fig.2
PW5000 | Issue:2(L) 11/04/17
Original Language Version
© Jack Sealey Limited

5. OPERATIONo
9
99
9WARNING! Ensure you read, understand and apply Section 1 safety instructions.
WARNING! Dry running can seriously damage the unit.
WARNING! Use washer on a flat, levelled surface, in an upright position.
Failure to do so will invalidate your warranty. Never lay the washer down during use.
IMPORTANT! The washer motor will stop as soon as the gun trigger is released and will restart when the trigger is squeezed.
Always allow at least 5 seconds between releasing the trigger and restarting.
5.1. Primary checks.
Check that the inlet filter is clean; pump delivery and pressure will be reduced if blocked. Never use the machine without a filter (which
is fitted inside the inlet connector). Ensure that the water supply, high pressure hose and gun are correctly connected, and that air can
circulate around the washer freely.
5.2. Operation of safety catch.
To prevent inadvertent operation of the unit the safety catch should always be engaged when the gun is not in use. Open the safety catch
as in fig.4.3 to lock the trigger against the guard.
5.3. Bleeding the gun.
5.3.1. It is very important to bleed the gun before using the pressure washer. Squeeze the trigger BEFORE turning the electrical supply on.
This allows any air trapped inside the pressure washer and gun to be removed before using the unit. Continue holding the trigger for
approximately one minute to allow any excess air out of the unit.
5.3.2. Water will flow through the gun at low pressure during this procedure.
5.4. Nozzle selection.
5.4.1. To fit a nozzle into the lance, pull the brass collar back along the coupling (fig. 6.1)
5.4.2. Push nozzle body into the coupling and release the ring, locking the nozzle in place (fig.6.2)
WARNING! Ensure the nozzle is locked into position, failure to ensure this could result in the nozzle being ejected under high pressure
when operating the gun.
5.4.3. Five nozzles are supplied for use with the general purpose lance:
Red: 0° (pencil jet)
Yellow: 15° fan
Green: 25° fan
White: 40° fan
Black: Detergent (low pressure) nozzle
999 WARNING! The 0° (needle jet) nozzle is extremely aggressive and must be used with great care.
The use of a fan nozzle is recommended for general cleaning.
5.5. Hose reel.
The hose reel may be locked by means of the catch on the rear of the trunnion.(fig.7)
5.6. Operating the machine.
5.6.1. Hold the spray gun firmly to counteract the recoil caused by the high pressure of the water.
5.6.2. Before switching on ensure that the lance is not directed at people, objects or animals
prior to being directed at the object to be cleaned.
5.6.3. It is recommended that the trigger is depressed before switching on the unit before every use.
This reduces the back pressure and amperage draw which prevents fuses blowing.
5.6.4. Switch the machine on by turning the switch to the ‘On’ position (fig.5). Release the handle
safety catch (fig 4.3). Point the lance at the object to be cleaned and depress the trigger fully.
When the trigger is released the motor will switch off automatically.
5.6.5. Output pressure may be adjusted by rotating the pressure control valve knob (fig.8.1). The pressure
is shown by the pressure gauge (fig.8.2). The pressure gauge is partly filled with glycerine to act as
a damper; the presence of visible liquid does not indicate a fault.
Note: The pressure of the spray on the surface you are cleaning increases as you move the
nozzle closer to the surface.
5.7. Using detergent.
5.7.1. Only use detergents approved for use in pressure washers.
5.7.2. To add detergent, remove cap and fill reservoir (fig.9).
5.7.3. The detergent nozzle (black) must be fitted to the lance (see section 5.4).
5.7.4. The ratio of detergent/water can be varied by holding the detergent cap and rotating the inner knob. (fig.9).
Fig.3 Fig.4 Fig.5
Fig.6
Fig.7
1
2
PW5000 | Issue:2(L) 11/04/17
Original Language Version
© Jack Sealey Limited

5.7.5. After using the detergent system, flush through with clean water.
Note: Failure to clean properly will cause the injection system to become clogged and inoperable.
999 WARNING: DO NOT leave motor switched on for more than 15 minutes without operating trigger.
If the water pressure drops (e.g. someone else using the same water supply), the washer will
not operate correctly. Switch the motor off immediately and wait until the pressure is restored.
5.8. When washing is completed.
5.8.1. Switch the power supply off by turning switch to ‘Off’ position (fig.5) unplug from mains and stow
electric flex, keeping plug dry.
5.8.2. Turn off the water supply tap.
5.8.3. Discharge residual pressure by pressing the trigger until no more water comes out of the nozzle.
WARNING! Failure to discharge pressure could result in personal injury.
5.8.4. Disconnect the inlet hose and coil the outlet hose back onto the reel.
5.8.5. Wipe the machine clean and dry and store in a clean, safe, dry, childproof location.
6. TROUBLESHOOTING
7. MAINTENANCE
999 WARNING! Ensure the pressure washer is switched off and unplugged from the mains electrical power supply and turned off at the
mains water tap before performing any maintenance tasks.
Check, clean or renew the inlet filter (which is fitted inside the inlet connector,) after every 50 hours of use.
Use only genuine Sealey spares for this machine. Failure to do so could result in personal injury and will invalidate the warranty.
7.1. Nozzles
7.1.1. Ensure that nozzles are kept clean and free of debris. Clear the nozzle of any debris. Flush the nozzle with water.
7.1.2. Reconnect the nozzle to the lance. Ensure that the nozzle connection is tight.
7.2. Water Filter.
7.2.1. The pressure washer is equipped with a water inlet filter to protect the pump. Back flush the filter to clean.
7.2.2. Replace filter and quick connection immediately to prevent any ingress of foreign matter into the pump.
Fig.8
Fig.9
SYMPTOMS REASON REMEDY
Motor will not start. 1. Loose or disconnected plug.
2. Blown fuse.
1. Reconnect plug.
2. See below
Circuit breaker trips or fuse blown. 1. Circuit Overload.
2. Nozzle partially blocked, causing
excessive pressure.
1. Check that the circuit is rated 13amps or
greater. Disconnect all loads on the circuit.
2. Clean nozzle as described in maintenance
section.
Water or oil leaking from bottom of pump. 1. A small amount of leakage is normal. 1. If excessive leaking occurs contact
authorised service agent.
Trigger will not move. 1. Gun safety lock engaged. 1. Release safety lock.
Unit will not stop when trigger is released. 1. Trigger system not operating properly. 1. Contact authorised service agent.
Motor running but pump not building.
maximum pressure or has irregular pressure.
1. Water supply not turned on.
2. Unit has been stored in freezing
temperatures.
3. Water inlet filter clogged.
4. Kink in supply hose.
5. Nozzle worn out.
6. Air in pump.
7. Suction or discharge valves clogged or
worn out.
1. Turn on water supply.
2. Thaw out unit completely including hose,
gun and attachments.
3. Clean screen as described in maintenance
section.
4. Straighten hose.
5. Replace nozzle.
6. Let pressure washer run with gun open
and lance removed until a steady stream
of water is released.
7. Contact authorised service agent.
PW5000 | Issue:2(L) 11/04/17
Original Language Version
© Jack Sealey Limited

7.3. Cooling System.
The air vent at the rear of the motor, must be kept clean and free of any obstructions to ensure proper air cooling during operation.
WARNING! Prevent water from penetrating the vent to minimise the risk of damage to the machine and to reduce the risk of shock to
the operator.
7.4. General.
Check unit, gun, nozzle, hose, connections and cables for damage. Immediately replace or repair with genuine parts.
7.5. Storage.
7.5.1. Store in a location where the washer will not be subject to freezing conditions.
7.5.2.
Make sure that the pressure washer has been drained of water and remove the hoses.
Environmental Protection
Recycle unwanted materials instead of disposing of them as waste. All tools, accessories and packaging should be
sorted, taken to a recycling centre and disposed of in a manner which is compatible with the environment.
When the product becomes completely unserviceable and requires disposal, drain off any fluids (if applicable)
into approved containers and dispose of the product and the fluids according to local regulations.
WEEE Regulations
Dispose of this product at the end of its working life in compliance with the EU Directive on
Waste Electrical and Electronic Equipment (WEEE). When the product is no longer required, it must be disposed
of in an environmentally protective way. Contact your local solid waste authority for recycling information.
NOTE: It is our policy to continually improve products and as such we reserve the right to alter data, specications and component parts without prior notice.
IMPORTANT: No liability is accepted for incorrect use of this product.
WARRANTY: Guarantee is 12 months from purchase date, proof of which will be required for any claim.
Sole UK Distributor, Sealey Group.
Kempson Way, Suffolk Business Park,
Bury St. Edmunds, Suffolk.
IP32 7AR
www.sealey.co.uk
sales@sealey.co.uk
01284 757500
01284 703534
Web
PW5000 | Issue:2(L) 11/04/17
Original Language Version
© Jack Sealey Limited
Table of contents
Other Sealey Pressure Washer manuals

Sealey
Sealey POWER PRODUCTS PC2701 User manual

Sealey
Sealey PW2512 User manual

Sealey
Sealey PC2301 User manual

Sealey
Sealey PW1610 User manual

Sealey
Sealey PC3401.V2 User manual

Sealey
Sealey PCM2500SP User manual

Sealey
Sealey CP20VPW User manual

Sealey
Sealey PW1850 User manual

Sealey
Sealey PWM2500.V2 User manual

Sealey
Sealey PCM1500.V2 User manual

Sealey
Sealey PC2950.V5 User manual

Sealey
Sealey PWM2500SP User manual

Sealey
Sealey PW2000HW User manual

Sealey
Sealey PC3451 User manual

Sealey
Sealey PC3150 User manual

Sealey
Sealey PW2000PA User manual

Sealey
Sealey PW2400 User manual

Sealey
Sealey Power Products PC3401 User manual

Sealey
Sealey PW2500HW User manual

Sealey
Sealey PWM2500 User manual