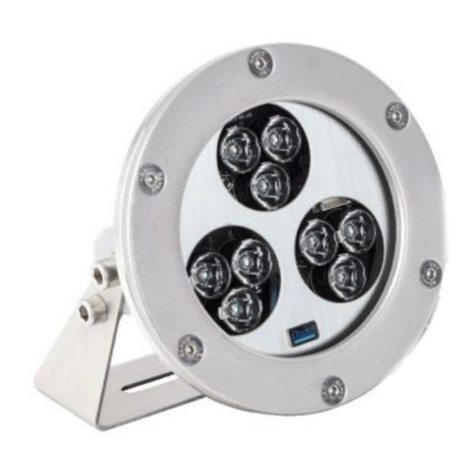
Seamaid 501115 User manual

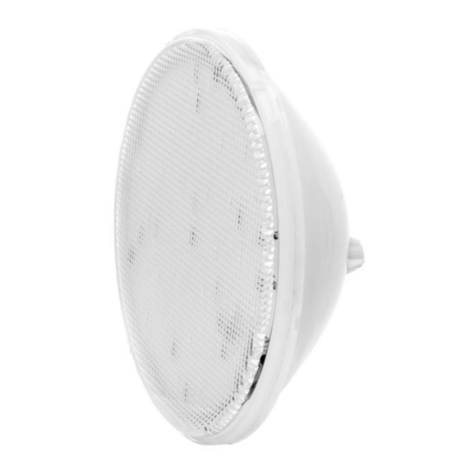
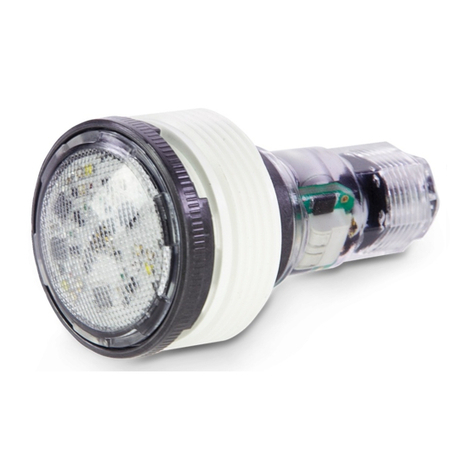
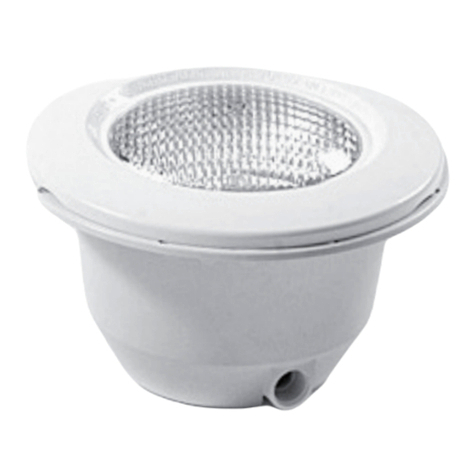
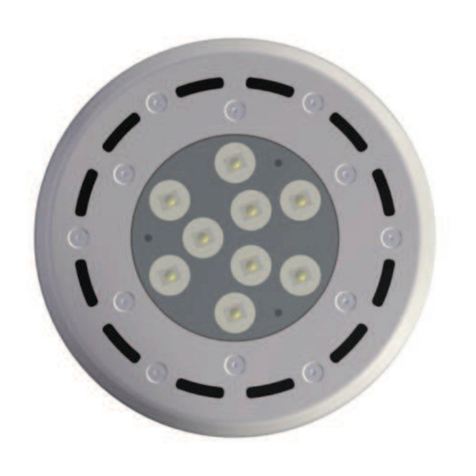
You just bought the PAR56 lamp colour OR white from the SeaMAID range. Thank you for your trust.
Follow this guide and the online video for an easy and quick installation.
UNIVERSAL
PAR56 LAMP
PAR56WH references
501115 and 501139
PAR56RGB references
500682 and 500736
501399 and 501405
> Installation guide

With its universal size, the SeaMAID PAR56 lamp is installed without any particular work in
all niches of the market, replacing the traditional 300VA incandescent lamp.
PAR56 lamp Screw terminal 12 VAC Power
supply cable
1 2 3
2
Presentation of the product
1
3

> Installation
A step by step assistance
Recommendations
Precaution, for the existing niches, we recommend to change the support and the gasket for a
perfect sealing guarantee.
Be sure that the lamp(s) are connected with a safety isolating transformer with a power higher
by at least 20% to the total power of the installed projectors.
Using other types of transformer is prohibited.
To be synchronized in manual mode On/Off, the colour lamps must be connected to the same
electric power supply.
Always grease the back cup of the lamp, which is in contact with the gasket, when reassembling
and screwing.
Handle the lamps with care and on a clean cloth support.

> Installation / Replacement
A step by step assistance
1. Before any operation, turn off the ~12 V
power supply from the safety isolating
transformer
2. Remove the existing projector from its niche,
immerged in the pool and place it on the edge
taking care of protecting the front of the
installed lamp
3. Wipe the whole projector and the power
supply cable with a soft and dry cloth
4. Unscrew the gland to make the power supply
cable free
5. Unscrew the screws which maintain the sealing
support
6. Unscrew the connectors and take off the
existing lamp
7. Change the gasket
8. Install the new SeaMAID lamp taking care of
greasing the back cup in contact with the gasket
(silicon grease provided)
9. Re-screw the connectors of the power supply cable
10. Re-screw the sealing support tightening the
opposite screw by pair to distribute a balanced
force at any point of the lamp
11. Re-screw the gland blocking the power supply
cable
12. Replace the projector in its niche and wrap the
power supply cable around the back support
13. Turn on the power supply, the lamp lights

> Use
PAR56RGB 500682 and 501405 model, 16 programs with remote controller
The use of the remote controller requires a positioning face to the lamp at a maximum
distance of 10 meters, unfolded antenna. Metallic part close to the projector or a too
deep immersion (max 1 meter) may restrict the remote controller use at a very short
distance.
In this case, it is also possible to change programs using the on/off switch of the electric
supply power of the projector. A cut of the current of less than 2 seconds makes the
program change. After a cut of the current for over 10 seconds, switch on restarts from
the last program used
To control several lamps, it is possible to use a ~12V radio switch installed at the
output of the ~220V/12V toroidal transformer.
For its first use, the remote controller needs to be paired with the lamp(s) installed in
the pool.
Manual program including 11 static colours and 5 controlled atmospheres
with the provided remote controller.
Recommendations :
In all cases, refer to the
leaflet provided with the
product.
In case of difficulty during
the installation or use, it
is recommended to
watch the installation
video and to read the
FAQ on our website.

Buttons functions :
O > Off/On
S > Synchronization
C > Colour selection
P > Programs sélection
For the first remote controller use, it is necessary to pair it with the
projector
1. Insert the provided battery in the remote controller; press each
button and check that the red LED lights
2. From the general power supply, switch on the projector
3. Switch off the projector and count more than 20 seconds to
switch it on again
4. Make fast Off/On twice and switch on the projector
5. Press the buttons O et S together on the remote controller
6. The projector flashes several times and stays on, the pairing
process is confirmed.
Remote controller
PAR56RGB 500682 and 501405 model

> Use
PAR56RGB 500736 and 501399 model, 16 On/Off programs
Manual programs including 11 static colours and 5 controlled atmospheres
Recommendations :
In all cases, refer to the
leaflet provided with the
product.
In case of difficulty during
the installation or use, it
is recommended to
watch the installation
video and to read the
FAQ on our website.
The PAR56RGB On/Off lamp control is manual, using the on/off switch of the
projector power. A cut of the current of less than 2 seconds makes the program change.
After a cut of the current for over 10 seconds, switch on restarts from the last program
used.
For the first use, the lamp lights on the program 1 (all LED lit). Then you go to the 11
static colours, followed by 5 automatic programs.
It is as well possible to use a ~12V radio switch and install it on the ~220V/12V
safety isolating transformer output.
To be synchronized on the On/Off manual mode, the lamp must be connected to the
same power supply.

> Use
PAR56WH 501139 model, 3 intensities with remote controller
>The use of the remote controller requires a positioning face to the lamp at a
maximum distance of 10 meters, unfolded antenna. Metallic part close to the projector
or a too deep immersion (max 1 meter) may restrict the remote controller use at a very
short distance.
In this case, it is also possible to change programs using the on/off switch of the electric
supply power of the projector. A cut of the current of less than 2 seconds makes the
program change. After a cut of the current for over 10 seconds, switch on restarts from
the last program used
To control several lamps, it is possible to use a ~12V radio switch installed at the
output of ~220V/12V the toroidal transformer.
For its first use, the remote controller needs to be paired with the lamp(s) installed in
the pool.
Manual program including 3 controlled intensity levels
with the provided remote controller.
Recommendations :
In all cases, refer to the
leaflet provided with the
product.
In case of difficulty during
the installation or use, it
is recommended to
watch the installation
video and to read the
FAQ on our website.

Buttons functions :
O > Off/On
S > Synchronization
C > Colour selection
P > Programs selection
For the first remote controller use, it is necessary to pair it with the
projector
1. Insert the provided battery in the remote controller; press each
button and check that the red LED lights
2. From the general power supply, switch on the projector
3. Switch off the projector and count more than 20 seconds to
switch it on again
4. Make fast Off/On twice and switch on the projector
5. Press the buttons O et S together on the remote controller
6. The projector flashes several times and stays on, the pairing
process is confirmed.
> Remote controller
PAR56WH 501139 model

> Accessories
Find here the compatible and recommended accessories
Recommendations :
Discover the online SeaMAID
range products
In case of difficulty during
the installation or the
use, it is recommended
to watch the installation
video and read the FAQ
on our website.
SeaMAID low voltage radio switch:
To control 1 to 12 lamps, choose between the 1 and 4 channel
module to install on the ~12V projector(s) power supply
Model 500743
Model 500750

> SeaMAID, proof of
quality and reliability
> Quality: SeaMAID products are developed exclusively by our French R&D team then
manufactured in China and marketed after a rigorous quality-control.
SeaMAID products range is certified TÜV Rheinland thus proving the safety and quality of
the proposed products.
> Reliability : Each SeaMAID product is guaranteed 24 months in standard exchange.
Thanks to an exclusive development, the optics brings a confort in the use of the
products; plastic parts are soldered by friction thus ensuring a perfect seal.
This manual suits for next models
5
Table of contents
Other Seamaid Swimming Pool Lighting manuals

Seamaid
Seamaid LEDINPOOL 502815 Programming manual

Seamaid
Seamaid LedInPool 500866 Programming manual

Seamaid
Seamaid LEDINPOOL Programming manual

Seamaid
Seamaid 501160 User manual

Seamaid
Seamaid LedinPool 502860 Programming manual

Seamaid
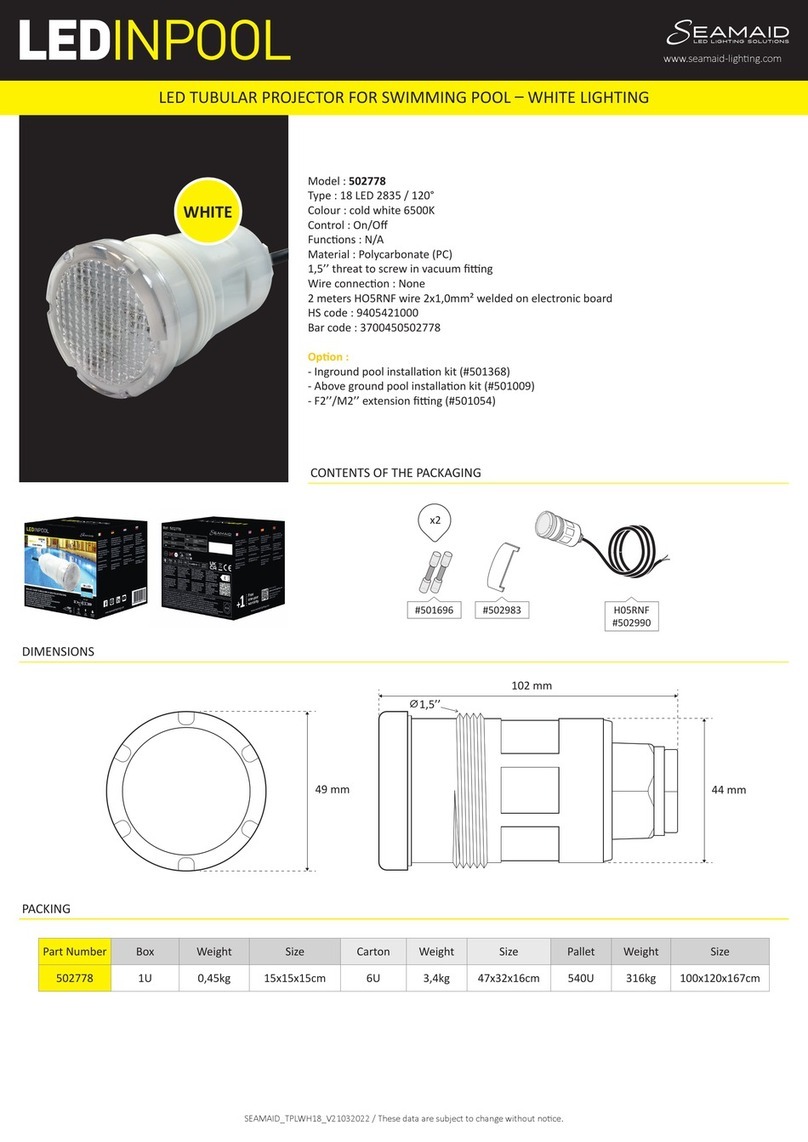
Seamaid 502778 Programming manual
Seamaid
Seamaid 502785 Programming manual

Seamaid
Seamaid 500859 Programming manual

Seamaid
Seamaid LEDINPOOL 502877 Programming manual

Seamaid
Seamaid 502778 User manual