manuals.online logo
Brands
  1. Home
  2. •
  3. Brands
  4. •
  5. Shark
  6. •
  7. Motorcycle Accessories
  8. •
  9. Shark Evo-One User manual

Shark Evo-One User manual

Other manuals for Evo-One

1

Other Shark Motorcycle Accessories manuals

Shark Vision - R User manual

Shark

Shark Vision - R User manual

Shark Vancore User manual

Shark

Shark Vancore User manual

Shark VARIAL User manual

Shark

Shark VARIAL User manual

Shark Heritage User manual

Shark

Shark Heritage User manual

Shark VARIAL RS Installation instructions

Shark

Shark VARIAL RS Installation instructions

Shark S 600 User manual

Shark

Shark S 600 User manual

Shark EVO-ONE 2 User manual

Shark

Shark EVO-ONE 2 User manual

Shark Race-R PRO User manual

Shark

Shark Race-R PRO User manual

Shark SPARTAN GT PRO User manual

Shark

Shark SPARTAN GT PRO User manual

Shark Evojet User manual

Shark

Shark Evojet User manual

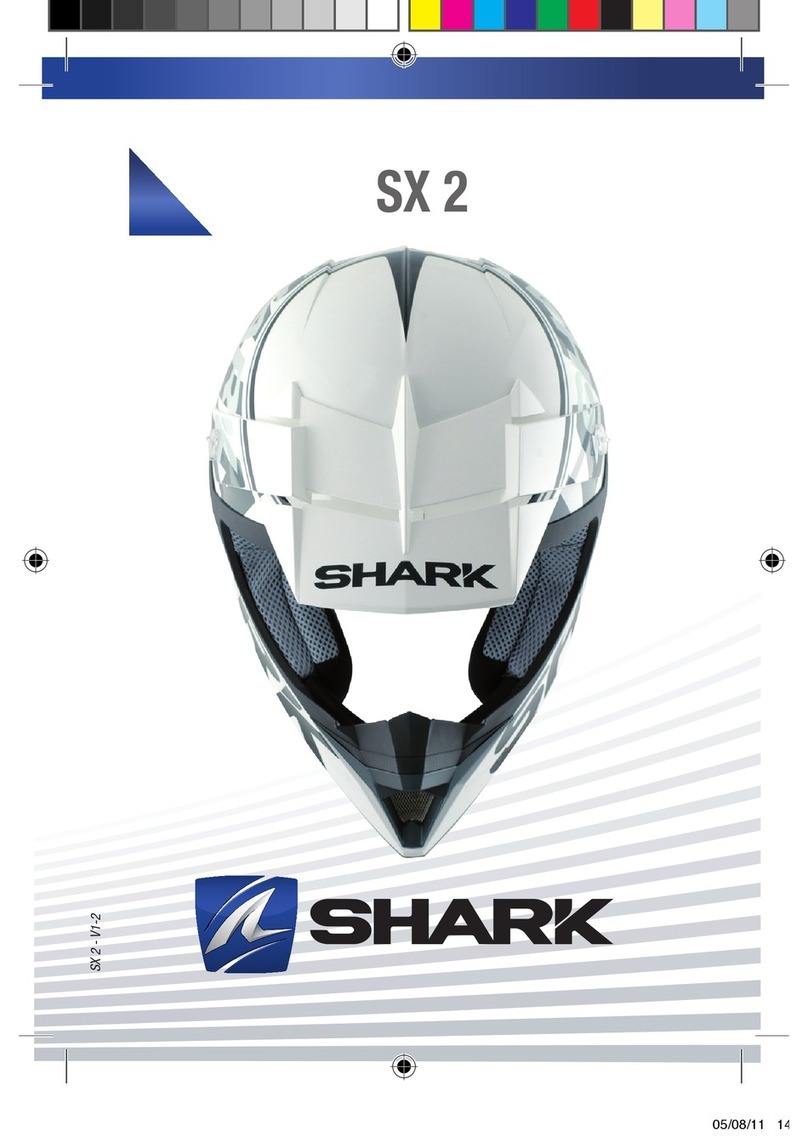
Shark SX 2 User manual

Shark

Shark SX 2 User manual

Shark Vancore 2 User manual

Shark

Shark Vancore 2 User manual

Shark Explore-R User manual

Shark

Shark Explore-R User manual

Shark OpenLine User manual

Shark

Shark OpenLine User manual

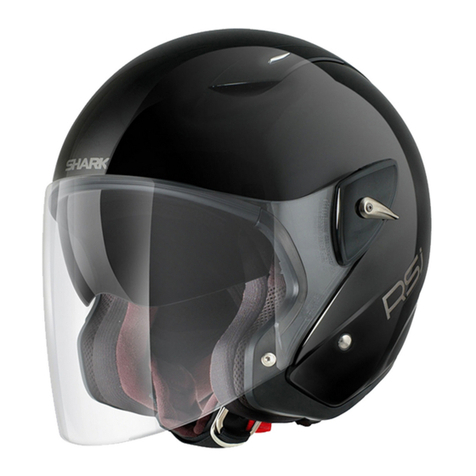
Shark RSJ User manual

Shark

Shark RSJ User manual

Shark Spartan Carbon User manual

Shark

Shark Spartan Carbon User manual

Shark SPARTAN RS User manual

Shark

Shark SPARTAN RS User manual

Shark RIDILL User manual

Shark

Shark RIDILL User manual

Shark SKWAL 2 User manual

Shark

Shark SKWAL 2 User manual

Shark CITYCRUISER User manual

Shark

Shark CITYCRUISER User manual

Shark Evoline 3 Series User manual

Shark

Shark Evoline 3 Series User manual

Shark Micro User manual

Shark

Shark Micro User manual

Shark SKWAL User manual

Shark

Shark SKWAL User manual

Shark EvoLine User manual

Shark

Shark EvoLine User manual

Popular Motorcycle Accessories manuals by other brands

SRC H-ADV150-04-01AL quick start guide

SRC

SRC H-ADV150-04-01AL quick start guide

DMD P1 owner's manual

DMD

DMD P1 owner's manual

GIVI Airflow AF1110 manual

GIVI

GIVI Airflow AF1110 manual

Suzuki 99143-00A1 000 Series installation instructions

Suzuki

Suzuki 99143-00A1 000 Series installation instructions

Cardo Systems FREECOM 4+ Pocket guide

Cardo Systems

Cardo Systems FREECOM 4+ Pocket guide

R&G CR0081 Fitting instructions

R&G

R&G CR0081 Fitting instructions

SRC B-TRK502-01-01-SL quick start guide

SRC

SRC B-TRK502-01-01-SL quick start guide

hepco & becker 6307520 00 01 manual

hepco & becker

hepco & becker 6307520 00 01 manual

HOMCOM AA0-077 user manual

HOMCOM

HOMCOM AA0-077 user manual

hepco & becker 6307558 00 01 manual

hepco & becker

hepco & becker 6307558 00 01 manual

SHOEI JO Instructions for use

SHOEI

SHOEI JO Instructions for use

Wunderkind Custom 106503-F15 Installation and safety

Wunderkind Custom

Wunderkind Custom 106503-F15 Installation and safety

Suzuki 57100-05881 installation instructions

Suzuki

Suzuki 57100-05881 installation instructions

SIKH HELMETS Y-61 quick start guide

SIKH HELMETS

SIKH HELMETS Y-61 quick start guide

Dräger HPS 3500 Instructions for use

Dräger

Dräger HPS 3500 Instructions for use

M-WAVE SKI manual

M-WAVE

M-WAVE SKI manual

Kuryakyn 6212 installation instructions

Kuryakyn

Kuryakyn 6212 installation instructions

hepco & becker 6507504 00 01 installation instructions

hepco & becker

hepco & becker 6507504 00 01 installation instructions

manuals.online logo
manuals.online logoBrands
  • About & Mission
  • Contact us
  • Privacy Policy
  • Terms and Conditions

Copyright 2025 Manuals.Online. All Rights Reserved.

ONE REVOLUTION, ONE HELMET
+/- +/-
11
C
D
B
A
éCRAN
DéMONTAgE
Nous avons conçu votre casque afin que cette
opération s’effectue très facilement :
- mettez l’écran en position haute (Fig. A) ;
- appliquez une pression sur les clics (Fig. B) à
l’aide d’un tournevis ou d’une pointe quelconque ;
- faites pivoter l’écran (Fig. C), il sortira de son
support sans effort (Fig. D).
ATTENTION ! Si vous n’êtes pas sûr
d’avoir bien remonté votre écran,
n’utilisez pas le casque. En roulant l’écran
pourrait se détacher du casque soudainement
et sans prévenir, causant ainsi une perte de
contrôle de votre moto, puis entrainant un
accident, une blessure ou la mort. Nous vous
conseillons de contacter votre revendeur pour
toute assistance et conseil.
ATTENTION ! Si vous conduisez à haute
vitesse, n’ouvrez pas l’écran. Il pourrait
se détacher et laisser vos yeux et votre visage
sans protection.
De plus, votre tête pourrait être tirée en arrière
ou sur les côtés, ce qui peut vous faire perdre le
contrôle de la moto, causant ainsi un accident,
des blessures corporelles ou la mort.
ATTENTION ! Les écrans teintés ou colo-
rés ne doivent jamais être utilisés la nuit
ou dans de mauvaises conditions de visibilité car
ils diminuent votre vision. Ne roulez jamais avec
un écran embué.
ATTENTION ! si votre écran après un
temps d’utilisation, ne vous garantit pas
une excellente visibilité, il est absolument néces-
saire de le remplacer. Nous vous conseillons de
toujours rouler avec une visibilité optimale.
1
2
3
Dear clients,
EVO-ONE is now on the market, in your country
and in your stores.
We’re very proud not only of this project, the
latest in SHARK’s line of creations, but also of
your decision to show it to your customers.
Since its rollout and during the most recent trade
shows, many of you have hailed the work that
went into this model, and feedback from its
launch has demonstrated your good judgment.
Nonetheless, we feel it important to
underscore the extent to which this SHARK
helmet is technically advanced and subtle.
We’ve opted to emphasize this fact by the phrase
accompanying the model: “EVO-ONE: ONE
rEVOlution, ONE helmet”
One helmet, one revolution! But what kind of
revolution is EVO-ONE offering?
TECHNICAL
FACT SHEET
8- Interior
EVO-ONE has been deliberately designed
with a more “streamlined” comfort feature
than EvoLine.
This type of fitting is more like that of an
integral helmet, i.e. with added security.
For riders with rounder cheeks, the inconvenience
imposed by the cheek pad thickness can alter
helmet locking. It’s quite straightforward to
adapt the pad thickness to the user’s facial
contour: EVO-ONE is a customized helmet
offering a “perfect fit”.
The interior is also easily removed and machine
washable.
6- Ventilation
The lower ventilation offers the choice
between channeling air to the mouth or
demisting or both.
To make this choice, use the slide
placed inside the chin guard.
7- System to quickly
disassemble the visor
(useful in applying the Pinlock
®
anti-fog film)
Place the visor in the upper position (A),
apply pressure on the clicks (B) using
any tip or a screwdriver,
and turn the visor (C);
it will pop out effortlessly (D).
Installation of the Pinlock® lm:
Ensure that the pins are correctly oriented
and adjust as needed.
Position the end of the lm on one of the
visor pins. Fold the other end of the lm
so as to place it on the opposite pin (2-3).
Reminder: Do not try to deform the visor
when installing the lm.Replace the visor
(upper position), click in place.
11
C
D
B
A
éCRAN
DéMONTAgE
Nous avons conçu votre casque afin que cette
opération s’effectue très facilement :
- mettez l’écran en position haute (Fig. A) ;
- appliquez une pression sur les clics (Fig. B) à
l’aide d’un tournevis ou d’une pointe quelconque ;
- faites pivoter l’écran (Fig. C), il sortira de son
support sans effort (Fig. D).
ATTENTION ! Si vous n’êtes pas sûr
d’avoir bien remonté votre écran,
n’utilisez pas le casque. En roulant l’écran
pourrait se détacher du casque soudainement
et sans prévenir, causant ainsi une perte de
contrôle de votre moto, puis entrainant un
accident, une blessure ou la mort. Nous vous
conseillons de contacter votre revendeur pour
toute assistance et conseil.
ATTENTION ! Si vous conduisez à haute
vitesse, n’ouvrez pas l’écran. Il pourrait
se détacher et laisser vos yeux et votre visage
sans protection.
De plus, votre tête pourrait être tirée en arrière
ou sur les côtés, ce qui peut vous faire perdre le
contrôle de la moto, causant ainsi un accident,
des blessures corporelles ou la mort.
ATTENTION ! Les écrans teintés ou colo-
rés ne doivent jamais être utilisés la nuit
ou dans de mauvaises conditions de visibilité car
ils diminuent votre vision. Ne roulez jamais avec
un écran embué.
ATTENTION ! si votre écran après un
temps d’utilisation, ne vous garantit pas
une excellente visibilité, il est absolument néces-
saire de le remplacer. Nous vous conseillons de
toujours rouler avec une visibilité optimale.
10
C
B
A
D
clic! clic !
jET/INTéRAL
jET/INTégRAL
Cette manipulation est tout aussi aisée. Votre
écran peut être en position haute ou basse;
il remontera doucement automatiquement
(AUTO-DOWN). Attraper la mentonnière en
plaçant le pouce de la main gauche à l’endroit
indiqué (Fig. A) et la ramener vers
l’avant en l’écartant légèrement
(Fig. B-C). Une fois que la mentonnière
est en position basse, vous devez entendre
2 “clics“ (Fig. D) pour obtenir un vérrouillage
complet. Vous pouvez maintenant refermer
votre écran.
Evo-onE
Evo-One - V3 - 11122015
owner’s manual - manuel D’uTIlIsaTIon - BenuTzerhanDBuch
lIBreTTo IsTruzIonI manual De uTIlIzaDor - manual Del usuarIo
WARNING!
Carefully read, understand and follow the instructions
provided in this manual, and keep it in a safe place for
future reference. If you have any doubt whatsoever regarding
the use or care of your helmet, please see your retailer for
assistance or advice. Failure to follow the warnings and
instructions provided herein can result in the failure of the
helmet to protect you in an accident, resulting in a head injury
or death.
ATTENTION !
Veuillez lire avec attention, comprendre et suivre les
instructions fournies dans ce manuel, et veuillez le garder
en lieu sûr pour vous en servir ultérieurement. En cas de
doute concernant l’utilisation ou l’entretien du casque, veuillez
demander l’aide ou l’avis de votre revendeur. Tout non respect
des précautions et recommandations fournies dans ce manuel
peut entraîner une défaillance dans l’efficacité du casque à
vous protéger en cas d’accident, provoquant une blessure
grâve ou la mort.
WARNUNG!
Lesen Sie diese Anleitung aufmerksam durch und bewahren
Sie sie sorgfältig auf. Bei Fragen zur Verwendung oder
Pflege Ihres Helms wenden Sie sich an Ihren Einzelhändler.
Falls Sie die Warnungen und Hinweise dieser Anleitung nicht
befolgen, kann das die Schutzwirkung des Helms im Falle eines
Unfalls beeinträchtigen, was zu einer schweren oder tödlichen
Kopfverletzung führen kann.
ATTENZIONE!
Leggere con attenzione, capire e seguire le istruzioni
fornite in questo libretto e conservarlo in luogo sicuro
per potersene servire ulteriormente. In caso di dubbio riguardo
l’utilizzo o la manutenzione del casco, chiedere l’aiuto o
l’avviso del proprio rivenditore. Il non rispetto delle precauzioni
e raccomandazioni fornite in questo libretto può provocare
una mancanza dell’efficacità del casco a proteggere in caso
d’incidente, provocando una ferita grave o la morte.
ATENCIÓN!
Lea atentamente, siga las instrucciones de este manual
y guárdelo en lugar seguro para futuras referencias. Si
tuviera cualquier duda sobre la utilización o cuidado de su casco
por favor diríjase a su establecimiento habitual. No seguir los
avisos y consejos de utilización presentes en este manuscrito
podría disminuir la protección para la cual este casco esta
diseñado, pudiendo causar traumatismos craneales o incluso la
muerte en caso de accidente.
AUTOMATIC
PUSH
PUSH
Please take a moment to get familiar with the following “tips and
tricks” and become more knowledgeable of the model, while
making the most of all its functions.
1- Allocate 10 minutes to read the
user’s manual
Everything you need to learn about this
model is found inside the document.
For a helmet of this type, such details
take on special importance.
EVO-ONE differs from the EvoLine
Series 3 in many respects (in terms of
kinematics and mechanics, for instance).
3- Breath guard
EVO-ONE is equipped with a noise-
abatement breath guard that’s also
magnetized, retractable and easily folded.
It remains critical however to verify that this
fixture is fully retractable, thus ensuring that
the guard can be raised and lowered without
interference.
The purpose of this breath guard is to
prevent air from entering via the chin guard,
which removes unwanted noise and cold air.
4- Switching from jet position
to integral position
When the chin guard is in back of the
helmet (jet position), it must be handled
using the part at the joint end, so as to
simplify chin guard movement while
avoiding damage to the joint.
Activating the chin guard from this small
opening allows releasing it and proceeding
with the rotation necessary to shift
to integral version.
5- Optimal locking of the chin guard:
Easier and safer
To verify that the chin guard is properly attached
to the shell, apply downward pressure on the shell
from both sides simultaneously until hearing 2
“clicks”.
2- The Auto-up/
Auto-down system
Auto-up replicates the system invented
on EvoLine Series 3 and allows raising the
visor and chin guard simultaneously, thereby
facilitating chin guard repositioning when
planning to shift into jet position.
Auto-down is an exclusive EVO-ONE feature
that enables, when lowering the chin guard
from jet to integral position, also raising the
visor to ease its switch as well.
Reminder! The mechanics involved in
this system are highly complex; under
no circumstances should a chin guard
movement be forced or should the visor
position be changed at the same time as
the chin guard.
CLICKSCLICKS